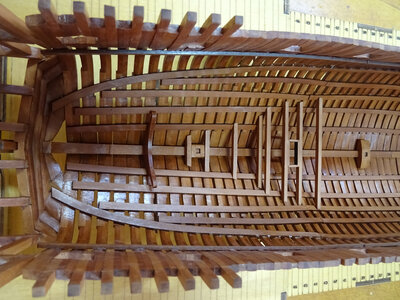
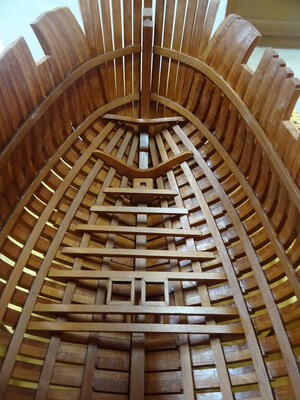
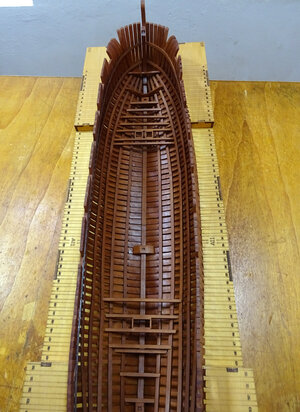
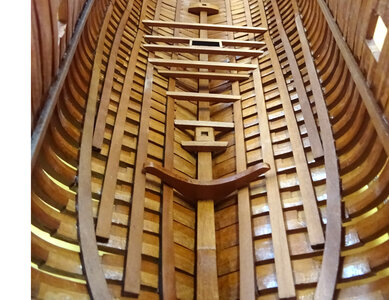
HMS Blandford POF by Keith [COMPLETED BUILD]

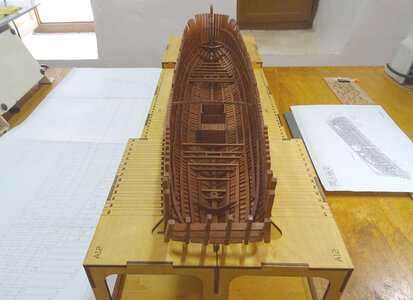
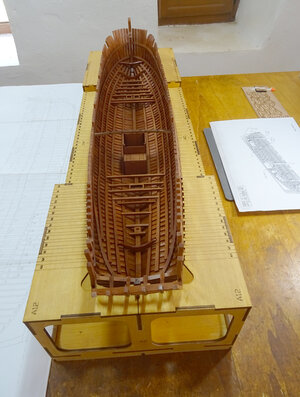
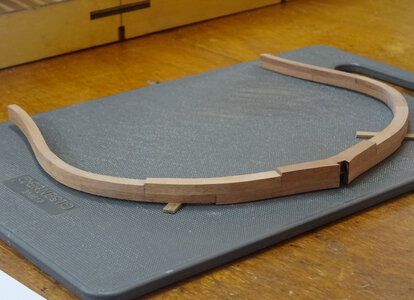
KEEF has unfortunately not laid the frames correctly. Instructions are not good. I got it wrong buT put it right
Build the frames the other way around the single kee; piece should be on the to this means that the next 2 (5v and 6 i think) are flat. I al;so meens that you only ned single pieces of 1 mm piece of wood to build the rest of the kit up. WE are lucky that Keef has dne it before us
I had problems with bits moving so now i just do the first three let it set then do the next 4 and finally the next 4/6

THANKs

View attachment 329054

View attachment 329055

View attachment 329056
Keef's frames look perfect to me. JJ.
 
Hi Keef.

It certainly seems a superb kit. I love the carvings.
Good luck and happy building. W'll be watching.

Herman
dont clean up the char it is usefully to sand the whole frame - onsce you get there the fore frames need a lot of sanding an the black makes it easier
 
KEEF has unfortunately not laid the frames correctly. Instructions are not good. I got it wrong buT put it right
Build the frames the other way around the single kee; piece should be on the to this means that the next 2 (5v and 6 i think) are flat. I al;so meens that you only ned single pieces of 1 mm piece of wood to build the rest of the kit up. WE are lucky that Keef has dne it before us
I had problems with bits moving so now i just do the first three let it set then do the next 4 and finally the next 4/6

THANKs

View attachment 329054

View attachment 329055

View attachment 329056
 
Thanks for your comments Richard. We have our own way of working but l don't understand what you are saying. As you have started your Blandford build perhaps you could start your own build log so people can compare the different methods and ideas.
 
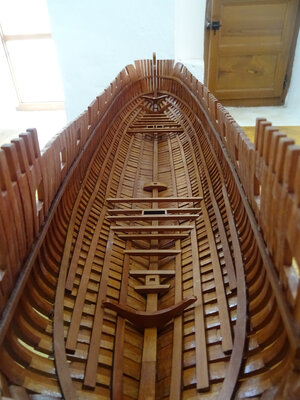
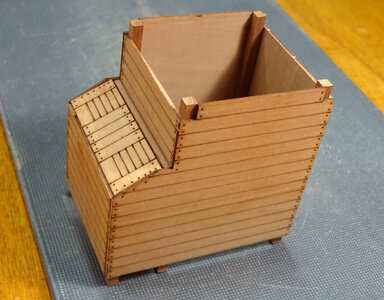
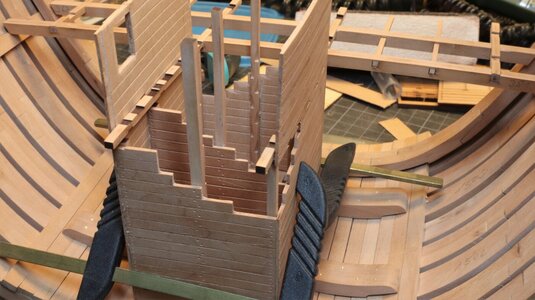
Have test fitted the well pump, together with the first of the lower deck beams that l made up and to my delight all fits exactly as it should. A true tribute to this amazing kit from Modelship Dockyard. l have decided not to build any of the cabins at this lower level, l want to leave all the timbers exposed. l may put part of the forward platform deck in place for the stove of the galley to sit on, so apart from putting hinges on the hatches of the pump well, as far as l'm concerned the hold section is finished and l can start on the lower deck timbers

DSC05320.JPG

DSC05316.JPG
 
Hi Keef,

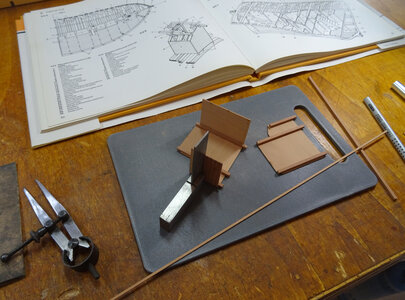
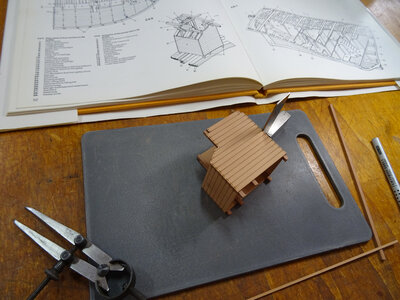
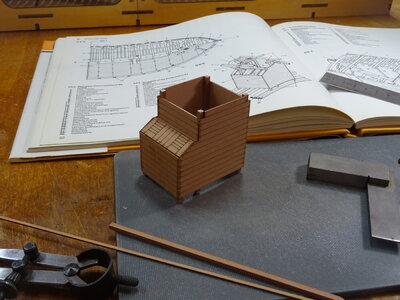
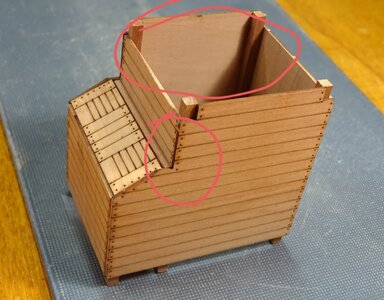
Love your build, very nice and clean. Two sugestions, I would cut lines in the rear side of the pump well to simulate the planks, this as you will see this when looking in from above.

Secondly to sand away the laser char from the edges, but guess that is stil work in progress.
DSC05313.JPG
 
Refering the first comment from maarten:
On my Bonhomme section model I had a similar situation, when I glued the boards on top of the templates.
With this I had also a plane inner wall, which I cut gentle with a knife to immitate horizontal boards

IMG_5376.jpg

Maybe you take a short look
 
Last edited:
Hi Keef,

Love your build, very nice and clean. Two sugestions, I would cut lines in the rear side of the pump well to simulate the planks, this as you will see this when looking in from above.

Secondly to sand away the laser char from the edges, but guess that is stil work in progress.
View attachment 329583
I must admit, l never even thought to do the lines on the inside of the well pump. Too late now all in position. l will see that now every time l look at it . Hopefully once the chain pump and upper deck timbers are in it won't be too noticable.
 
I must admit, l never even thought to do the lines on the inside of the well pump. Too late now all in position. l will see that now every time l look at it . Hopefully once the chain pump and upper deck timbers are in it won't be too noticable.
Hi Keef,

You still can glue strips of veneer on the inside. :-)
 
Thanks for your comments Richard. We have our own way of working but l don't understand what you are saying. As you have started your Blandford build perhaps you could start your own build log so people can compare the different methods and ideas.
The 1 mm "Step" an the frames is on both sides
Its too late on your but newbies like me can get it more accurate
 
I must admit, l never even thought to do the lines on the inside of the well pump. Too late now all in position. l will see that now every time l look at it . Hopefully once the chain pump and upper deck timbers are in it won't be too noticable.
it is so useful to get feed back from others - particularly as more people build the kit
 
The 1 mm "Step" an the frames is on both sides
Its too late on your but newbies like me can get it more accurate
Why are you saying l have made the frames wrong? There is nothing wrong withe frames l have built. Of course the steps are on both sides. You will see if you look at the photo, this is exactly how l have done it.

DSC04652.JPG
 
i will be looking at constction this type of part from the correct sizec planking
I built the sides of theguns on my Panart Victory from the correct size timber !:78 should be easier in a 1:48 Scale model !!
Why should 1:78 be easier than 1:48? It is much smaller ...
 
Back
Top