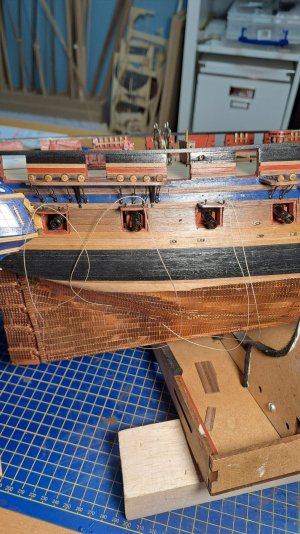
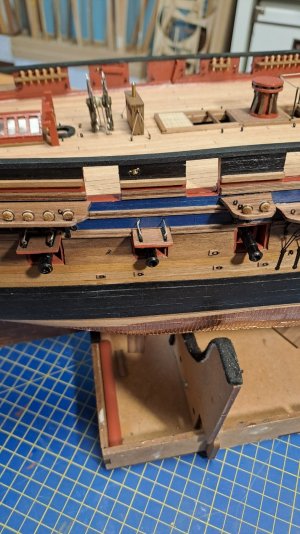
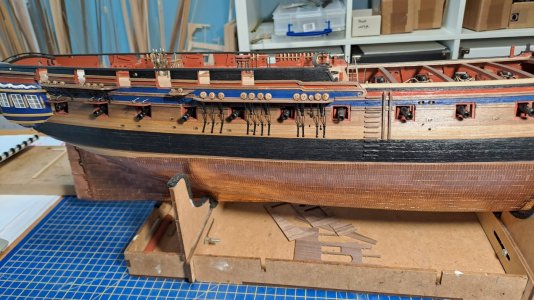
HMS Diana by Caldercraft

Hi Marc
I hope you have had a wonderful time over Christmas and I would like to wish you a happy and prosperous new year.
I missed most of your last posts and have been catching up with great interest. You are doing a superb job with this ship, it's very interesting to see the historical drawings.
Tony
Hello Tony,

I am very happy to hear news from you..Where are the good old days when we built the Constitution?

I learned a lot. And if I could start over I would first build the Diana and then the Constitution because the latter is much more difficult and challenging....because you had to build many parts yourself. The Diana is more of a real construction kit...
I follow your blog and am very impressed..I am still trying to approach your perfectionism but I am not quite successful yet...
Stay healthy..and please let's keep in touch...

Cheers

Marc
 
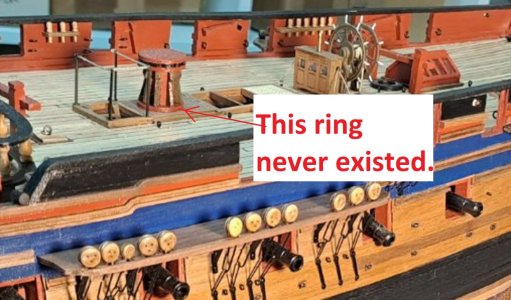
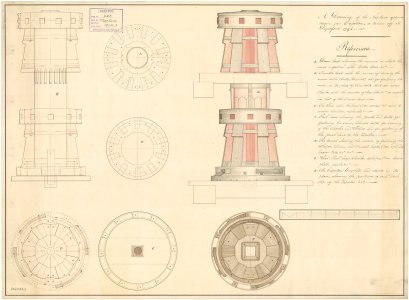
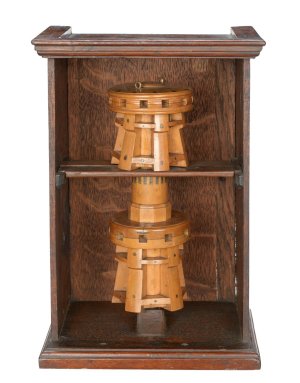
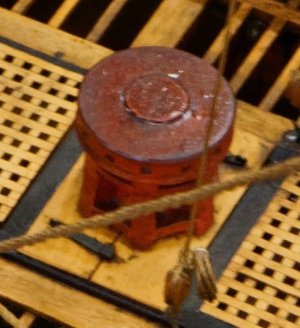
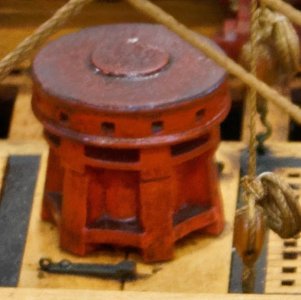
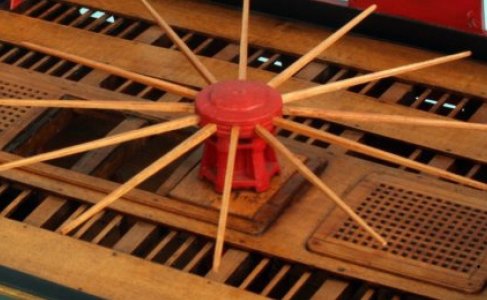
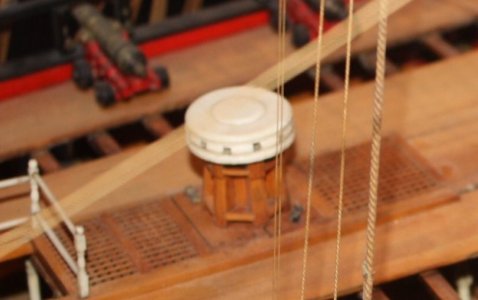
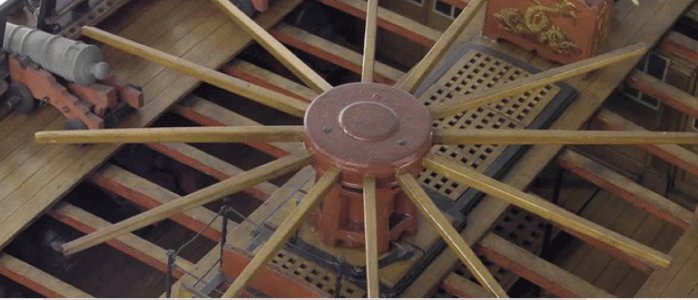
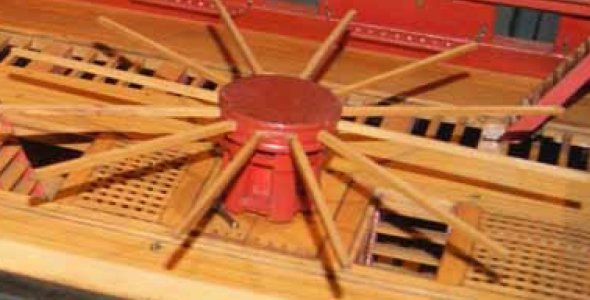
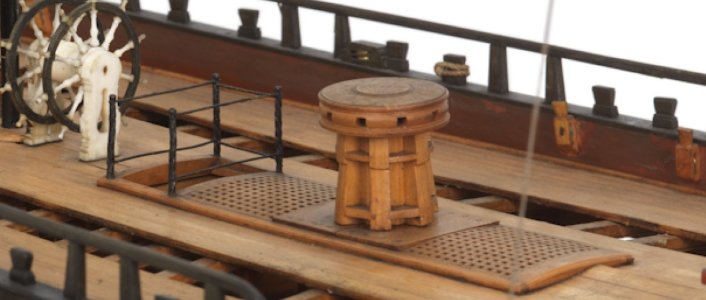
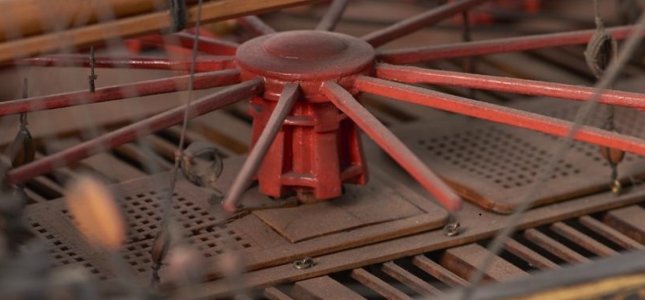
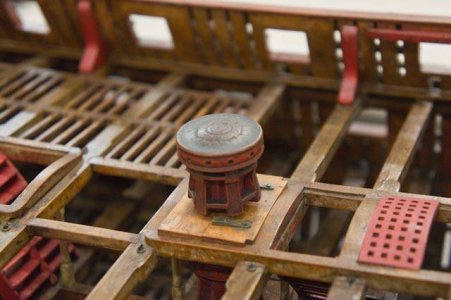
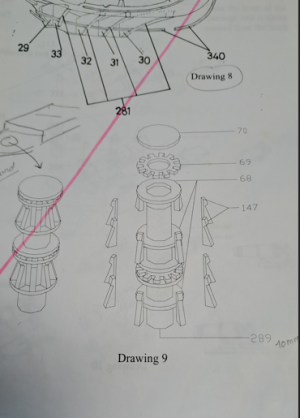
Dear Mark! The capstan has always been a special decoration on the deck. Since the fate of the ship and people depended on its condition, there was a special attitude towards this mechanism. He was a source of pride and respect for the team. It was cared for, carefully looked after and maintained. On museum ship models, capstans are always made with special love. The viewer, looking at a model ship, always notices the capstan. Would you like to modify this detail a little?
You just need to remove the ring at the bottom (it was never there) and make new ribs (these ones are too thin and made of bad wood).
Diana781.jpg

large (4) (1).jpg
large (8) (1).jpg
1428446012_Bildschirmfoto2022-02-09um15_16_26.jpg.b0c95db319a57c388212884d47e7a6ac.jpg
1678559268_Bildschirmfoto2022-02-09um15_16_01.jpg.a928c23cb758f6ba9f0ccf27b7c87c9c.jpg
ииии.jpg
иииив.jpg
иииии.jpg иииикк.jpg
иииил.jpg

ииииу.jpg
15_zobj_bellona_20111208_24_101.jpg
 
remove the ring at the bottom (it was never there) and make new ribs (these ones are too thin and made of bad wood).
Good catch. Is it that there is minimal research done, which takes time and thus has a cost, or some other reason these kinds of mistakes occur? It seems that adding parts that were not there is a cost that can be avoided.
 
Dear Mark! The capstan has always been a special decoration on the deck. Since the fate of the ship and people depended on its condition, there was a special attitude towards this mechanism. He was a source of pride and respect for the team. It was cared for, carefully looked after and maintained. On museum ship models, capstans are always made with special love. The viewer, looking at a model ship, always notices the capstan. Would you like to modify this detail a little?
You just need to remove the ring at the bottom (it was never there) and make new ribs (these ones are too thin and made of bad wood).
View attachment 494868

View attachment 494947
View attachment 494935
View attachment 494883
View attachment 494875
View attachment 494948
View attachment 494949
View attachment 494950 View attachment 494951
View attachment 494952

View attachment 494953
View attachment 494954

Yes Iutar,
I have learned something from you again with shame and deed. Until now I was not aware that the ring should not be there. But it is an integral part of the kit so I did not think about it any further.

Removing the ring would cause too much damage to the deck..so sigh I will leave it as it is....
Allow me to keep asking questions because I am slowly but surely starting to question everything..

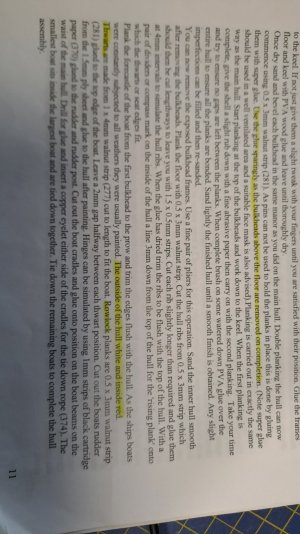
One of the next steps is the assembly of the Ship boats. And in the text (see attachment) I came across a strange instruction: the boats should be painted white on the outside and red on the inside... apparently that was common in the 18th century.
On the many photos I on the net I see that the Ship boats were painted in many colors..; green white brown etc..
can you clarify this?

Thx

Marc

Diana792.jpg
 
One of the next steps is the assembly of the Ship boats.
I am curious about which boats are in the kit. According to W.E. May, she would have likely carried at a least one 24 foot launch, one 28 or 30 foot pinnace which would be single banked, an 18 foot cutter, and additional cutters of about 14 feet.

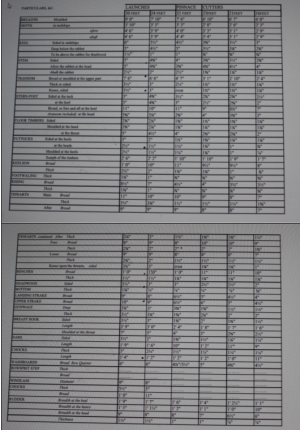
If you are interested, the scantlings from David Steel are below as a PDF. These can be found as a spreadsheet in May's book The Boats of Men of War as well as in Scantlings of Royal Navy Ships.

Allan
 

Attachments

Dear Mark! I have this description of the coloring of the boats of the frigate "Pandora".
Longboat: hull - yellow ocher. Wheels and above are black, transom and rudder are black. The masts and the rest of the spars are yellow ocher.
Pinas: body - white. Wels are black. Above the wales, the transom, rudder, masts and the rest of the spar are dark red.
Yaly: body - white. Wels are black. Above the wales, the transom, rudder, masts and the rest of the spar are one red, the other blue.
Skiff: Unknown, but probably white with black stripe.
 
I am curious about which boats are in the kit. According to W.E. May, she would have likely carried at a least one 24 foot launch, one 28 or 30 foot pinnace which would be single banked, an 18 foot cutter, and additional cutters of about 14 feet.

If you are interested, the scantlings from David Steel are below as a PDF. These can be found as a spreadsheet in May's book The Boats of Men of War as well as in Scantlings of Royal Navy Ships.

Allan
Thx

The kit includes a 18ft cutter, 32ft pinnace, 26ft Launch and 24 ft cutter.....
 
Hello Marc,

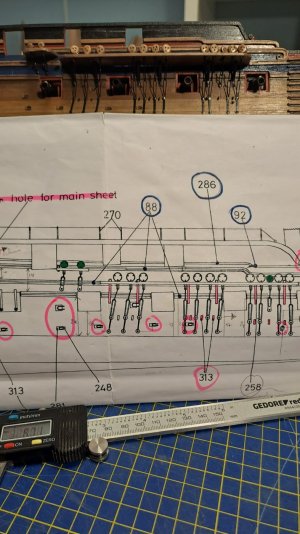
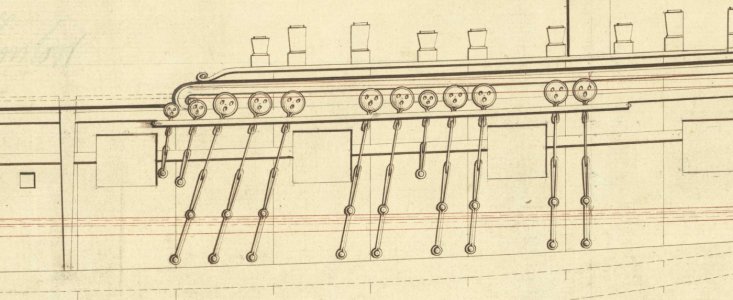
I have just been sitting back enjoying your build and learning along the way. I thought I would share something I picked up when working on my first ship model... ordinarily the chains would be installed aligned with each individual shroud. It looks like you might have them vertical. This is likely more a suggestion for your next ship than for this one. Though if you end up rigging this ship the departure will become rather noticeable.

I wasn't going to mention this at all, but you seem to be just as eager as I am to learn from those with more experience.

All the best.
 
Dear Mark! I have this description of the coloring of the boats of the frigate "Pandora".
Longboat: hull - yellow ocher. Wheels and above are black, transom and rudder are black. The masts and the rest of the spars are yellow ocher.
Pinas: body - white. Wels are black. Above the wales, the transom, rudder, masts and the rest of the spar are dark red.
Yaly: body - white. Wels are black. Above the wales, the transom, rudder, masts and the rest of the spar are one red, the other blue.
Skiff: Unknown, but probably white with black stripe.
Perfect....
 
Hello Marc,

I have just been sitting back enjoying your build and learning along the way. I thought I would share something I picked up when working on my first ship model... ordinarily the chains would be installed aligned with each individual shroud. It looks like you might have them vertical. This is likely more a suggestion for your next ship than for this one. Though if you end up rigging this ship the departure will become rather noticeable.

I wasn't going to mention this at all, but you seem to be just as eager as I am to learn from those with more experience.

All the best.
Dear Paul,

I'm always happy (very happy) to learn.
But excuse me I don't see what you mean... Sick

Marc
 
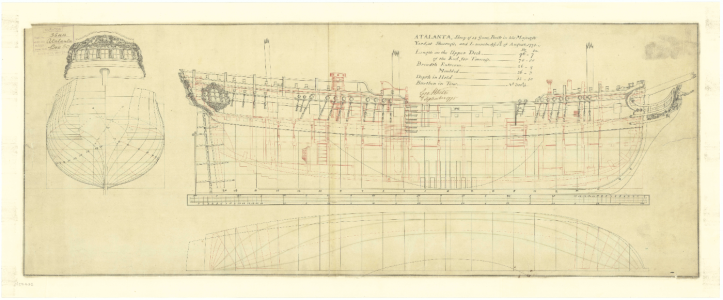
This isn't your ship but all ships were rigged the way I am trying to describe. Notice in the image below that the chains beneath the deadeyes are oriented in alignment with the future shroud:

Atalanta_(1775)_RMG_J4428.png

Also see here:

1736945115036.png

Hope this helps. Maybe someone else can explain this better...
 
The following may be easier to use if you wish to follow the scantlings on the boats. These are the closest I could find to the sizes you have. The only thing missing in the scantlings is the distance from one frame to the next. Using a contemporary drawing they would be about 15 inches center to center but most kit boats leave out about half of them. If the paste is too small to read, I can PM them to you if these are of interest if only to compare with what you were provided.
Allan
1736945834978.png
 
This isn't your ship but all ships were rigged the way I am trying to describe. Notice in the image below that the chains beneath the deadeyes are oriented in alignment with the future shroud:

View attachment 495211

Also see here:

View attachment 495212

Hope this helps. Maybe someone else can explain this better...
Hello Paul,

I measured the exact locations on the drawings and transferred them to the Hull.
I see now what you are meaning....but again conform drawing...
MMMMM...don't now what to say but again thx...

Marc
 
Hello Paul,

I measured the exact locations on the drawings and transferred them to the Hull.
I see now what you are meaning....but again conform drawing...
MMMMM...don't now what to say but again thx...

Marc
Hi Marc,

I have no doubt you followed the plans precisely. Unfortunately, it would seem the draftsperson hired by Caldercraft knew very little about ships. This is not an example of a kit producer making something simpler for the builder - this is an actual mistake. I feel your frustration and sympathize. It would be good if kit manufacturers would invest in providing accurate drawings and instructions. Alas...

At the end of the day you are building a fine model and you should be proud of your effort!
 
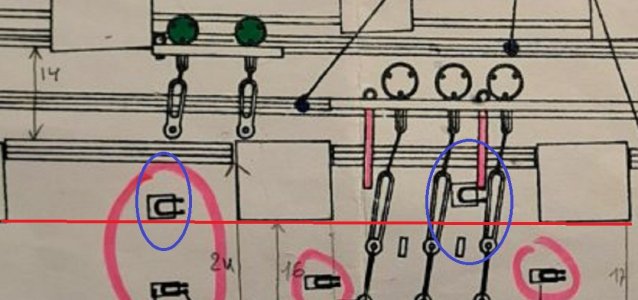
Allan in message number 13 gave you all the links to good quality archival drawings. What is this manic desire to use crazy pictures from a Caldecraft box? After all, we have already been convinced a hundred times that these pictures are complete crap.

аааа.jpg
кпп.jpg
 
Another hundred and first example right here.
Even the piece of the Caldecraft drawing you showed shows crazy moments that defy any logic. Look at the oar ports. They are located at different heights. How can this even be? This is complete nonsense!
:) :):)

Diana795.jpg
 
Back
Top