• LUCZORAMA SHIPWRECK SCAVENGER HUNT GIVEAWAY. 4 Weeks of Fun • 1 Legendary Prize ((OcCre’s Fram Ship)) • Global Crew Welcome!
    **VIEW THREAD HERE**

HMS ENTERPRISE by Keith 1:48 scale. New Kit from M.D.

A couple of questions about this so far
A) It looks like you have a slight gap between the front of the Bow and gthe Frame (First PIcture) I have similar although the Keel is Exactly placed on the Plan

B) You see to have placed the ODD numbered Cant X frames in first and the na added the Rear EVEN frames ois this what you recommend
AGAIN THANKS

View attachment 535964
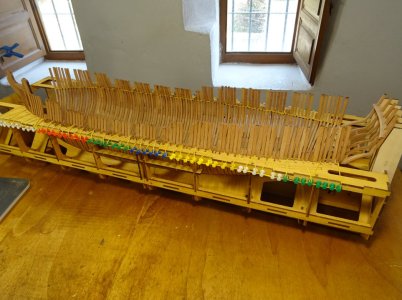
I did the odd cant frames first purely because these are joined at the floor timbers and A and B are treated as one unit and fit in place on their individual step on the deadwood. The even numbered frames are not joined, so A and B sides are 2 separate units of the sames frame and are easier to place on their step between the odd numbered frames. Only glue them when all the cant frames are done and the angles are correct
 
Hoping you can answer this

My number 37 frame has a marking on the A Side indication sanding it down (First Picture)
B frame is normal !

Not sure what it means
sorry to post on your page

View attachment 536309

View attachment 536310
Yes. I found this. It is an error, just ignore it. There is also one on the A side of y8. Remember that when you get to it. Not bad, only 2 errors on all the frame parts
 
Yes. I found this. It is an error, just ignore it. There is also one on the A side of y8. Remember that when you get to it. Not bad, only 2 errors on all the frame parts
thanks very good eh
Just thought I would post it in case someone is really following my Build
Ive actually finished ALL the main frames on the Sheets
Now to join them and that dreadful sanding in a full mask
I am doing the worse of it in the garage but finishit of in the Model Room
DEana is so understanding but i am trying to blow the dust away from the door
Guess once ive done the Other FRame ill have to spring clean the room!!
 
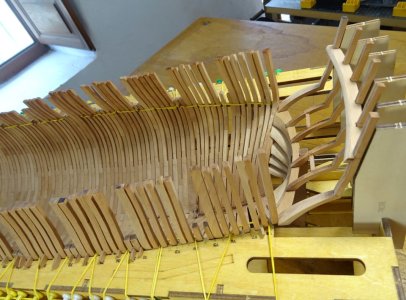
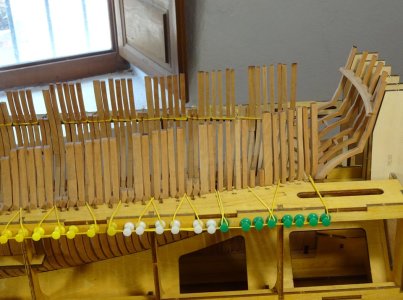
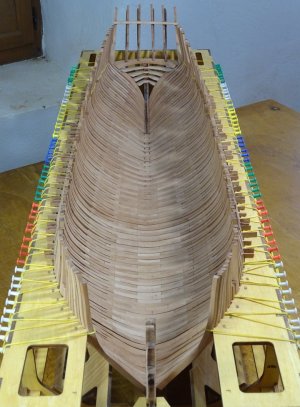
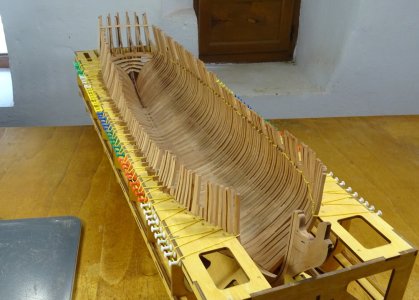
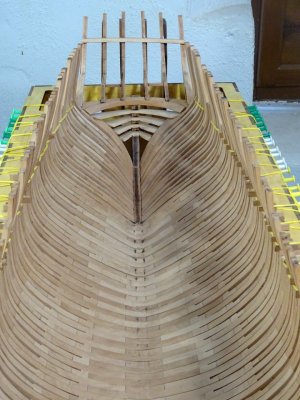
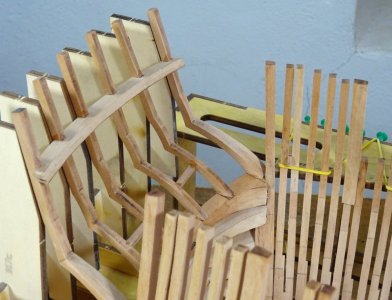
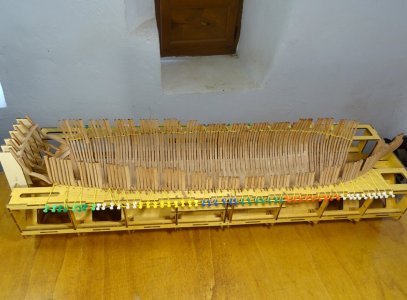
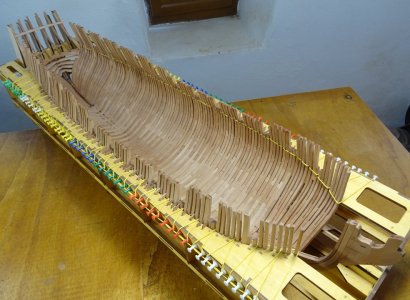
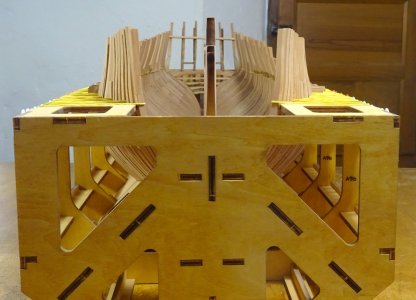
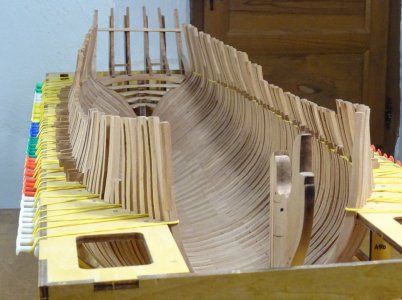
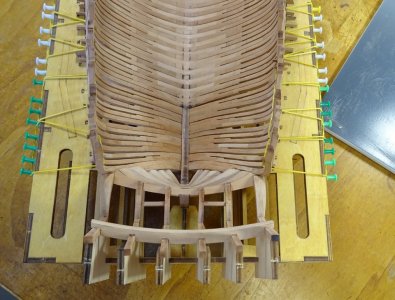
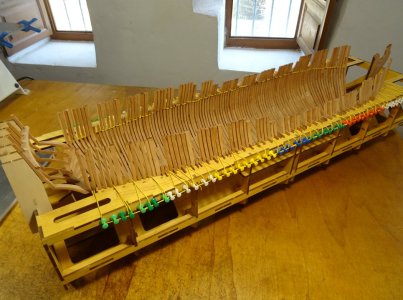
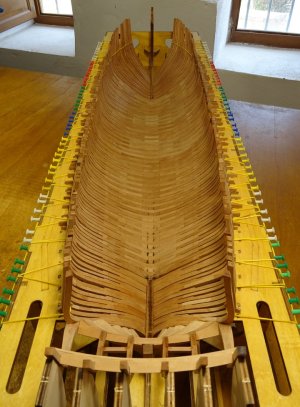
Jig parts B17a, b and c have been added to the cradle to support the counter timbers. The outer timbers, port and stbd are made up of 2 parts and sanded to form the fashion pieces, I think they're called. A cross frame, which took a very small amount of adjustment has also been fitted which I hope will give a little more support to what could be a very easily knocked and broken assembly

DSC00703.JPG

DSC00707.JPG

DSC00709.JPG

DSC00717.JPG

DSC00718.JPG

DSC00720.JPG

DSC00730.JPG

DSC00734.JPG

DSC00744.JPG

DSC00745.JPG

DSC00746.JPG

DSC00753.JPG

DSC00754.JPG

DSC00756.JPG
 
Jig parts B17a, b and c have been added to the cradle to support the counter timbers. The outer timbers, port and stbd are made up of 2 parts and sanded to form the fashion pieces, I think they're called. A cross frame, which took a very small amount of adjustment has also been fitted which I hope will give a little more support to what could be a very easily knocked and broken assembly

View attachment 536770

View attachment 536771

View attachment 536772

View attachment 536773

View attachment 536774

View attachment 536775

View attachment 536776

View attachment 536777

View attachment 536778

View attachment 536779

View attachment 536780

View attachment 536781

View attachment 536782

View attachment 536783
That's looking very nice, Keith. The build it self as well as your picture. Filling a few gaps ........ then she is full-framed.
Regards, Peter
 
Last edited:
Jig parts B17a, b and c have been added to the cradle to support the counter timbers. The outer timbers, port and stbd are made up of 2 parts and sanded to form the fashion pieces, I think they're called. A cross frame, which took a very small amount of adjustment has also been fitted which I hope will give a little more support to what could be a very easily knocked and broken assembly

View attachment 536770

View attachment 536771

View attachment 536772

View attachment 536773

View attachment 536774

View attachment 536775

View attachment 536776

View attachment 536777

View attachment 536778

View attachment 536779

View attachment 536780

View attachment 536781

View attachment 536782

View attachment 536783
Wonderful work as always.
Thanks for showing me how mine should look ! :D
 
With the futtocks having reduced sidings, filling pieces were packed in the gap between the adjacent futtocks and then nailed fore and aft through the futtocks and filling pieces as you mention. Then a hole was bored through the spacer for air. I cannot see this hole or the fore and aft bolts being done at our scales, but the filling pieces themselves will show. What I cannot find is how many spacers were used or how far apart they were.
Allan
have you found out more about these spacers please
 
Jig parts B17a, b and c have been added to the cradle to support the counter timbers. The outer timbers, port and stbd are made up of 2 parts and sanded to form the fashion pieces, I think they're called. A cross frame, which took a very small amount of adjustment has also been fitted which I hope will give a little more support to what could be a very easily knocked and broken assembly

View attachment 536770

View attachment 536771

View attachment 536772

View attachment 536773

View attachment 536774

View attachment 536775

View attachment 536776

View attachment 536777

View attachment 536778

View attachment 536779

View attachment 536780

View attachment 536781

View attachment 536782

View attachment 536783
Good evening Keith. You are owning this. A very good looking set of frames and counter timbers. I wish you all the best with not damaging those counter timbers…….;)
Cheers Grant
 
Jig parts B17a, b and c have been added to the cradle to support the counter timbers. The outer timbers, port and stbd are made up of 2 parts and sanded to form the fashion pieces, I think they're called. A cross frame, which took a very small amount of adjustment has also been fitted which I hope will give a little more support to what could be a very easily knocked and broken assembly

View attachment 536770

View attachment 536771

View attachment 536772

View attachment 536773

View attachment 536774

View attachment 536775

View attachment 536776

View attachment 536777

View attachment 536778

View attachment 536779

View attachment 536780

View attachment 536781

View attachment 536782

View attachment 536783
Dear keef
such a beautiful progress, the hull looks great, well done my friend
 
Back
Top