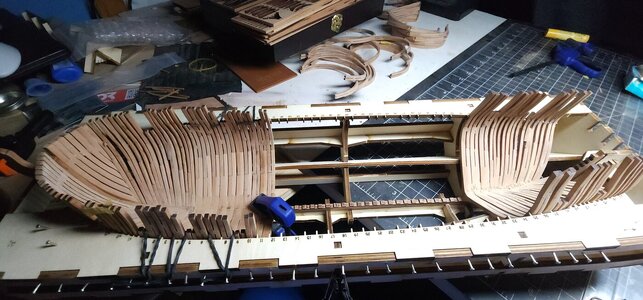
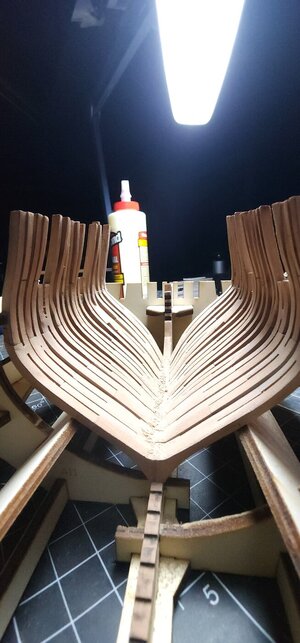
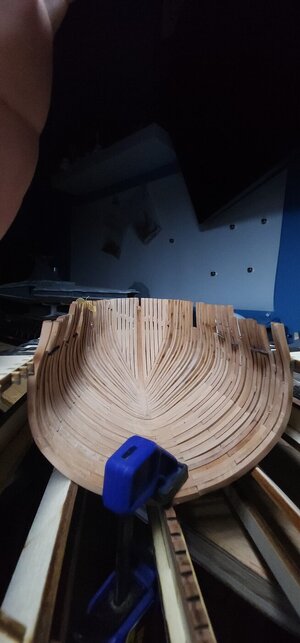
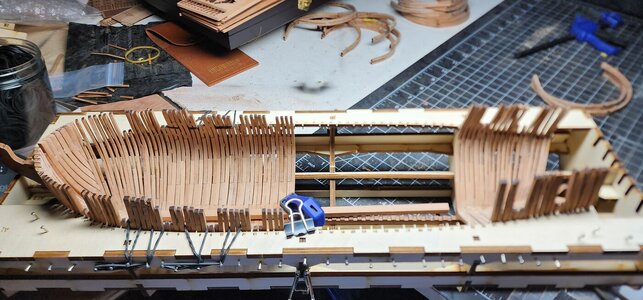
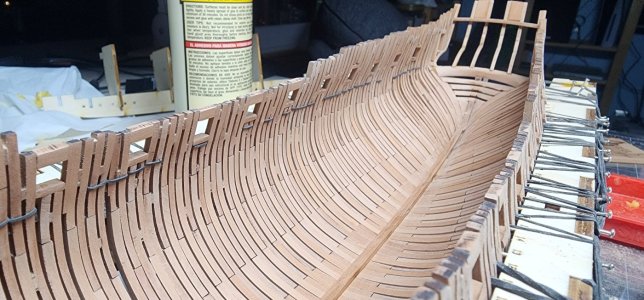
HMS Enterprize 1/96 by Modelship Dockyard

UGH ! This is why many people trial fit the frames before they start using glue. What did you use to glue them with? Would it be easier to remove them and fix them rather than order all new? PVA can be un-glued with a heat gun pretty easy.

Regardless, she is looking great !

Jeff

The funny thing is I did trial fit them, multiple times. The missing frames just turned out to be slightly too thick as the previous frames slid a little when being glued. I used wood glue, I considered trying to take them off but given how fragile the cant frames are, I've already broken probably 8 of them, I'm just going to try and slow down the two final frames.
 
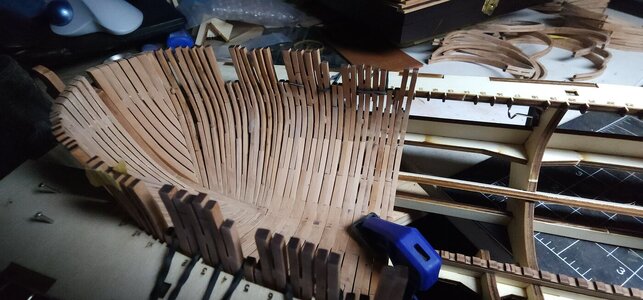
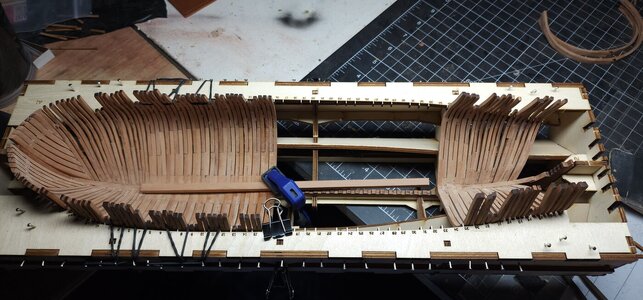
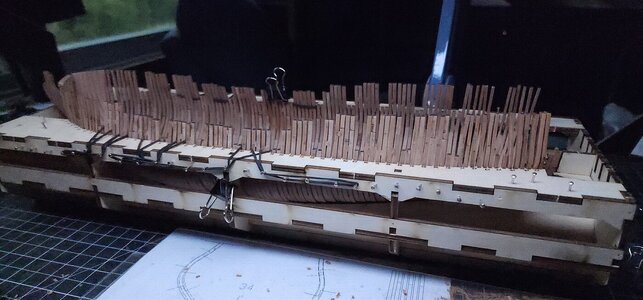
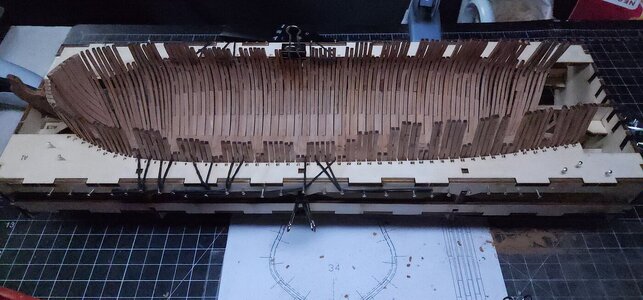
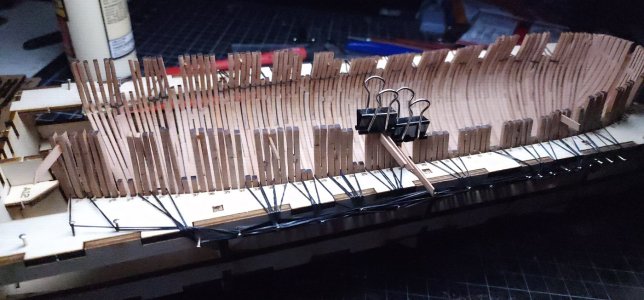
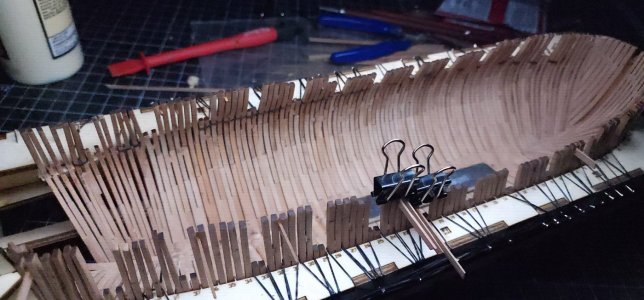
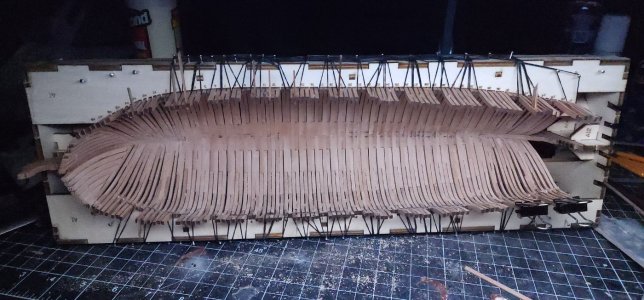
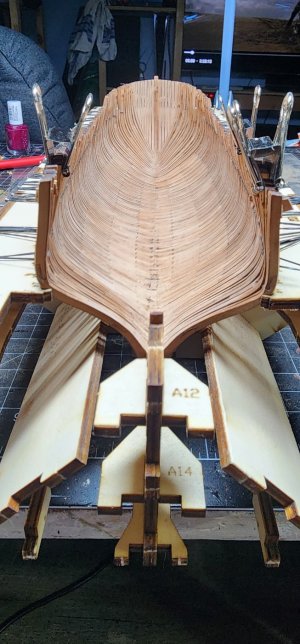
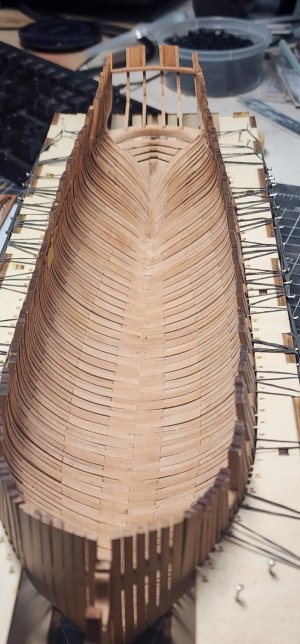
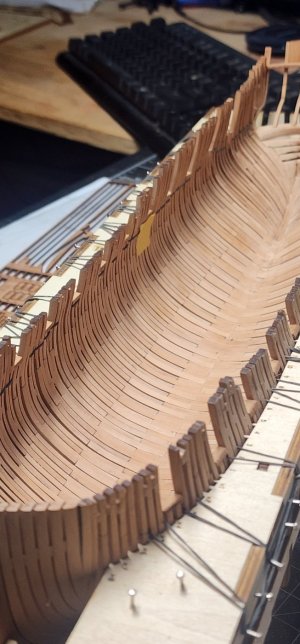
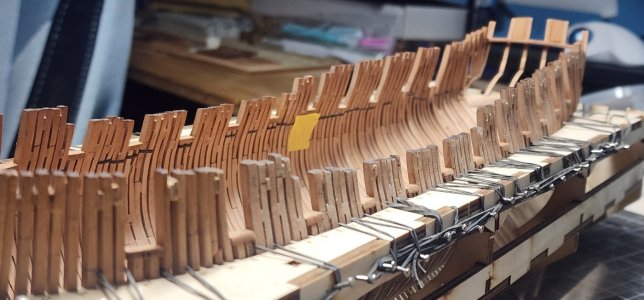
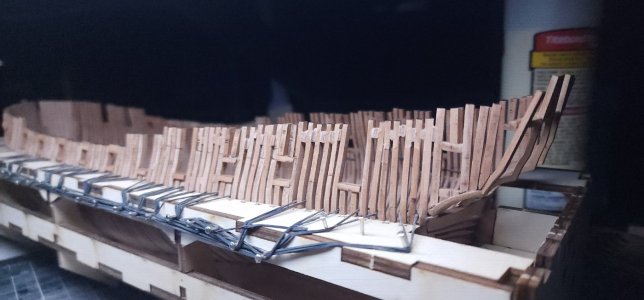
Solid progress being made. I was able to repair almost all of the broken cant frames and have been gluing in rib sections moving bow to stern.

20240602_001041.jpg

20240602_001120.jpg

20240602_001142.jpg


I've been working on the inner shape as I glue, so I'm getting some nice alignment now. It's been a combination of sanding sticks, sanding paper, and the proxxon handheld which lets me sand at a 90°. Still some more shaping to be done internally but it's looking better and better. My goal is glue all of the frames in, then finishing shaping and reinforcing. I'm gluing some of the extra .5 mm pieces in between frames to make the hull sturdier for sanding later. Once all frames are in place and everything is it's proper shape I'll frame the stern.

20240602_231237.jpg

20240602_001052.jpg

20240602_231251.jpg
 
It is great to see a fully framed model such as yours. One thing that stands out that you might want to consider is tapering the knee of the head. If this is the Enterprize (28) 1774 it would taper from 11.5 inches at the top at the stem to 4 inches at the forepart at the upper end. This probably varied a bit, but these are the dimensions given in folio XLVIII of David Steel's Elements and Practice of Naval Architecture. This tapering also prevents the figure head from having to be bowlegged. :)
Allan
 
Last edited:
I did not realize it has been 6 weeks between builds. It took a long time to get the replacement parts to complete the ribs, which is no criticism as they were kind enough to provide the replacements without charge.

Finally all the ribs are substantially complete, back to gluing the ribs into place before some final shaping and sanding before moving on.

20240810_143521.jpg


20240810_143540.jpg
20240810_143531.jpg
 
Very happy to see you back with updates. I for one continue to enjoy seeing such a nice fully framed model kit going together so well. It obviously is a labor of love as it takes a lot more time than POB, but it looks soooooo good.... Thanks for your posts and pictures.

Allan
 
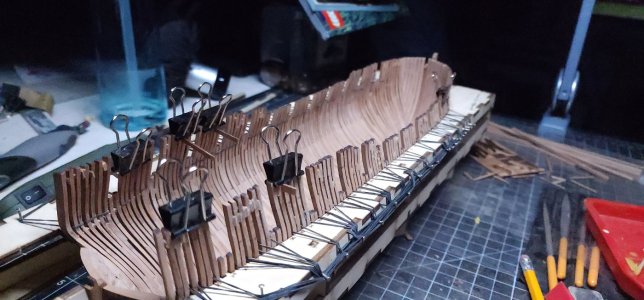
Been mostly working on shaping the interior, lots of sanding. Also have been reenforcing the hill with extra pieces between each rib, should help with general sanding later and makes the whole thing a lot sturdier.

20240818_000621.jpg

Also helps correct some of the shaping on the thinner frames.

20240818_000633.jpg

20240823_235954.jpg

Nearly ready to begin building the transom. But I cannot for the life of me find frames Y8, can't find what sheet they are on.

20240827_224354.jpg
 
Been mostly working on shaping the interior, lots of sanding. Also have been reenforcing the hill with extra pieces between each rib, should help with general sanding later and makes the whole thing a lot sturdier.

View attachment 467772

Also helps correct some of the shaping on the thinner frames.

View attachment 467771

View attachment 467770

Nearly ready to begin building the transom. But I cannot for the life of me find frames Y8, can't find what sheet they are on.

View attachment 467769
Good afternoon. Bravo. Looks really spot on. Very clever use of elastic bands. I was very keen to build the Enterprise as my first POF however “chickened out” due to the scale. 1:96 is small and you are owing it! Cheers Grant
 
step by step and frame by frame - in short time this construction phase will be completed
 
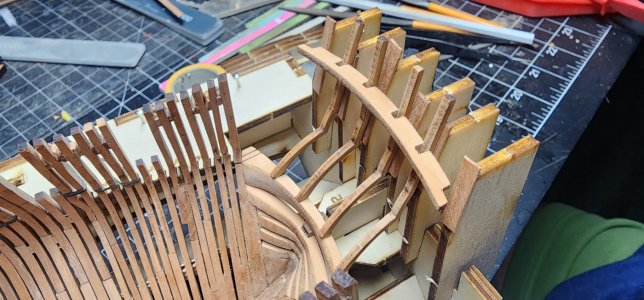
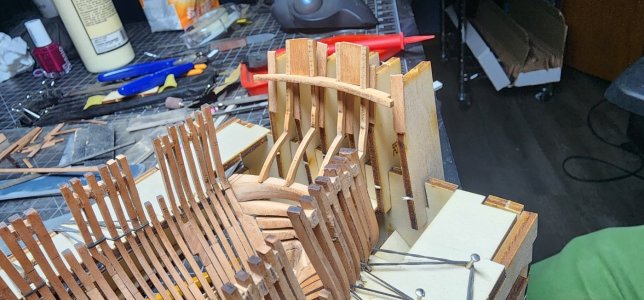
Working up the transom.

The piece used to create the curve works really well, the pearwood soaked in hot water and shaped nicely.

20240916_190241.jpg


20240916_190325.jpg


Glued in most the pieces, the curved piece is just dry fitted to ensure everything stayed in the correct place while drying.

20240916_213456.jpg
20240916_234044.jpg

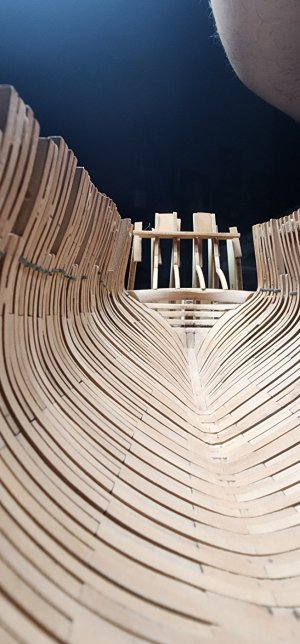
A quick look from within. I think the ribs may need a little more sanding.

20240916_234050.jpg
 
20240930_072331.jpg

Relatively well shaped within.

20240930_072326.jpg

20240930_072318.jpg

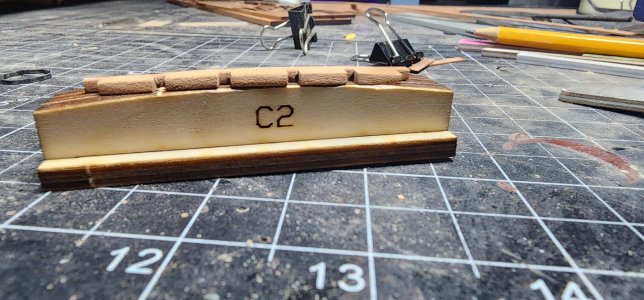
The bottom blocks are in place, they seem to all be relatively well aligned. There is one that somehow ended up a little low, in this last picture above fourth from the left you can see it dips down. Didn't notice that until after it had dried. Will probably need to put a small spacer in later when the planking gets done.

20241006_000622.jpg

20241006_000617.jpg20241006_000608.jpg

Gun ports forming now. The blocks provided fit relatively well, this is when you can see where the frames aren't exactly aligned as they should be because some blocks have a very tight fit and others are almost too loose. Once they're all in place and the hull gets a good sanding I think it'll be fine.

The port side may be the "hero" side as they say, things seem to align better on this side compared to the other.
 
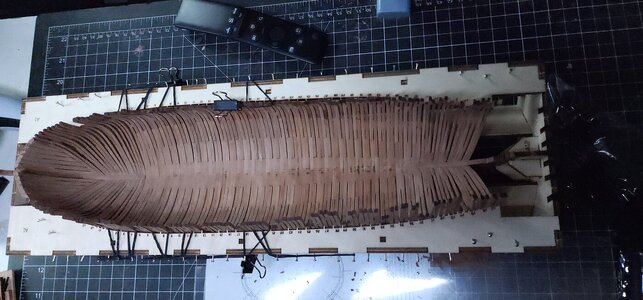
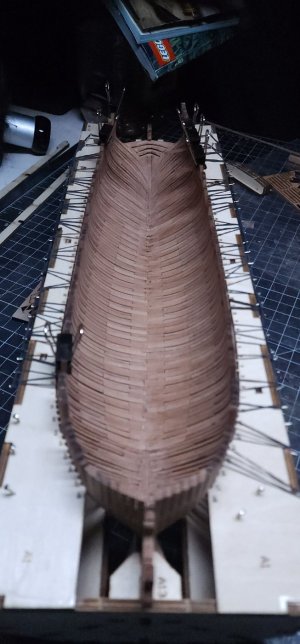
Inner sanding more or less done, everything looks pretty good from the inside, will do the outside after it comes out of the jig.

20241014_222354.jpg

20241014_222404.jpg

20241014_222411.jpg

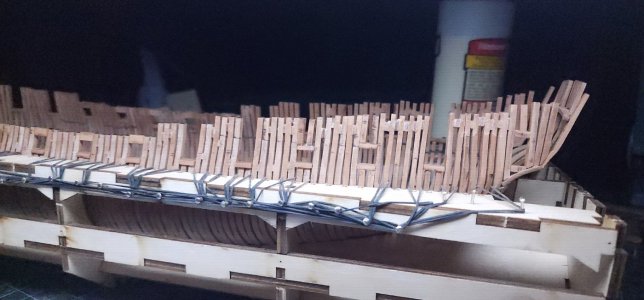
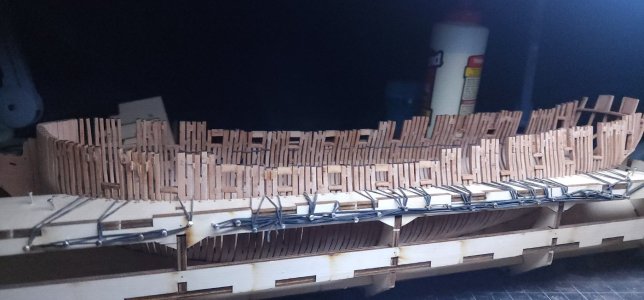
The idea of using the rubber bands worked for the most part. There were only two ribs that were not aligned where the support piece between the two ribs had to be cut and reglued. Otherwise the shape kept almost perfect.
 
Inner sanding more or less done, everything looks pretty good from the inside, will do the outside after it comes out of the jig.

View attachment 477645

View attachment 477646

View attachment 477647

The idea of using the rubber bands worked for the most part. There were only two ribs that were not aligned where the support piece between the two ribs had to be cut and reglued. Otherwise the shape kept almost perfect.
It's comin' up great! Just it looks unbeliveable having respect for its scale. Amazing job, congrats!
 
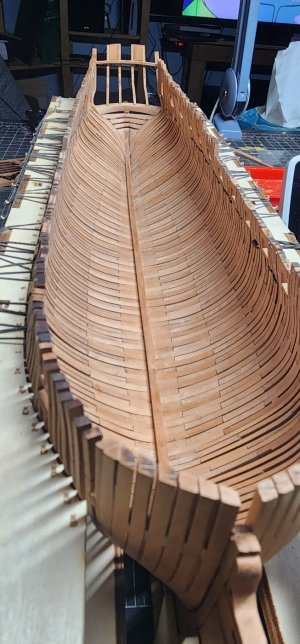
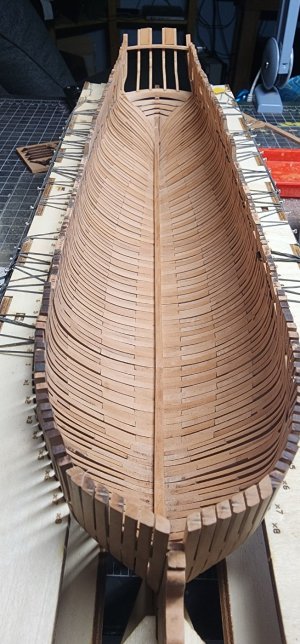
I've apparently lost my mini level, so I have to break for a couple days while I get new ones. In the meantime Enterprise was freed from the rubber bands and the inner pieces have started to go in. I worked downward from the top because, and this is very important, the guides that come with the kit, which are actually pretty great, only fit so long as the final plank isn't glued in place. So if you glue from keel upward you won't be able to check your work with the guides.

Another note on the guides, you really need to push down ward on the board that they all sit on so that it actually sits flush on the false keel, otherwise your markings will be too high. The guide doesn't want to bend so you need to apply pressure. I wish I had taken photos of the process on this side, I'll get some photos on the other side.
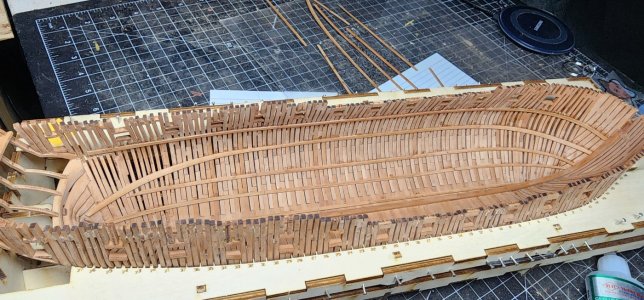
20241021_072535.jpg

Personally I deplore using super glue (CA) on models like these, but you really have no choice. They have to be precise and they have to keep their bent shape in some tight corners. So I used 5 sec CA.

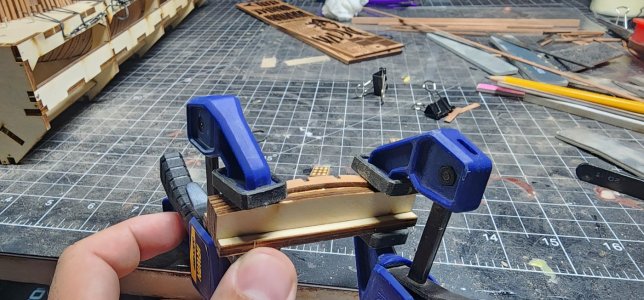
I made two mistakes at the beginning. 1. I didn't READ the directions close enough. I didn't realize that some of these planks were not on U1 but are on R. So I took pieces from U2-U3 which was a big mistake, as those are outward planks for the end. I thought it would be a good idea to take out all the pieces and glue them into their full length parts, this was mistake 2. Because the amount of bending and precise nature of installing these I found myself breaking all of these apart when it came time to install. I installed each one piece by piece why aligning everything as best as possible. Luckily at the start I used wood glue, so it was easy to clean off, if I had used CA glue at the start I would've sunk.
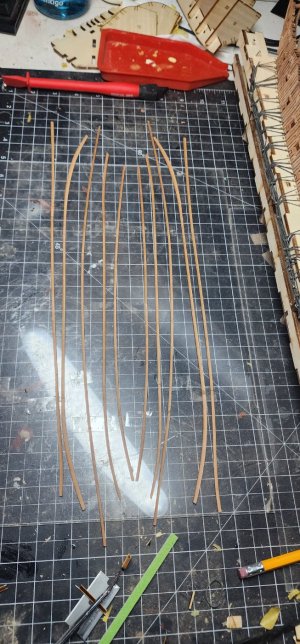
20241019_222854.jpg
 
Back
Top