HMS Enterprize 1/96 by Modelship Dockyard

20241028_235746.jpg
20241028_235726.jpg
20241028_235738.jpg

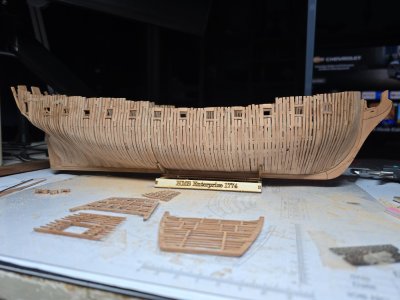
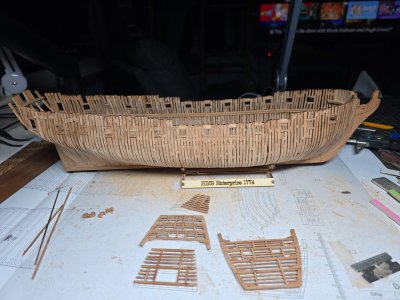
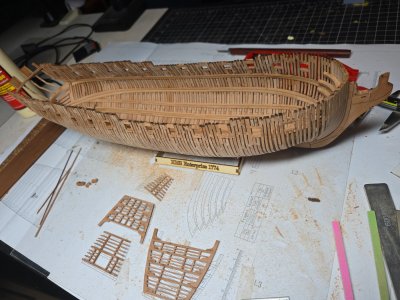
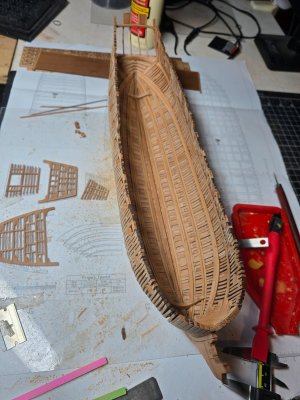
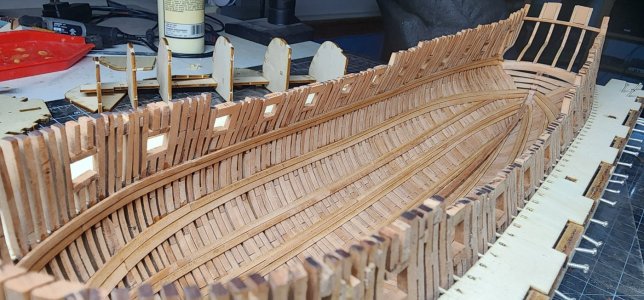
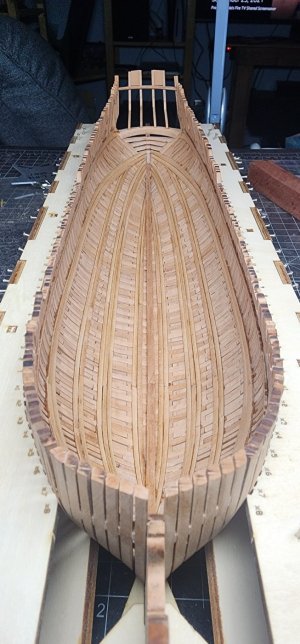
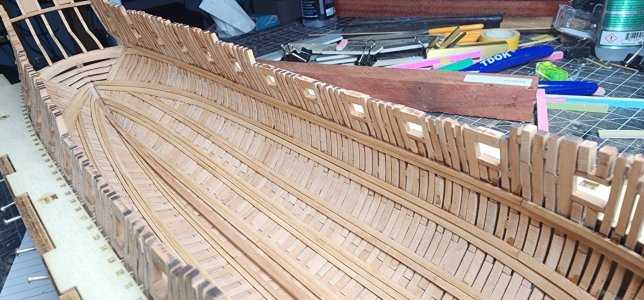
And away we go, there's some spots where you can clearly see the CA glue, but I've sanded away as much as possible and I think it's time to move on to building the internal structures. If for some reason I can still see glue marks I'll just sand before installing the internal pieces.

I'm not a big fan of using oil on my model, I prefer the natural look, but this set of pearwood seems to really absorb oils from my fingers and causes some different color tones. We'll see if I end up changing my mind later.
 
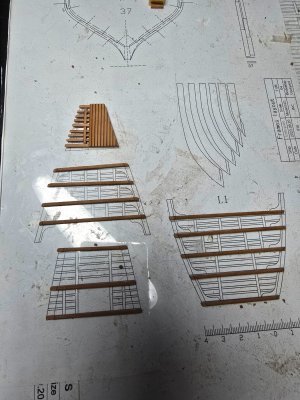
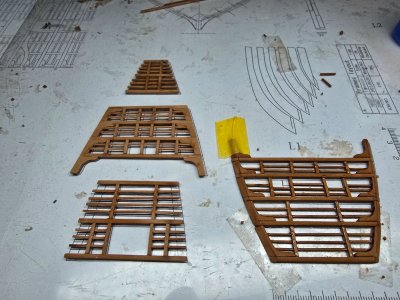
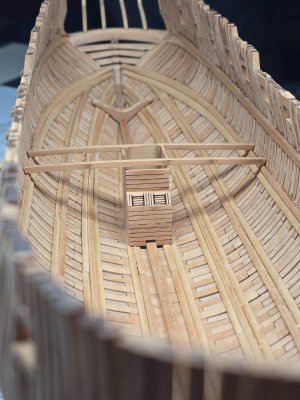
First platform complete.

20241104_073147.jpg

20241104_073126.jpg
20241104_073132.jpg

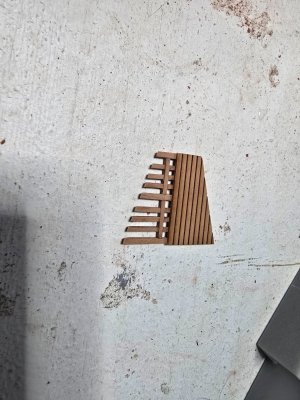
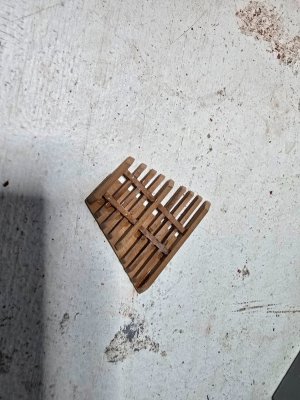
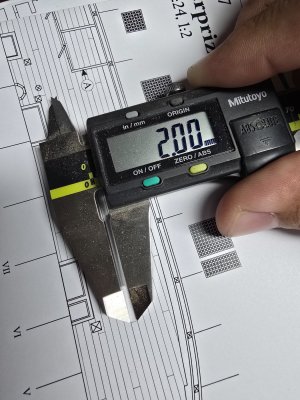
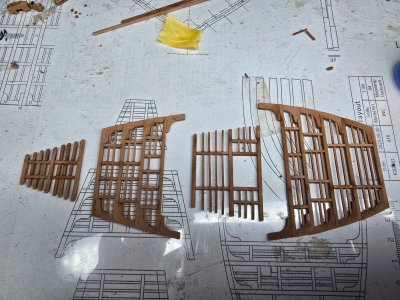
So the cross pieces are too thick. There's two different options, there are 1.5 mm x 1
5 mm pieces on sheet L then there are .5 mm x.5mm pieces on an unnamed sheet. I didn't see this sheet when I first stated and nowhere on the instructions does it reference this sheet. So the first platform was built with all 1.5 mm pieces, this is why you start with the smallest most bottom piece first i guess.

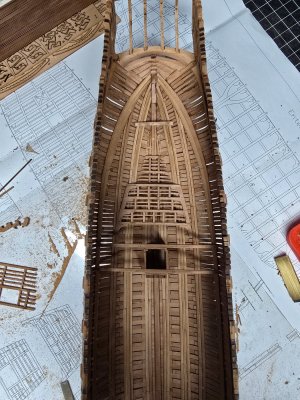
The rest of the platforms should be pretty straightforward. Again using CA glue because the platforms would be too fragile with wood glue. You have to be able to sand and the CA glue will withstand the pressure better than wood glue.
 
The caulking is far too thick. I should rather omitt the entire platform or have it by scratch. Such a pity to include it in a model that good so farr.
 
Last edited:
Again using CA glue because the platforms would be too fragile with wood glue. You have to be able to sand and the CA glue will withstand the pressure better than wood glue.
Your comment surprises me. I have never used CA on wood but never had a problem with sanding or otherwise working on a glued piece coming apart when using carpenter's glue. Whatever works for you though is the way to go.

The platform deck planks were fastened with spikes or treenails but, as with orlop deck planking which actually removable, there was no reason to have them caulked.

Allan
 
Last edited:
The kaulking is far too thick. I should rather omitt the entire platform or have it by scratch. Such a pity to include it in a model that good so farr.

Unfortunately all of the lower deck pieces come like this. I hadn't really thought about this issue prior to gluing. Maybe I'll remove it. That is a good thought about scratch building the planking, perhaps I'll do that or just leave the planking off completely. I personally am a fan of as little planking as necessary.

Your comment surprises me. I have never used CA on wood but never had a problem with sanding or otherwise working on a glued piece coming apart when using carpenter's glue. Whatever works for you though is the way to go.

The platform deck planks were fastened with spikes or treenails but, as with orlop deck planking which actually removable, there was no reason to have them caulked.

Allan
I almost never use CA glue, but at this scale I've already broken several pieces when I was building the frames and found that when using the wood glue I was having positioning issues. The CA glue adds some strength to the small pieces I've found and is easily sanded off. I probably won't keep using it as I work upward.
 
Generally speaking the kit has matched up pretty well with the plates I have for the ship, however we've started to deviate and so I'll be making some adaptions.

First, addressing the planking issue. The pieces with faux planking on them have two problems, the laser char is really difficult to remove so it looks like it has dark chalking, which has been pointed out to be wrong. And the other problem is the planking is actually too thin.

In the 1/144 plans for Enterprise the planking is 2 mm. The kit planks are 1 mm. After doing the proper conversions, the planks at 1/96 should actually be 3 mm wide.

20241111_220643.jpg

I'll be scratch building the platforms to to extent i want them, I probably won't cover much up. Thanks to those who pointed this out.

20241112_000715.jpg

20241112_001541.jpg

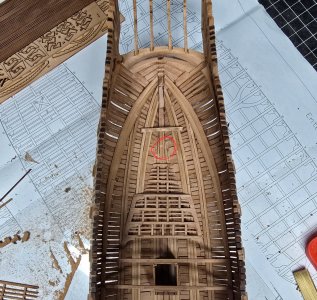
The four platforms for L3 are done. Interestingly enough, when going through the plates there are no plates showing platforms at L3, they stop at L2, the level above this one. Not sure if that means this artistic license or if the plans are somewhat incomplete.
 
what's better to use for making the frames. PVA(carpenter's white glue) or CA glue(superglue)?
 
what's better to use for making the frames. PVA(carpenter's white glue) or CA glue(superglue)?
I used wood glue for everything except installing the inner railing and building the platforms. Only because I found that i need a quick glue time and tight bond. I originally installed the inner railing at the wrong levels, but because I used CA glue I was able to using CA glue remover and pull the pieces off with relative ease. If I had used the wood glue I wouldn't have been able to do that
 
Not sure if that means this artistic license or if the plans are somewhat incomplete.
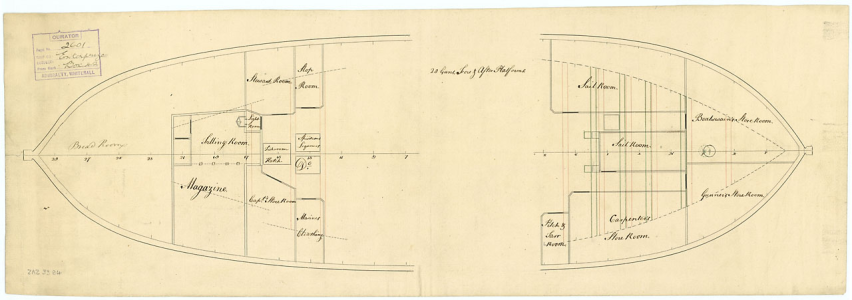
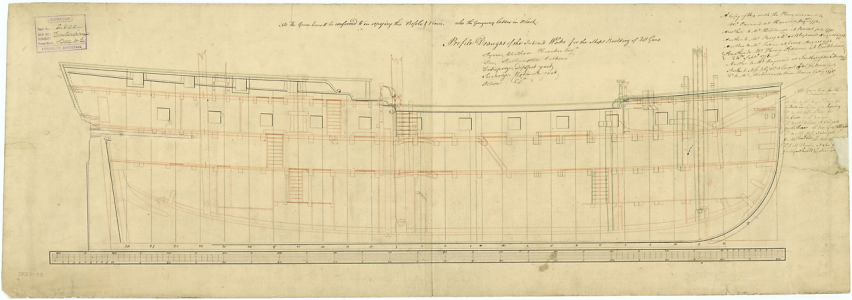
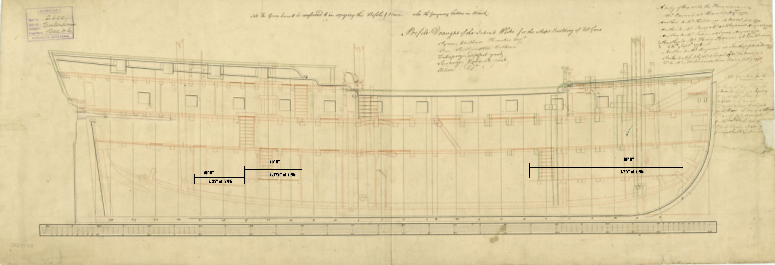
The platforms for Enterprize 1774 can be found on original plans held at the RMG Collections site. There are two inboard profile drawings, one of which is when she was armed (1774) and one when she was a receiver ship (circa 1787.) There are differences so care should be taken not to use the wrong one. It looks like your kit designer might have used the wrong one unless you are building her as a receiver ship as she looked when moored at the Tower of London. Originally she had three platforms and the drawing shows the layout of each one. She was rebuilt and was fitted with the fourth platform in the middle about the time she became a receiving ship.
Allan

Platforms when launched 1774
1731525177920.png
Inboard profile when launched 1774
1731525293081.png
Inboard profile as receiving ship 1784 when decommissioned
1731525343056.png
 
Last edited:
G,
If you want the ship to look as it did when launched, leave out the long middle platform and go with only the other three. If you want to go with her as a receiver ship in the 1780's add the fourth platform. From the dimensions on the two drawings, it appears that when she was converted the original three platforms were left as is, and the area where there was likely storage of barrels and such on top of the ballast the fourth platform was added as barrels and similar provision items were not needed.

Just want to compliment you on a super framing job, especially at such a small scale. Congrats!!!
Allan
 
Thanks AM, that is really appreciated and a huge compliment. I love doing research and sharing that research. I apologize profusely if a post comes across as a negative statement rather than useful information.
Thanks again, you made my day :)
Allan
 
That's great, so if I'm reading this right I should only be installing the two largest platforms and the smallest. The one with the large empty square isn't needed.
Hi Vventura, sorry, how come it doesn't let me view the attachment 48082.Frank
 
Thanks AM, that is really appreciated and a huge compliment. I love doing research and sharing that research. I apologize profusely if a post comes across as a negative statement rather than useful information.
Thanks again, you made my day :)
Allan
All of this is very helpful Allan, I do appreciate the comments and the research. I will be making adjustments accordingly.

Hi Vventura, sorry, how come it doesn't let me view the attachment 48082.Frank

That attachment 48082 is the photo that Allan posted in the previous post, that is why it does not appear in my comment.
 
G
As mentioned previously the knee of the head tapers from 11.5" at the stem to 4" at the fore end where the figure head sits and I was wondering if you will be doing this. I realize it might create problems for the figure head so you might be better off keeping it as the kit provided. It is a shame that all but one or two kit manufactures ignore this very basic feature.
Allan
 
Last edited:
G
As mentioned previously the knee of the head tapers from 11.5" at the stem to 4" at the fore end where the figure head sits and I was wondering if you will be doing this. I realize it might create problems for the figure head so you might be better off keeping it as the kit provided. It is a shame that all but one or two kit manufactures ignore this very basic feature.
Allan
Yes, I fully intend on tapering that. The kit actually does tell you to taper, I just missed it when I was putting that together. So that's my fault. My plan is to taper it as I'm shaping the outside of the ship. I won't glue anything in place inside until all the outer shaping is completed.
 
Back
Top