-

Win a Free Custom Engraved Brass Coin!!!
As a way to introduce our brass coins to the community, we will raffle off a free coin during the month of August. Follow link ABOVE for instructions for entering.
-

PRE-ORDER SHIPS IN SCALE TODAY!
The beloved Ships in Scale Magazine is back and charting a new course for 2026!
Discover new skills, new techniques, and new inspirations in every issue.
NOTE THAT OUR FIRST ISSUE WILL BE JAN/FEB 2026
You are using an out of date browser. It may not display this or other websites correctly.
You should upgrade or use an alternative browser.
You should upgrade or use an alternative browser.
HMS Euryalus 1803 - Scale 1:48 [COMPLETED BUILD]
- Thread starter Lucius
- Start date
- Watchers 66
-
- Tags
- 1803 completed build euryalus
Ich liebe die Art der Präsentation bereits jetzt ......
That looks damn good Rüdiger
- Joined
- Oct 15, 2017
- Messages
- 1,191
- Points
- 443

Ruediger,
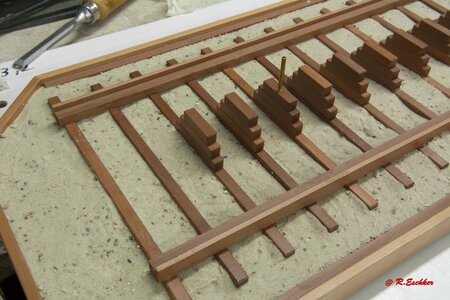
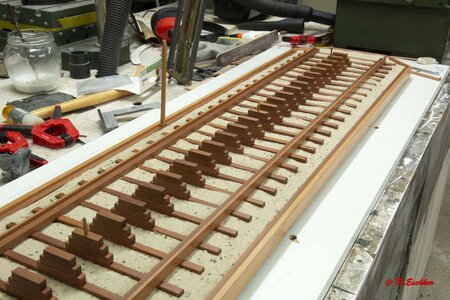
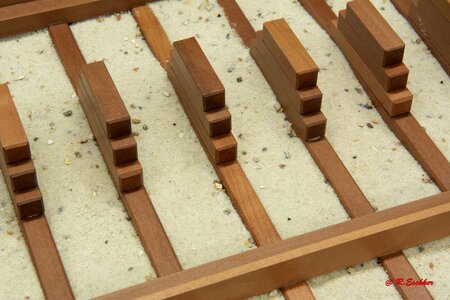
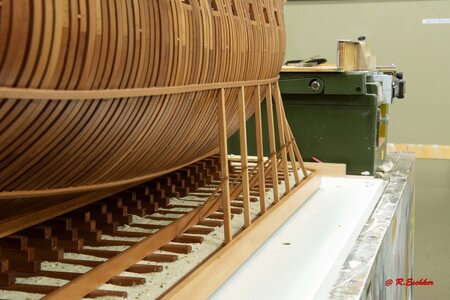
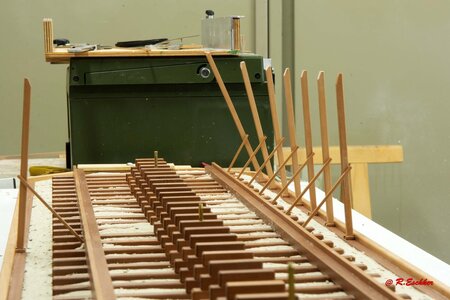
Very creative thinking and very realistic as well. I have to ask to learn from you. I am very intrigued. I would think you would have to leave the keel blocks in place while you treated the sand with diluted white glue. I'm imagining if you removed them the sand would fall into the gaps they left. How did you apply the diluted white glue and at the same time protect the timbers from it. Did you tape the keel blocks and spray.
To me this is like a magic trick. Please tell me how you pulled the rabbit out of your hat!
Thanks,
Ken
Hi Ken,Ruediger,
Very creative thinking and very realistic as well. I have to ask to learn from you. I am very intrigued. I would think you would have to leave the keel blocks in place while you treated the sand with diluted white glue. I'm imagining if you removed them the sand would fall into the gaps they left. How did you apply the diluted white glue and at the same time protect the timbers from it. Did you tape the keel blocks and spray.
To me this is like a magic trick. Please tell me how you pulled the rabbit out of your hat!
Thanks,
Ken
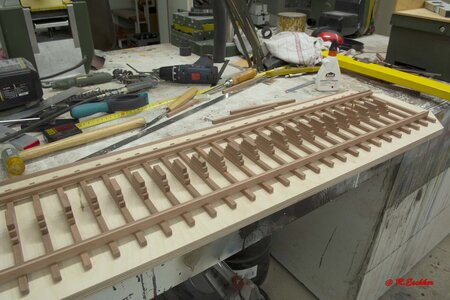
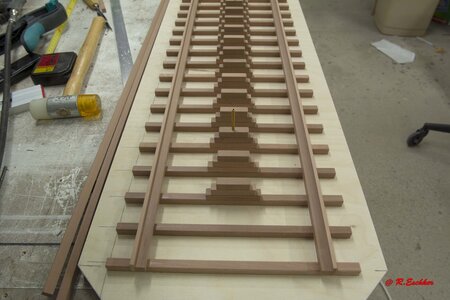
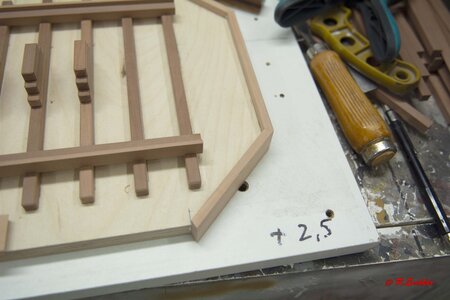
it's not magic.
I painted the assembled wood and the panel twice with Clou pore filler. After drying, I filled in and spread the sand. I applied the diluted white glue (1/3 glue, 2/3 Water and a few squirts of dishwashing liquid) to the sand with a large syringe. Then wipe off the excess glue from the wood with cotton wool. It is important to place the entire board on a flat surface and weigh it down with weights until it is dry. Otherwise the board will warp or become crooked. After drying, everything is sprayed with a clear silk matt spray lacquer from Clou.
Translated with www.DeepL.com/Translator (free version)
Greetings
Ruediger
Einfach SUPER
and many thanks for the information about the "sanding" - Very helpful
and many thanks for the information about the "sanding" - Very helpful
Hello everyone,
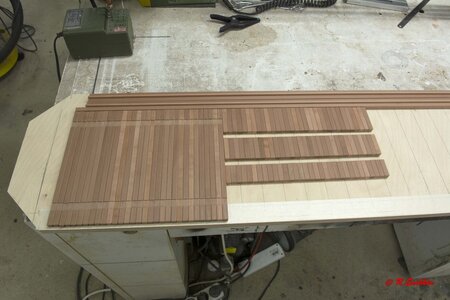
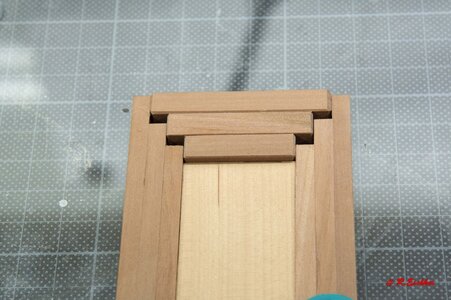
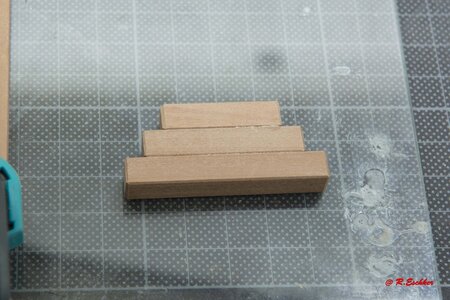
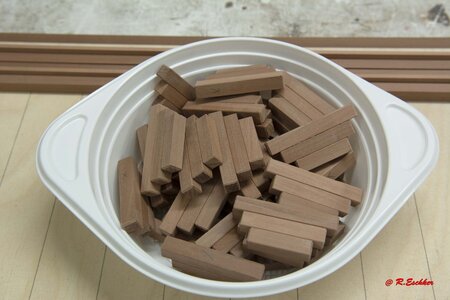
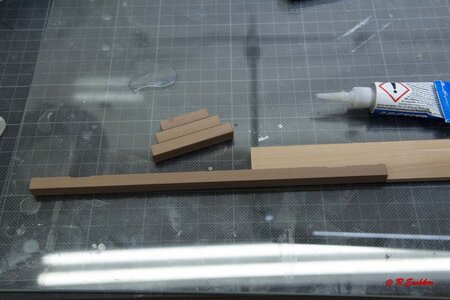
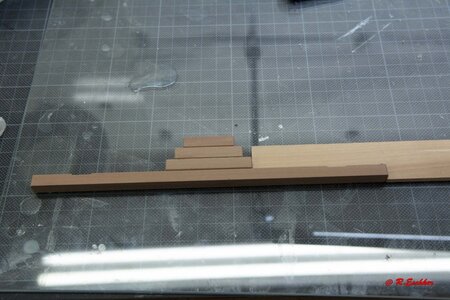
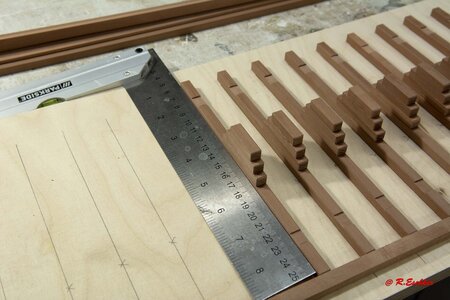
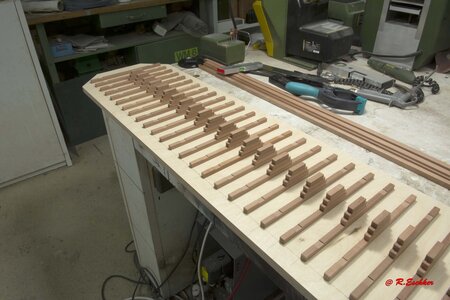
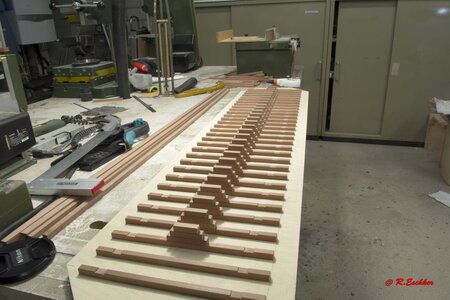
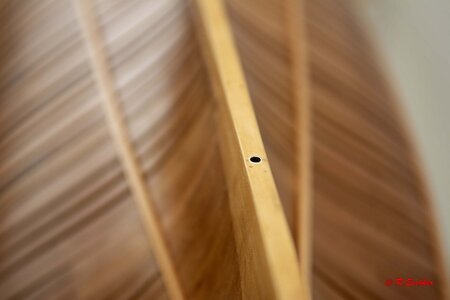
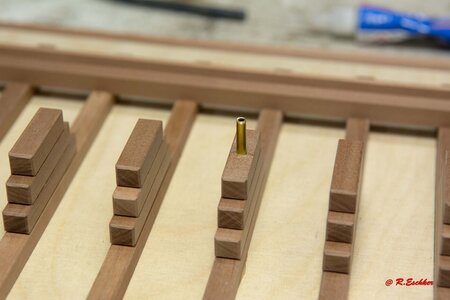
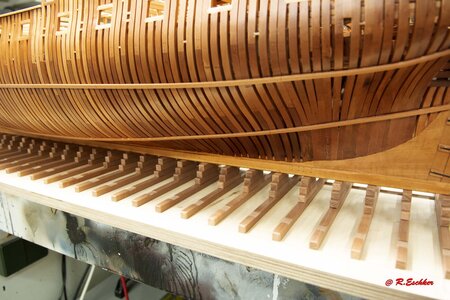
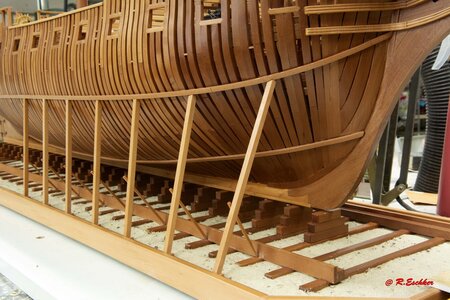
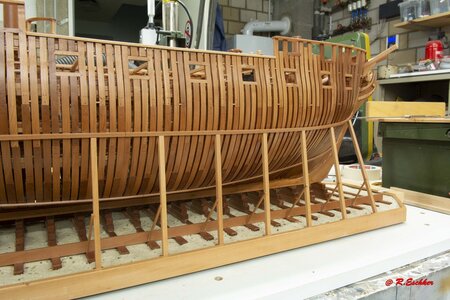
the next pictures of the stand.
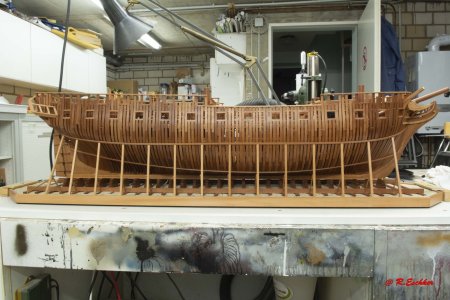
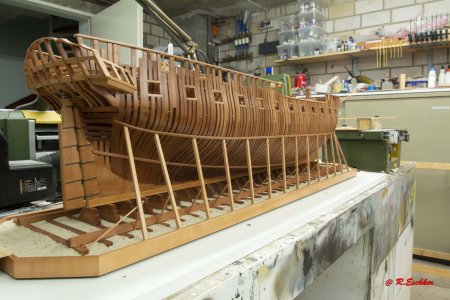
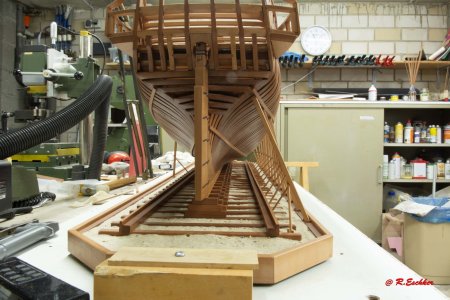
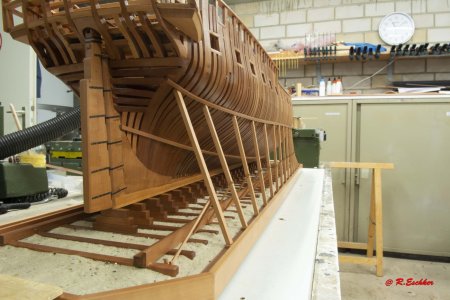
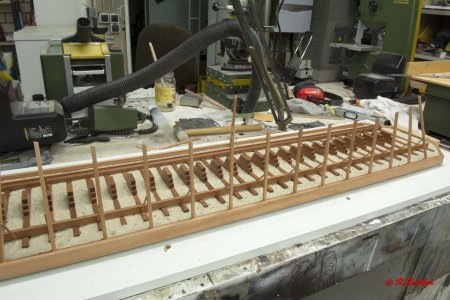
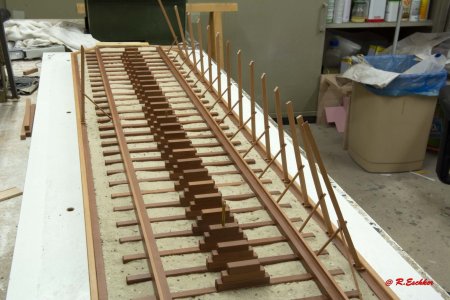
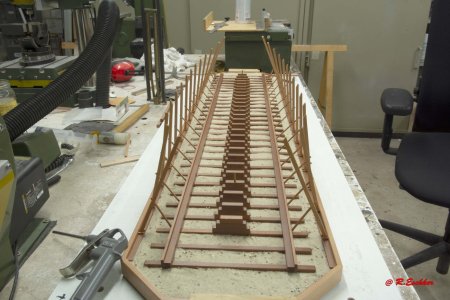
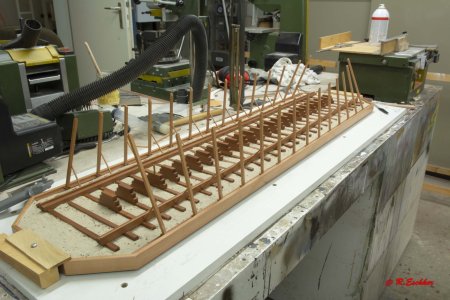
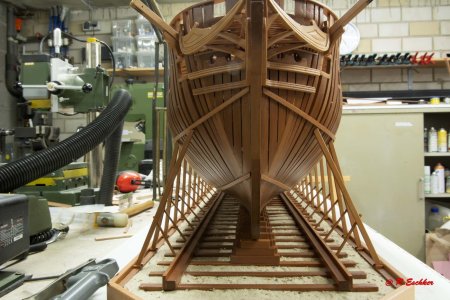
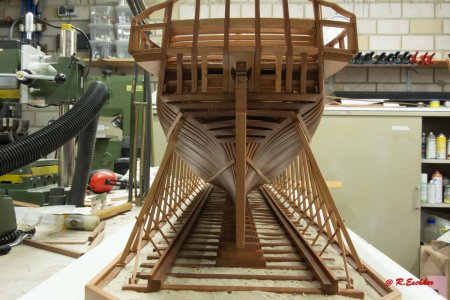
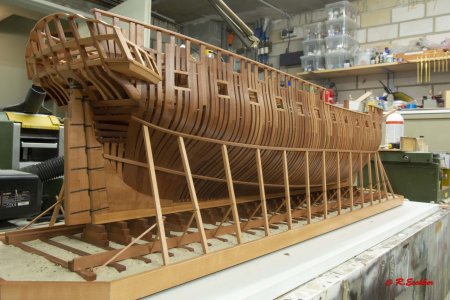
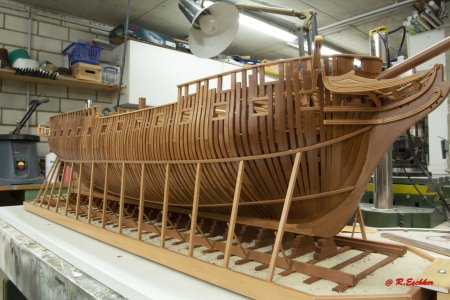
These are the last pictures from the construction report. Thank you for your messages of praise, criticism and other things. I would be happy if you liked the report and if you can use some of it for your hobby. For now, I will photograph the model ship and possibly publish it in the gallery.
Many thanks.
Sorry, to be continued no more.
Greetings
Ruediger
the next pictures of the stand.


These are the last pictures from the construction report. Thank you for your messages of praise, criticism and other things. I would be happy if you liked the report and if you can use some of it for your hobby. For now, I will photograph the model ship and possibly publish it in the gallery.
Many thanks.
Sorry, to be continued no more.
Greetings
Ruediger
Hello Rüdiger, simply great, I don't think you can say more. Thanks for sharing your wonderful work.
- Joined
- Sep 28, 2020
- Messages
- 287
- Points
- 168

Excellent work Ruediger, it is a masterpiece!
Christian
Christian
Gratulation - zu diesem wunderschönen Modell
Freue mich schon auf die Schluß-Fotos
kann es kaum erwarten deinem nächsten Projekt zu folgen - es hat sehr viel Spaß gemacht deinem Baufortschritt zu folgen.
Freue mich schon auf die Schluß-Fotos
kann es kaum erwarten deinem nächsten Projekt zu folgen - es hat sehr viel Spaß gemacht deinem Baufortschritt zu folgen.
Wunderbar, deine ganze Arbeit. Das fasziniert mich an diesem Hobby, obwohl ich dieses Niveau nie erreichen werde. Bitte fahren Sie fort und danke fürs Zeigen.
Hi Ruediger
What an excellent model on a likewise excellent stand. The combination of both on display make it a true masterpiece.
Thank you for your construction log it has been very informative and inspiring.
What an excellent model on a likewise excellent stand. The combination of both on display make it a true masterpiece.
Thank you for your construction log it has been very informative and inspiring.

