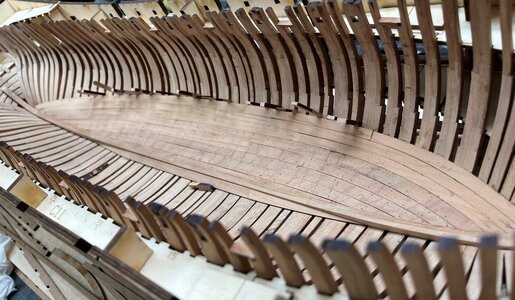
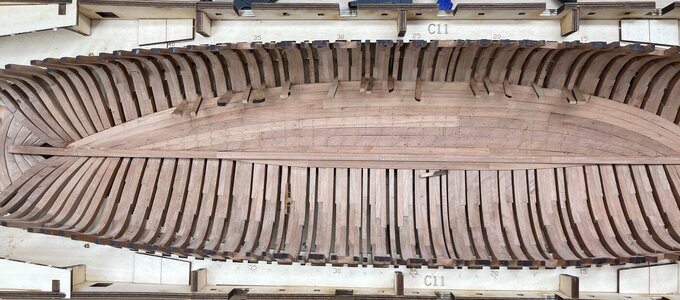
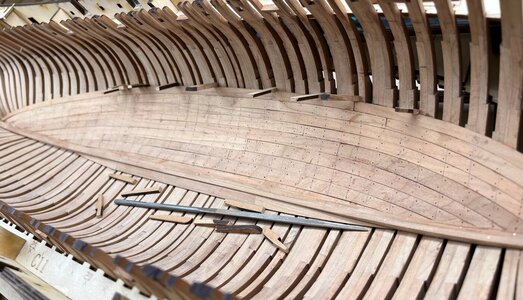
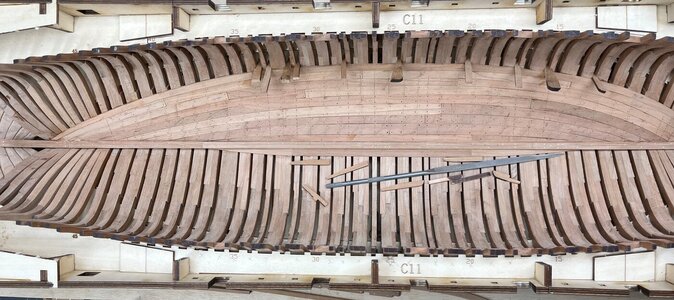
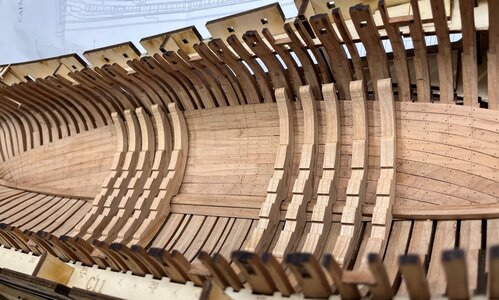
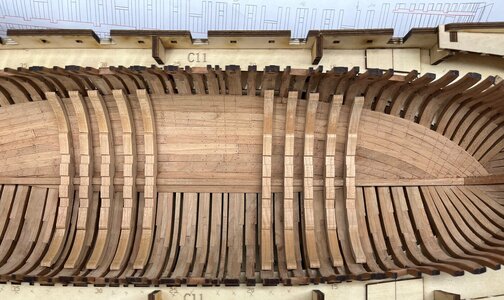
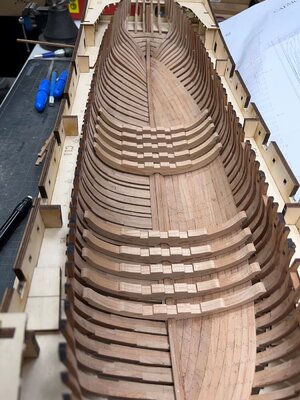
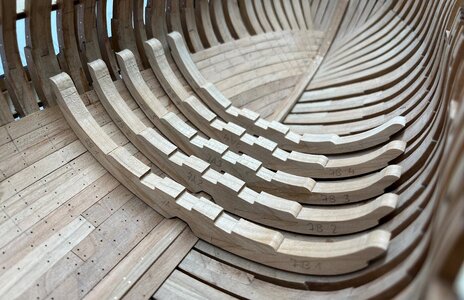
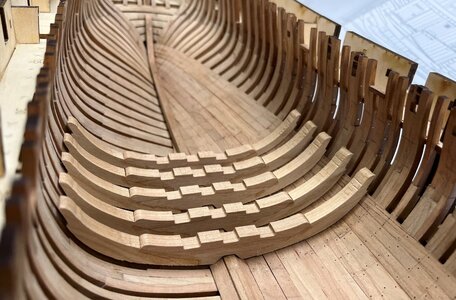
HMS GRANADO - full hull - POF kit by CAF in 1:48 - by Uwe

Many Thanks to all for your kind words and all the likes received.......

Starting with the inner planking - in the moment I plan to plank only one side, although the planking for both sides is included in the kit, so the modeler can decide individual......
all planking is laser cut preshaped and is fitting very well

In the following you can see some different working status

View attachment 318778

only some surface sanding - the final sanding will be made after all planks are installed and all the treenails are added
View attachment 318779

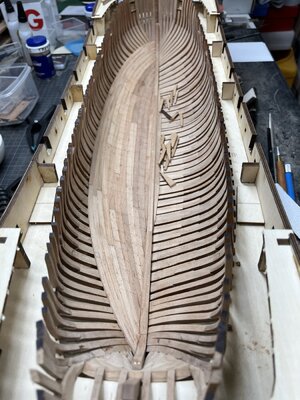
3 planking rows are fixed

View attachment 318780

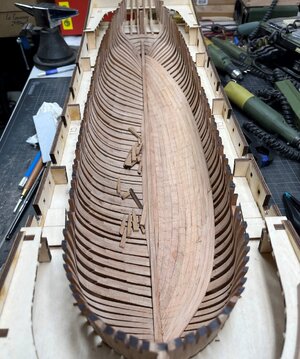
and the next 4th one is installed - the 5th row is waiting

View attachment 318781

you can see, that the preshaped planks are fitting very good

View attachment 318782

the viw from the other side

View attachment 318783

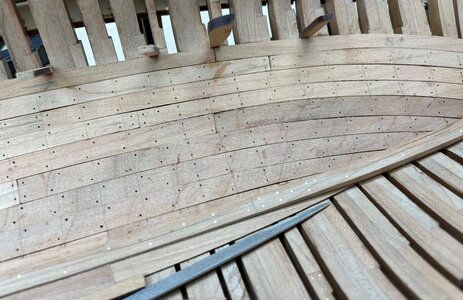
and a closer look

View attachment 318784

On my Coureur I started too late with the marking of the nails, so I had some more work to define the correct location / axis of the treenailing / bolting - so the next step before the next planking row will be the holes for the treenails

Many Thanks for your interest .... to be continued .....
Great work Uwe Thumbsup
 
Once more many thanks to all of you for the kind comments and replys and also all the likes received

A little bit boring when I show you the further progress of the internal planking...... but unfortunately I have nothing more to show in moment


After the drillling of the treenail holes three further rows are installed - in the meantime I am used to use these wooden wedges
IMG_0076.jpg

IMG_0077.jpg

once more holes made

IMG_0079.jpg

step by step and planking row by planking row

IMG_0080.jpg

a close up to show some details how (in my opinion) these plankings strips are fitting

IMG_0082.jpg

Many Thanks for your interest .... to be continued .....
 
Uwe,
Great work. I do appreciate it when you say, "step by step, planking row by planking row." These are the repetitive, mundane tasks that are boring to some. I know my mind wanders sometimes performing these types of tasks and before I know it, the lines of my planking wanders like my mind. :rolleyes: ROTF
I can see your mind does not wander as your planking lines are quite true. Very nice work.

Ken
 
Once more many thanks to all of you for the kind comments and replys and also all the likes received

A little bit boring when I show you the further progress of the internal planking...... but unfortunately I have nothing more to show in moment


After the drillling of the treenail holes three further rows are installed - in the meantime I am used to use these wooden wedges
View attachment 319393

View attachment 319394

once more holes made

View attachment 319395

step by step and planking row by planking row

View attachment 319396

a close up to show some details how (in my opinion) these plankings strips are fitting

View attachment 319397

Many Thanks for your interest .... to be continued .....
my dear friend
you are doing wonderful work, and it's not boring at all :cool:Thumbsup
 
I like the look of the treenail holes and how you work a few rows at a time to mark location based on width of actual frame width for that plank.

I think it would be very hard to do after all the planks are in place due to changing width of frames top to bottom on each side.

Have you installed the nails yet, as I have only seen you mentioning drilling the hundreds and hundreds of tiny holes. :rolleyes:Thumbsup
 
Hello Uwe, I think the same thing from time to time, I hope it doesn't bore anyone, but I find it very interesting. On the one hand, it is very often very helpful if you have step-by-step instructions. On the other hand, I think you can convey a lot of things a lot better. For me personally, it is exactly these construction logs that appeal to me, they are complete and you can learn a trick or two.
 
Have you installed the nails yet, as I have only seen you mentioning drilling the hundreds and hundreds of tiny holes. :rolleyes:Thumbsup
Hallo Kurt,
correct! Until now only the holes are drilled, the reason is purely to find the locations after the first sanding of the planks.
So when the planks are all fixed, I plan to sand the planking a first time, after cleaning the holes with a vac, the treenails will be installed with a final sanding afterwards ..... that is the plan
 
Many thanks for your interest in my building log of the CAF HMS Granado kit
and all the comments and likes received -> much appreciated

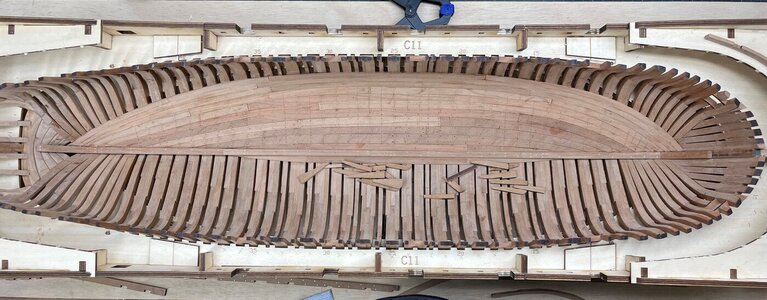
The main plank rows are in the meantime installed - all together 10 rows

IMG_0084.jpg

IMG_0085.jpg

IMG_0086.jpg

to be continued .....
 
Hallo friends,

I made already everywhere the holes for the treenails ..... because I was to lazy before to check which areas are covered (f.e. by riders) later on and which not.
But I am also too lazy to make everywhere the wooden treenails.....
therefore I decided to prepare the elements for the riders, which are also the base for the mortar beds, and mark the areas on the planking, which will be covered by the dryfitted riders......

this will be approximately the locations of the riders
IMG_0090a.jpg

IMG_0091a.jpg

IMG_0092a.jpg

the riders still have to be cleaned and sanded, also the bolting has to be made.
And also some bevelling will be necessary so that they will be in close contact with the planking
Looking at this status I also decided to make two or three single planks on the other side where in moment the frames are visible

IMG_0094a.jpg

IMG_0095a.jpg

Many Thanks for your interest in my building log .... to be continued .....
 
Some more info about the preparation works on the riders

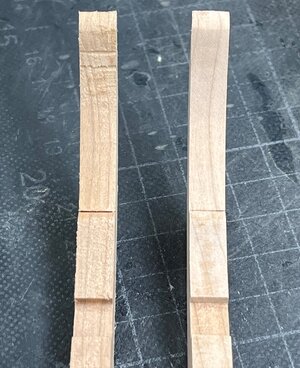
Here a close up photo - the elements for the riders are not laser cut, they are cnc-milled, so no laser char removal necessary but we have to clean the areas where the parts are fixed to the sheets.

On the left side a rider in original shape directly out of the sheet - on the right side with sanded and cleaned surface

IMG_0097a.jpg


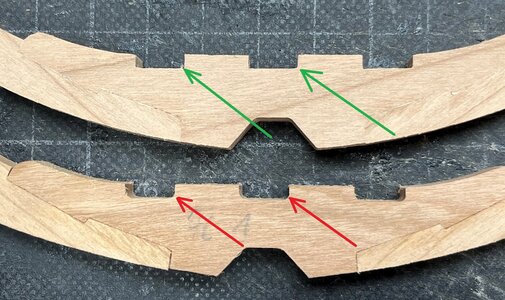
Also, when you build the same model, I suggest now to clean also the notches for the beams, and not to wait until the riders are finally installed inside the hull.
Now is the time where you have a much better access for the knife and file

On the bottom marked with red arrows are the rounded edges inside the notches visible - they can not be avoided during the cnc milling
On the top you can see similar edges, marked with green arrows, cleaned and prepared with a sharp scalpel knife

IMG_0096aa.jpg

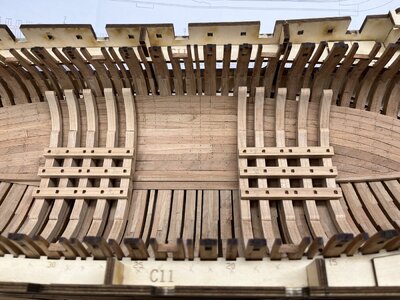
These rectangle edges in the notches are necessary, that the square beams for the mortar bed will fitt - see the following photo (all dry fitted)

IMG_0098.jpg

Many Thanks for your interest in my work and building log of the CAF kit of the HMS Granado

to be continued .....
 
Some more info about the preparation works on the riders

Here a close up photo - the elements for the riders are not laser cut, they are cnc-milled, so no laser char removal necessary but we have to clean the areas where the parts are fixed to the sheets.

On the left side a rider in original shape directly out of the sheet - on the right side with sanded and cleaned surface

View attachment 320455


Also, when you build the same model, I suggest now to clean also the notches for the beams, and not to wait until the riders are finally installed inside the hull.
Now is the time where you have a much better access for the knife and file

On the bottom marked with red arrows are the rounded edges inside the notches visible - they can not be avoided during the cnc milling
On the top you can see similar edges, marked with green arrows, cleaned and prepared with a sharp scalpel knife

View attachment 320454

These rectangle edges in the notches are necessary, that the square beams for the mortar bed will fitt - see the following photo (all dry fitted)

View attachment 320456

Many Thanks for your interest in my work and building log of the CAF kit of the HMS Granado

to be continued .....
Dear Uwek
very nice work and very accurate, the riders are awesome Exclamation-MarkOkay:)
well done
 
Back
Top