HMS GRANADO - full hull - POF kit by CAF in 1:48 - by Uwe

Some more info about the preparation works on the riders

Here a close up photo - the elements for the riders are not laser cut, they are cnc-milled, so no laser char removal necessary but we have to clean the areas where the parts are fixed to the sheets.

On the left side a rider in original shape directly out of the sheet - on the right side with sanded and cleaned surface

View attachment 320455


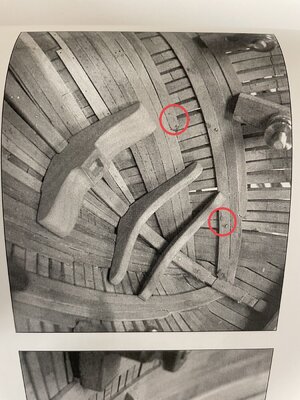
Also, when you build the same model, I suggest now to clean also the notches for the beams, and not to wait until the riders are finally installed inside the hull.
Now is the time where you have a much better access for the knife and file

On the bottom marked with red arrows are the rounded edges inside the notches visible - they can not be avoided during the cnc milling
On the top you can see similar edges, marked with green arrows, cleaned and prepared with a sharp scalpel knife

View attachment 320454

These rectangle edges in the notches are necessary, that the square beams for the mortar bed will fitt - see the following photo (all dry fitted)

View attachment 320456

Many Thanks for your interest in my work and building log of the CAF kit of the HMS Granado

to be continued .....
I like your ‘sharp edged preparation’, Uwe.
Regard, Peter
 
Hallo my friends,

first of all many many thanks for all the comments and the likes received

:cool:

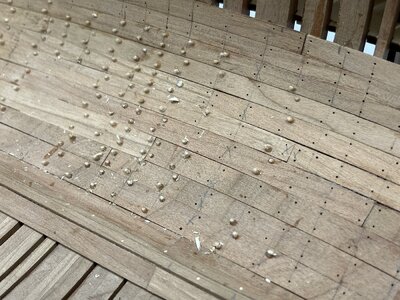
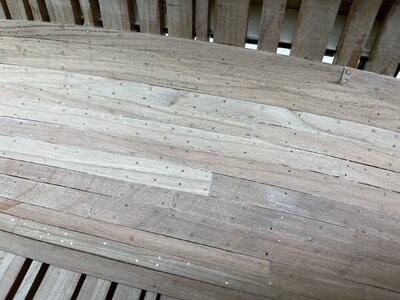
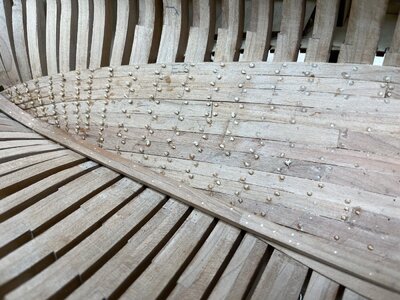
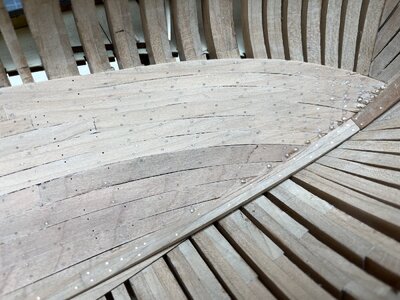
In the meantime I started with the treenailing in the usual way with toothpicks - this time not completely happy with the result, but most of them will be hardly visible later on. For the final deck planking I have to re-consider about the method ......

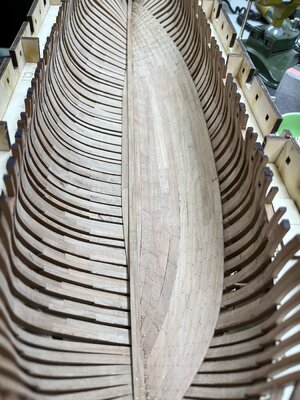
Just a photo of the beginning at midship
IMG_0099.jpg

after the first sanding and scraping
IMG_0149.jpg

Question:
Maybe also the total number of treenails should be reconsidered - in the meantime I am pretty sure, that the planks were not fixed at each frame with two nails.
I guess it is too much - maybe somebody knows a resource describing this or has some guess ....

On the thick stuff planking it would be correct, because they are necessary for the stiffness of the ships-hull, but for the normal inner planking?
At the end my Granado model is a very solid built ship ;)

IMG_0150.jpg

the area close to the keelson has to be sanded with the Proxxon penstick sander or ..... I will see
Just a reminder: the rows still with holes will be covered with the riders, so no treenails are necessary here
IMG_0151.jpg

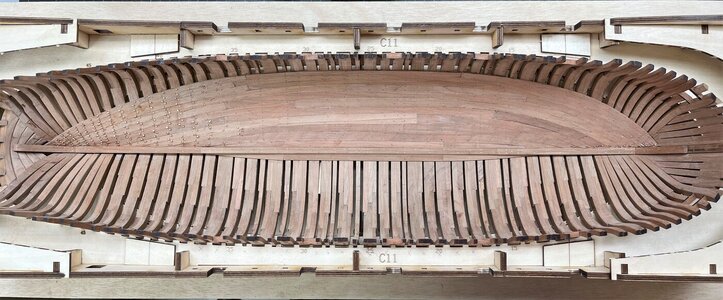
and the complete model in top view

IMG_0147.jpg

IMG_0148.jpg

Many Thanks for your kind interest .... to be continued

and if possible hope to get comments and information about the number of treenails of the inner planking ....
 
Last edited:
Witaj co prawda nie wiem dokładnie jak prawidłowo powinno wyglądać kołkowanie wnętrza ale dałbym po dwa kołki na wręge tak jak masz powiercone. Pięknie wygląda twoja praca . Pozdrawiam Mirek

Hello, I do not know exactly how the interior should be studded correctly, but I would give two pins per rebate, as you have drilled. Your work looks beautiful. Regards Mirek
 
Hallo my friends,

first of all many many thanks for all the comments and the likes received

:cool:

In the meantime I started with the treenailing in the usual way with toothpicks - this time not completely happy with the result, but most of them will be hardly visible later on. For the final deck planking I have to re-consider about the method ......

Just a photo of the beginning at midship
View attachment 321273

after the first sanding and scraping
View attachment 321276

Question:
Maybe also the total number of treenails should be reconsidered - in the meantime I am pretty sure, that the planks were not fixed at each frame with two nails.
I guess it is too much - maybe somebody knows a resource describing this or has some guess ....

On the thick stuff planking it would be correct, because they are necessary for the stiffness of the ships-hull, but for the normal inner planking?
At the end my Granado model is a very solid built ship ;)

View attachment 321277

the area close to the keelson has to be sanded with the Proxxon penstick sander or ..... I will see
Just a reminder: the rows still with holes will be covered with the riders, so no treenails are necessary here
View attachment 321278

and the complete model in top view

View attachment 321274

View attachment 321275

Many Thanks for your kind interest .... to be continued

and if possible hope to get comments and information about the number of treenails of the inner planking ....
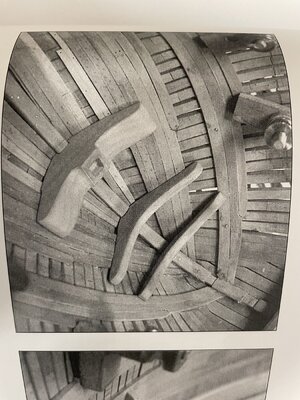
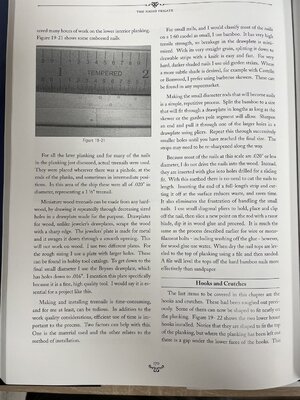
Hello Uwe, unfortunately I don't have much, but maybe it will help a little. Look on your bookshelf, I saw the Naiad books.
0EEB2C84-14E4-4EEB-8DCA-98F29B5D9A1C.jpeg

F2156A0F-E0AB-4193-996E-38AA05688ADB.jpeg

When I look at La Salamandre's plans, everything is powerful and doubly pegged as well.
 
Wherever possible and practical I would use two treenails at all crossing of frames and planks, unless the width of the planks would be 3mm or less. Then it's (my opinion) no longer esthetic or practical.
At minimums I would use at least two treenails at the end of each plank.
 
I'm not familiar with how this type of ship's internal planks were fastened. With that said, once sanded down the treenails are very subtle and pleasing to my eye. I think they look very good Uwek. Thumbsup
 
A very happy birthday to you, Uwe! I trust that you will have a splendid day with your family and friends.
 
Back
Top