Hallo Daniel,I am not seeing/understanding the issue.
me too - therefore I asked Brian where he had the problems, because for me it was not problematic
 |
As a way to introduce our brass coins to the community, we will raffle off a free coin during the month of August. Follow link ABOVE for instructions for entering. |
 |
 |
The beloved Ships in Scale Magazine is back and charting a new course for 2026! Discover new skills, new techniques, and new inspirations in every issue. NOTE THAT OUR FIRST ISSUE WILL BE JAN/FEB 2026 |
 |
Hallo Daniel,I am not seeing/understanding the issue.
CorrectUwek in your picture, the pieces with a Red arrow are just a "classical bended curve". No issues there.
The parts that have the yellow arrows, came "pre-shaped" ?
Thanks
Daniel
View attachment 316483
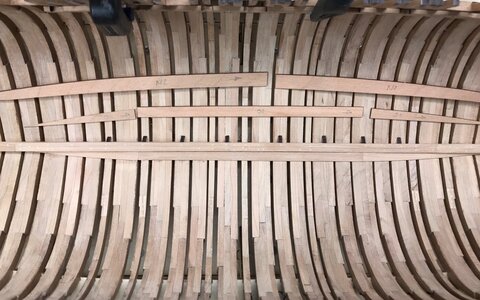
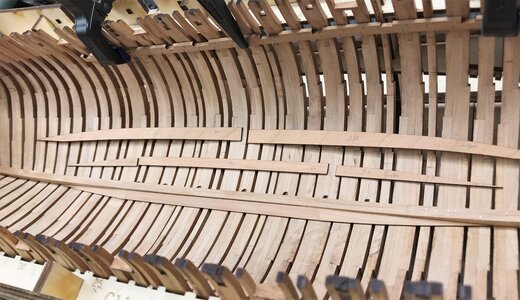
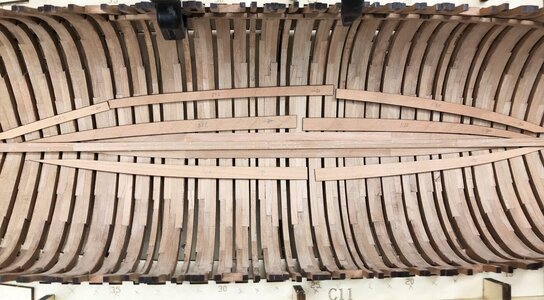
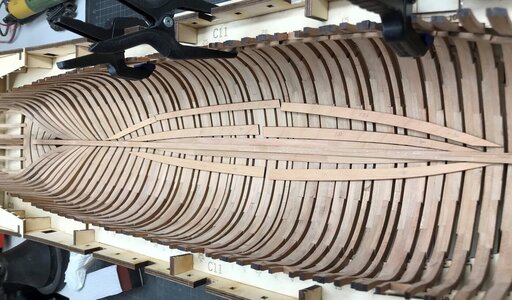
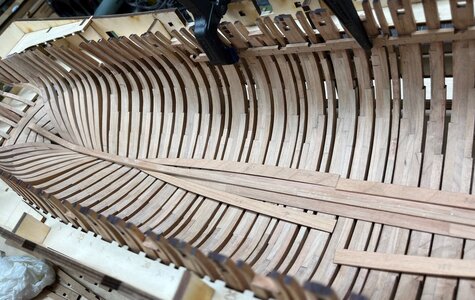
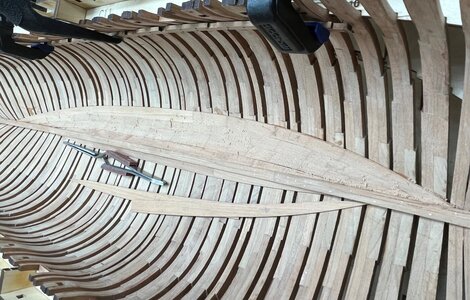
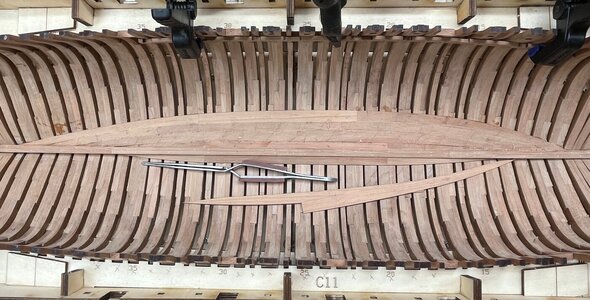
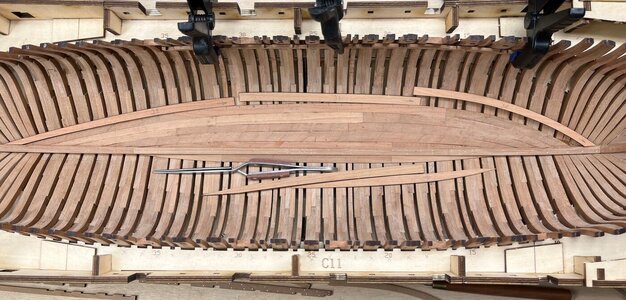
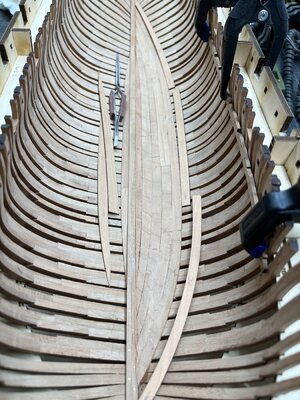
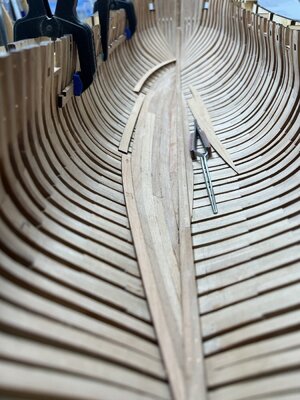
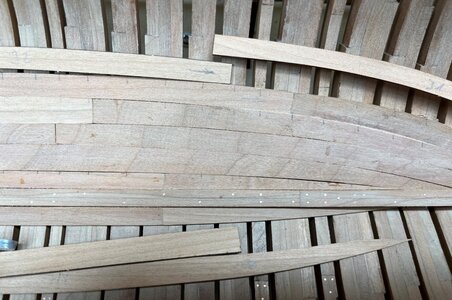
Looking better and better, Uwe!Many Thanks to all for your kind words and all the likes received.......
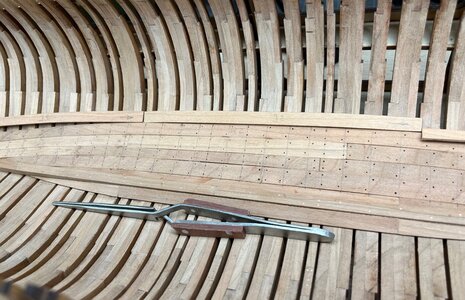
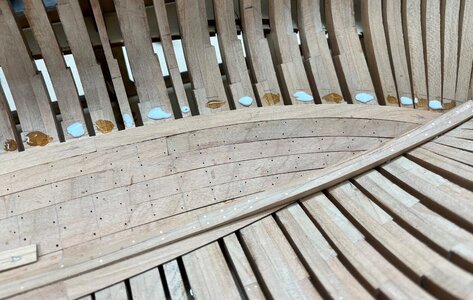
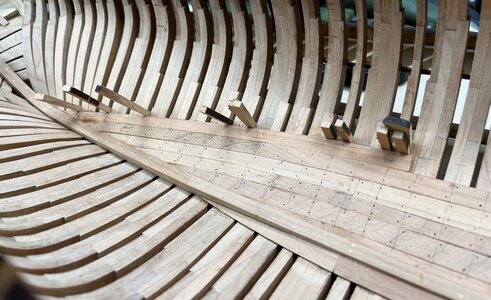
Starting with the inner planking - in the moment I plan to plank only one side, although the planking for both sides is included in the kit, so the modeler can decide individual......
all planking is laser cut preshaped and is fitting very well
In the following you can see some different working status
View attachment 318778
only some surface sanding - the final sanding will be made after all planks are installed and all the treenails are added
View attachment 318779
3 planking rows are fixed
View attachment 318780
and the next 4th one is installed - the 5th row is waiting
View attachment 318781
you can see, that the preshaped planks are fitting very good
View attachment 318782
the viw from the other side
View attachment 318783
and a closer look
View attachment 318784
On my Coureur I started too late with the marking of the nails, so I had some more work to define the correct location / axis of the treenailing / bolting - so the next step before the next planking row will be the holes for the treenails
Many Thanks for your interest .... to be continued .....

Uwe, my Dear friendMany Thanks to all for your kind words and all the likes received.......
Starting with the inner planking - in the moment I plan to plank only one side, although the planking for both sides is included in the kit, so the modeler can decide individual......
all planking is laser cut preshaped and is fitting very well
In the following you can see some different working status
View attachment 318778
only some surface sanding - the final sanding will be made after all planks are installed and all the treenails are added
View attachment 318779
3 planking rows are fixed
View attachment 318780
and the next 4th one is installed - the 5th row is waiting
View attachment 318781
you can see, that the preshaped planks are fitting very good
View attachment 318782
the viw from the other side
View attachment 318783
and a closer look
View attachment 318784
On my Coureur I started too late with the marking of the nails, so I had some more work to define the correct location / axis of the treenailing / bolting - so the next step before the next planking row will be the holes for the treenails
Many Thanks for your interest .... to be continued .....

Good morning. Above my pay grade. Enjoy watching your work- outstanding. Cheers GrantMany Thanks to all for your kind words and all the likes received.......
Starting with the inner planking - in the moment I plan to plank only one side, although the planking for both sides is included in the kit, so the modeler can decide individual......
all planking is laser cut preshaped and is fitting very well
In the following you can see some different working status
View attachment 318778
only some surface sanding - the final sanding will be made after all planks are installed and all the treenails are added
View attachment 318779
3 planking rows are fixed
View attachment 318780
and the next 4th one is installed - the 5th row is waiting
View attachment 318781
you can see, that the preshaped planks are fitting very good
View attachment 318782
the viw from the other side
View attachment 318783
and a closer look
View attachment 318784
On my Coureur I started too late with the marking of the nails, so I had some more work to define the correct location / axis of the treenailing / bolting - so the next step before the next planking row will be the holes for the treenails
Many Thanks for your interest .... to be continued .....

Such precise work, just came across this log so will pull up a chair and watch and learn.Many Thanks for all your positive comment and feedbacks - and also all the lieks recieved
Now let us make the first / one frame
and do not be afraid -> I will not show all 57 frames ....... only some of them
These are the typical elements of one of the double frames, here frame 36, which was also shown (drawing) in my yesterdays post
- half side is labeled with "a" and the other side with "b" - logical
you can also see, that the floor timber and the two first futtocks have the biggest thickness with 5mm, the other futtocks have 4mm and the top timbers have 3mm
- not on every frame, but on most of them
also you can see the laser marks for the later bevelling of each frame
View attachment 298359
before fixing the elements together I carefully sanded the butt joint areas with my sander - with this also 90° assured
View attachment 298360
included in the kit are also 4 times 1mm and 4 times 2mm pad elements, which compensate the difference of thickness (3, 4 and 5mm) of the frame elements
View attachment 298361
before gluing the flat scarf joint have to be prepared - only small adjustments are necessary, but definitely the laser char has to be removed
View attachment 298362
all work preparation for frame 36 is done -all materials are prepared
- toothpick with white wood glue
- fixogum glue to fix the frmae elements on top of the frame drawing paper copy
- frame drawing is fixed on a glass, so I have definitely a plane and leveled base
- the four pad elements are ready
- all frame elements are pre sanded with the circular sander
=> here the two first futtocks of "a" are already glued together and fixed with fixogum on top of the drawing
View attachment 298363
the two pads are fixed on top of the paper and have already a worm of fixogum for the next frame elements (futtock and top timber of "a")
View attachment 298364
second futtock is fixed
View attachment 298365
and finally the top timber
View attachment 298366
the other side of "a" is now also prepared and the floor timber of "b" is sitting on top of "a"
View attachment 298367
futtock and top timber of "b" is now fixed - good to see are now the different thicknesses of the elements
View attachment 298368
frame 36 is now complete
View attachment 298369
View attachment 298374
