Hello Uwe,
WOW!! That is remarkable and will be beautiful when you are finished.
Bill
WOW!! That is remarkable and will be beautiful when you are finished.
Bill
 |
As a way to introduce our brass coins to the community, we will raffle off a free coin during the month of August. Follow link ABOVE for instructions for entering. |
 |
 |
The beloved Ships in Scale Magazine is back and charting a new course for 2026! Discover new skills, new techniques, and new inspirations in every issue. NOTE THAT OUR FIRST ISSUE WILL BE JAN/FEB 2026 |
 |

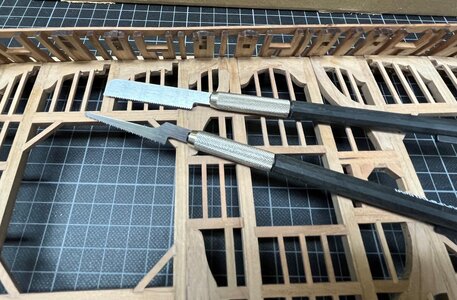
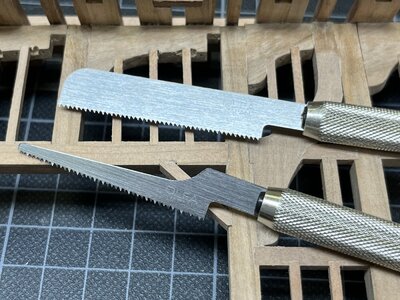
Yes Yes Yes, Uwe has done it! It looks very nice. It must have been a great relief when you could take them apart.I did it - and I give a s... what Kitty will say (maybe she was only hungry when she made the MIAU)
View attachment 343436
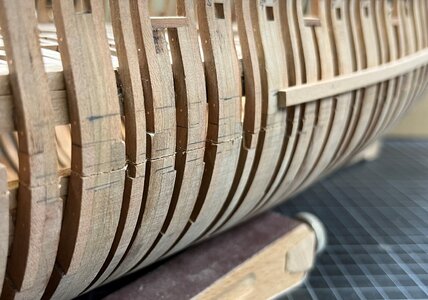
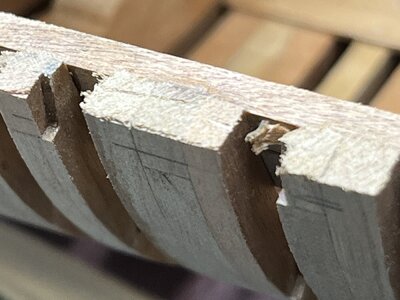
the pencil marks on both sides of the cut mark the location of the lowest wale
I started on both sides from midship and worked towards the bow and backwards towards the stern
View attachment 343437
a view from inside - appr. half the way the cut is done and you can hardly see the sawblade
the cut was done just above the clamps for the mortar bed beams
View attachment 343438
also from inside but the phone camera was located through the mortar opening in the deck structure - here you can see the saw blade better
View attachment 343439
left side was cut up to the stern post
View attachment 343441
View attachment 343440
- now the other side ..... but
I realized, that the area close to the stern, where no deck structure was fixed, is too weak. I had to stop with the cut.
I have to find a solution ......
The deck strcture at the stern is no sultion, because it will slightly lower than the cut - so I decided to install the upper row of the wale from stern towards midship - at this stage it was also good, that I marked before already the location
View attachment 343442
you can never have enough clamps
in the following photo you can see the open area where no deck structure is fxed
View attachment 343443
after drying
View attachment 343445
View attachment 343446
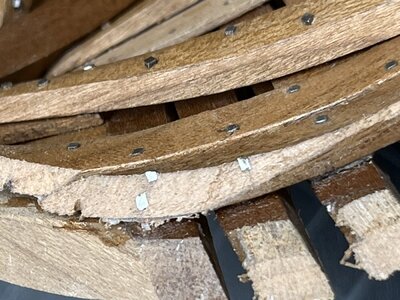
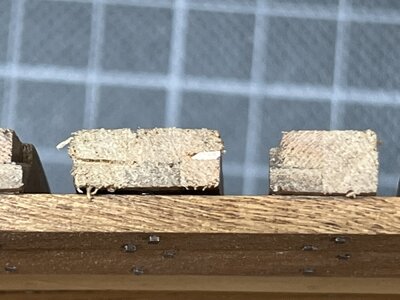
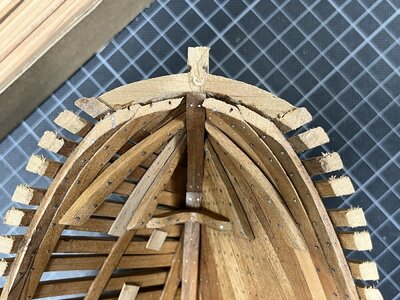
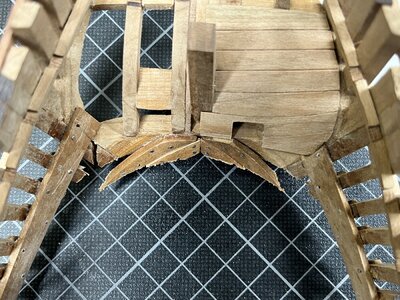
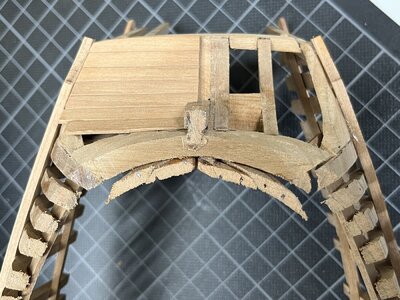
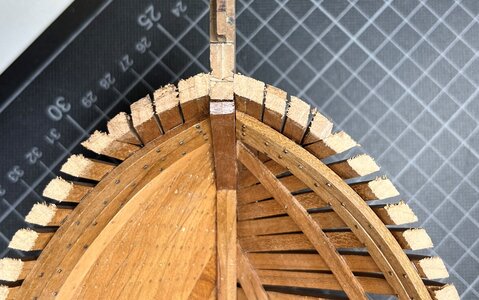
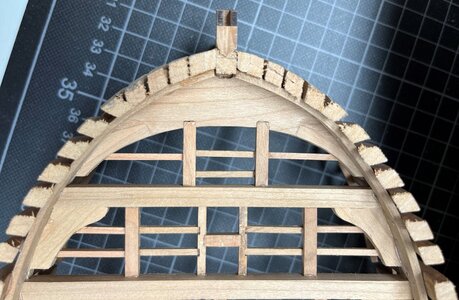
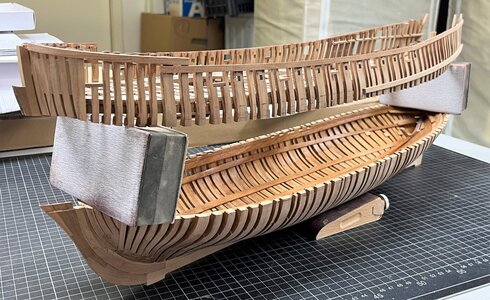
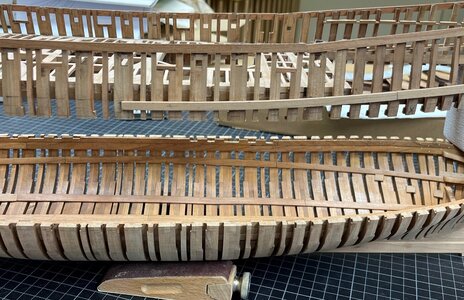
This action made the upper part stiff enough, so I was able to go forward with the cut
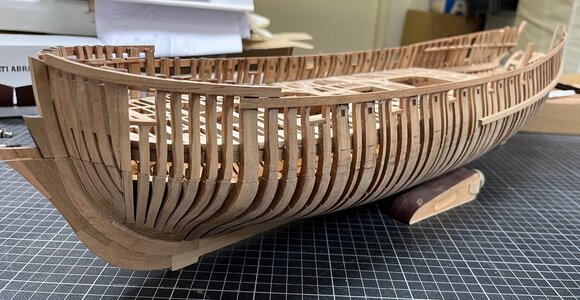
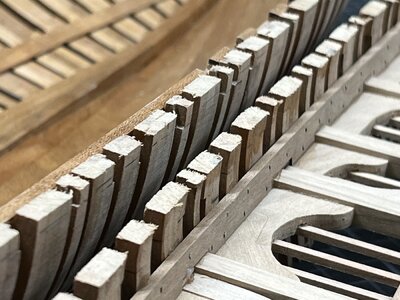
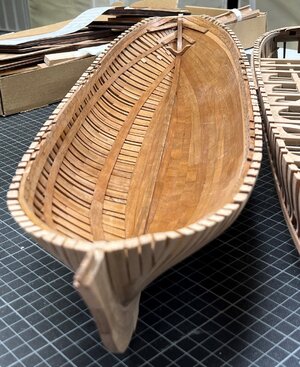
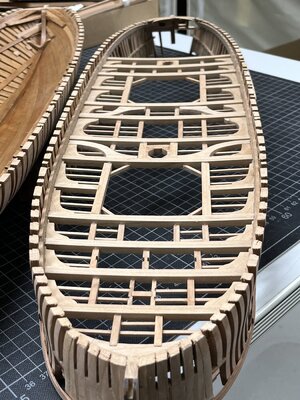
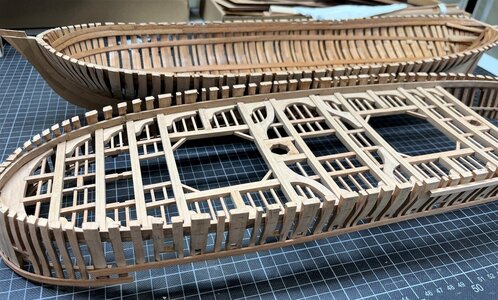
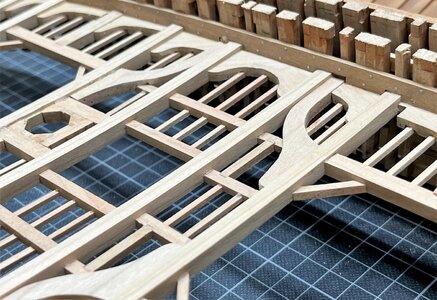
and finally - DONE
View attachment 343449
View attachment 343447
View attachment 343448
JuHu - I am very happy now - and btw also Kitty

Fantastic resalt Uwe,I did it - and I give a s... what Kitty will say (maybe she was only hungry when she made the MIAU)
View attachment 343436
the pencil marks on both sides of the cut mark the location of the lowest wale
I started on both sides from midship and worked towards the bow and backwards towards the stern
View attachment 343437
a view from inside - appr. half the way the cut is done and you can hardly see the sawblade
the cut was done just above the clamps for the mortar bed beams
View attachment 343438
also from inside but the phone camera was located through the mortar opening in the deck structure - here you can see the saw blade better
View attachment 343439
left side was cut up to the stern post
View attachment 343441
View attachment 343440
- now the other side ..... but
I realized, that the area close to the stern, where no deck structure was fixed, is too weak. I had to stop with the cut.
I have to find a solution ......
The deck strcture at the stern is no sultion, because it will slightly lower than the cut - so I decided to install the upper row of the wale from stern towards midship - at this stage it was also good, that I marked before already the location
View attachment 343442
you can never have enough clamps
in the following photo you can see the open area where no deck structure is fxed
View attachment 343443
after drying
View attachment 343445
View attachment 343446
This action made the upper part stiff enough, so I was able to go forward with the cut
and finally - DONE
View attachment 343449
View attachment 343447
View attachment 343448
JuHu - I am very happy now - and btw also Kitty


Good morning Uwe, I can now stop taking heart drops, Your cut has finished very successfully. FrankI did it - and I give a s... what Kitty will say (maybe she was only hungry when she made the MIAU)
View attachment 343436
the pencil marks on both sides of the cut mark the location of the lowest wale
I started on both sides from midship and worked towards the bow and backwards towards the stern
View attachment 343437
a view from inside - appr. half the way the cut is done and you can hardly see the sawblade
the cut was done just above the clamps for the mortar bed beams
View attachment 343438
also from inside but the phone camera was located through the mortar opening in the deck structure - here you can see the saw blade better
View attachment 343439
left side was cut up to the stern post
View attachment 343441
View attachment 343440
- now the other side ..... but
I realized, that the area close to the stern, where no deck structure was fixed, is too weak. I had to stop with the cut.
I have to find a solution ......
The deck strcture at the stern is no sultion, because it will slightly lower than the cut - so I decided to install the upper row of the wale from stern towards midship - at this stage it was also good, that I marked before already the location
View attachment 343442
you can never have enough clamps
in the following photo you can see the open area where no deck structure is fxed
View attachment 343443
after drying
View attachment 343445
View attachment 343446
This action made the upper part stiff enough, so I was able to go forward with the cut
and finally - DONE
View attachment 343449
View attachment 343447
View attachment 343448
JuHu - I am very happy now - and btw also Kitty
Good morning Uwek. "NOW WE ARE TALKING". Brilliant. Cheers GrantI did it - and I give a s... what Kitty will say (maybe she was only hungry when she made the MIAU)
View attachment 343436
the pencil marks on both sides of the cut mark the location of the lowest wale
I started on both sides from midship and worked towards the bow and backwards towards the stern
View attachment 343437
a view from inside - appr. half the way the cut is done and you can hardly see the sawblade
the cut was done just above the clamps for the mortar bed beams
View attachment 343438
also from inside but the phone camera was located through the mortar opening in the deck structure - here you can see the saw blade better
View attachment 343439
left side was cut up to the stern post
View attachment 343441
View attachment 343440
- now the other side ..... but
I realized, that the area close to the stern, where no deck structure was fixed, is too weak. I had to stop with the cut.
I have to find a solution ......
The deck strcture at the stern is no sultion, because it will slightly lower than the cut - so I decided to install the upper row of the wale from stern towards midship - at this stage it was also good, that I marked before already the location
View attachment 343442
you can never have enough clamps
in the following photo you can see the open area where no deck structure is fxed
View attachment 343443
after drying
View attachment 343445
View attachment 343446
This action made the upper part stiff enough, so I was able to go forward with the cut
and finally - DONE
View attachment 343449
View attachment 343447
View attachment 343448
JuHu - I am very happy now - and btw also Kitty

Dear UweI did it - and I give a s... what Kitty will say (maybe she was only hungry when she made the MIAU)
View attachment 343436
the pencil marks on both sides of the cut mark the location of the lowest wale
I started on both sides from midship and worked towards the bow and backwards towards the stern
View attachment 343437
a view from inside - appr. half the way the cut is done and you can hardly see the sawblade
the cut was done just above the clamps for the mortar bed beams
View attachment 343438
also from inside but the phone camera was located through the mortar opening in the deck structure - here you can see the saw blade better
View attachment 343439
left side was cut up to the stern post
View attachment 343441
View attachment 343440
- now the other side ..... but
I realized, that the area close to the stern, where no deck structure was fixed, is too weak. I had to stop with the cut.
I have to find a solution ......
The deck strcture at the stern is no sultion, because it will slightly lower than the cut - so I decided to install the upper row of the wale from stern towards midship - at this stage it was also good, that I marked before already the location
View attachment 343442
you can never have enough clamps
in the following photo you can see the open area where no deck structure is fxed
View attachment 343443
after drying
View attachment 343445
View attachment 343446
This action made the upper part stiff enough, so I was able to go forward with the cut
and finally - DONE
View attachment 343449
View attachment 343447
View attachment 343448
JuHu - I am very happy now - and btw also Kitty


