- Joined
- Oct 17, 2020
- Messages
- 1,691
- Points
- 488

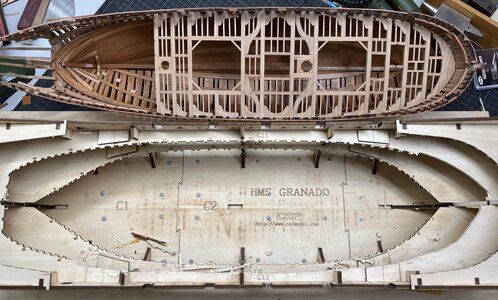
I notice this photo a bit distorted, am I wrong?I wish you all a nice weekend, but before a short info about my HMS Granado
She is FREE
View attachment 339927
More infos and photos comming
 |
As a way to introduce our brass coins to the community, we will raffle off a free coin during the month of August. Follow link ABOVE for instructions for entering. |
 |
 |
The beloved Ships in Scale Magazine is back and charting a new course for 2026! Discover new skills, new techniques, and new inspirations in every issue. NOTE THAT OUR FIRST ISSUE WILL BE JAN/FEB 2026 |
 |

I notice this photo a bit distorted, am I wrong?I wish you all a nice weekend, but before a short info about my HMS Granado
She is FREE
View attachment 339927
More infos and photos comming

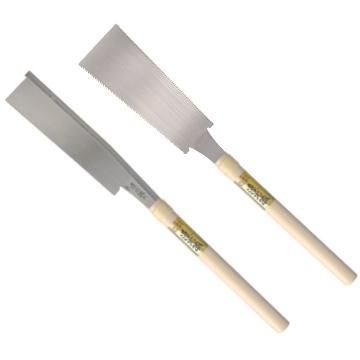
Better to use a Japanese saw, they available in 0,3 mm. The Tamiya, I got this here to, got a bad cut in wood."Handy Craft Saw" from Tamiya - originally used in plastic modeling - so fine teeth and only 0,5mm thick
Agree Japanese saw better to use, the Tamiya type tend to heat up quickly and bend or buckle much easily. Would test both types on scrap wood to compare first Uwe if helpsBetter to use a Japanese saw, they available in 0,3 mm. The Tamiya, I got this here to, got a bad cut in wood.
Or the saw Maarten used https://shipsofscale.com/sosforums/threads/hms-alert-1777-cutter-pof-by-shota70.8735/post-267421
Hallo @CathberBonjour Uwek, super réalisation. Bravo...
En parcourant le site je ne vois que des compliments sur ce Kit.
A votre avis est ce que ce kit n'est pas trop difficile pour un débutant en modélisme naval ? (J'ai un peu d'expérience en modélisme ferroviaire car je monte des locomotives à vapeurs vives).
Avec tous les article sur ce Kit HMS Granado POF sur le site pourquoi ne montez vous pas un Group build comme sur le HMS Blandford ?
Hello Uwek, great achievement. Cheer...
By browsing the site I see only compliments on this Kit.
In your opinion is this kit not too difficult for a beginner in ship modeling? (I have some experience in model railroading as I ride live steam locomotives).
With all the articles on this HMS Granado POF Kit on the site why don't you set up a Group build like on HMS Blandford?

I do not understand completely - what is dissorted with or in the photo?I notice this photo a bit distorted, am I wrong?
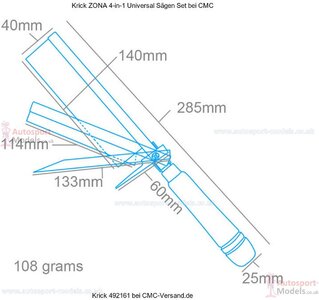
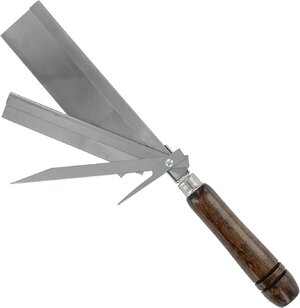
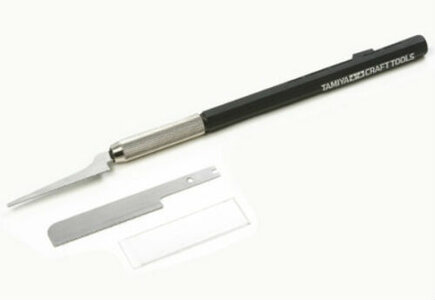

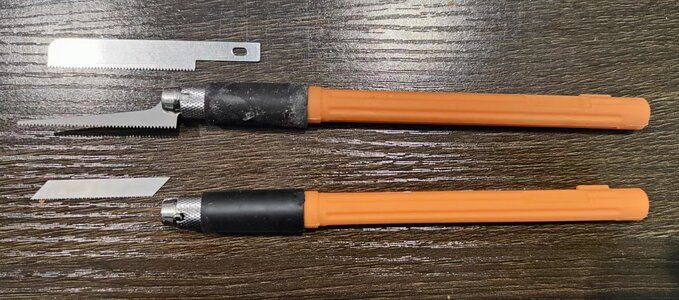

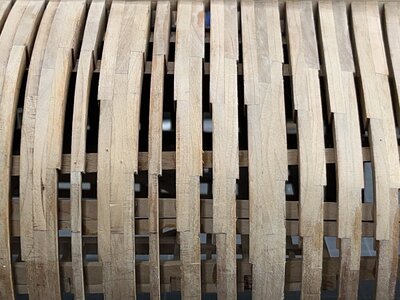
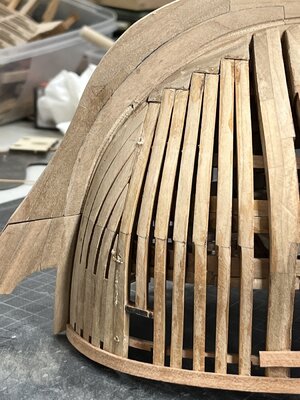
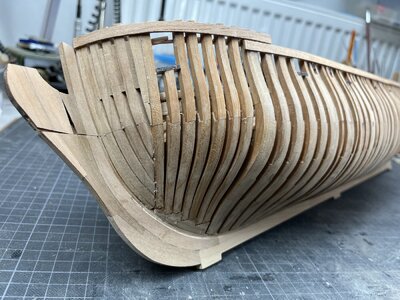
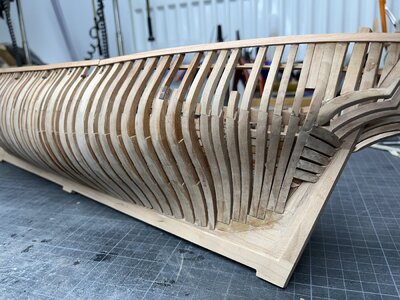

Maybe @Peter Voogt can help you out. There are Japanse saw blades without the backsupport and just less than half a mm thick.Stephan:
I was looking at the japanese saw, f.e. especially the saw Maarten used, but I am not fully

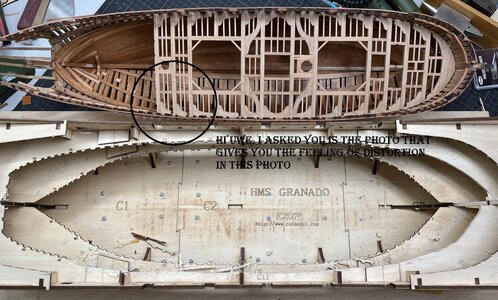
Hi Uwe, I asked you is the photo that gives you the feeling of distortion in this photo, don't be mad that I only asked one question, sorry.Hi Uwek
I think Frank refers to the image distortion seen at the left and right of the ship. I placed Red lines.
View attachment 340624
Cheers
Daniel
Ah - ok:Hi Uwe, I asked you is the photo that gives you the feeling of distortion in this photo, don't be mad that I only asked one question, sorry.
View attachment 340637
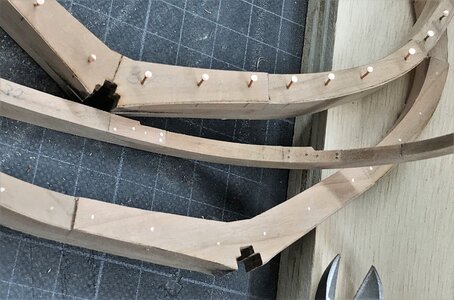
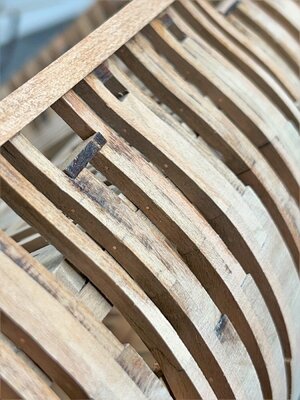
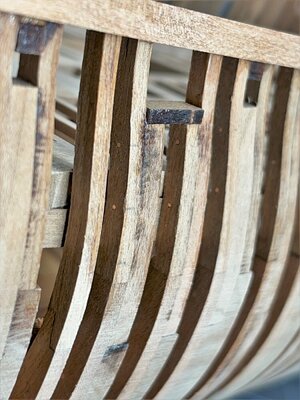
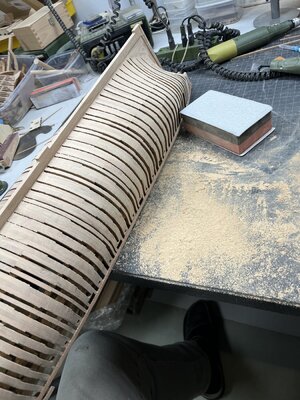
Bonjour, Quelle est la taille des clous que vous utilisez (diamètre, longueur) ? C'est certainement indiqué sur le forum mais je ne retrouve pas la page.To have a break during the partly boring pre-sanding, I decided to make also parallel the bolting of the frames.
I made the bolts in the for me usual method with copper nails - just thought about the new method introduced by Oliver, but I have not the patience in moment, so let us make the bolts "conventional" ..... with 50 nails per frame so in total also more than 2.000 "bolts"
View attachment 302678
also the single frames the chocks have to be fixed with bolts
View attachment 302679
Due to the fact, that I still do not know which parts I will plank on outside or inside, I decided to make the bolting of the frames everywhere
View attachment 302680
not really much is visible, but if you take a closer look - I know, that they are there - and we are building the models for ourself (and some interested modeling friends, like you all......
View attachment 302681
many Thanks for your interest .... to be continued .....
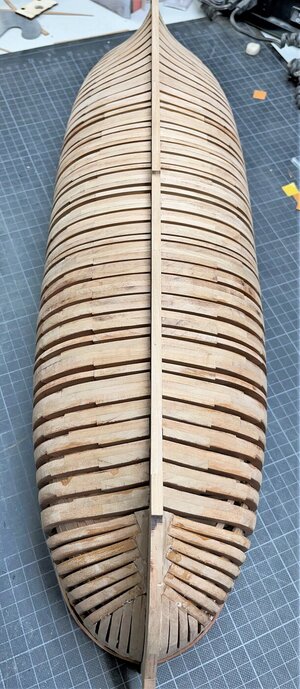
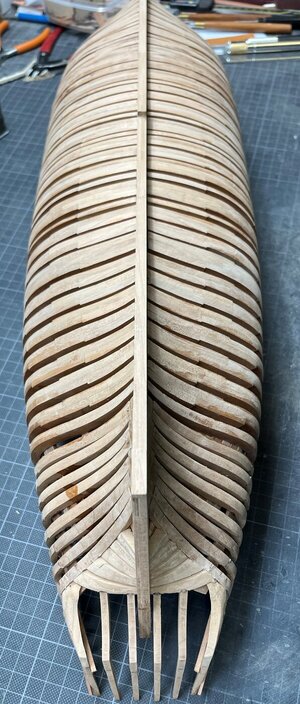
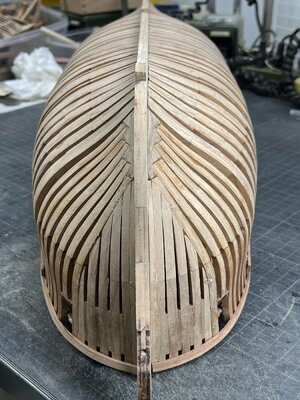
The hull looks very nice and solid, Uwe. BRAVO!Now without much words I would like to show the hull just like it was looking, directly after the removal of the jig,
so without any, really any, repair or correctional measures.
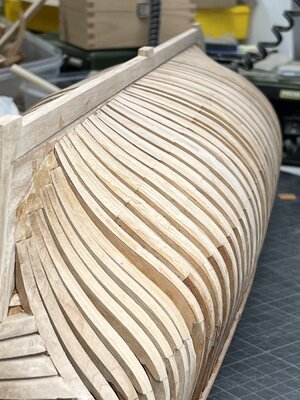
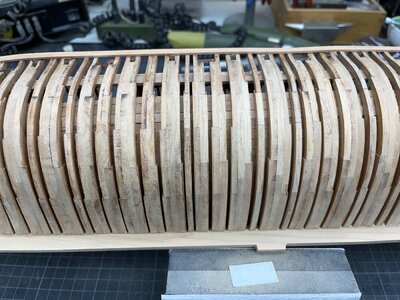
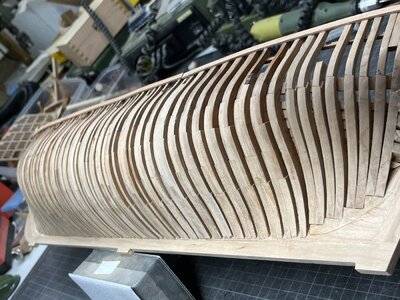
This is what you get when you remove the jig
View attachment 340581
so just take a look on the underwater hull
View attachment 340599
View attachment 340600
View attachment 340601
View attachment 340586
View attachment 340587
View attachment 340588
View attachment 340589
View attachment 340590
View attachment 340591
View attachment 340592
View attachment 340593
View attachment 340594
View attachment 340595
View attachment 340596
View attachment 340583
View attachment 340582
View attachment 340584
View attachment 340585
I am very happy - better - Very very happy about the result
(just once more: no sanding was done after removal of the hull from jig)
This way of installation the frames on the keel in such a jig,
like more or less all scratch builders are doing it,
is the best and most accurate way -> and this hull is a very good proof
Now I will take the sanding block in hand and will give the frames a smooth surface - like a baby-PoPo
View attachment 340597
View attachment 340598
And about the extra time spending on all those tiny nails: it are the tiny details, more or less to see, that gives a model that extra wow when you see them by looking closer and closer.Many thanks for your interest, the comments and hints and all the likes received
It was already a longer time ago, when I made the bolting of the individual elements of every frame
HMS GRANADO - full hull - POF kit by CAF in 1:48 - by Uwe
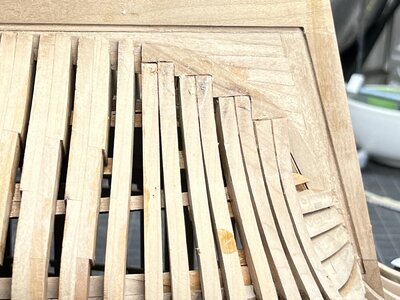
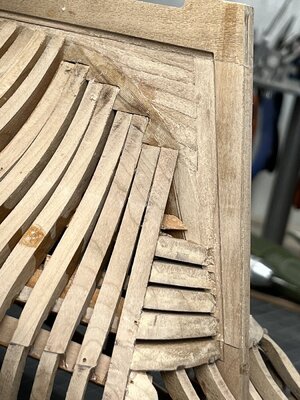
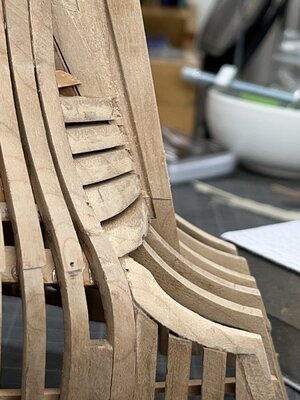
Nice work Uwe! The stern is tricky - Do as myself and Uwe have done - slow and steady, and lots of offering up the transoms and frames to find out where to cut next! Tedshipsofscale.com
View attachment 340807
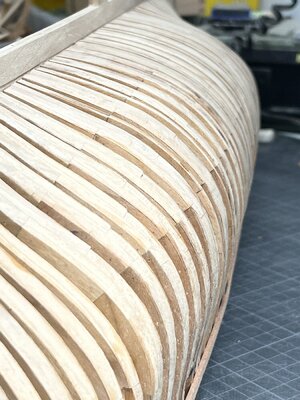
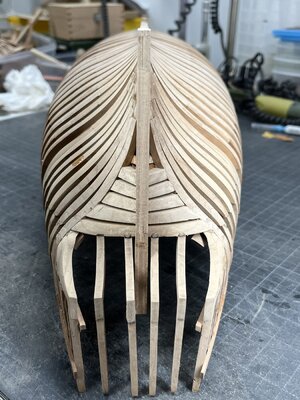
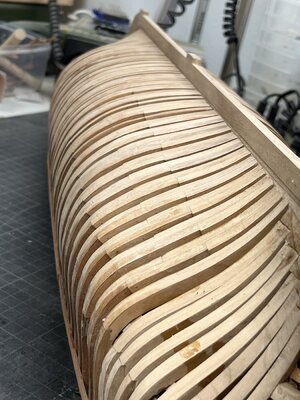
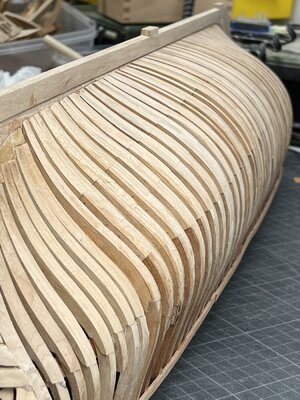
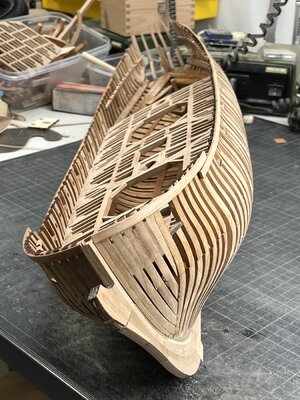
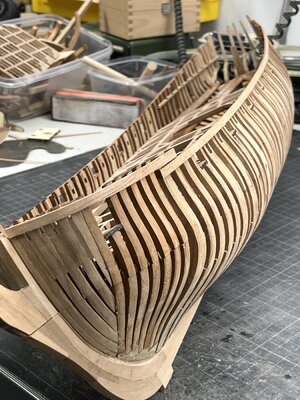
Now the hull is out of the jig and I checked the view form outside
View attachment 340808
View attachment 340809
I do not know, if it is worth the hours working on this, with drilling of hundrets of holes, etc. - most of them will be covered or barely visible - I know and you know also, that they are there !!!!
A positive side-effect:
The used copper-nail-bolting-heads were in the meantime darkened and not shiny any more, like in spring, when I made the work.
This effect I realized already on my Le Coureur - I personally like them more than brass nails
But back to work - not much but still some sanding is necessary
View attachment 340810
Many Thanks for your interest .... to be continued .....
Hi Uwe, I asked myself the same question about the nails. I decided to do them all, even if they will never be seen again, but I know they are there. I don't know if I will do this crazy work again for the next model, it was almost 2 1/2 months of work.The hull looks very nice and solid, Uwe. BRAVO!
And about the extra time spending on all those tiny nails: it are the tiny details, more or less to see, that gives a model that extra wow when you see them by looking closer and closer.
And sanding the hull gives such a great feeling!
Regards, Peter.


At least it kep you 2½ months of the STREETSHi Uwe, I asked myself the same question about the nails. I decided to do them all, even if they will never be seen again, but I know they are there. I don't know if I will do this crazy work again for the next model, it was almost 2 1/2 months of work.
Peter, I can only agree with you that it is often the details.
Very true - It's the building that interests me, not necessarily the completed model.At least it kep you 2½ months of the steeds
Underhill wrote in his book:"It is not the ready model that gives me satisfaction, but the build of it"
At least it kep you 2½ months of the steeds
Underhill wrote in his book:"It is not the ready model that gives me satisfaction, but the build of it"
I have to agree here men. I'm nearing the completion of a build and find the end rather anticlimactic. Already looking into what's next. The joy is in the doing.Very true - It's the building that interests me, not necessarily the completed model.
Ted
