HMS GRANADO - full hull - POF kit by CAF in 1:48 - by Uwe

I think the way your model cut and will be presented, it would make sense to keep it the same way as the museum model, with minimum planking to expose the hold and the decks for the eyes.
 
Some very nice panelling work and louvres in you cabins Uwe.

I may be in the minority, but feel the radiuses at the end of the open areas is too much of a visual distraction.It also makes this feature look like part of the ship as opposed to omitted planking for viewing purposes. I personally prefer the traditional Navy Board style of omitted planks.Many examples in Franklin's book which I believe you own (along with countless others ROTF)

Kind Regards

Nigel
 
I have been following your building of Granado with a lot of interest because of my La Salamandre.

She is looking fantastic and your decision to cut the frames to expose inside has really paid off. It was a brave decision as I know how much work goes into making the frames in the first place.

I would also like to thank you for the effort you put into presenting your work on this forum. It is a project in itself, but it shows better than any manual how models are built.
 
It is time to make the first thoughts about the way I will arrange the planking, either on the forecastle and also on the poop deck

Let us take once more a view on the Leightley model in the National Maritim Museum

View attachment 370993

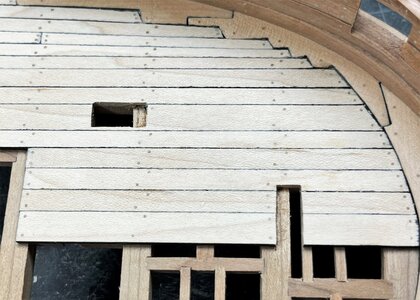
The poop is decked on both sides with the waterways, in the center with two main planks, and only closed in the beginning and the end of the poop deck.
This is giving a very good view inside the cabins

View attachment 370992

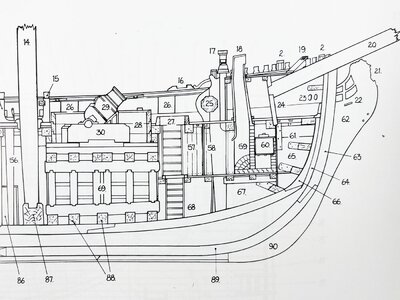
with a copy of the CAF drawing I tried to simulate a similar way

View attachment 370989

View attachment 370990

View attachment 370991

- I think is looking not bad -> I am open for suggestions and your opinions
Good morning Uwek. Stunning work. I agree with you to go as open as possible- fits with the rest of your model. My 2 cents -Personally I would go for some decking on the poop deck on one side. I’m with Tobias here as on such an open, cut in half masterpiece I think the symmetry as shown on the display model you showed would detract. What ever you do will be exceptional that I know. Cheers Grant
 
Hallo @Maarten , @Tobias , @Mirek , @Steef66 ,@dockattner , @Dean62 , @Peter Voogt , @AnobiumPunctatum , @Jimsky , @NMBROOK , @Salty and @GrantTyler for the comments, hints and tips
When I go through your opinions it is a mixture of the tastes - and somehow I am happy about this - it is once more showing, that we all build our models very individual and there is no common taste or opinion, especially in such open POF models ........ let us see how I will go further - I have to make some tests to get a final personal opinion...... But many thanks to all for your participation and the help giving to me.
Also many thanks for all others giving a like to my post(s)

Due to the fact, that I did not decided how to plank this part - I made another decision - the decision to move fore to the forecastle and the fittings close to the bow

upper part of model:
25 - windlass
24 - bowsprit step
20 - bowsprit
23 - hawse holes
18 - galley flue

lower part of model
59 + 60 - firehearth / oven

IMG_0591.jpg

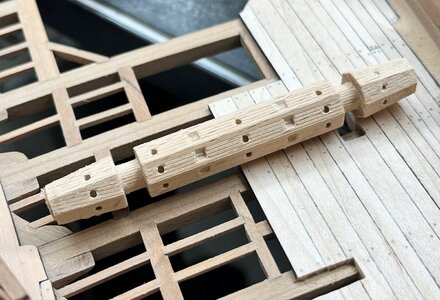
The HMS Granado had no capstan, but a windlass, which has to be finished and installed as one of the next steps , before I can close the forecastle with the beams and planking

the kit includes a cnc milled raw windlass drum - a very good basis - on the photo located more or less at the place where it will be installed

IMG_2500.jpg

I had to cut out a notch in the deck planking for the windass - also the notch for the bowsprit step

IMG_2501.jpg

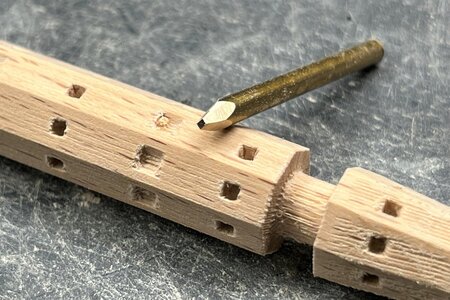
cnc-milling machines can not mill rectangle holes, this has to be done by the modeler - I used a brass rod and filed one side rectangle. With one or two gentle hits with the hammer I got the necessary square holes

IMG_2502.jpg

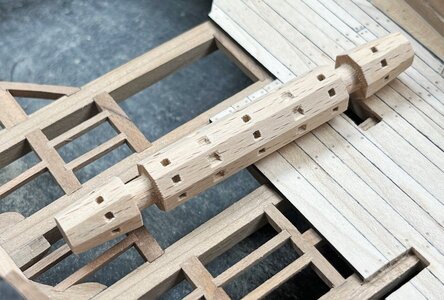
now it is looking already much better

IMG_2503.jpg

Many Thanks for your interest .... to be continued
 
Hallo Uwe, es ist alles eine Frage des Aufwands, der Zeit und des Fräsers, wenn du die viereckigen Löcher mit einem 1.0mm Fräser vorbohrst und dann die Ecken mit einem 0,3mm Fräser bearbeitest, erhältst du fast quadratische Öffnungen. An 0.2mm Fräser habe ich mich noch nicht getraut.

Sorry I answered Uwe in German. Here the English translation

Hi Uwe, it's all a question of effort, time and the cutter. If you pre-drill the square holes with a 1.0mm cutter and then machine the corners with a 0.3mm cutter, you get almost square openings. I have not yet dared to use a 0.2mm cutter.
 
Last edited:
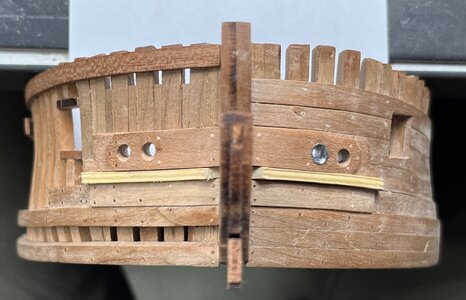
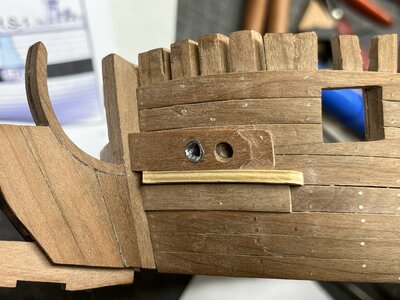
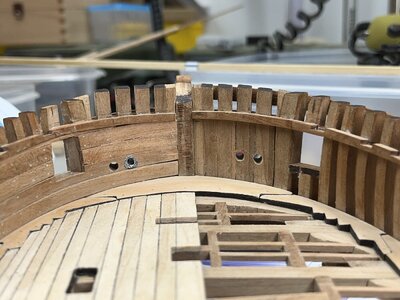
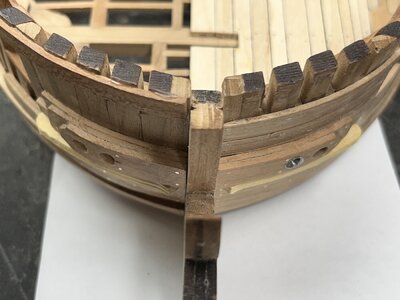
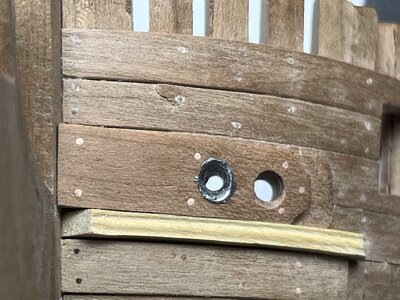
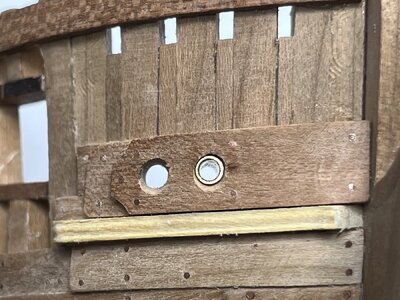
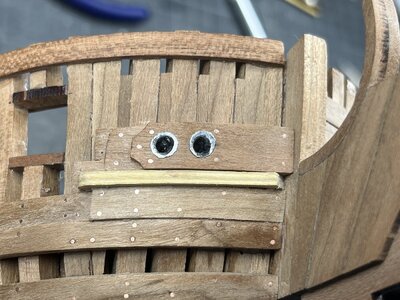
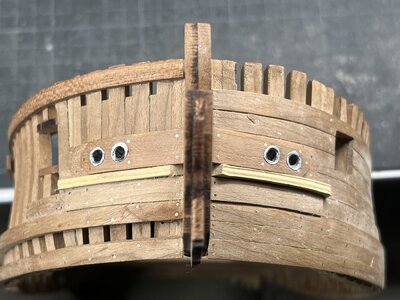
Before final installation of the windlass etc. I had to make some more sawdust at the bow and drilled the four hawse holes into the bow

IMG_2533.jpg

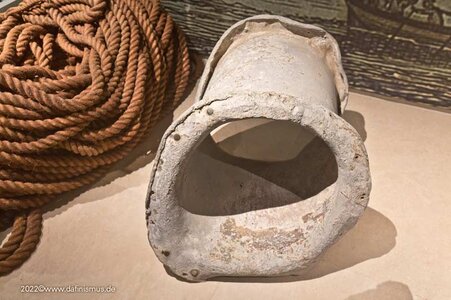
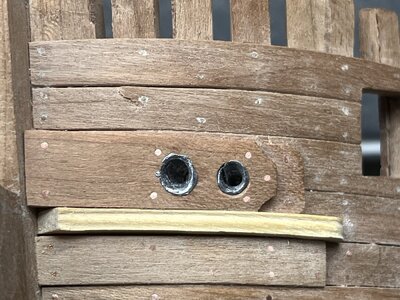
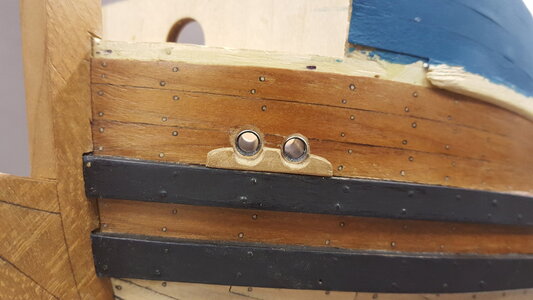
and I decided to cover the hawse holes with some lead - like some ships had also in real

Thorsminde_5437.jpg

- but I realized, that it is not so easy

IMG_2534.jpg

IMG_2535.jpg


IMG_2536.jpg

The first attempts were not very promising - especialy looking on a close up photo

IMG_2538.jpg

I tried also with a brass tube - but - NO

IMG_2539.jpg

some new attempts

IMG_2540.jpg

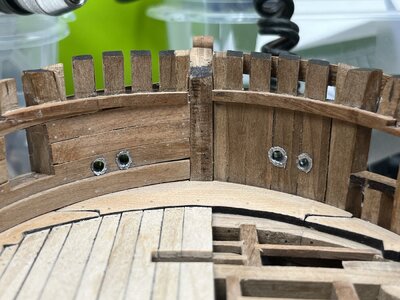
but tube by tube I could live with the result

IMG_2552.jpg

IMG_2553.jpg

from inside (but not much will be visible

IMG_2555.jpg

at the end - when I do not like them any more - I can easily remove the lead in only some seconds
 
Last edited:
In the meantime I finished the windlass, coloured it red

IMG_2556.jpg

and also installed the metal bands / reinforcements and bolts

material after the blackening (laying in plastic box)
IMG_2557.jpg

IMG_2562.jpg

IMG_2558.jpg

IMG_2561.jpg

IMG_2559.jpg

IMG_2560.jpg

IMG_2563.jpg

Many Thanks for your interest .... to be continued .....
 
I tried also with a brass tube - but - NO
Hello Uwe. Try this (end caps for wires). The plastic part is removable, and the metal one has the form exactly what you need (a little flanged).

H66bfb1e2c82247809b66b64e4843d305Q.jpg
 
Last edited:
Witaj
Pięknie zrobiona winda a te opaski podkreślają jakość wykonania. Pozdrawiam Mirek

Hello
Beautifully made elevator and these bands emphasize the quality of workmanship. Regards, Mirek
 
Last edited by a moderator:
Hi Uwe,

I used the same as @Walterone mentioned on my Royal Caroline.

Is works perfect and looks like lead lining if you darken them
20190114_220236.jpg

I have these in a lot of diameters and lenght and also used them for the scuppers.

If ypu want to test them pm me the diameters and lenght you need.
 
Back
Top