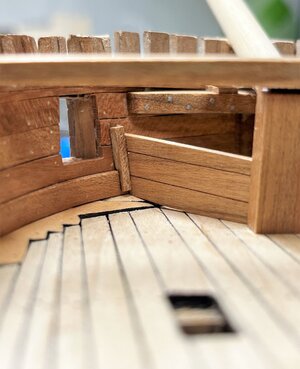
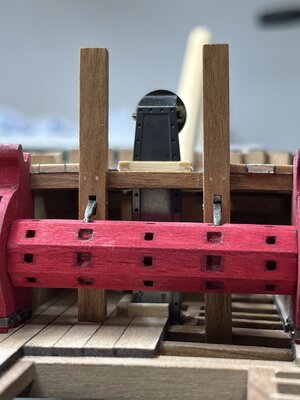
HMS GRANADO - full hull - POF kit by CAF in 1:48 - by Uwe

Many thanks to all your comments and hints. A great help
And I will keep these "tubes" in mind, but I have my doubts, that these would work on my model, because of the angle
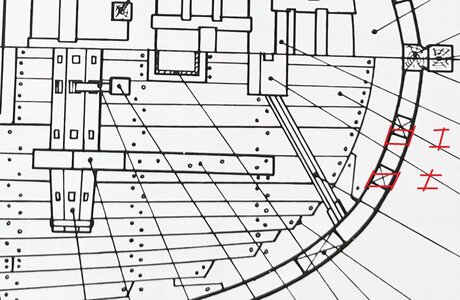
IMG_1248.jpg

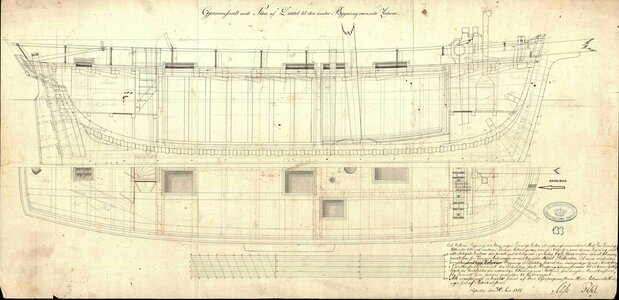
In this sketch I marked the position of the hawse holes and the direction parallel to the ship-axis. - I think this is correct - we discussed this in some other topics in the past.
This makes it clear, that the bulge at the end(s) of the tube shall not be rectangle to the axis of the tube....
 
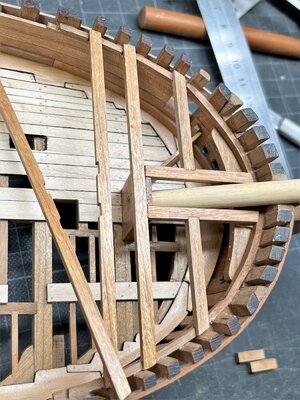
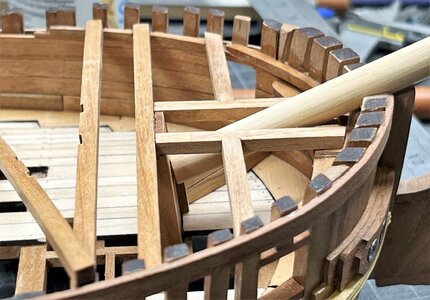
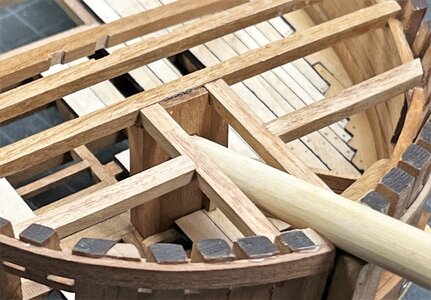
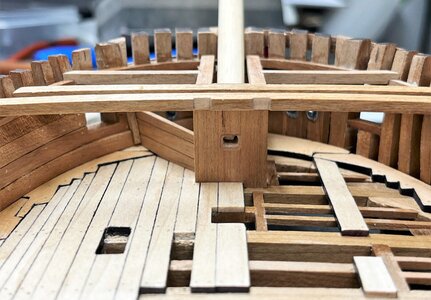
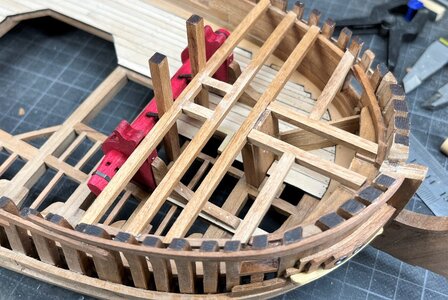
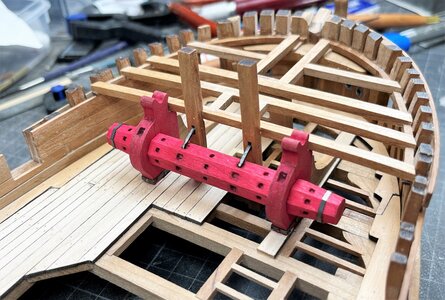
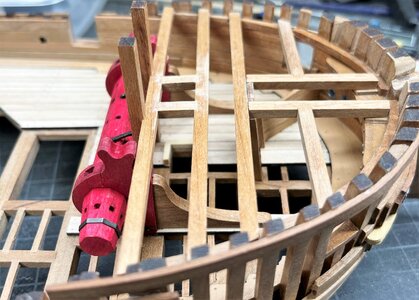
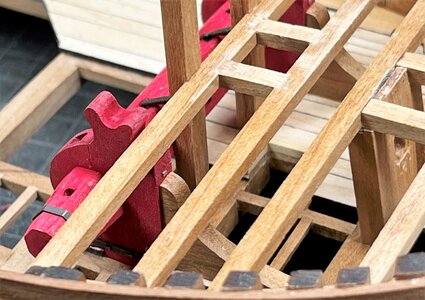
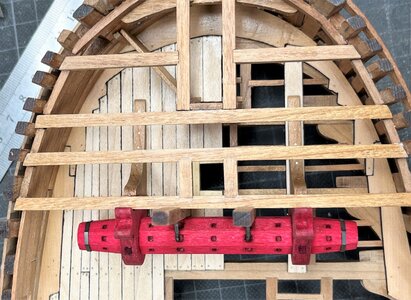
some small more progress with installing the small beams etc.

IMG_2591.jpg
The bowsprit is a dummy only to get a feeling

IMG_2592.jpg

IMG_2593.jpg

IMG_2596.jpg

IMG_2597.jpg

IMG_2618.jpg

IMG_2619.jpg

IMG_2620.jpg

IMG_2621.jpg

IMG_2623.jpg

Many Thanks for your interest - to be continued .....

I am open for all comments and hints, negative and positiv - especially also related to the question of the hawse holes (which are already drilled off course
 
Always a pleasure to see your work Uwe! In another build report the hawse holes were lined with aluminum film and then painted to resemble lead. I'm not sure how easy it would be to shape the film to give a perfectly round profile on the inside and outside...
I use it often. I got a tape rol of aluminium film. It is used for industrial isolation. The glue is very strong.
 
some small more progress with installing the small beams etc.

View attachment 377021
The bowsprit is a dummy only to get a feeling

View attachment 377022

View attachment 377023

View attachment 377024

View attachment 377025

View attachment 377026

View attachment 377027

View attachment 377028

View attachment 377029

View attachment 377030

Many Thanks for your interest - to be continued .....

I am open for all comments and hints, negative and positiv - especially also related to the question of the hawse holes (which are already drilled off course
Hi Uwek , I took the liberty of posting this image pertaining to YOUR confirmation. Frank

CUBIA.jpg
 
some small more progress with installing the small beams etc.

View attachment 377021
The bowsprit is a dummy only to get a feeling

View attachment 377022

View attachment 377023

View attachment 377024

View attachment 377025

View attachment 377026

View attachment 377027

View attachment 377028

View attachment 377029

View attachment 377030

Many Thanks for your interest - to be continued .....

I am open for all comments and hints, negative and positiv - especially also related to the question of the hawse holes (which are already drilled off course
Hi Uwe,

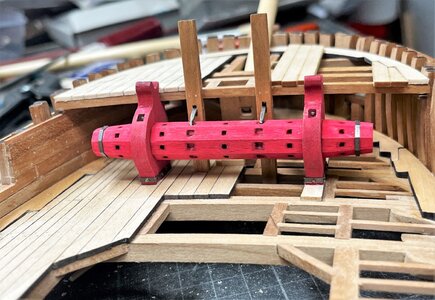
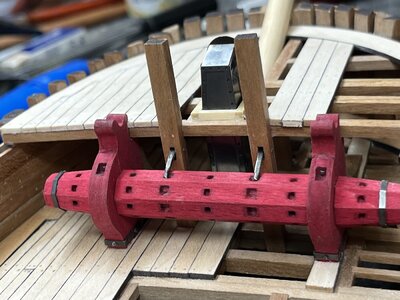
The red on the winch looks a little pink, it could be the picture but if not it is maybe an idea to give it a dilluted wash with bitumen.
 
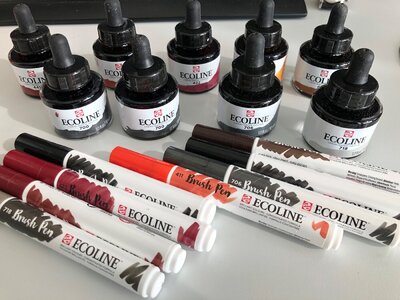
What do you use for the Red coloring of wood, an ink or paint?
Hallo Kurt,
I am using the watercolours from ecoline most often the brush pens
ecoline.jpg

Hi Uwe,

The red on the winch looks a little pink, it could be the picture but if not it is maybe an idea to give it a dilluted wash with bitumen.
Hallo Maarten,
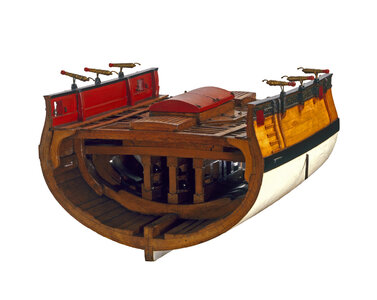
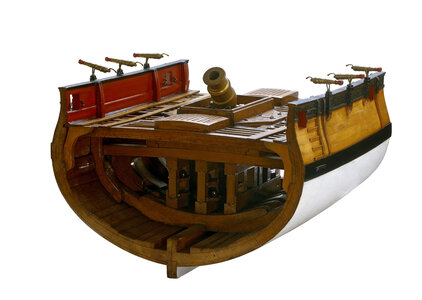
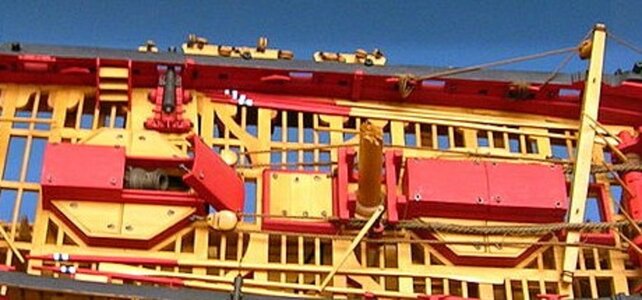
you are right - but by 80% it seems to be the artificial lights - in real the colour is more dark and is closer to the red colour on some contemporary cross sections
f2489_1.jpg

the same model, but different light situation

f2489_2 (1).jpg

l0277_001.jpg

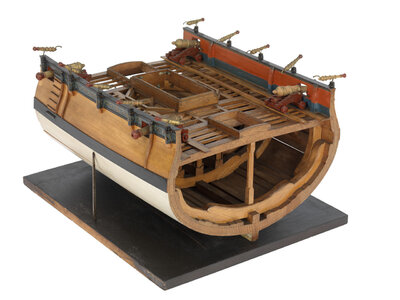
Here is the splittmodel built by Lightley - Pinky like mine

Granado_bomb_vessel_modelb.jpg

It is hard to find the correct colour, especially if you have only photos of other models - I do not like painting my models
 
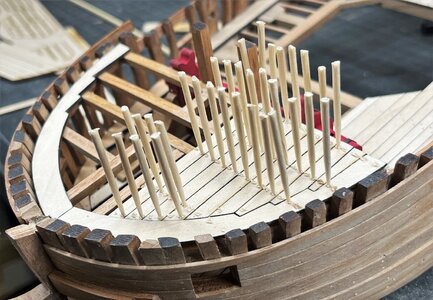
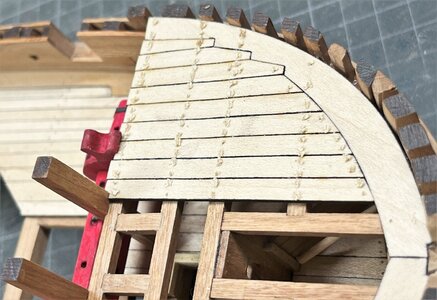
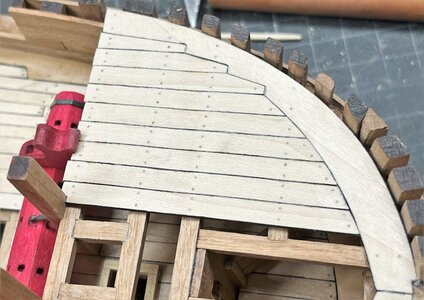
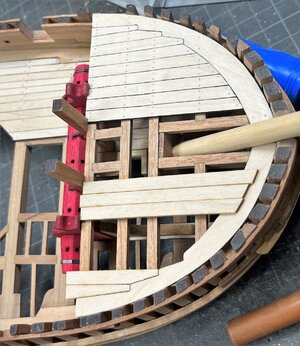
some small progress with some planking

IMG_2627.jpg

IMG_2628.jpg

IMG_2629.jpg

in the center and the other side I will leave some areas open

IMG_2630.jpg

IMG_2631.jpg

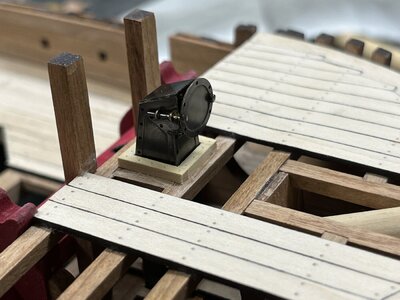
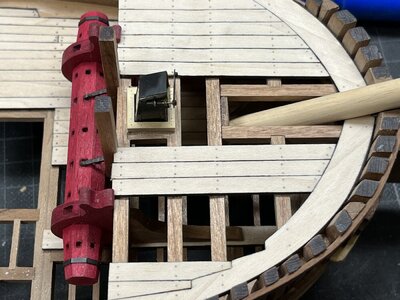
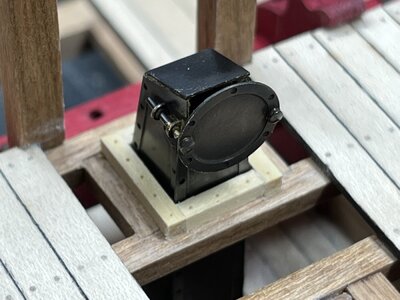
it was also necessary to prepare the chimney in order to fix the wooden hatch

IMG_2674.jpg

IMG_2675.jpg

IMG_2676.jpg

IMG_2677.jpg

IMG_2678.jpg

Many Thanks for your interest .... to be continued
 
some small progress with some planking

View attachment 378313

View attachment 378314

View attachment 378315

in the center and the other side I will leave some areas open

View attachment 378316

View attachment 378317

it was also necessary to prepare the chimney in order to fix the wooden hatch

View attachment 378318

View attachment 378319

View attachment 378320

View attachment 378321

View attachment 378322

Many Thanks for your interest .... to be continued
Good afternoon. Wow that chimney is superb. Just outstanding detail on this build. Cheers Grant
 
Witaj
Pięknie położona deka na pokładzie ,komin super. Pozdrawiam Mirek

Hello
Beautifully located deck on the deck, great chimney. Regards, Mirek
 
Last edited by a moderator:
Back
Top