HMS GRANADO - full hull - POF kit by CAF in 1:48 - by Uwe

and also many many thanks to all of you for your kind comments and the likes received.
But also the number of views of members looking into my log.
Many thanks - it is very motivating

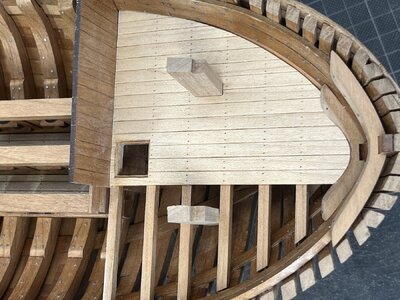
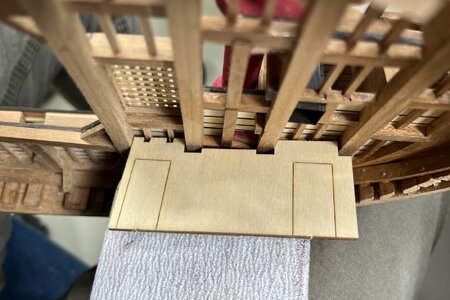
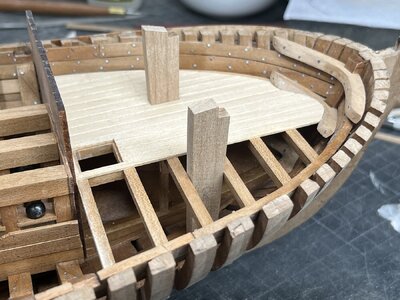
Now I can start with the platforms for and aft of the mortar bases.
Especially the location of the aft platform is realeted to the mortar, because it is starting from there directly, only separated by a bulkhead wall

The vertical parts of the windlass are still only dry-fitted
IMG_4262.jpg

IMG_4263.jpg

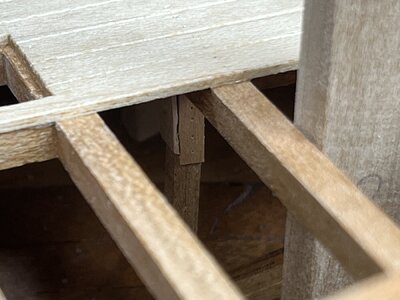
under the platform a small pillar is located

IMG_4264.jpg


IMG_4265.jpg

Many Thanks for your interest in my building log .... to be continued .....
 
There were two of this sheet in the kit - but be aware, that this sheet has two "names" 5A and 4B
View attachment 431180
This photo I published in the kit review


If it is missing you have to contact Tom from CAF to get a second one.
I think Tom has changed the layout of the sheets since you got your's Uwe. He now supplies two sheets with the number 5A and a bigger, single separate sheet for 4B. My kit has the same problem as profmomo's of only one 5A sheet in the box. l got on to Tom and he is sending me a second sheet immediately. Amazing service from from this great company
 
Many thanks. I have also one 4B, but it is not the same than 5A. I thinks 4B is mistake. My 4B is like inside book N°2 page 24.
I think Man who preper box forget one 5A inside many boxes.
 
I think Tom has changed the layout of the sheets since you got your's Uwe. He now supplies two sheets with the number 5A and a bigger, single separate sheet for 4B. My kit has the same problem as profmomo's of only one 5A sheet in the box. l got on to Tom and he is sending me a second sheet immediately. Amazing service from from this great company
exactly.
 
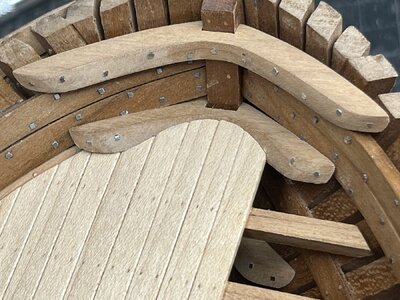
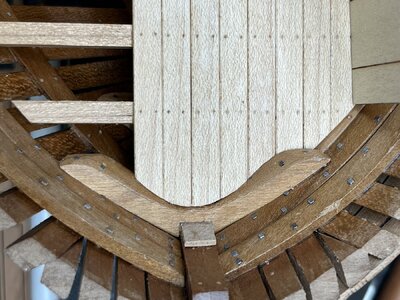
Wow Uwe, very precise work on the planks and the breast hook. I had to look twice and also checked the plans, everything is correct. To explain briefly what I mean, the planks on the two Frenchmen I'm building are resting on the hooks. Here you can see one of the differences, very interesting.
 
Witaj
Pięknie położona podłoga, spasowałeś wszystko pięknie i chyba leciutko fazowałeś deskę podłogową bardzo mi się podoba .Pozdrawiam Mirek

Hello
Beautifully laid floor, you fitted everything together beautifully and I think you beveled the floorboard very lightly, I really like it. Regards, Mirek
 
Last edited by a moderator:
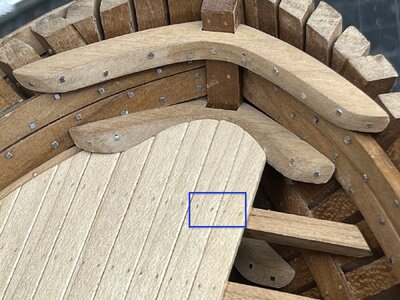
Bonjour @Uwek, quelle technique allez vous employeur pour imiter le cloutage des planches du pont.
Je vois que des traces de pointes sont déjà faites. S'agit-il d'un simple pointage ?
Merci d'avance.

Hello @Uwek, what technique will you use to imitate the nailing of the bridge planks.
I see that traces of points are already made. Is it a simple score?
Thanks in advance.

IMG_4265.jpg
 
Last edited by a moderator:
Many thanks to @dockattner , @Keef , @Steef66 , @profmomo , @Tobias , @pianoforte , @Mirek , @Cathber , @RDN1954 , @pingu57 , @RogerD for your support and kind words, all the others giving a like or watching my thread - highly appreciated

Wow Uwe, very precise work on the planks and the breast hook. I had to look twice and also checked the plans, everything is correct.
IMG_0691bb.jpg
you mean this part, or?
yes I tried to show the situation more or less like shown in Goodwins book - I am by myself happy with the result

Bonjour @Uwek, quelle technique allez vous employeur pour imiter le cloutage des planches du pont.
Je vois que des traces de pointes sont déjà faites. S'agit-il d'un simple pointage ?
Merci d'avance.

Hello @Uwek, what technique will you use to imitate the nailing of the bridge planks.
I see that traces of points are already made. Is it a simple score?
Thanks in advance.
Yes correct only a small pressed hole by a scriber
the lower decks I am making no treenails, I guess they were only nailed down towards the beams - only on the main deck which can be washed over by seawater is treenailed
 
After the installation of the fore platform planking the small bulkheads and internal walls have to be prepared

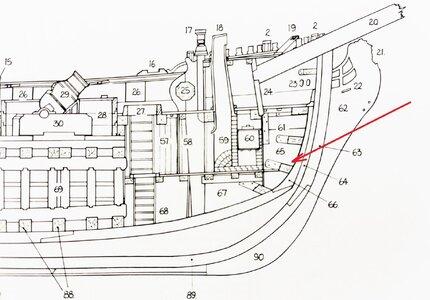
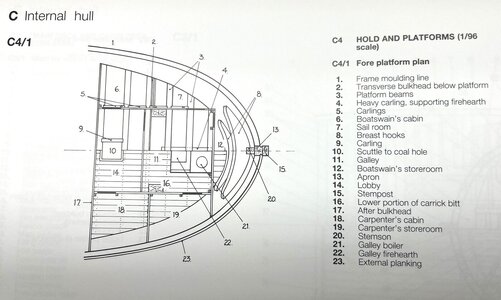
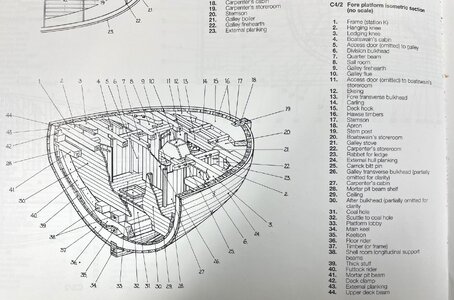
First of all we take a look at the Goodwin sketches showing the interior

the top view
IMG_4300.jpg

and also the isometric view
IMG_4305.jpg

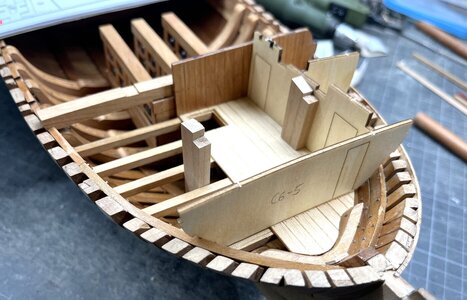
The kit is providing several templates with which the real insitu-situation on your model can be chacked and the final walls can be prepared

IMG_4266.jpg

IMG_4267.jpg

using the template to check the fit with the beams and carlings on the upper part - not really important for my model but good to know, that it would fit very well

IMG_4272.jpg

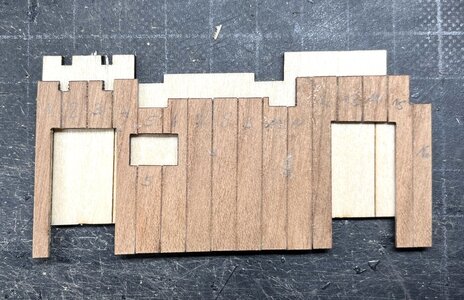
This wall I made (full of enthusiasm) one year ago - it is not fitting to the template -> sometimes it would be good to think before you do something
=> this wall has to be done once more - lessons learned

IMG_4273.jpg

but before some more impressions and details

IMG_4268.jpg

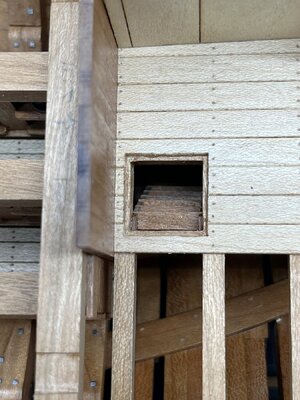
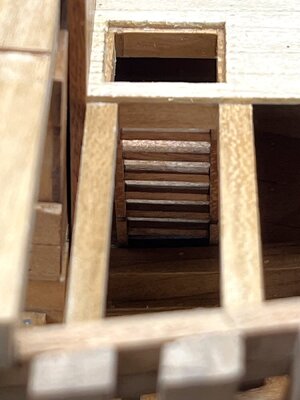
the ladder down to the coal hole was done - in my section model of the Granado I installed here a monkey ladder

IMG_4270.jpg

IMG_4271.jpg

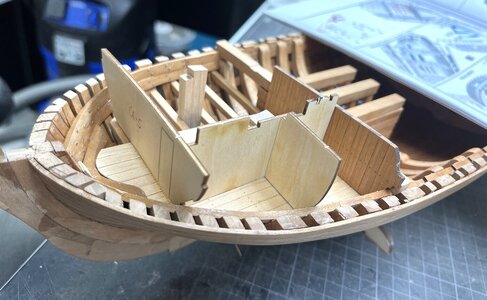
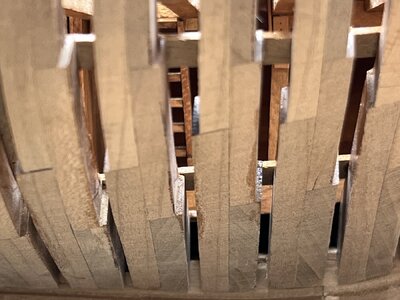
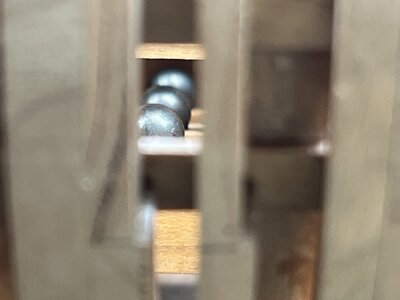
the view from the side - maybe I cut out some openings at the end to prepare a better side-view

IMG_4277.jpg

IMG_4279.jpg

many Thanks for your interest .... to be continued ......
 
After the installation of the fore platform planking the small bulkheads and internal walls have to be prepared

First of all we take a look at the Goodwin sketches showing the interior

the top view
View attachment 432905

and also the isometric view
View attachment 432906

The kit is providing several templates with which the real insitu-situation on your model can be chacked and the final walls can be prepared

View attachment 432896

View attachment 432897

using the template to check the fit with the beams and carlings on the upper part - not really important for my model but good to know, that it would fit very well

View attachment 432901

This wall I made (full of enthusiasm) one year ago - it is not fitting to the template -> sometimes it would be good to think before you do something
=> this wall has to be done once more - lessons learned

View attachment 432902

but before some more impressions and details

View attachment 432898

the ladder down to the coal hole was done - in my section model of the Granado I installed here a monkey ladder

View attachment 432899

View attachment 432900

the view from the side - maybe I cut out some openings at the end to prepare a better side-view

View attachment 432903

View attachment 432904

many Thanks for your interest .... to be continued ......
Puzzling on the square cm’s with a nice outcome, Uwe.
Regards, Peter
 
Back
Top