Looking great Uwe, and also very nice pictures.
Now back to the puzzle of the walls, i guess?
Now back to the puzzle of the walls, i guess?
 |
As a way to introduce our brass coins to the community, we will raffle off a free coin during the month of August. Follow link ABOVE for instructions for entering. |
 |
 |
The beloved Ships in Scale Magazine is back and charting a new course for 2026! Discover new skills, new techniques, and new inspirations in every issue. NOTE THAT OUR FIRST ISSUE WILL BE JAN/FEB 2026 |
 |
I think there is no problem - the problem was myselfVery nice work, Uwe. As for the partition wall, it seems to me that the boards are a bit too wide. I remember the prefabricated boards from Le Coureur and they fitted very well. I'm curious Uwe, what's the problem?
I think there is no problem - the problem was myself
Yes, the widths of the boards are slightly bigger than necessary, but I guess it was the idea to have enough meat for the char sanding.
This can be easily solved with sanding all baords slightly more or sanding one board much more
I was one year ago somehow in a rush - or I was not thinking about what to make - maybe it was the first interanl wall I prepared and did not check with the templates
But absolutely now problem - because I have spare walls - I will prepare only one side of the interior walls
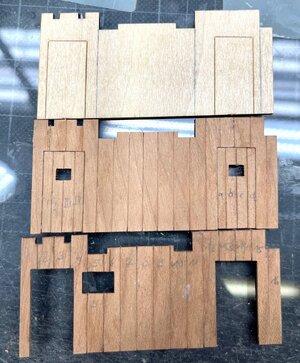
on the top: template
center: the second made wall - out of the spare boards
down: the wrong wall named "without brain"
View attachment 433216
j’ai encore à gauche et à droite un peu de viande pour ajuster le mur à la situation réelle du modèle
Égalementsur mon KIT, c’est plus grand égale. Je pense que c’est fait pour que chacun puisse l’adapter à son modèle.
Bonjour à Tous. Je viens de recevoir la plaque 5B qui manquait dans mon KIT N° 2. TOM a réagit très vite.I think Tom has changed the layout of the sheets since you got your's Uwe. He now supplies two sheets with the number 5A and a bigger, single separate sheet for 4B. My kit has the same problem as profmomo's of only one 5A sheet in the box. l got on to Tom and he is sending me a second sheet immediately. Amazing service from from this great company
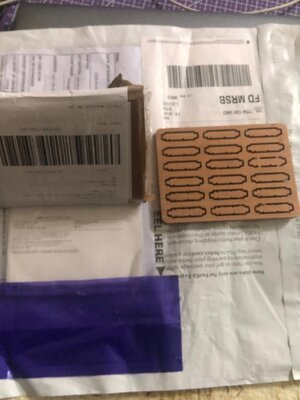

Got mine today as well. Great service from Tom at CAF ModelsBonjour à Tous. Je viens de recevoir la plaque 5B qui manquait dans mon KIT N° 2. TOM a réagit très vite.
View attachment 433493
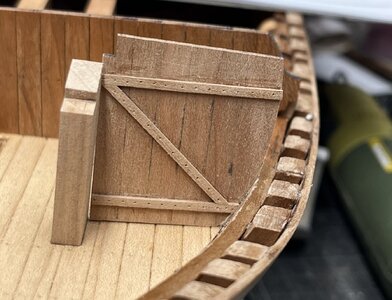
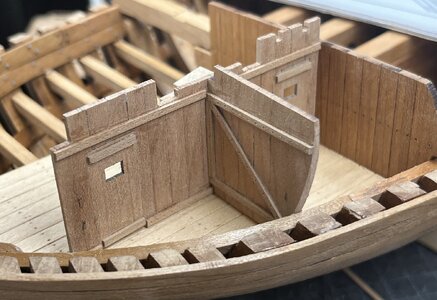
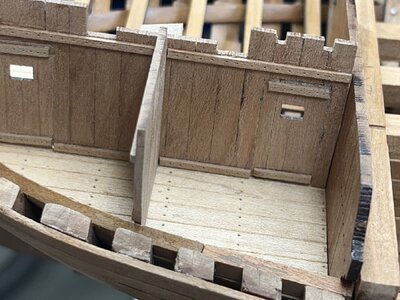
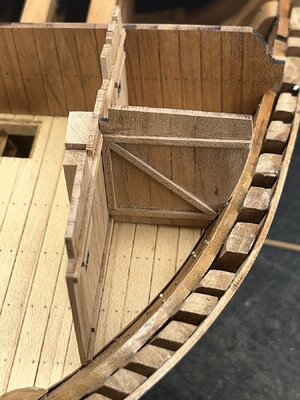


Beautiful and fun to look at!Very good news, that you received the spare parts directly from CAF - and so fast
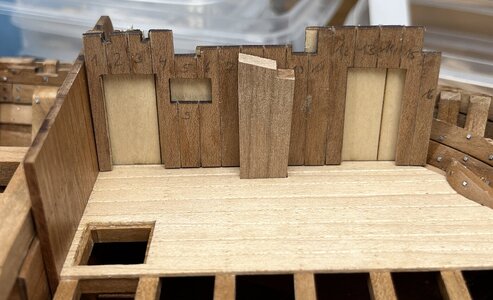
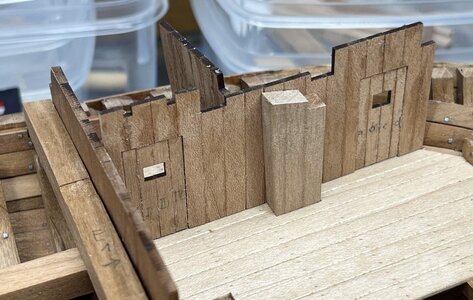
I worked further with the intereior walls of the fore platform
Once more the "wrong" wall and behind the template - on the right door opening you can recognize the mistake with the wrong location of the door - ok, nobody would recognize, but ......
View attachment 434220
the corrected wall at place (still everything dry fitted
View attachment 434221
the transverse bulkhead between the boatswain´s cabin and the sail room
View attachment 434222
on the left the sail room - on the right the boatswain´s cabin
View attachment 434226
View attachment 434228
View attachment 434227
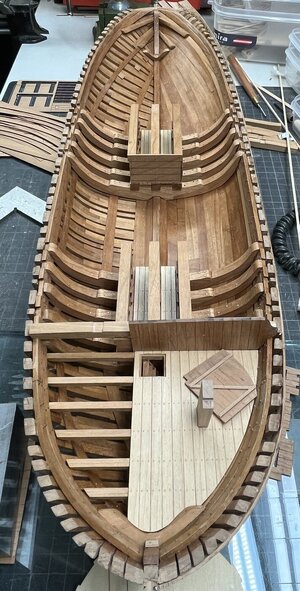
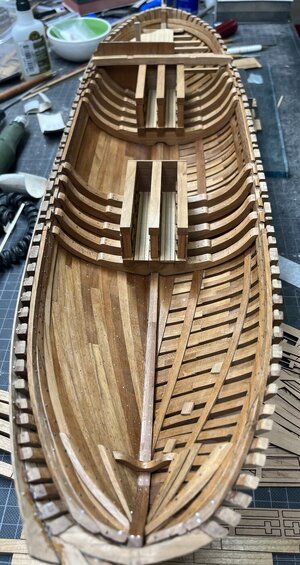
after some time once more an overall view of the lower hull segment
View attachment 434223
View attachment 434224
View attachment 434225
Many Thanks for your interest in my building log .... to be continued .....

Looking amazing Uwe. Beautifully done.Very good news, that you received the spare parts directly from CAF - and so fast
I worked further with the intereior walls of the fore platform
Once more the "wrong" wall and behind the template - on the right door opening you can recognize the mistake with the wrong location of the door - ok, nobody would recognize, but ......
View attachment 434220
the corrected wall at place (still everything dry fitted
View attachment 434221
the transverse bulkhead between the boatswain´s cabin and the sail room
View attachment 434222
on the left the sail room - on the right the boatswain´s cabin
View attachment 434226
View attachment 434228
View attachment 434227
after some time once more an overall view of the lower hull segment
View attachment 434223
View attachment 434224
View attachment 434225
Many Thanks for your interest in my building log .... to be continued .....
Good morning Uwek. It is fantastic to have the ship sawn in half as all this detail you add is displayed. It must be something all POF modellers strive for. No names mentioned however there is another beautifully crafted POF KingfisherVery good news, that you received the spare parts directly from CAF - and so fast
I worked further with the intereior walls of the fore platform
Once more the "wrong" wall and behind the template - on the right door opening you can recognize the mistake with the wrong location of the door - ok, nobody would recognize, but ......
View attachment 434220
the corrected wall at place (still everything dry fitted
View attachment 434221
the transverse bulkhead between the boatswain´s cabin and the sail room
View attachment 434222
on the left the sail room - on the right the boatswain´s cabin
View attachment 434226
View attachment 434228
View attachment 434227
after some time once more an overall view of the lower hull segment
View attachment 434223
View attachment 434224
View attachment 434225
Many Thanks for your interest in my building log .... to be continued .....

Hi Uwe.Many Many Thanks for all your interest, in the comments, likes and visits of my building log
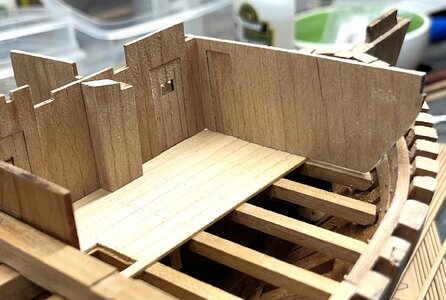
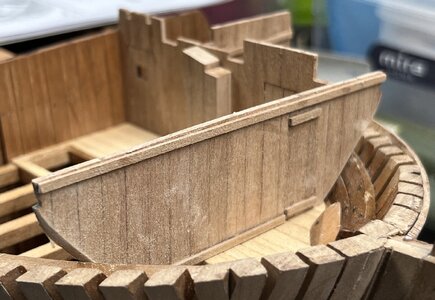
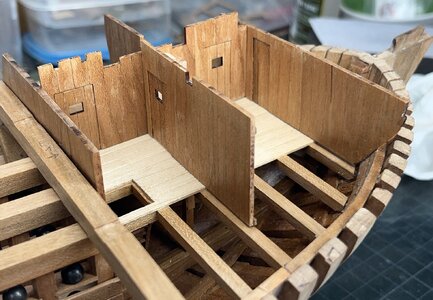
Going further with the interior walls of the fore platform
The front bulkhead
View attachment 434705
View attachment 434706
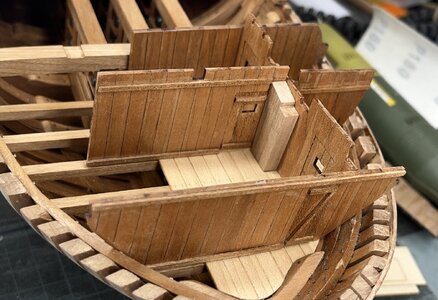
and the aft wall to the galley room
View attachment 434707
View attachment 434708
at this stage I realized some points:
1) first of all it is looking strange with the walls hanging in the air without deckplanking -> maybe to cut them shorter or ..... ?
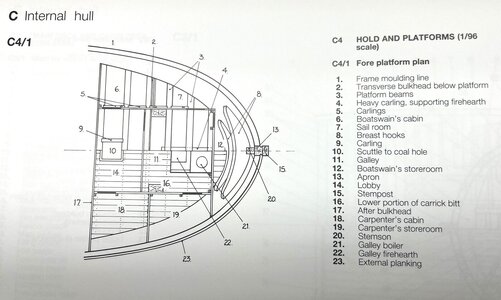
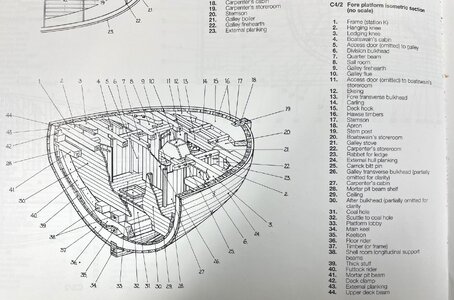
Once more a look at the Goodwin drawings
View attachment 434709
View attachment 434714
S..... I forgot completely that there is a galley stove and boiler
2) The stove needs to be on top of deck beams - hanging partly in the air is not a solution .....
Here you can see the base for the stove appr. in the correct place
View attachment 434710
some more planks are necessary - definitely
View attachment 434711
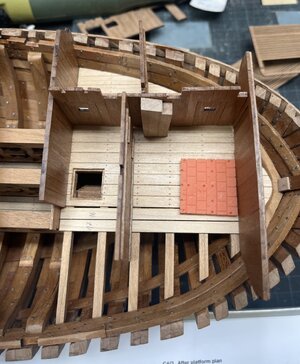
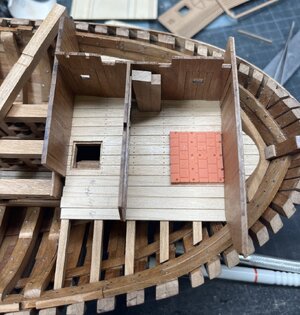
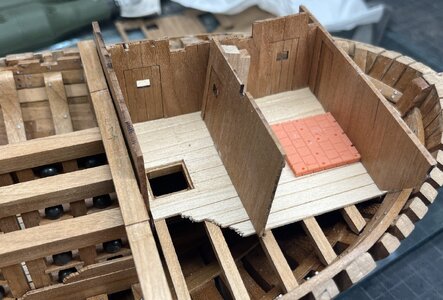
and here you see my final solution for this area => the walls are on top of deck planking and also the stove
View attachment 434712
so here the final deck planking
View attachment 434713
Many Thanks for your interest in my work and log .... to be continued .....

