- Joined
- Oct 1, 2023
- Messages
- 2,006
- Points
- 488

 |
As a way to introduce our brass coins to the community, we will raffle off a free coin during the month of August. Follow link ABOVE for instructions for entering. |
 |
 |
The beloved Ships in Scale Magazine is back and charting a new course for 2026! Discover new skills, new techniques, and new inspirations in every issue. NOTE THAT OUR FIRST ISSUE WILL BE JAN/FEB 2026 |
 |

It's a great tool; I use mine all the time. In this picture I am amusing it like a vertical drum sander. I have bolted mine to a sacrificed cutting board for better stability and you can store frequently used bits in the top holder.I'm looking at a Dremel 220-01 rotary tool drill press
View attachment 496712
Does anyone have experience with this tool?
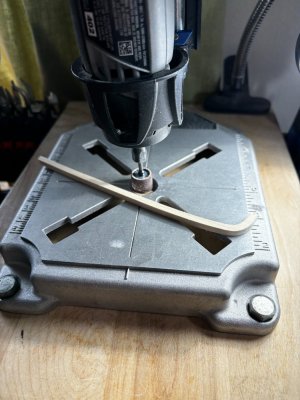
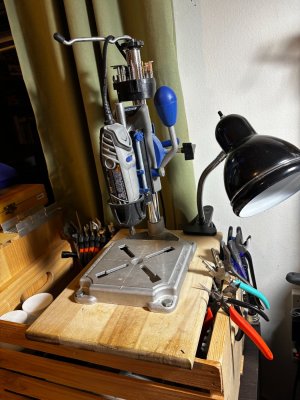

Thank you DanielIt's a great tool; I use mine all the time. In this picture I am amusing it like a vertical drum sander. I have bolted mine to a sacrificed cutting board for better stability and you can store frequently used bits in the top holder.
View attachment 496733View attachment 496734


I got the top of the line (4300-5) at Amazon for;$85.. overnight delivery should be here before 8amYea the holder is designed to hold a Dremel rotary tool. The box the drill press came in should give you all the model numbers it will accommodate. Here in Houston my local Home Depot carries the whole line of Dremel products.


A custom jig, always a much-needed item in most builds.

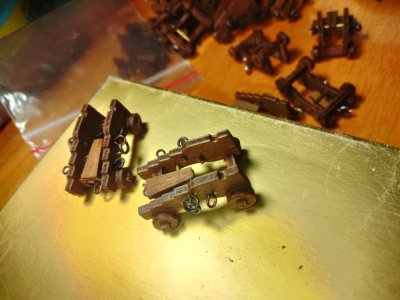

Here's my first attempt by wrapping around a .78mm drill bit. I think it works to scale. It took me almost two minutes to make. Ill get out my jewelry pliers and see what size I can make. They should be faster. The kit calls for 400 eyebolts of which two each are for each cannon. Following @Jimsky cannon tutorial I will need about 252 for the cannons. That's more than 650 eyebolts. It's quite a daunting task but I have trouble taking a shortcut when I know I can do better. At the price of time and effort.This is about as small as I can get with bead smith round end pliers and 0.40mm wire. the loop OD is 2mm and ID is 1mm.
View attachment 498043
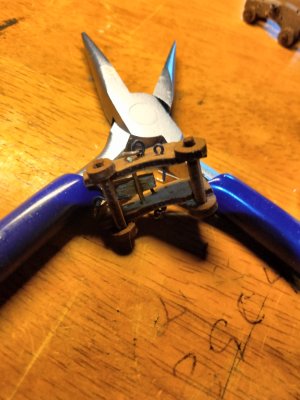
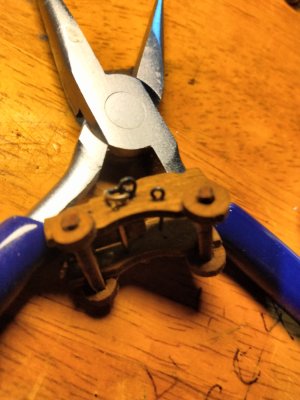


Hi, Ted.Further comments on making eyebolts.
My two jewelers pliers measure 1.5 and 1.58mm. I'm back to the drill bit. I'll crank out as many as I can in an hour and reevaluate.
Any feed on the suitability/size of the .78mm eyebolts would be appreciated before I get in too deep.
Should they be a little larger?
Happy modeling
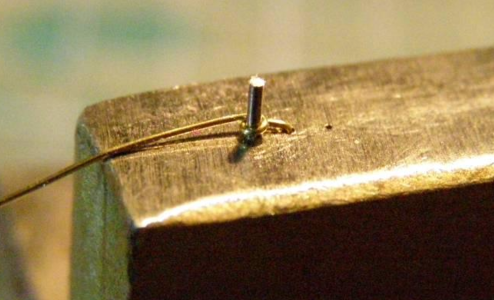
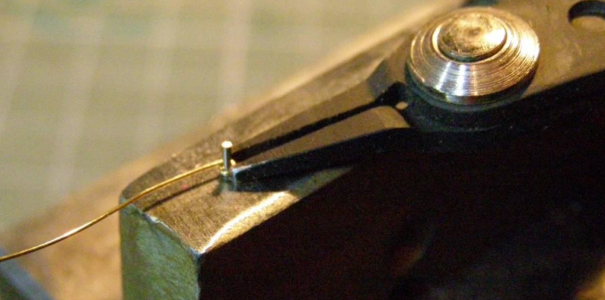
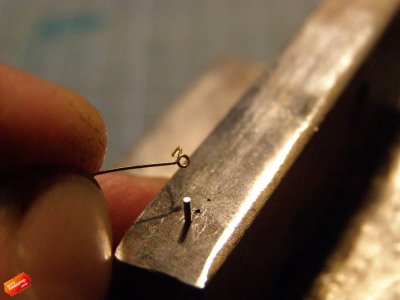
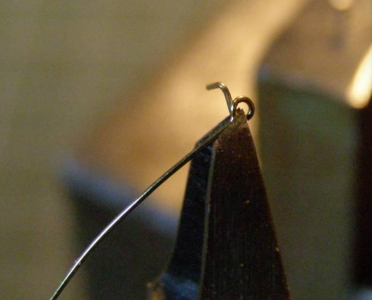
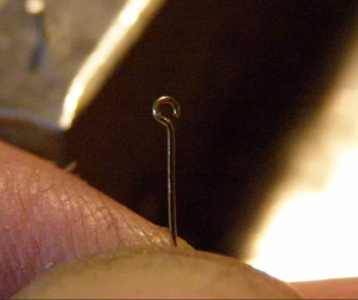
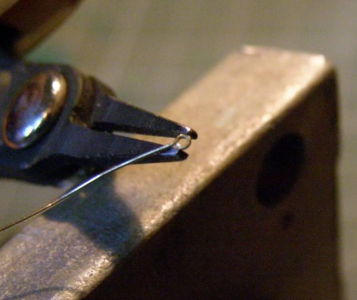
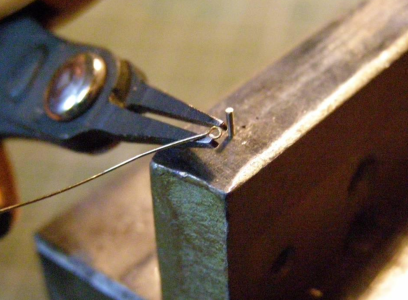
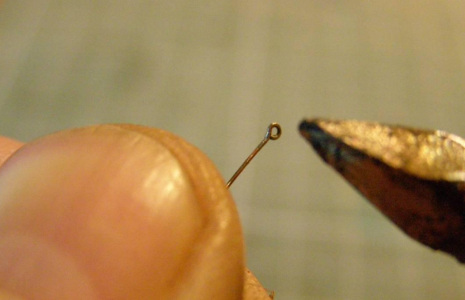

That's a much better method. I'll adopt it immediately with kind regards.Hi, Ted.
Below is the link where I made a tutorial for making eyebolts and ringbolts. It may give you an idea.
Making the Ringbolts - an introduction to metalsmith works
A bolt fitted with a ring through its eye, used for securing, running, rigging, etc. - called Ringbolt Greetings folks. This type of ship element freely available thru many different model builder suppliers, and included with every kit. For the most part, they are OK to use 'as is', but... some...shipsofscale.com
Also, I have a series of photos of the process of making the eyebolts/ringbolts by my friend Sergey, he is also a member of our forum @bibigon
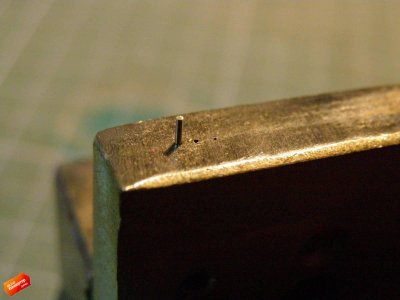
Make a jig first. The pin is the broken drillbit or hard wire, The diameter of the drillbit\wire is your ID (inner diameter). The pin should be inserted tight (it shouldn't move). I suggest drilling a slightly smaller hole and pushing the pin with a hammer. Next, drill the hole exactly the diameter of your wire.
View attachment 498084
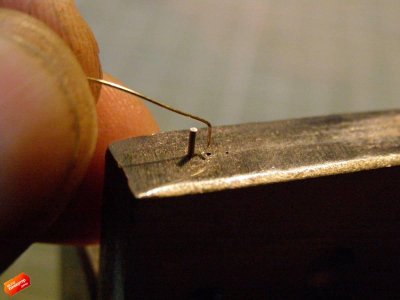
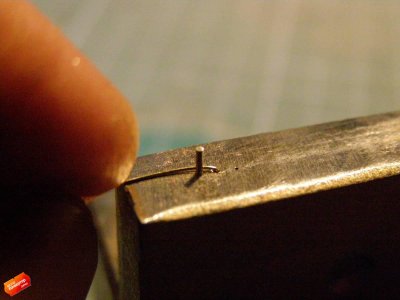
Next... Insert the wire and twist around the pin.
View attachment 498085
View attachment 498086
View attachment 498087
Holding the ring with flat pliers twist the ring so it is tight to the pin.
View attachment 498088
Next, remove the formed eyering.
View attachment 498089
Next, cut the excess wire as close as you can to the beginning of the ring as shown below.
View attachment 498090
You should have similar to the image below
View attachment 498091
Now you have to close the ring with the flat pliers.
View attachment 498092
View attachment 498094
The last step is optional. If you want, you can solder the gap with soft or hard solder.
View attachment 498095
It is not difficult and not time-consuming. But...you can make the eyerings of any size. Hope you and other's like it!
