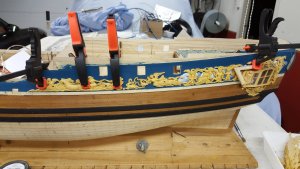
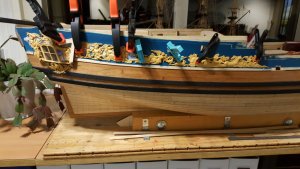
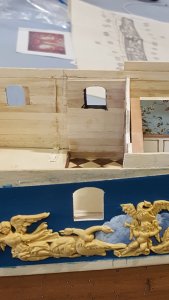
Finally it is time to fit the carvings to the stern. This to protect my very delicate glass windows.
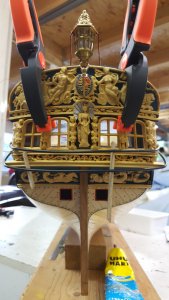
First I glued in the top part followed by the lower part. The lower part is rather thick so you really need to shape it correctly before fitting so it nicely follows the shape of the rounded stern. I did this with lots of steam and a soldering iron, ofcourse this all before I waxed and polished them with bees wax.
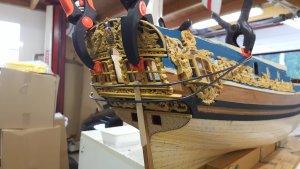
I glue with Uhu hart a clear glue for modelling. To tighten everything I used next to a lot of clamps two pieces of solid copper electricity wire which I wrapped around and put to tension by twisting the wires ends.
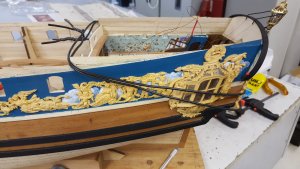
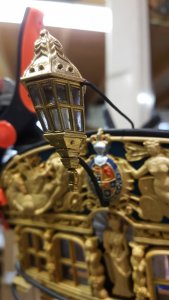
Next step is the lantern. In the lantern I build a large candle with a candlelight mini LED.
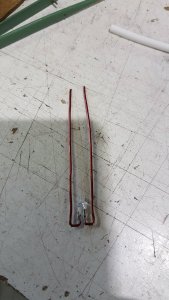
The red coated copper wires are the arms of the lantern and directly the wiring to the LED. These I shaped to fit within the lantern. As a candle simulation I used white heat shrink.
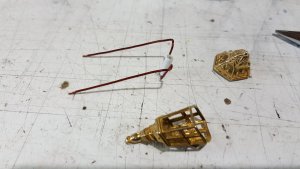
The lower arm of the lantern I pre shaped and I drilled a hole in the base of the lantern to solder it in.
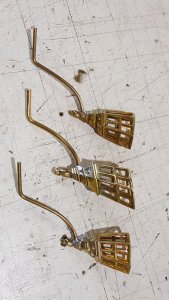
In the lantern I fitted clear plastic glass for the windows before glueing it together with hot melt glue. In the top of the lantern I drilled out the holes in the small chimney
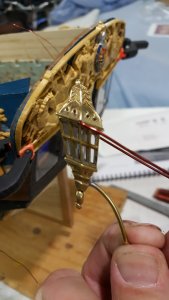
The arms of the lantern are painted matt black, the rest will remain gold.
Now it is time for the top roll on top of the carvings. This one I also shaped with steam and a soldering iron.
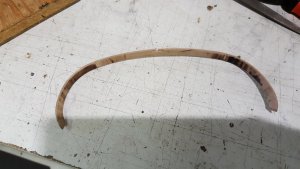
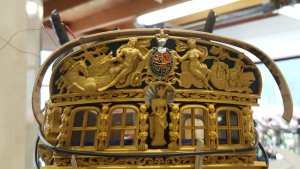
before glueing it I painted it black and glued and clamped it in place.
This is the end result.
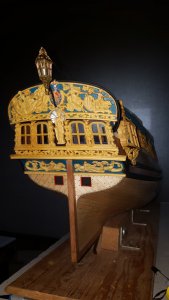
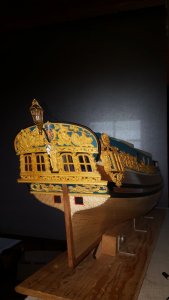
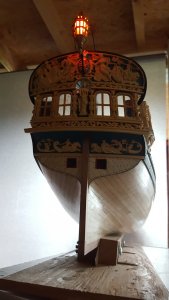
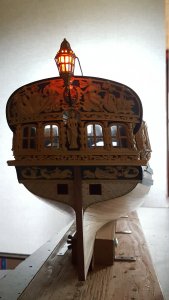
.


