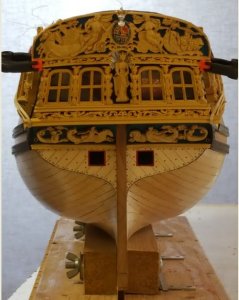
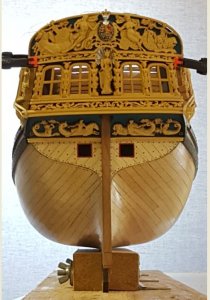
HMS Royal Caroline kit ZHL 1/30

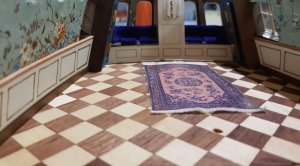
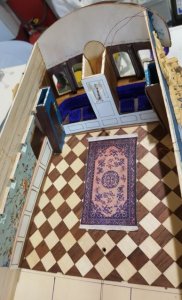
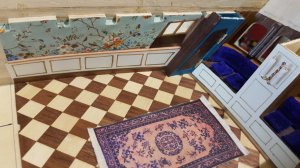
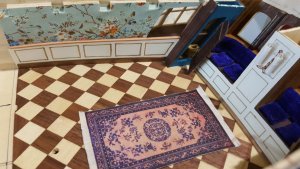
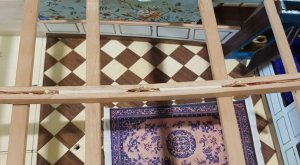
Time for some decoration, wall paper in the kings cabin. For this I just printed georgian wall paper I picked from internet on my laser printer. After printing I sprayed it with a layer of hair lacquer to additionally protect it. The rearside of the cabin against the stern is covered with wallnut and oiled. The top of the rear bench and the sides against the hull above the bench are covered with the deckplaninking that came with the kit and oiled as well. I don't use the kits deck planking as I think the color is to dark and the size incorrect. For the deck I will use "Linden" or in English basswood.
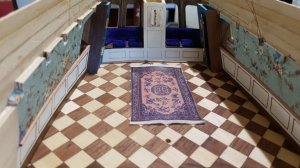
King Cabin 1.JPG
King cabin 2.JPG
King cabin 3.JPG
King cabin 4.JPG
King cabin 5.JPG
The chandelier is part of the lighting and build with small mini candle LEDs, these together with the lanterns on the kings bed and the 3 additional LEDs in the middle deck beam will create all lighting for the cabin.
For the middle deck beam I cutted a slot to fit in some micro LEDs which were part of a christmas lighting set, very cheap and efficient.
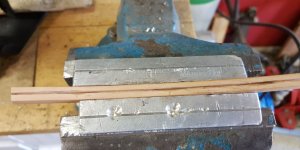
Deck beam light.JPG
Deck beam light 2.JPG
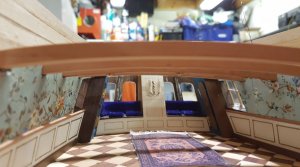
Fitted the 3 LEDs and closed the slot with wood and sanded again.
Deck beam light 3.JPG
And the finall result of the deckbeam with the micro LEDs that you just see popping out of the deckbeam.
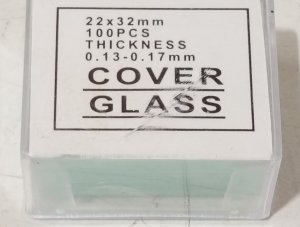
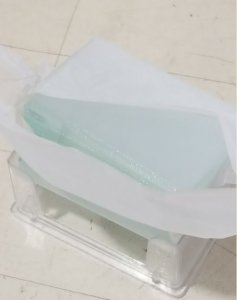
Now it is first time to fit the stern window glass, I will use microscope cover sheet glass for this, then followed by the Kings bedroom and the alleyways towards the main cabin. All the furniture will be fitted later just before finall fitting of the deck beams.
 
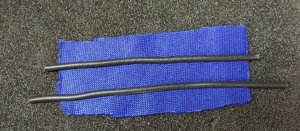
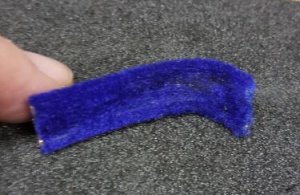
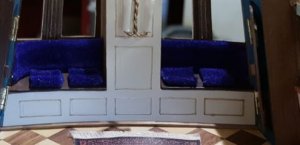
Before I forget, the cushions of the rear bench are made from material supplied with the kit for covering the stand.
I used electricity wire which I put in between a piece of cloth and glued with hot melt glue together.
Rear bench 3.JPG
Rear bench 4.JPG
Rear bench 5.JPG
Thats it for now, happy modelling.
 
Hi
Very nice workmanship.
Just love the kings cabin.
The wallpaper reminds me of William Morris wallpaper not sure if he was born then ??.

Denis.
 
Last edited:
Hi Denis,

Thx for your comment, I found it on internet being wallpaper from the georgian era. Looks like william morris has a lot of these prints also. Good source for the next cabin.
 
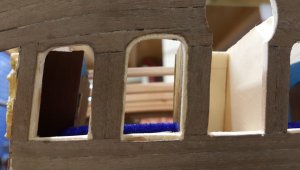
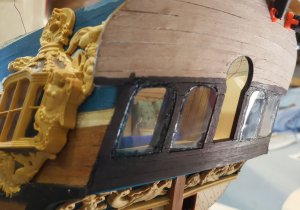
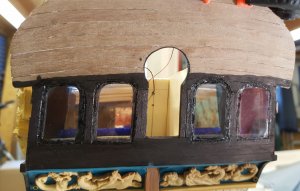
Herewith a brief update. It is time to put some glass in the window frames.
For this I use microscope cover glass which is realy realy realy thin and this I cut into shape using my Proxxon with a cutting disk. For the 4 windows I have used 10 pieces of glas because to continuoesly break while working on them.
Stern 12.JPG
Stern 13.JPG
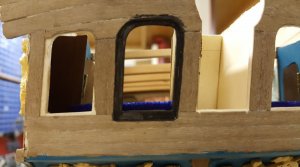
Before fitting the glass I first carve a space into the stern to fit the glass into. This space is painted black before gluing the glass with UHU hard glue.
Stern 11.JPG
Stern 10.JPG
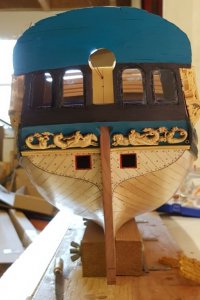
Finally after gluing the glass in it is safe to touch it without breaking it. It is also time to paint the stern lower part black. The nasty edges of the glass will be fully covered by the carvings and is invisible when finished.
Stern 9.JPG
Stern 8.JPG
Now it is time to paint the top of the stern Turquoise blue, same like the sides of the hull.
Stern 7.JPG
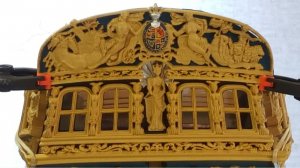
I also decided to paint the coat of arms of the king in their original colors confirm George II to break the large wood surfaces. As well as the surface behind queen caroline below in black and around her head in silver creating a nice gloss. This is purely dry fitting of the parts.
Stern 5.JPG
And the finall result while dry fitting.
stern 6.JPG
Stern 4.JPG
See you next time.
 
Wow....the stern is looking great. The beautifull carvings but especially I am fascinated by your hull planking.....first class. Thanks for showing us the progress...
 
Hi Uwe,

Many thx for the comment. Thats the good thing with double planking enabling you to create very smooth end result.

Tomorrow traveling to Stockholm where I wil visit the Vasa on Thursday. So this weekend no work on the RC.
 
Hi Uwe,

Many thx for the comment. Thats the good thing with double planking enabling you to create very smooth end result.

Tomorrow traveling to Stockholm where I wil visit the Vasa on Thursday. So this weekend no work on the RC.

I am jealous ..... wish you a very interesting visit of the museum.....and if you by accident see Fred Hocker ask him if want to proceed with his book „vasa I, the archeology of a Swedish warship“ I am waiting since 10 years for the second book of his promised series ;)
 
Today visited the Vasa museum in Stockholm, for every enthusiast a must see. Realy impresive and a dream for me finally came thrue. It took me and my wife ( sorry for her :-) ) 6 hours in the museum and we still missed to look at the 20 minutes movie about the ship. When back at home I will put a blog in the section ship for reference as I made some 100+ photos including photos from wood connections etc. Hopefully somebody can use them for reference.
If you ever have the possibility to go there then don't hesitate and take your time.
 
I am jealous ..... wish you a very interesting visit of the museum.....and if you by accident see Fred Hocker ask him if want to proceed with his book „vasa I, the archeology of a Swedish warship“ I am waiting since 10 years for the second book of his promised series ;)
Hi Uwe,

Sorry Fred was a day of probably on his way with Wilma :-).
But I bought Vasa 1 also which is a great reference, I asked them but no Vasa 2 yet. The interesting thing is however that they are currently scanning al decorations of the vessel in 3d and if these would be available these can be used for modelbuilding and 3d cnc carving. Maybe good things to come for Vasa 2.
 
Back
Top