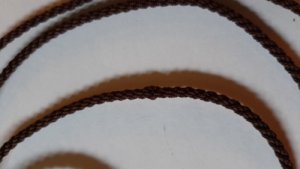
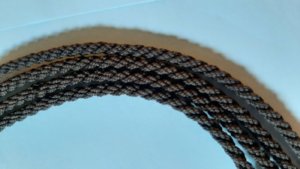
HMS Royal Caroline kit ZHL 1/30

Thanks for your first 'painting' introduction, Maarten. How fast it will dry and its reaction to water (you took the painting part with wet hand)? How this surface accept Oils?
Hi Jimsky,

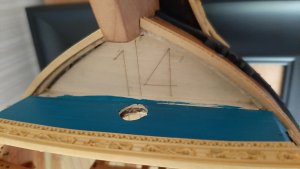
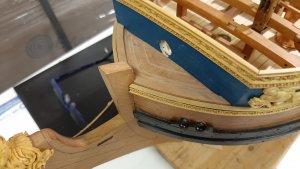
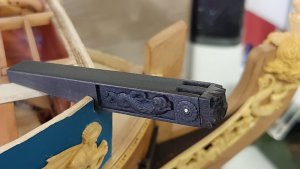
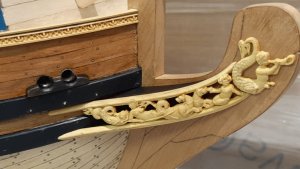
The Ecoline is absorbed by the wood and dries in a few minutes. After that I sanded with steel wool followed by treating it with oil twice.
For instance the anchor jib below was treated with this as well as the hawser hole blocks.
20190623_161352.jpg
20190623_142957.jpg
 
This is a truly remarkable build. To say this is a museum quality model ship is an understatement. You don’t need a museum, your model IS a museum. You covered carving, etching, wiring, glazing, lighting, rug making, furniture building, not to mention your ship building skills. We are worms and unworthy. Just kidding, this build is something to be very proud of.
 
That's great. I will watch intently, because I have invested in many sizes and colors of thread, however, they do not look like scale rope. Maybe I can use some to make rope by watching your log. Thanks again for showing off your skills and making me want to be a better modeler.
 
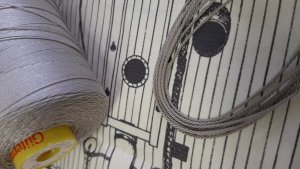
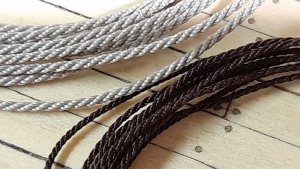
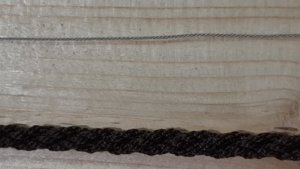
Time for creating rope. On the kit there is a wide variaty of ropes offered but I dont like the colors, so only solution is buy new or make my own and the last is most tempting due to the fun of creating your own.
20190716_092703.jpg
The black is black greenish and the brown is to dark.
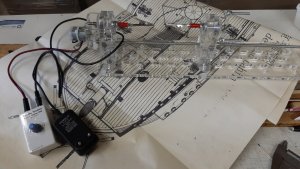
To make ropes I bought two rope machines from Domanoff a while ago, a serving machine and a rope walk. The serving machine is now setup for serving blocks. The rope machine is mounted on the ceiling of my workshop. It is a vertical rope walk.
20190716_135150.jpg
20190716_135115.jpg
I never made rope myself so time to google and found a nice article from Chuck of Syrene about Nylon rope from Gutermann. See the article link below

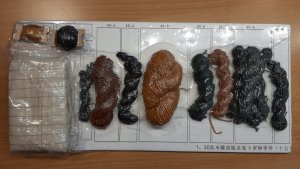
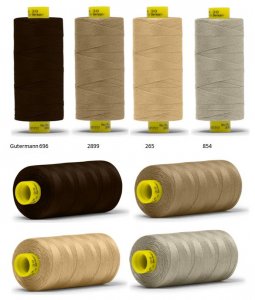
The threads mentioned I compared in an overview, one colour for tarred rope and three different tints for plain hemp rope.
Gutermann Colors.JPG
You need these in the sizes Mara 15, 30, 70 and 120.
I could find only 696 and 854 in all these sizes, so these I ordered via a german site. These are proffesional threads so not avalable in small size or at local shops.

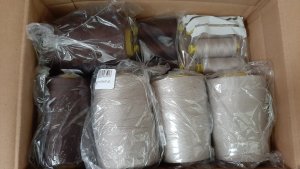
Yes the box with threads came in.
20190712_200418.jpg

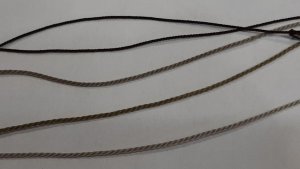
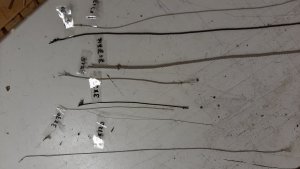
The first ropes I made are these, but more about that next time.
20190714_154856.jpg20190714_161405.jpg
20190716_174144.jpg
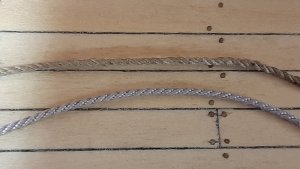
And this compared to a kit supplied rope of the same size.
20190714_155245.jpg
With the different threadsizes I can make cable and rope in similar sizes.
At tthe moment I am preparing an overview of all rope sizes needed and figuring out how to produce these with number of strands with or without core and in cable laid or rope laid.
The sizes I put in a rigging table in scale 1:30 for my model.
 

Attachments

...it is a lot of different rope sizes, you will have to deal.

There is a really superb video from Aleksey Domanov and his Master Class of making your own ropes. He presently explain every single aspect of making your own ropes. Unfortunate it is on Russian Language. It is 1:30 minutes video, however, staring from 60.00 he demonstrates making ropes in action. Highly recommenced to watch.


Sorry Maarten for hijacking your thread
 
Hallo Maarten,
with this topic I decided also to make my own ropes - It was helping me so much, to make this step. Exclamation-Mark
The comparison of the two ropes "kit content vs. home made" convinced me immediately.
And the kit ropes are not bad, but the hThumbs-Up
And Jim, many thanks also for the video link........ Thumbs-Up
Hi Uwe, great to hear. I was inspired by the article from Chuck about the poly rope.
As you can see the result is very crisp and these were only the first runs in my roping carreer. There is no fuzz at all in the ropes and yes it is poly but who cares the result is better then with cotton.
As we are working in scale we have to make these kind of decisions anyway, the original ship werent made from pear, ebony and boxwood either so why not using poly rope.
I will still decide to go for the brown rope or the hemp one and tar it for the standing rigging, but for that I will run some tests.
Now I am making an overview of all the different rope and cable sizes and how to create these.
See below my start of this which I will share in a table.
20190719_221521.jpg
I think only the stays and anchor ropes were cable laid, do you know if this is correct or were there other applications in cable?
Succes with your ropes, it is fun to do and very relaxed.
 
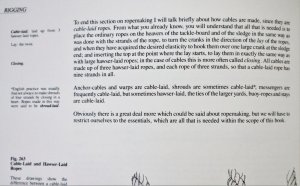
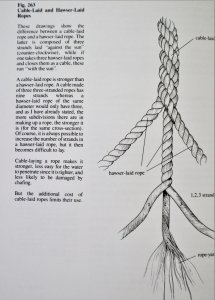
Once more Jean Boudriot is helping us - I found some answers in his book about the 74-gun ship, Volume 3


On page 100 he is talking about the difference of cable laid ropes and hawser laid ropes

IMG_30511.jpg

IMG_30521.jpg IMG_30531.jpg

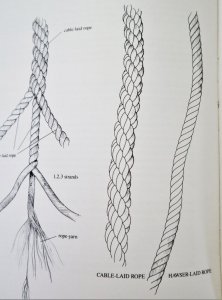
Very interesting also this sketch over 4 pages

IMG_30541.jpg

IMG_30551.jpgIMG_30561.jpgIMG_30571.jpg

Hope this is helping.....
 
Uwe, these pictures are amazing, makes me want to model an 18th century rope/cable shop.
In Rochefort there is model of a ropewalk, a little bit more modern, but also very interesting


and some photos of the Corderie Royale in Rochefort

 
Once more Jean Boudriot is helping us - I found some answers in his book about the 74-gun ship, Volume 3


On page 100 he is talking about the difference of cable laid ropes and hawser laid ropes

View attachment 105242

View attachment 105243 View attachment 105244

Very interesting also this sketch over 4 pages

View attachment 105245

View attachment 105246View attachment 105247View attachment 105248

Hope this is helping.....
Hi Uwe,

Exactly what I was looking for, great. Many thx.
 
In the meantime I am slightly further with the rope making. See below the thinnest 3 x 120 and the thickest sofar a 3x3x3x70 cable which is 3,1 mm and fits the size of the main stay.
20190801_222303.jpg

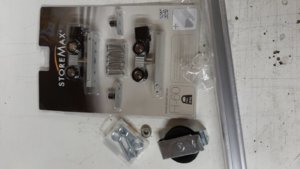
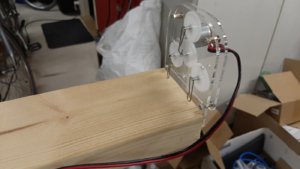
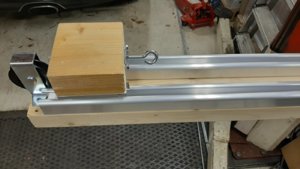
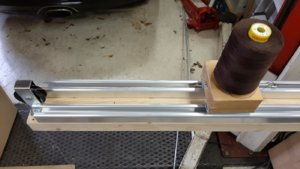
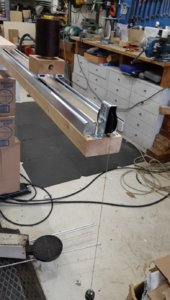
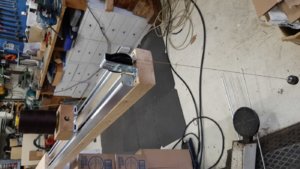
To make longer ropes I have changed the the small vertical ropewalk to a horizontal one. For this I build a carriage from rails for sliding doors.
20190725_214730.jpg
On the carriage i made an eye bolt which can rotate freely in a ball bearing. The tension on the rope is kept by a weight pulling on the carriage.
20190725_225002.jpg
20190725_225027.jpg
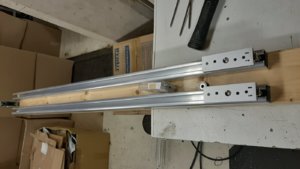
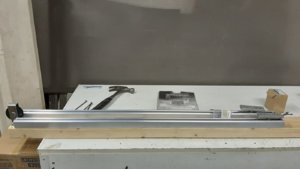
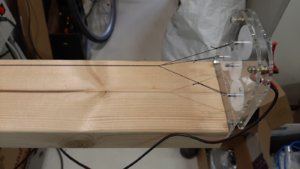
This sliding carriage is mounted on a beam of 2,4 mtr. The actual domanoff vertical ropewalk I mounted on the end of a second beam of 2,4 mtr.
20190729_225222.jpg
20190729_225238.jpg
By placing the beams on top of each other or behind 3ach other I can completely adjust the lenght of the rope to be made.
20190801_143101.jpg
20190801_143112.jpg

106532

It works perfect allthough I stil have some minor issues in the rope but this will be a matter of practising. I can now make every diameter of rope and cable I need in lenght up to 8 mtrs.
 

Attachments

  • 20190801_143131.jpg
    20190801_143131.jpg
    181.1 KB · Views: 19
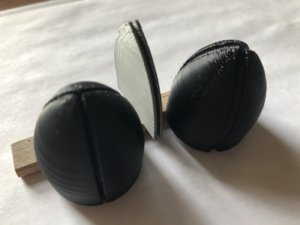
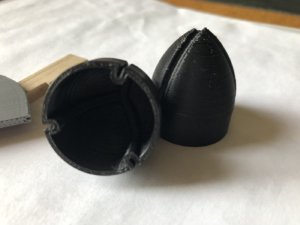
Hallo Maarten (I think I can speak German, now ;)) If you don't mind, I think you should use one of those 'spools' (Russian word) or guide head. If you are using a ropemaking machine in the vertical position, you don't really need them. Since your device setup horizontally, you may benefit from those guides to evenly twist.

106535

106536

they are for the 3 strand rope, but for different thread thicknesses.
 
Hallo Maarten (I think I can speak German, now ;)) If you don't mind, I think you should use one of those 'spools' (Russian word) or guide head. If you are using a ropemaking machine in the vertical position, you don't really need them. Since your device setup horizontally, you may benefit from those guides to evenly twist.

View attachment 106535

View attachment 106536

they are for the 3 strand rope, but for different thread thicknesses.
Hi Jim,

See below a small error in the cable, strands are twisted which I indeed could avoid with the spools.
20190802_083959.jpg
I think these could be easily made so I wil give it a try.

Of the 2,5 mtr rope there are 3 faults and as long they are not in the middle they can be removed by hand.
20190802_083321.jpg
 
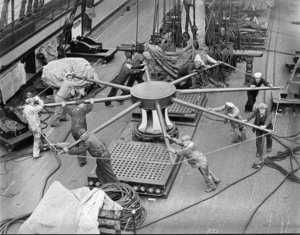
As I am travelling in China at the moment therecis no time for building but more time for investigative work. At the moment I am looking into the anchor cable and the rope around the capstan. Question is if both these cables are tarred or just only the anchor cable or none.
I can't find a clear answer to this and have seen a lot of different solutions to this in models. Who has the answer to this?
With rope around the capstan you mean the messenger cable, or?
I can not imagine, that this cable was originally tared, due to the fact, that it was important, that there is as much as possible friction between the cable and the cable.
I am pretty sure, that the messenger will get also over time black and dirty, due to the contact with the anchor cable.
After the use of the messenger, means, when the anchor was lifted, the ship was sailing over days and weeks, without touching the anchor. during this time the messenger cable was stowed under deck, so also during this time no need for tar to protect against salt water, sun etc.
I am pretty sure, that the messenger cable was not tared! But this is now only brain-storming and not based on real knowledge.
aaa.jpg

just found also this which could be interesting also for you:
d4802.jpg
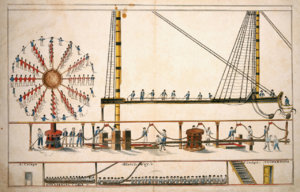
A coloured schematic diagram on two joined sheets showing the inboard operations involved in hoisting anchor and stowing the cable on a British warship. It probably dates to the 1790s based on the dress of the Marines being used, as they were, to man the main waist capstan, shown in plan view for the upper deck and in elevation on the gun deck immediately below though the number involved suggests the ship is larger than a frigate: i.e. a deck may have been omitted above the orlop here shown immediately below that holding the cable tier. The Marines facings are white, rather than the blue they were after becoming ' royal' on 1803. The ship has both a veering cable and a main cable out. The main cable passes through a single (starboard) hawsehole shown to the right, probably for a bower anchor, and is being stowed in the cable tier by a gang of men. The veering cable may be being handed out from below from the tier as the ship shortens up onto her anchor, though where it goes at the outer end is unclear: presumably to a second anchor dropped at a different point, which will subsequently be hoisted in. On the foc'sle there are both a forward and aft cathead with tackles ready to hook on once the anchor being hoisted clears the water. As the Marines, with supervising seamen, drive the capstan bars round on the upper deck the cables are drawn in by a messenger (a continuous loop of rope) operating round the capstan barrel on the lower deck using 'nippers'. These are the three hatless men in the foreground: at far right, a pair of them lash the messenger to the incoming cables to continue the hoisting; further left, one by the centre hatchway undoes the previous lashing. The seamen behind hand the loop of messenger forward over rollers fixed to the deckhead above. A seaman at far left stands ready to pawl or chock the capstan immobile with a bar wedged at the base of a deck stanchion and then tie off the messenger with the loose line also attached to the stanchion while the foc'sle crew above 'cat' and stow the anchors. In the cable tier below, between the after cockpit and the companionway rising from the forward cockpit to the gun deck (the middle level) above, two other gangs of seamen separately coil down the veering cable and the main bower cable. Only the fore part of the ship is shown, with the main and foremasts, and part of the beakhead (right): the foremast is represented cut off at foc'sle level and the mainmast at orlop level, though both would in reality have been stepped further down on the kelson and keel below. Between the forward hatch and the hawsehole are the riding bitts to which the cables would have been secured for the ship to lie at anchor. A lower-deck forward capstan is placed aft of the forward hatch, omitting the central spindle which would have gone down to the deck below. The three square pillars by the mainmast, with iron handles pivoted in the two deck stanchions immediately aft are the ship's chain pumps for removing water from the bilges below, although the pump arrangement is otherwise unclear. The naive artistic charm and historical record value of the drawing are incidental to its likely original purpose: it was probably made by someone like a young midshipman to explain the operation shown to landsmen friends or relatives, or demonstrate his understanding of it for training purposes. [PvdM 5/17]
 
Back
Top