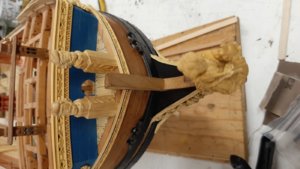
Here you can find the photo of the capstan of the Hermione - the edges are slightly darker, but not full of tar
Due to the fact, that the replica Hermione has NO motor for lifting the anchors, they have to use the capstan like in the old time of sailing ships
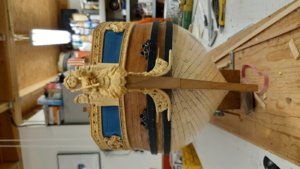
Hermione - a 32-gun Concorde-class frigate fitted for 12-pounder guns - dockyards of Rochefort, France
During the visit of the modelers event in Rochefort I had the chance to visit also the frigate Hermione in the docks of Rochefort. In the first post you can find a short description, following the photos I made during my visit....if questions, please do not hesitate to ask photo by Uwe From...
shipsofscale.com
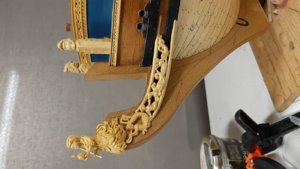
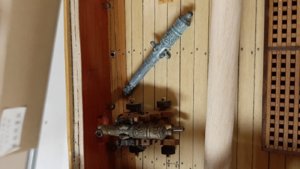
Due to the fact, that the replica Hermione has NO motor for lifting the anchors, they have to use the capstan like in the old time of sailing ships