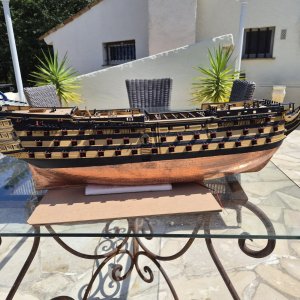
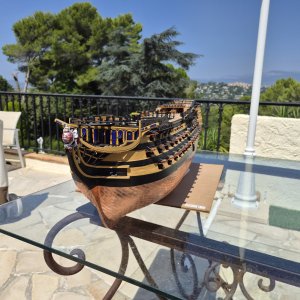
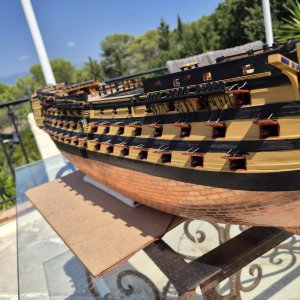
And I look forward to itLooking great and uniform.
Just think at this rate in a few months you will be rigging all those deadeyes!



 |
The beloved Ships in Scale Magazine is back and charting a new course for 2026! Discover new skills, new techniques, and new inspirations in every issue. NOTE THAT OUR NEXT ISSUE WILL BE July/August 2026 |
|
 |
As a way to introduce our brass coins to the community, we will raffle off a free coin during the month of August. Follow link ABOVE for instructions for entering. |
|
And I look forward to itLooking great and uniform.
Just think at this rate in a few months you will be rigging all those deadeyes!

.....and there is plenty to look forward to...And I look forward to it
 . Lovely progress Gilbert, as always. Cheers Grant
thanks Grant.....and there is plenty to look forward to...

And you say this with a profile photo of a straight face and smile!And I look forward to it
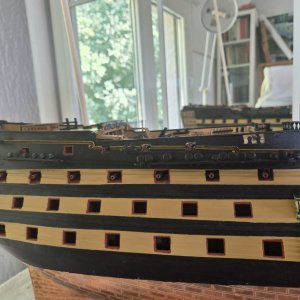
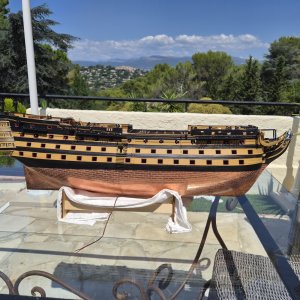
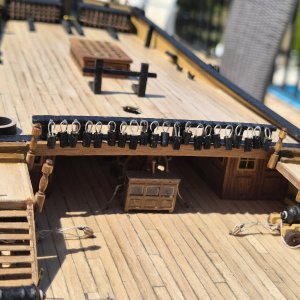
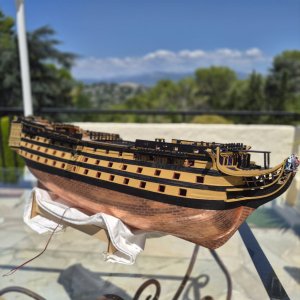
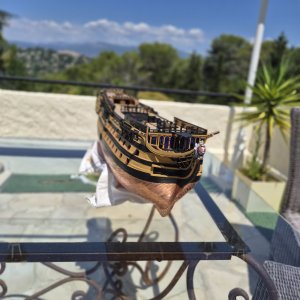

indeedAnd another lovely day in Provence...
Lovely, lovely Gilbert !Hello friends
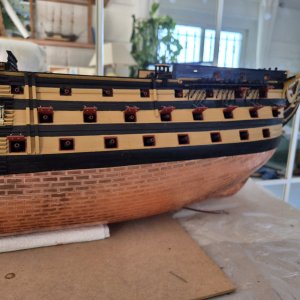
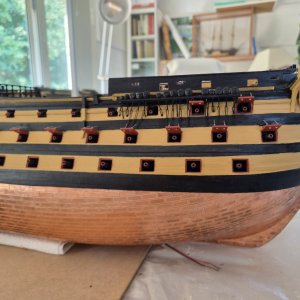
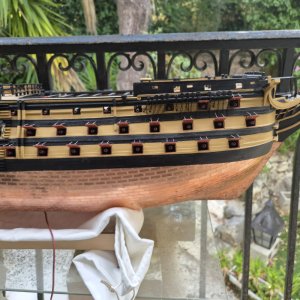
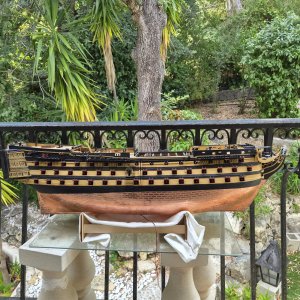
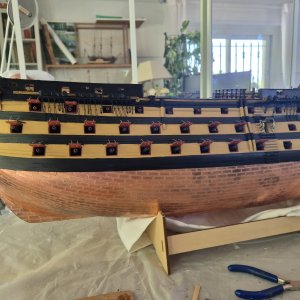
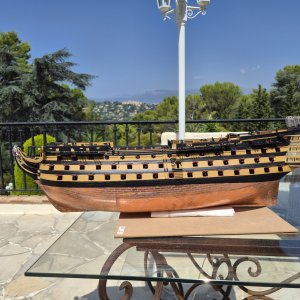
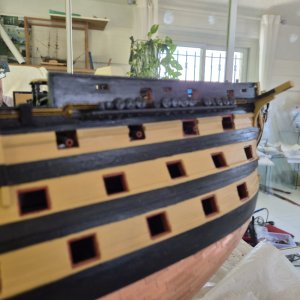
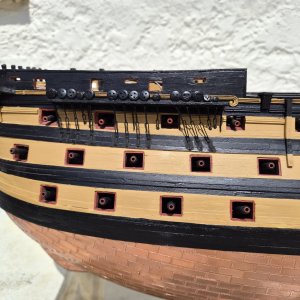
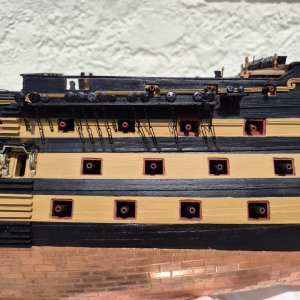
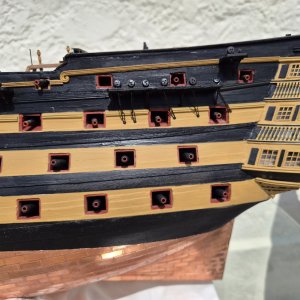
First thing I did this week was to install the hull decoraction. For the top rail, I used a thrid party rail rather than the brass rails provided in the kit. FOr the second (black) and third (ochre) rail, I used the kit provided profiles.
View attachment 616669
View attachment 616670
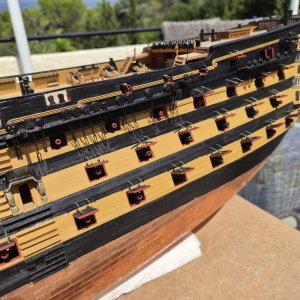
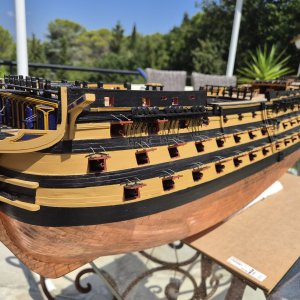
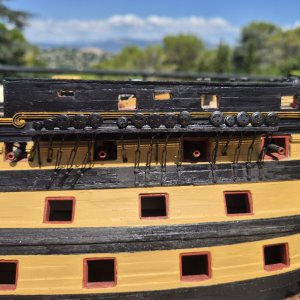
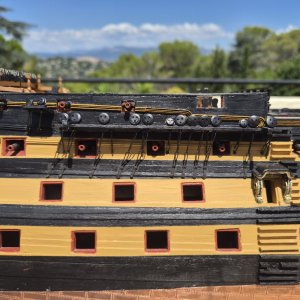
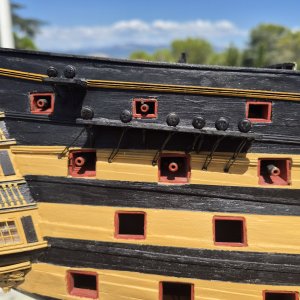
I then started to install the chainplates and struggled a lot connecting them to the channels (starboard side). It turns out that either the black stripe on the hull was too low or the channel was too high (which I don't believe) but in the end the third element of the chainplate that attaches to the deadeye and strop was too short by 1 or 2 mm. So I used 0.7mm brass wire to make this part a little bit longer and I soldered the wire, In the end the result is OK
View attachment 616665View attachment 616666View attachment 616667
View attachment 616671
I also installed the poop deck barricade together with the buckets.
View attachment 616672
View attachment 616673View attachment 616674
Let's now move to the chainplates on the port side ...
Thanks GrantLovely, lovely Gilbert !
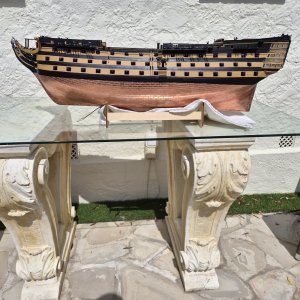


Good morning Gilbert. Starting to look very impressive. The cool thing about the Victory is that there is sooooooo much to add for a long time and she builds into complicated beauty- awesome work. Cheers GrantHello friends
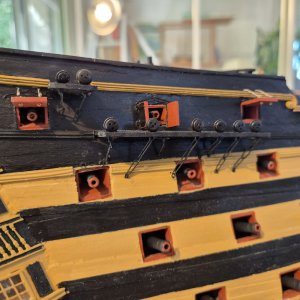
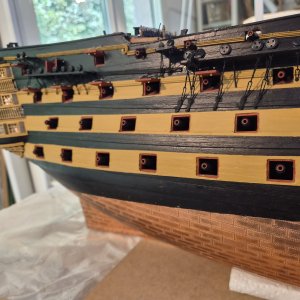
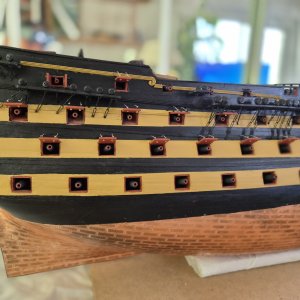
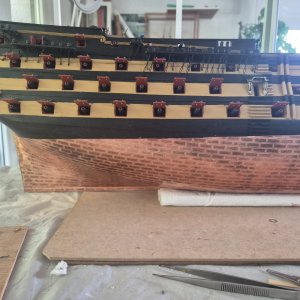
This week I started installing the gun port lids on the starboard side. This is quite a lengthy process and at this stage I have only completed the aft portion.
It's not difficult but long and repetitive.
I had to adjust some of the chainplates as they interfered with the lids.
Pictures below
Quarterdeck
View attachment 619734
Upper gun deck
View attachment 619735
Middle gun deck
View attachment 619737
Lower gun deck
View attachment 619738
Let's now continue and move to the starboard fore part ......
Thanks GrantGood morning Gilbert. Starting to look very impressive. The cool thing about the Victory is that there is sooooooo much to add for a long time and she builds into complicated beauty- awesome work. Cheers Grant
Thanks BrianLooking great Gilbert, hope your enjoying it