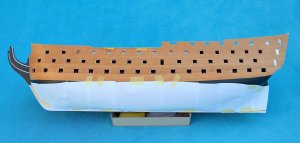
HMS Victory 1:96 based on Shipyard

Joined
Sep 13, 2018
Messages
21
Points
78

Hello. I’d like to introduce You the building process of my cardstock (pressboard) HMS Victory.
The first thing was to make a ship’s frames. The frames I made from 1 mm cardstock, except the bottom of hull (beneath the waterline), where the frames are 3 mm thick. To increase the thickness I glued additional strips of paper on each frame’s side. I made this because I wanted to have a wider surface to glue the first layer of “plank”.
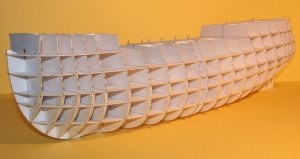
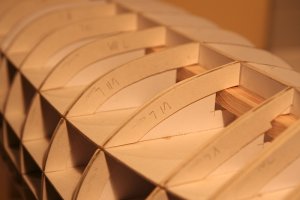
IMG_5139.jpg

IMG_5144.jpg

All sticking out parts of frames I soaked using CA glue. It helps strengthen them to avoid accidentally damage.

IMG_5045.JPG

I glued two pine slats, one on each side, following almost from bow to stern, to keep the straight line of the paper “keel”.
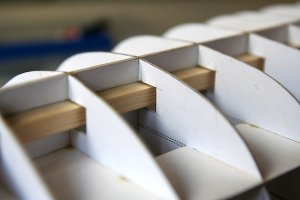
IMG_5046.JPG

IMG_5142.jpg

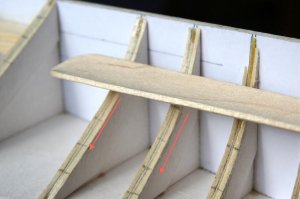
Each frame was initially “sanded”, but without using sandpaper. I made this by using the colourless water glue, putting it on each frame’s edge, to soften this element. Then, with a wooden spatula I smoothed the frame edges.
dsc1.jpg

Between the frames I glued cardstock pieces (2 mm thick). It helps to avoid “falling” the paper planks between the frames, because they are not as stiff and hard as wooden. It’s hard to believe, but there are about 500 pieces.
IMG_5899.JPG

wsporniki.jpg

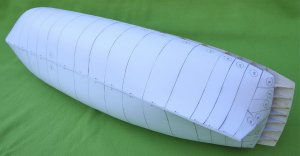
Finally, the view of the first "planking"
IMG_6045.JPG
IMG_6043.JPG
dsc3.jpg
 
Last edited:
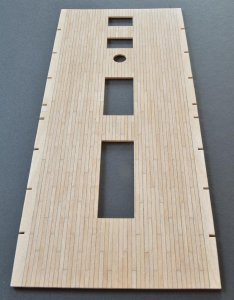
Next step was to make an upper gun deck.

dsc4.jpg
dsc5.jpg

I’d like to present my way of making the deck planks
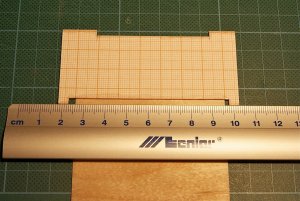
First of all, veneer should be moist when cutting. Therefore before cutting, I keep it in water for about 30 min. Cutting with knife is much easier when veneer is wet and there is no need to worry about chipping off the wood.
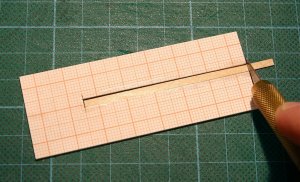
I’ve made a small jig for cutting, which helps me to achieve equal width of each plank. Important thing is to soak the edges of the jig with CA glue; due to this, the cardstock keeps still the same size. Making planks, I cut the veneer twice or three times. I’ m trying not to do it with single cut because it’s harder to achieve straight edge of plank.

IMG_7326.jpg

IMG_7327.jpg

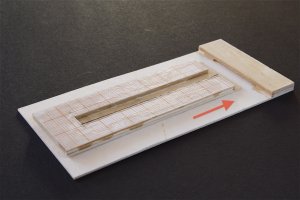
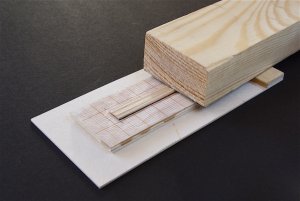
Another jig has been made for “forming” planks into bundles and sanding their edges. The jig consist of two elements: into the first I lay down the planks and after that insert all into the groove in the second element. Due to this the planks block and do not move when sanding.

IMG_7329.jpg

IMG_7330.jpg

IMG_7331.jpg

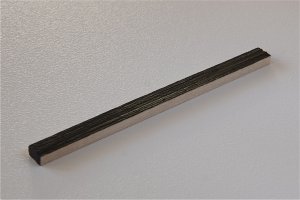
Next I apply onto one sanded surface the thin layer of glue (I use Pattex for wood), so that paint do not soak into the plank. Then I paint this “glued” surface with black acrylic paint, which imitates caulking. When everything is dry I cut up the bundles for single planks using razor-blade.

IMG_7332.jpg

IMG_7333.jpg

IMG_7334.jpg

Each plank was cut to the proper lenght using the jig.

dsc6.jpg

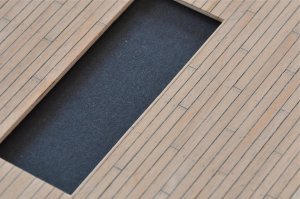
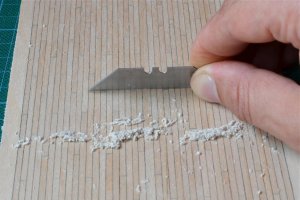
To have a smooth deck surfice firstly I scratch the veener with the blade, as shown beneath.

dsc7.jpg

Treenails had been made, using cut off and sharpened at the end, hypodermic needle. Needle needs to be only gently pressed to the veneer and twisted several times.

dsc8.jpg
 
Last edited:
Great work - Once more welcome - and many thanks that you started this building log!

Very interesting working steps you are showing and also thanks for sharing the hints with these small but effective jigs - So also wooden ship modeler should take one, two or better more looks into your log!!!

I will follow with big interest
 
Gratings.
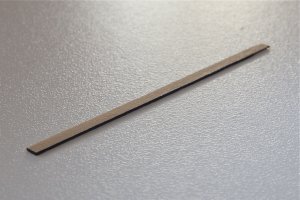
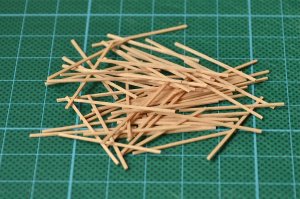
The first step was to cut apropriate number of veneer sticks; this time I used alder veneer because it's softer then birtch so - much easier to cut.

dsc9.jpg

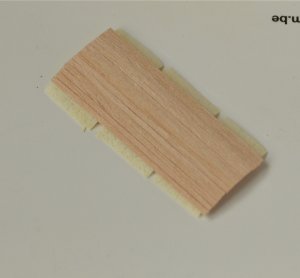
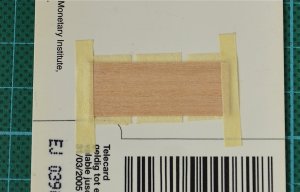
The second - I glued sticks on the paper masking tape; they should be glued side by side, very tightly.

dsc10.jpg

dsc11.jpg

The third - I pasted another sticks across to the rest; to have appropriate distance between crossed veneer strips I used another stick of the same size, as a separator. After all masking tape must be removed.

dsc12.jpg

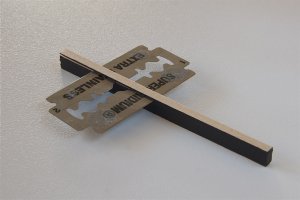
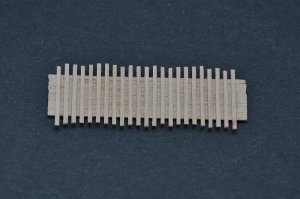
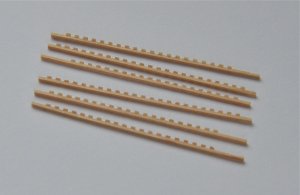
The fourth - I'd turned glued element upside down, inserted razor blade into the slot between the sticks and cut „teeth”pressing the razor as guillotine.

dsc13.jpg

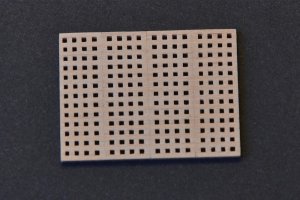
The fifth - I put „the combs” together into grating.

dsc14.jpg

Grating holes are about 0,8 mm.

dsc15.jpg

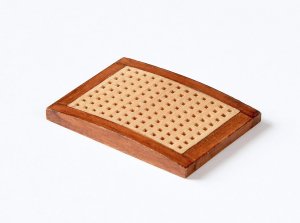
The frame for greting has been made from pressboard, painted with burnt umbra

dsc18.jpg

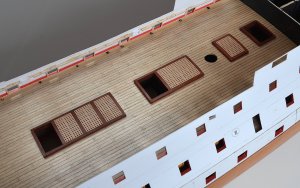
Gratings in the right place on the deck.

dsc16.jpg
 
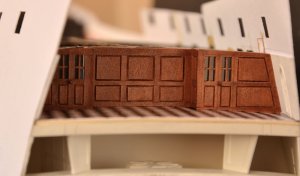
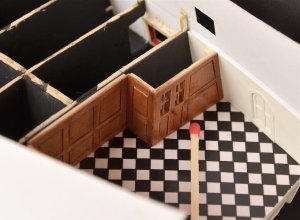
Cabins on the stern.
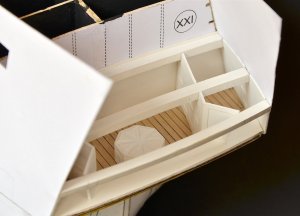
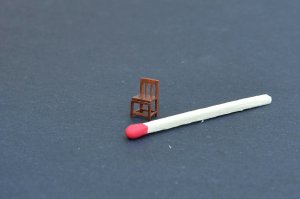
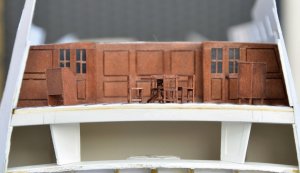
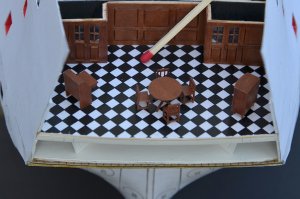
Wardroom. It doesn't look like the original wardroom which should be much longer, with a big table in the middle. Unfortunately too late I decided to make a wardroom. If I wanted to do it properly I would have to destroy the already glued ship's skeleton.

DSC_1811.JPG

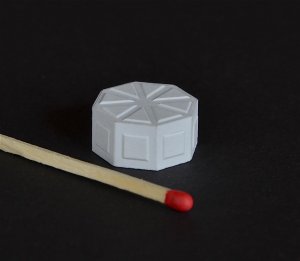
Octagonal casing over the rudder head

dsc19.jpg

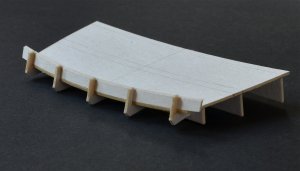
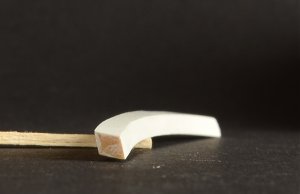
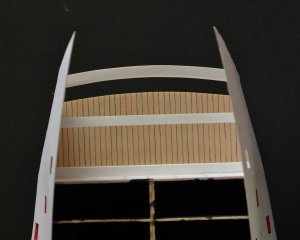
Deck beams - made from four glued together pieces of cardstock (1 mm thick), then soaked with CA, after that sanded to the proper shape and finally painted white.

dsc21.jpg

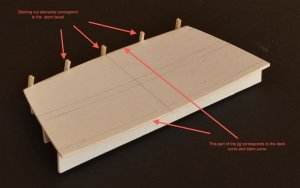
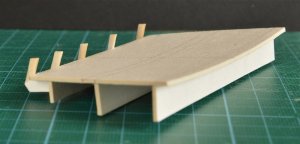
The aftermost deck beam, because of it's specific shape, had to be done using the jig.

dsc22.jpg

dsc23.jpg

The first of four cardstock "batten" was glued to the jig.

DSC_1138.JPG

Next three battens I glued only to the first, without sticking them to the jig. After that I cut off the deck beam from the jig, then soaked with CA, sanded to the proper shape and finally painted white.

DSC_1155.JPG

DSC_1178.JPG

DSC_1179.jpg
 
Last edited:
"Cinema / Building log at its most"
Great photos - great explanation -> I like your way of presenting very much !
and By The Way: Very good modeling!
 
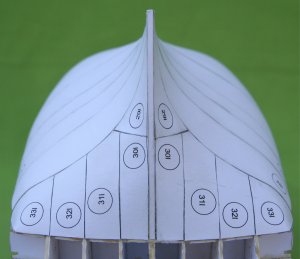
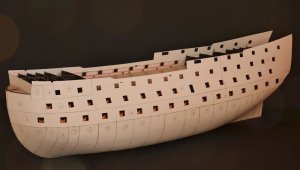
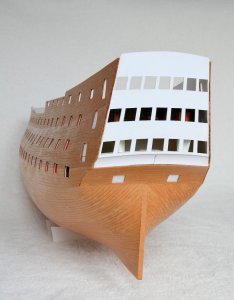
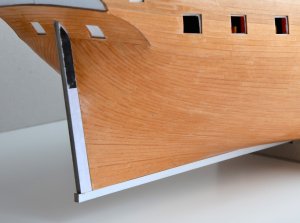
Planking the hull.

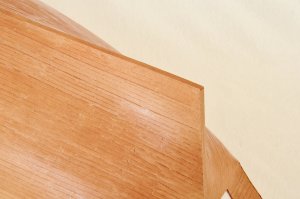
Planks were made of pressboard, thickness 1 mm, cut into 3 mm strips. Cutting pressboard with a knife is a real nightmare, because it is as hard as wood.
As a first step I’d set on the sides the lower edge of the main wale. Next, using tracing paper, I made a pattern corresponding to the shape of the main wale. Then I temporarily glued the pattern to the pressboard, which may seem a bit strange, from the inside of the pressboard, i.e. this side which is glued to the hull. Then I copied a shape of the main wale onto the pressboard and cut pressboard into single planks.

DSC_2651.JPG

DSC_2687.JPG

DSC_2799.JPG

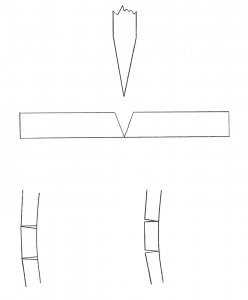
It may seem to be strange, but the planks had been cut from the "inside". Typically, the paper is cut from the "outside", it means - from the side visible after gluing the element. This time, leading the blade from the inside I’m doing this because of the shape of the blade and the tendency to "extend" the thick pressboard during cutting. The blade, as is well known, has a conical shape. When a pressboard is cut with a knife, in particularly pressboard having a thickness of at least 1 mm, a V-shape slot is forming between the cut edges. The slot on the upper surface of the cut pressboard is wider than at the bottom (upper drawing). When such planks are laid on the sides, the wider part of the gap is placed on the inner side (this glued to the hull) and due to the oval shape of the hull, internal, diagonal cutting edges of the planks, joins together almost without leaving a space between them. What is important, the wider part of a gap is not visible on the outside (this illustrates lower left drawing). If the pressboard were cut from the outside, on the sides would be visible V-shape gaps (smaller or larger). This shows lower right drawing.

planki.jpg

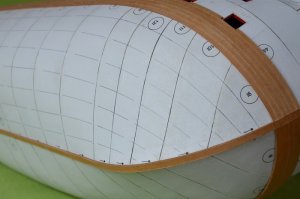
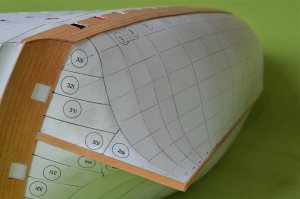
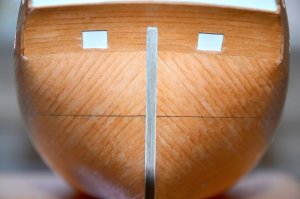
After gluing main wales on both sides, next step was to mark the planks on the ship's bottom. As the first step, a frame the longest in the circuit (a distance calculated from the lower edge of main wale to the keel) had been divided to 7 equal portions, each of 15 mm width. The last eighth section is about 12 mm width.

DSC_3127.JPG

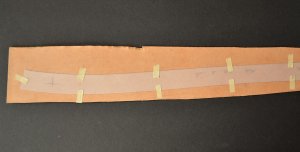
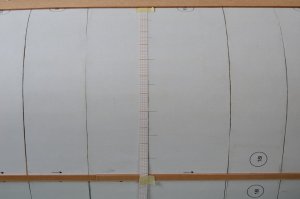
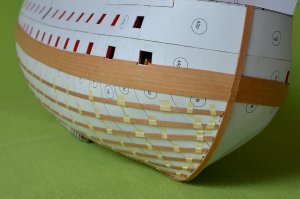
Then, using masking tape, I fixed temporarily the battens to the hull. The first batten was fixed 15 mm below main wale, the second 30 mm beneath main wale, the third 45 mm etc. After laying all the battens, I marked them on the hull with a pencil. After that I removed all the battens. This way I got eight long belts. Each of these belts first had been copied on tracin paper, then on the pressboard and finally the pressboard was cut into single planks.

DSC_3153.JPG

DSC_3152.JPG

DSC_3158.JPG

DSC_3160.JPG

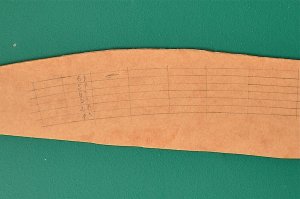
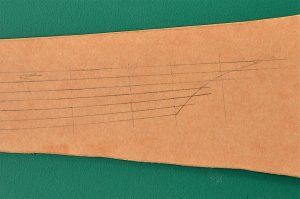
Now a few words about how I shared the long belts into single planks. For this I use the pattern shown below. The vertical line on the right side, shows the maximum width of the plank that is needed.

dsc26.jpg

The first thing is to put the triangular pattern onto the belt, previously drawn on the pressboard, so that the bottom edge of the belt come together the lowest, horizontal line of the triangular pattern. The second step is to move the pattern to the left or right, until the top edge of the belt will cross with the upper diagonal line of the pattern (the contact points are indicated by the arrows). The third is to mark the points in these spots, where diagonal lines crosses with the vertical line. So I follow until the end of belt. At these points where the belt is narrow (for example closer to the bow), the narrower part of the triangular pattern is put on the belt. In this way it is possible to smoothly taper single planks from their largest to the smallest width.

DSC_2888.JPG

Finally I join the points marked on the pressboard.

DSC_2891.JPG

DSC_2892.JPG

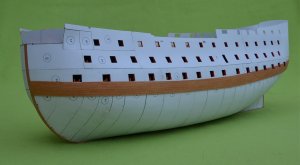
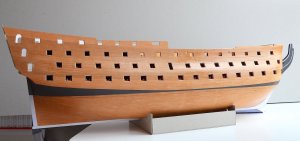
Final effect of the work.

DSC_7507.jpg

DSC_7509.jpg

DSC_7517.jpg

dsc27.jpg
 
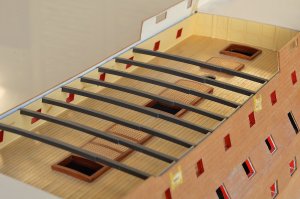
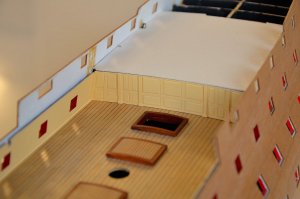
Several details have been added such as four giant cleats for fore sheets and main tacks and the deck beams. Deck beams are not glued yet; they are just lying.

DSC_0056.jpg

DSC_0062.jpg

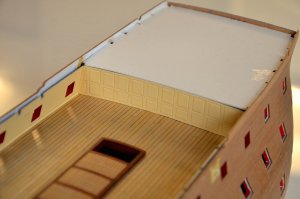
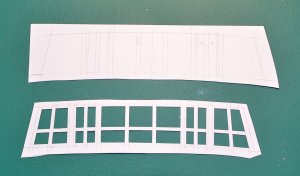
I also made two decorative panels. They will not be too visible after sticking the deck, but in my opinion, they look much better than painted black frames.

DSC_0059.jpg

DSC_0060.jpg

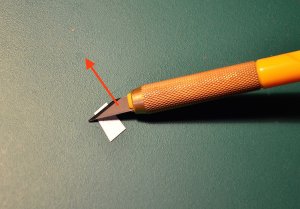
The way I made them, show the pictures below (I hope :)).

DSC_0014.jpg

DSC_0015.jpg

DSC_0019.jpg

DSC_0022.jpg

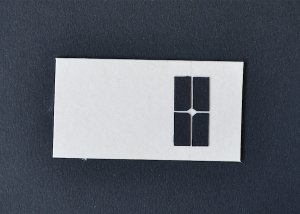
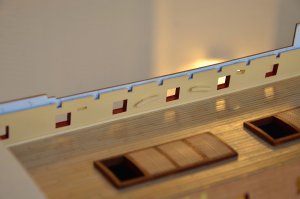
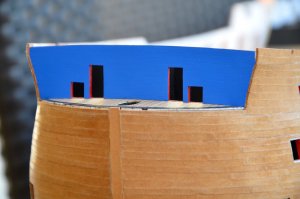
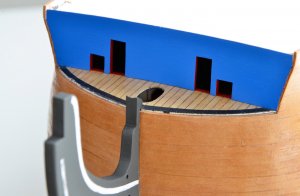
I've also decided to change the beakhead bulkhead and lower the door opening and the gunports, as this detail had been done improperly.

DSC_9179.jpg
 
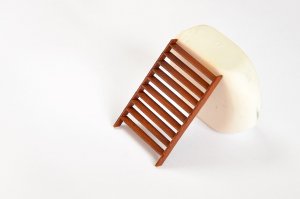
Ladders, leading from the upper to the middle deck.

DSC_0107.jpg

Firstly I'd drawn the cheeks of the ladders, marking them under the appropriate angle (60 degrees), as a mirror image.

DSC_0064.jpg

Then, I glued croswide the painted straps of the pressboard; I set the distance between the straps by means of a spacer strip, corresponding to the thickness of the step.
DSC_0068.jpg

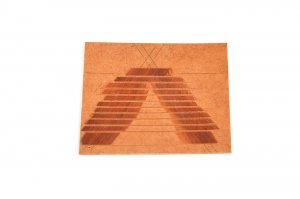
After sticking all the horizontal straps, a kind of Christmas tree appeared

DSC_0085.jpg

Then I cut off the cheeks of the ladders, cutting down on the lines drawn previously; It created a kind of comb with the slots in which I finally glued the steps.

DSC_0082.jpg
 
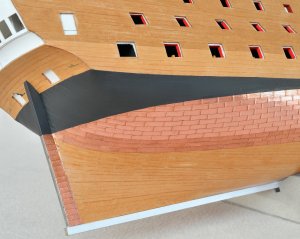
Coppering the hull.

Before coppering, using a highly specialized tool
default_biggrin.png
, I marked the waterline, which is also the upper border for copper plates.

DSC_0379.jpg

Despite of the primitive method, it goes straight.

DSC_0383.jpg

The belt between the waterline and the lower border of the main wale (which will be laid in the future) I’ve painted black.

DSC_0426.jpg

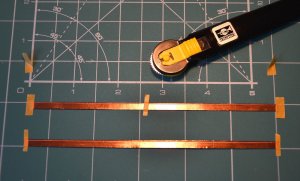
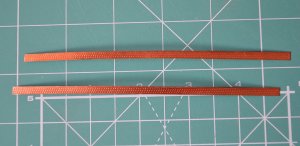
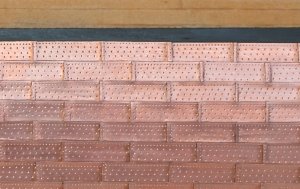
Coppering is made from Ventura Tape copper foil, with black adhesive.
Before cutting the strips imitating copper plates, I fastened a longer strip of copper (about 135 mm) to the cutting mat using a masking tape. Next step was to make an imitation of nailing; I used Trumpeter's rivet maker with densely spaced teeth (by Trumpeter marked with letter „A”) for nailing on the edges, and for nailing in the middle with less frequent teeth (marked as No. „D”).

DSC_0388.jpg

DSC_0390.jpg

So prepared copper strips I cut - using a small jig – to plates of the correct length, specifically 13 mm.

DSC_0513.jpg

DSC_0503.jpg

DSC_0510.jpg

DSC_0509.jpg

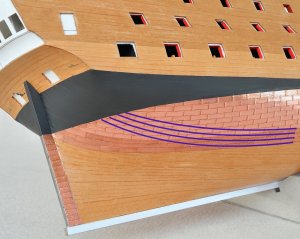
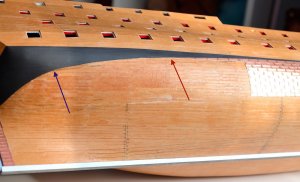
After gluing the plates I realized that I had started laying the copper cover too close to the stern. The copper strips should run here more or less according to the layout of the planks. In the picture below, I marked the correct layout with violet lines.

DSC_05101.jpg

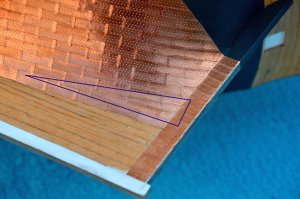
Continuing laying of plates in this way, would cause their improper arrangement on the stern and in the bottom part. In the picture below you can see, that in the central part of the hull there is still enough space for 20 rows of plates, while in the part closer to the stern there is space only for 15 rows of plates. This way of laying would cause, that copper plates in the bottom part, at the keel, would be laid diagonally (lines of navy blue color), despite that they should be parallel (red lines) to keel, like planks.

DSC_0516.jpg

Therefore, I removed a large piece of copper plates (something about 200 pieces) and I'm gonna lay them again. Plates, according to a new calculations (I hope this time correct) I will start to lay from the point marked with a red arrow; I also marked the previous point from which I started laying - using a violet arrow.

DSC_0520.jpg

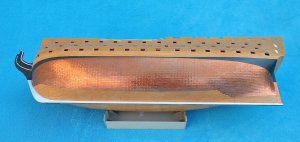
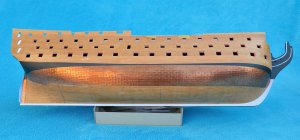
After repairing coppering looks like this:
The port side.

DSC_1579.jpg

Copper plates on the sterboard (arranged the upper belt of plates).

DSC_1577.jpg

Bow part of the port side.

DSC_1582.jpg

To arrange precisely each rows of copper plates, I marked their identical course on both sides.

DSC_1578.jpg

A few stealers need to be laid in the aft part of the ship.

DSC_1581.jpg

I've made a kind of "shirt" to protect arranged copper surface.

DSC_1576.jpg

That's all for now. I hope my work will please yours eyes;)

To be continued...
 
It pleased my eyes!!! How long did it take to come to this stage? And as a duchman in have to ask how are the cost compared to wood building?
 
I am glad that my work pleases to You.:) It is difficult to me to tell, how the costs compare to the construction of a wooden ship, because I do not build such ones. However, knowing the costs of some wooden models, I would say that the cost of mine model is a maximum 20 percent of wooden . I've been building a model for 5 years, but slow pace of work is just a result of a lack of time. Work could be done faster if I would be retired, but I'm not yet. :)
 
Last edited:
Thank You all for nice comments. Epicdoom. All planking is made of special paper, which is pressboard. You may have been confused by the color of the pressboard, which resembles pear wood. I assure you, however, that is paper. Wooden are only decks and gratings (except for grating's frames).
 
Yeah I read about the planking being pressboard but the other parts are they just printed on a light card stock that would need to have a wood or thicker cardboard stock laminated to it or is it just paper and do you thicken it with card stock or cardboard? I would like to get this kit to build in an off time while I'm waiting for things to dry or waiting for parts for other builds. I figure if its thin paper I can laminate it with heavy Mill card stock to stiffen it a bit
 
Back
Top