3D - 02 (vol. 1)
Part 23
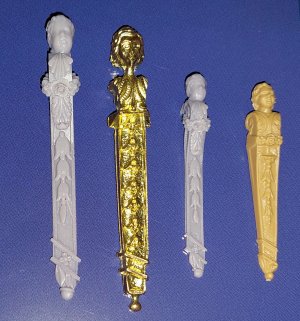
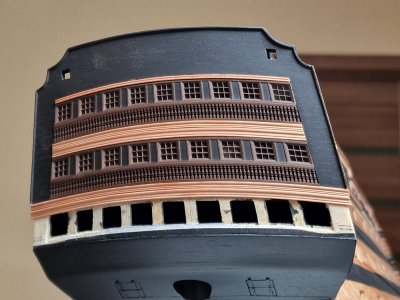
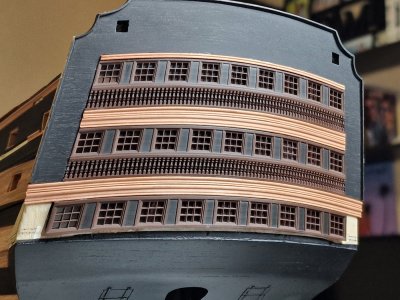
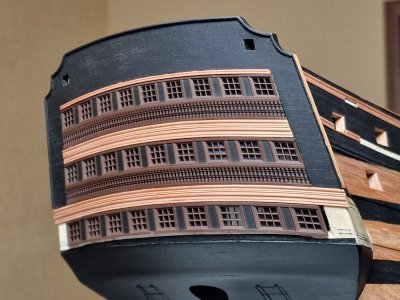
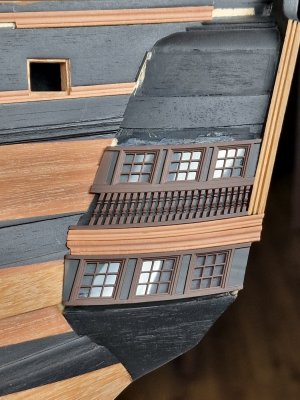
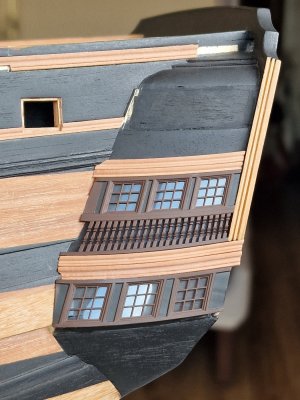
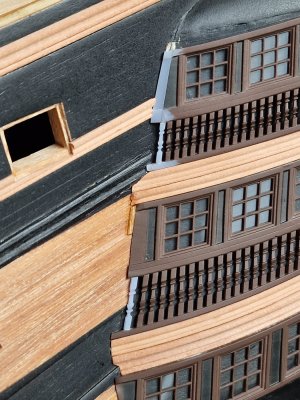
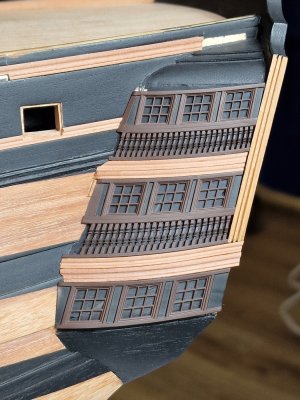
So, I decided not to create a separate topic about 3D printing but to incorporate certain aspects into the subject of building the stern and showcase everything using it as an example.
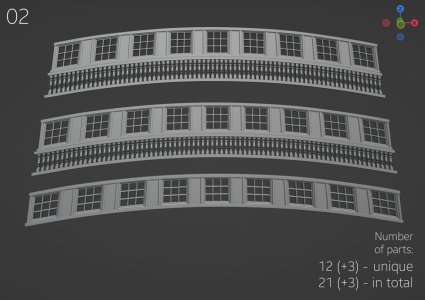
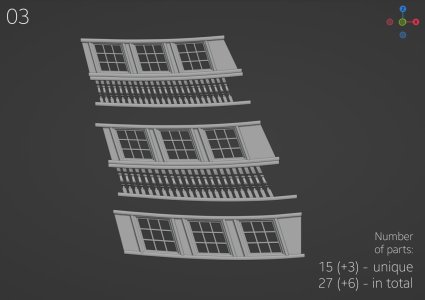
We continue our count of printed parts... (+3) Three unique parts were added, with the total count updated accordingly.
@Chestcutter @Johann H thank you for your interest and questions. I will do my best to answer them now.
To understand the entire process, let’s start from the beginning and go step by step.
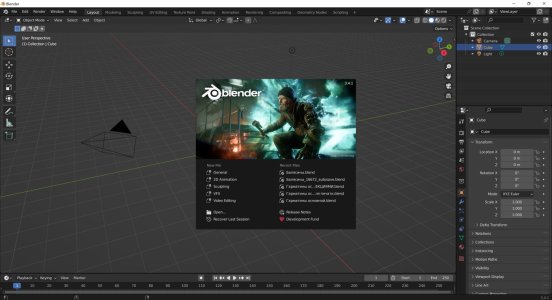
I model the parts from scratch using Blender. I learned the program on my own through YouTube tutorials—there’s nothing overly complicated about it.
Scale! How do I scale objects? It’s simple. Let’s take the stern as an example. When creating it, I had a drawing of the part that I used to cut the rear panel. I scanned it and imported the image into Blender, which has a ruler tool. I simply adjusted the dimensions in Blender to match the measurements from my paper drawings.
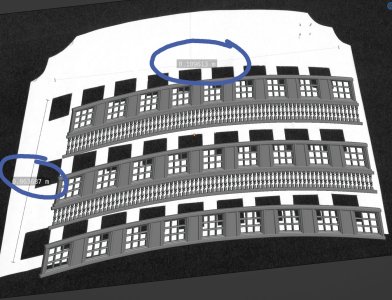
Naturally, all of this is done in two planes, but for clarity, I showed it in a three-dimensional format.
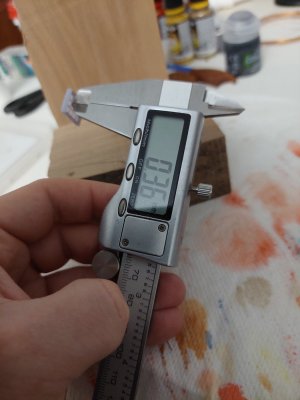
The second method for transferring dimensions involves using telephoto photography—specifically, at least x5 to x10 zoom. This way, the object’s proportions won’t be distorted by perspective. I cut out the part on paper, measure its dimensions to 0.1 mm, and transfer its photo into Blender. There, I use the ruler tool to scale it to the correct dimensions.
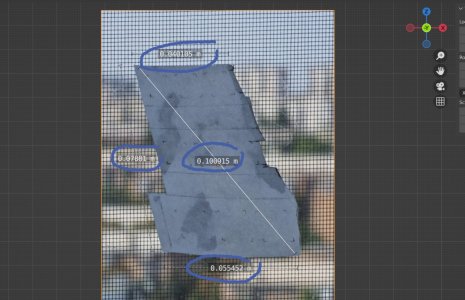
This method definitely works, even if the parts need to be integrated rather than simply placed, like a cannon.
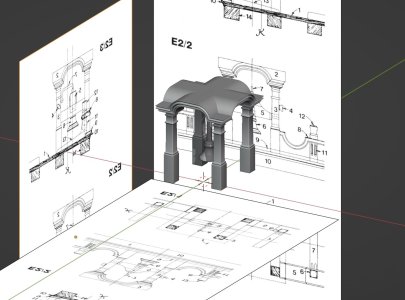
Next comes the design development based on the blueprints. I use the same approach by importing scanned copies into the program, scaling them with the ruler, and ensuring I have 2–3 views (front, side, and top).
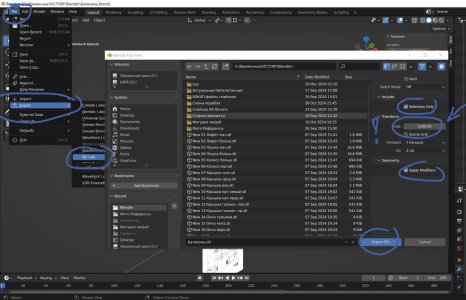
Next, I export the completed part from the program in STL format. If the part is simple, I export it as a whole; if it has a complex shape, I fragment it for easier printing. It’s crucial to export from the program with the parameters shown in the photo below. Scale 1000.00 !!!!!!!!
Then, I open these files in the original slicer program for my 3D printer. Here, I arrange the parts for printing. Key considerations for positioning and supports: always position the parts vertically or at a 45-degree angle. **Do NOT place parts flat horizontally** because the lower layers will delaminate without sufficient supports. I've mentioned this before.
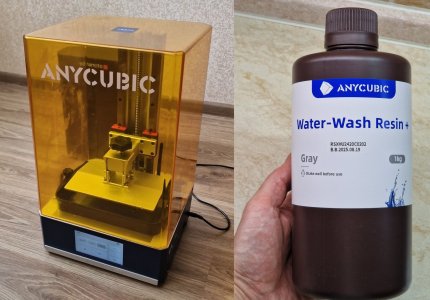
My printer is the Anycubic Photon M3 Plus, and the slicer I use is Anycubic Photon Workshop. I use water-washable resin, as shown in the photo below.
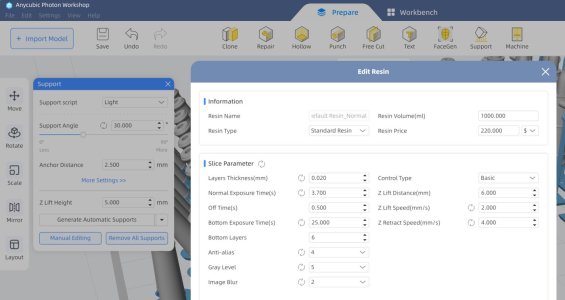
In the slicer settings, you need to specify the following parameters. I arrived at these settings after seven attempts; prior to this, the plastic often detached from the supports.
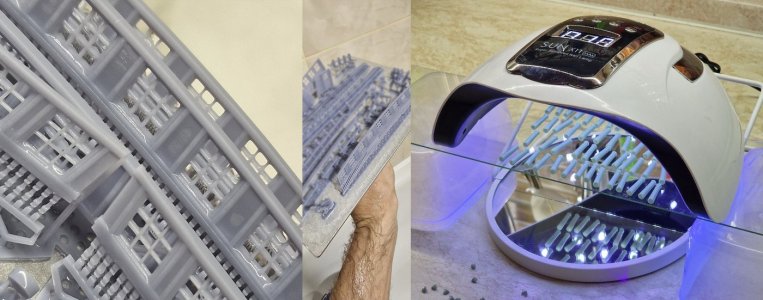
After printing, it's essential to thoroughly rinse the model under water, as the resin is water-washable. After rinsing, you need to cure it with ultraviolet (UV) light. I use my wife's UV lamp for curing gel nails, and it works perfectly for this purpose!
Next, it's essential to sand flat parts with 1500-grit sandpaper. At 20 microns, the layers are less visible on detailed parts, but for flat surfaces, it's recommended to carefully polish them, but not beyond 1500 grit.
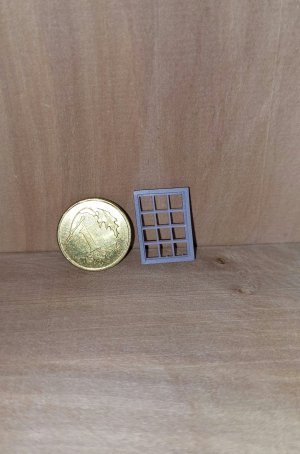
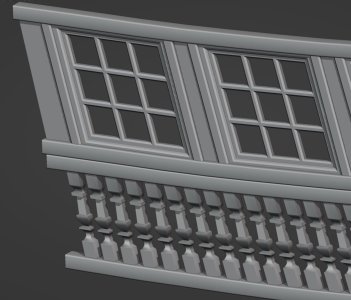
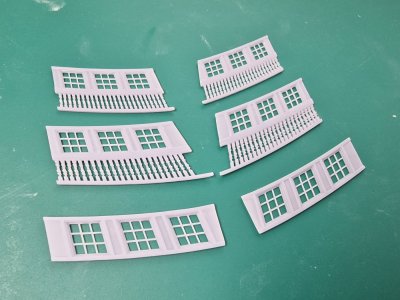
After sanding, you can proceed with painting. I'll discuss this process further in later posts, but for now, a few more points about printing. Initially, I wanted to model only the windows for the gallery (as shown in the photo below). However, when printing, they were so thin that they deformed during curing, as the thickness of the inner frames was less than 0.5 mm. This is something to consider, which is why I decided to model everything together: the frame, the windows, and the columns.
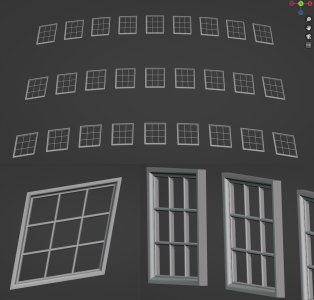
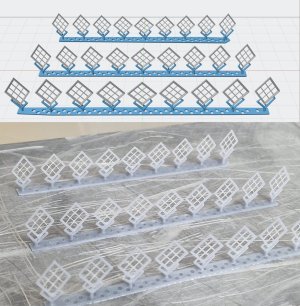
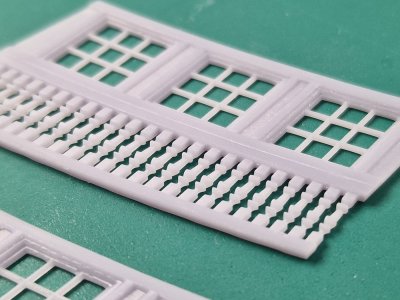
But I decided to go with the idea of creating a solid frame. I modeled and printed it, but...
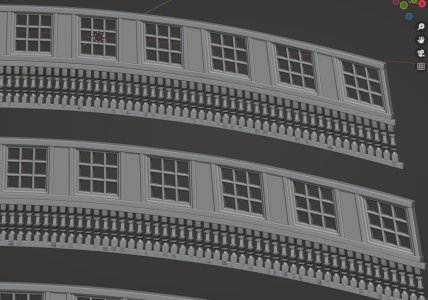
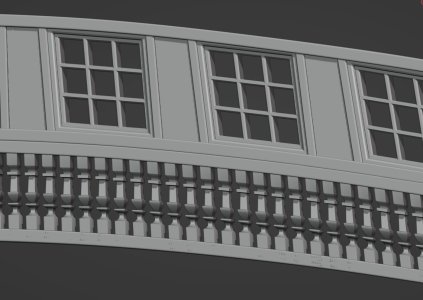
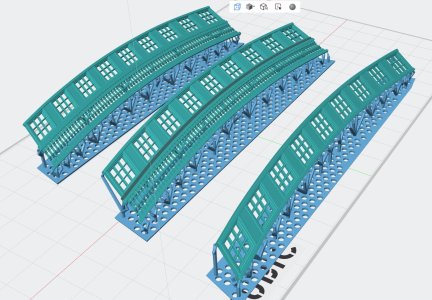
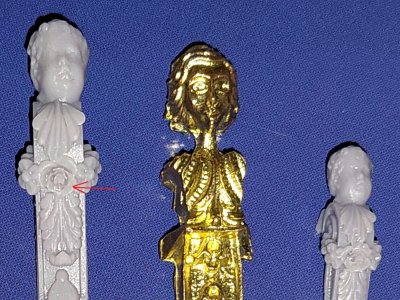
... once again, there were some issues. The power went out during printing, so another important aspect to consider when printing is having an uninterruptible power supply (UPS). This is essential. However, the defective parts were still used for testing the painting process. And it was during this testing that I realized I needed to reduce the layer thickness and polish the flat surfaces. Below, in the photo, you can see why.
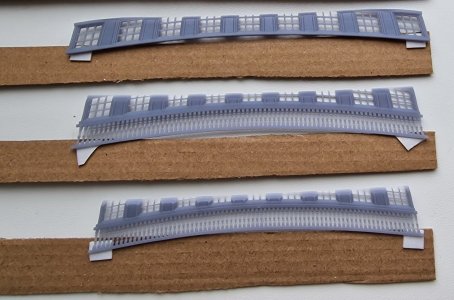
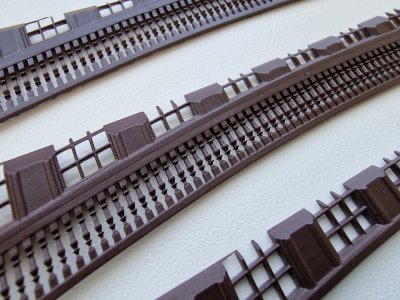
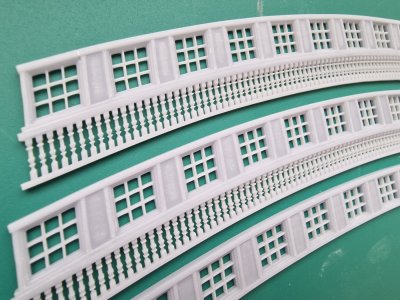
From this experience, I realized that the paint I initially chose was not suitable, so I picked another one that worked perfectly. I will show which one below. I also learned that I need to polish the flat surfaces and make sure to use an uninterruptible power supply. I took note of all these points, and finally, here are the positive results below.
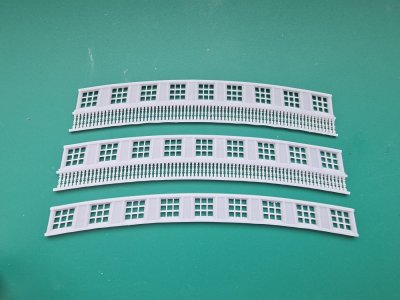
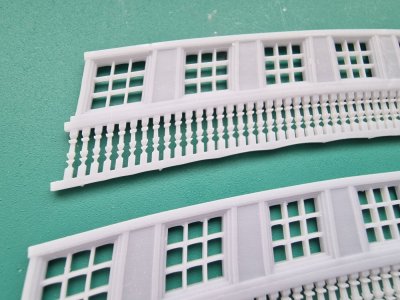
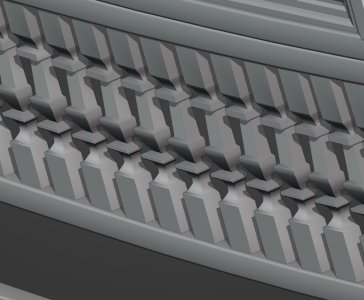
In the photo above, you can see a slight wave between the supports, which I anticipated by making the lower part wider and then simply polishing it.
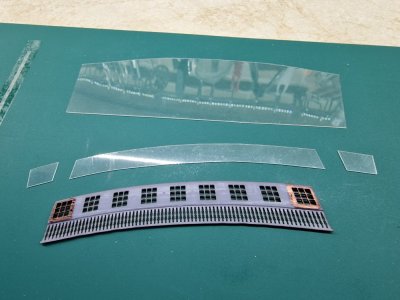
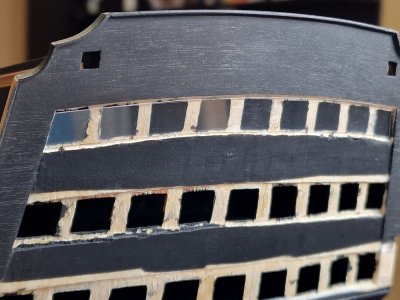
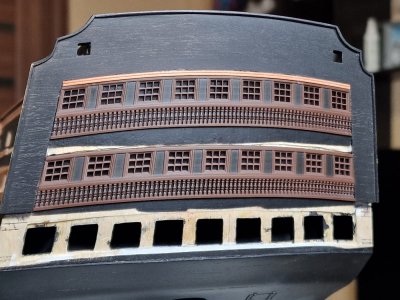
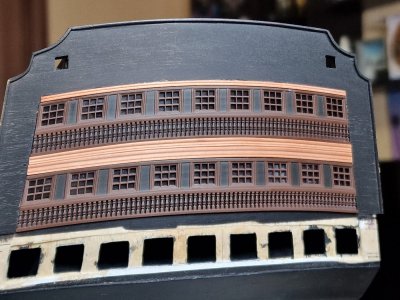
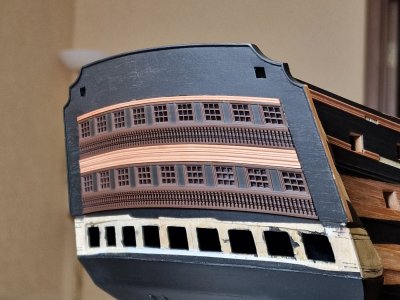
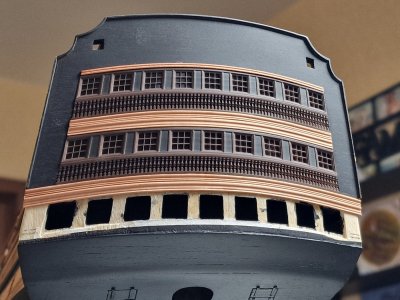
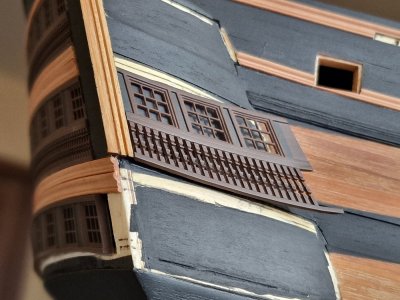
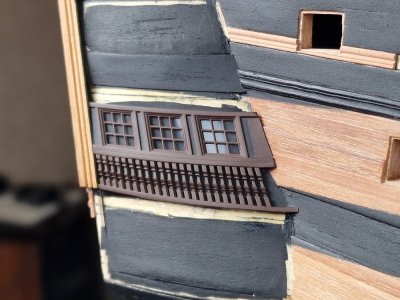
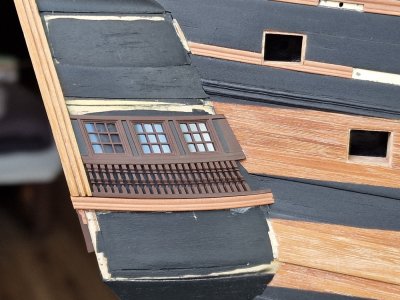
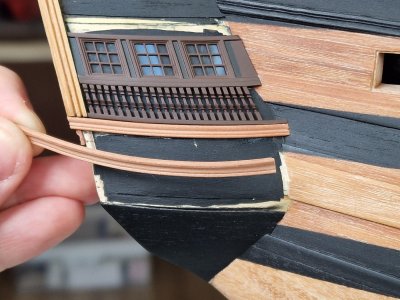
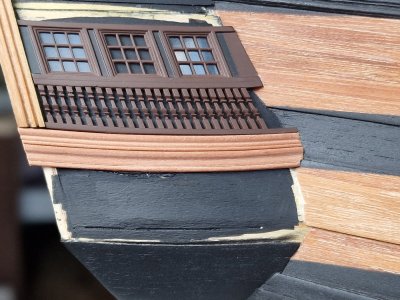
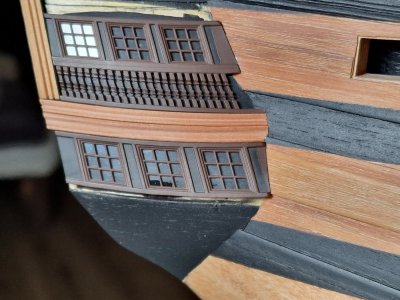
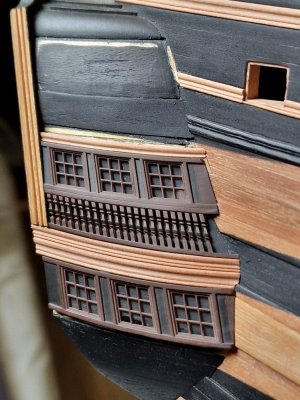
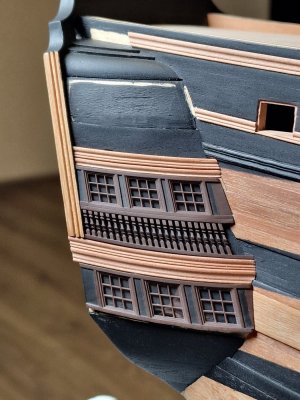
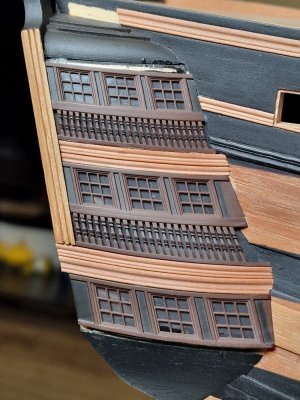
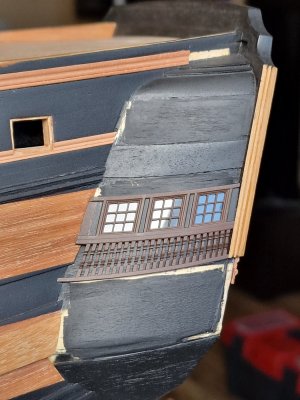
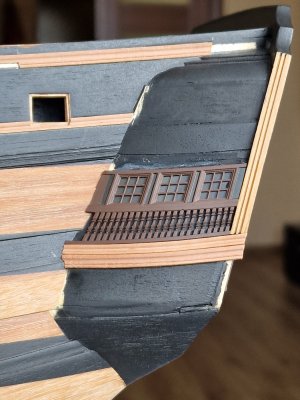
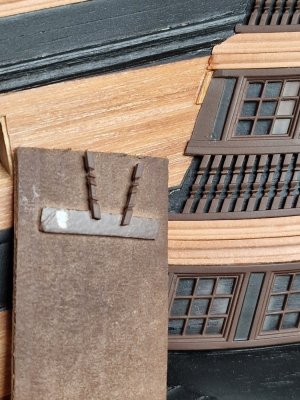
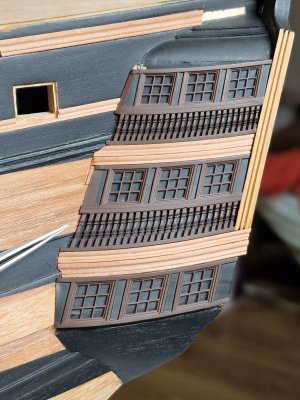
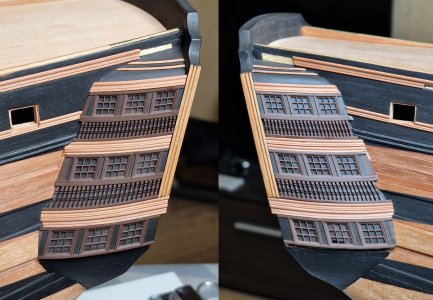
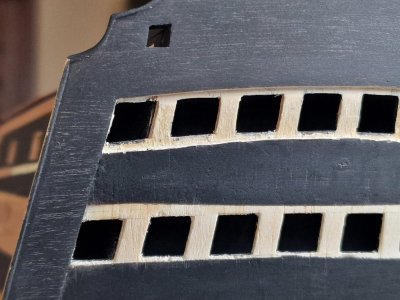
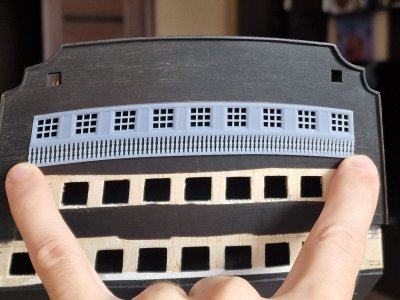
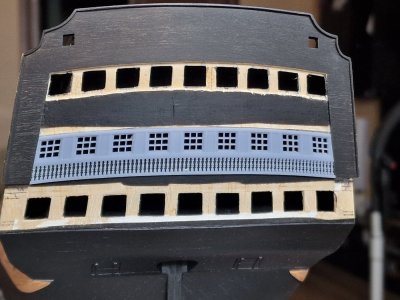
Next, I made cuts for plastic imitation glass windows and tried the parts in place.
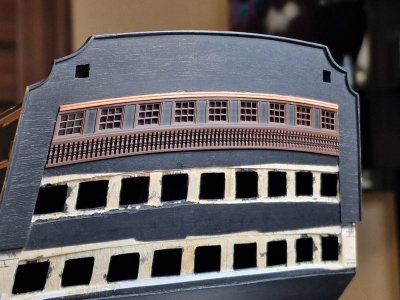
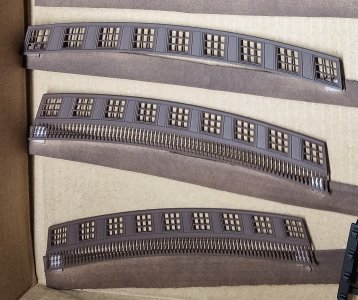
After that, I painted them in the base color, brown...
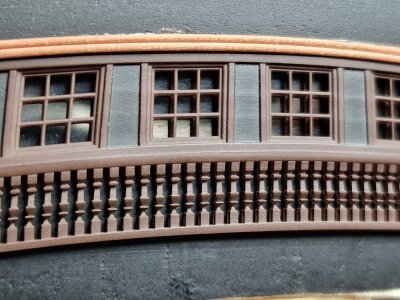
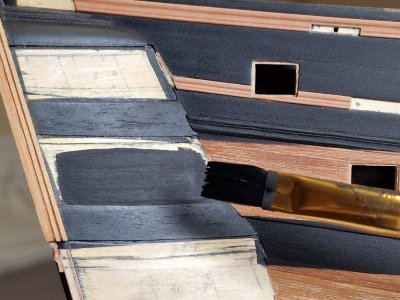
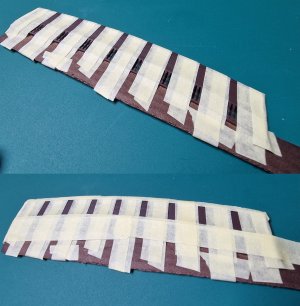
Then, I covered everything except the areas that I later painted in a different color.
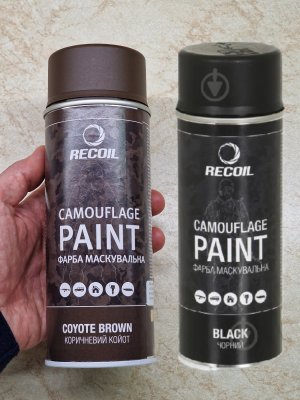
The paint I used for all the details now and in the future is this one. It's a matte camouflage aerosol spray paint based on acrylates, Recoil.
In the next part, I will show how I attached the ready parts to the hull...
...
Part 23
So, I decided not to create a separate topic about 3D printing but to incorporate certain aspects into the subject of building the stern and showcase everything using it as an example.

We continue our count of printed parts... (+3) Three unique parts were added, with the total count updated accordingly.
@Chestcutter @Johann H thank you for your interest and questions. I will do my best to answer them now.
To understand the entire process, let’s start from the beginning and go step by step.
I model the parts from scratch using Blender. I learned the program on my own through YouTube tutorials—there’s nothing overly complicated about it.

Scale! How do I scale objects? It’s simple. Let’s take the stern as an example. When creating it, I had a drawing of the part that I used to cut the rear panel. I scanned it and imported the image into Blender, which has a ruler tool. I simply adjusted the dimensions in Blender to match the measurements from my paper drawings.

Naturally, all of this is done in two planes, but for clarity, I showed it in a three-dimensional format.
The second method for transferring dimensions involves using telephoto photography—specifically, at least x5 to x10 zoom. This way, the object’s proportions won’t be distorted by perspective. I cut out the part on paper, measure its dimensions to 0.1 mm, and transfer its photo into Blender. There, I use the ruler tool to scale it to the correct dimensions.

This method definitely works, even if the parts need to be integrated rather than simply placed, like a cannon.
Next comes the design development based on the blueprints. I use the same approach by importing scanned copies into the program, scaling them with the ruler, and ensuring I have 2–3 views (front, side, and top).

Next, I export the completed part from the program in STL format. If the part is simple, I export it as a whole; if it has a complex shape, I fragment it for easier printing. It’s crucial to export from the program with the parameters shown in the photo below. Scale 1000.00 !!!!!!!!

Then, I open these files in the original slicer program for my 3D printer. Here, I arrange the parts for printing. Key considerations for positioning and supports: always position the parts vertically or at a 45-degree angle. **Do NOT place parts flat horizontally** because the lower layers will delaminate without sufficient supports. I've mentioned this before.
My printer is the Anycubic Photon M3 Plus, and the slicer I use is Anycubic Photon Workshop. I use water-washable resin, as shown in the photo below.

In the slicer settings, you need to specify the following parameters. I arrived at these settings after seven attempts; prior to this, the plastic often detached from the supports.

After printing, it's essential to thoroughly rinse the model under water, as the resin is water-washable. After rinsing, you need to cure it with ultraviolet (UV) light. I use my wife's UV lamp for curing gel nails, and it works perfectly for this purpose!

Next, it's essential to sand flat parts with 1500-grit sandpaper. At 20 microns, the layers are less visible on detailed parts, but for flat surfaces, it's recommended to carefully polish them, but not beyond 1500 grit.
After sanding, you can proceed with painting. I'll discuss this process further in later posts, but for now, a few more points about printing. Initially, I wanted to model only the windows for the gallery (as shown in the photo below). However, when printing, they were so thin that they deformed during curing, as the thickness of the inner frames was less than 0.5 mm. This is something to consider, which is why I decided to model everything together: the frame, the windows, and the columns.


But I decided to go with the idea of creating a solid frame. I modeled and printed it, but...


... once again, there were some issues. The power went out during printing, so another important aspect to consider when printing is having an uninterruptible power supply (UPS). This is essential. However, the defective parts were still used for testing the painting process. And it was during this testing that I realized I needed to reduce the layer thickness and polish the flat surfaces. Below, in the photo, you can see why.


From this experience, I realized that the paint I initially chose was not suitable, so I picked another one that worked perfectly. I will show which one below. I also learned that I need to polish the flat surfaces and make sure to use an uninterruptible power supply. I took note of all these points, and finally, here are the positive results below.


In the photo above, you can see a slight wave between the supports, which I anticipated by making the lower part wider and then simply polishing it.

Next, I made cuts for plastic imitation glass windows and tried the parts in place.


After that, I painted them in the base color, brown...

Then, I covered everything except the areas that I later painted in a different color.

The paint I used for all the details now and in the future is this one. It's a matte camouflage aerosol spray paint based on acrylates, Recoil.

In the next part, I will show how I attached the ready parts to the hull...
...


