HMS Victory - by Mantua Sergal - 1:78 scale

Joined
Feb 29, 2020
Messages
92
Points
103

Welcome to my new build log of the HMS Victory. This is a copy of my build log I started on another forum.
This journey has a special meaning for me. All my life I wanted to build a ship. Not just any ship, but a highly detailed model, but as with most things life gets in the way. I built many models as a kid and teenager, but nothing like this. I grew up, went to school, got a degree in electronics, then became an engineer, worked at many trades, became a master machinist, a tool and die maker, traveled the US, Canada, and Mexico as an engineer for a CNC machine tool manufacturer. My lifelong hobby was wood working. I retired at age 48 due to medical issues. Now, at 68, I am working on goals on my bucket list. I desire to build this ship while I still can. I don't know what time is left .... one year .... 5 ... 20, it's unsure, but I have life threatening issues along with other issues. Enough about me, now let's build a ship.
20200402_092059.thumb.jpg.0331770bf71e796f52aa7576460ec44e.jpg
20200402_092144.thumb.jpg.3581e8e663d0ee7fd35574a4dad0a34d.jpg
20200402_092946.thumb.jpg.2a09c7f6a02fcf3825a929e030e2adf9.jpg
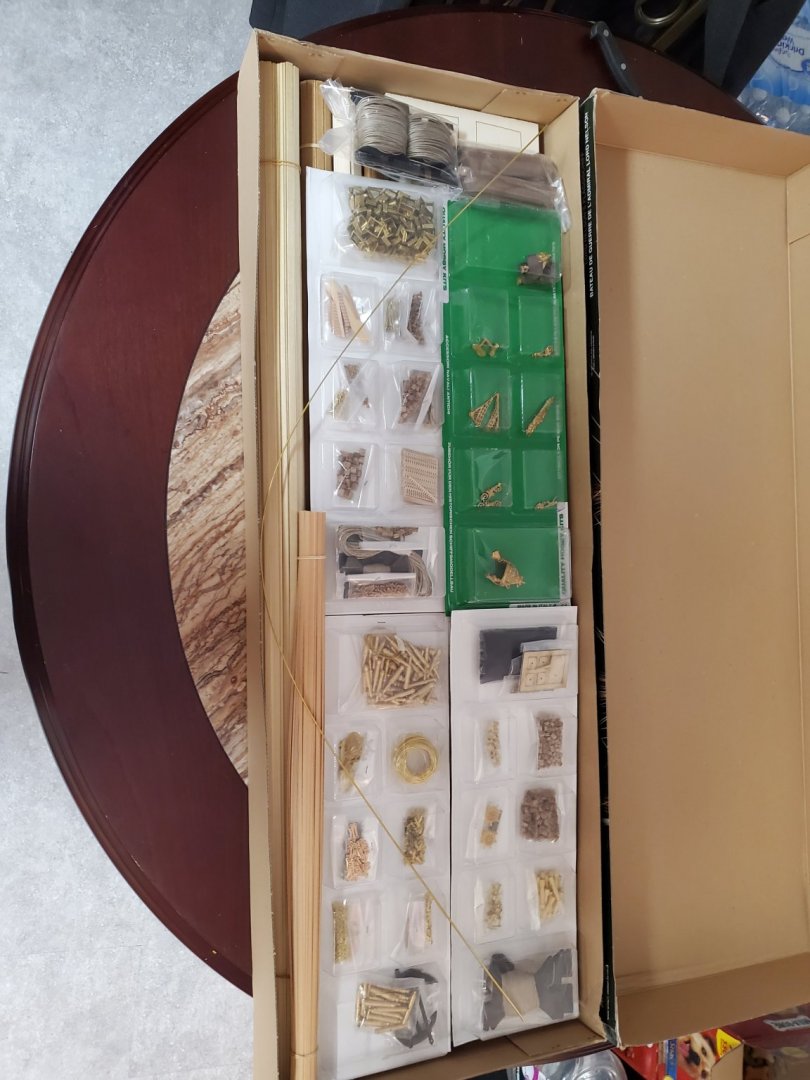
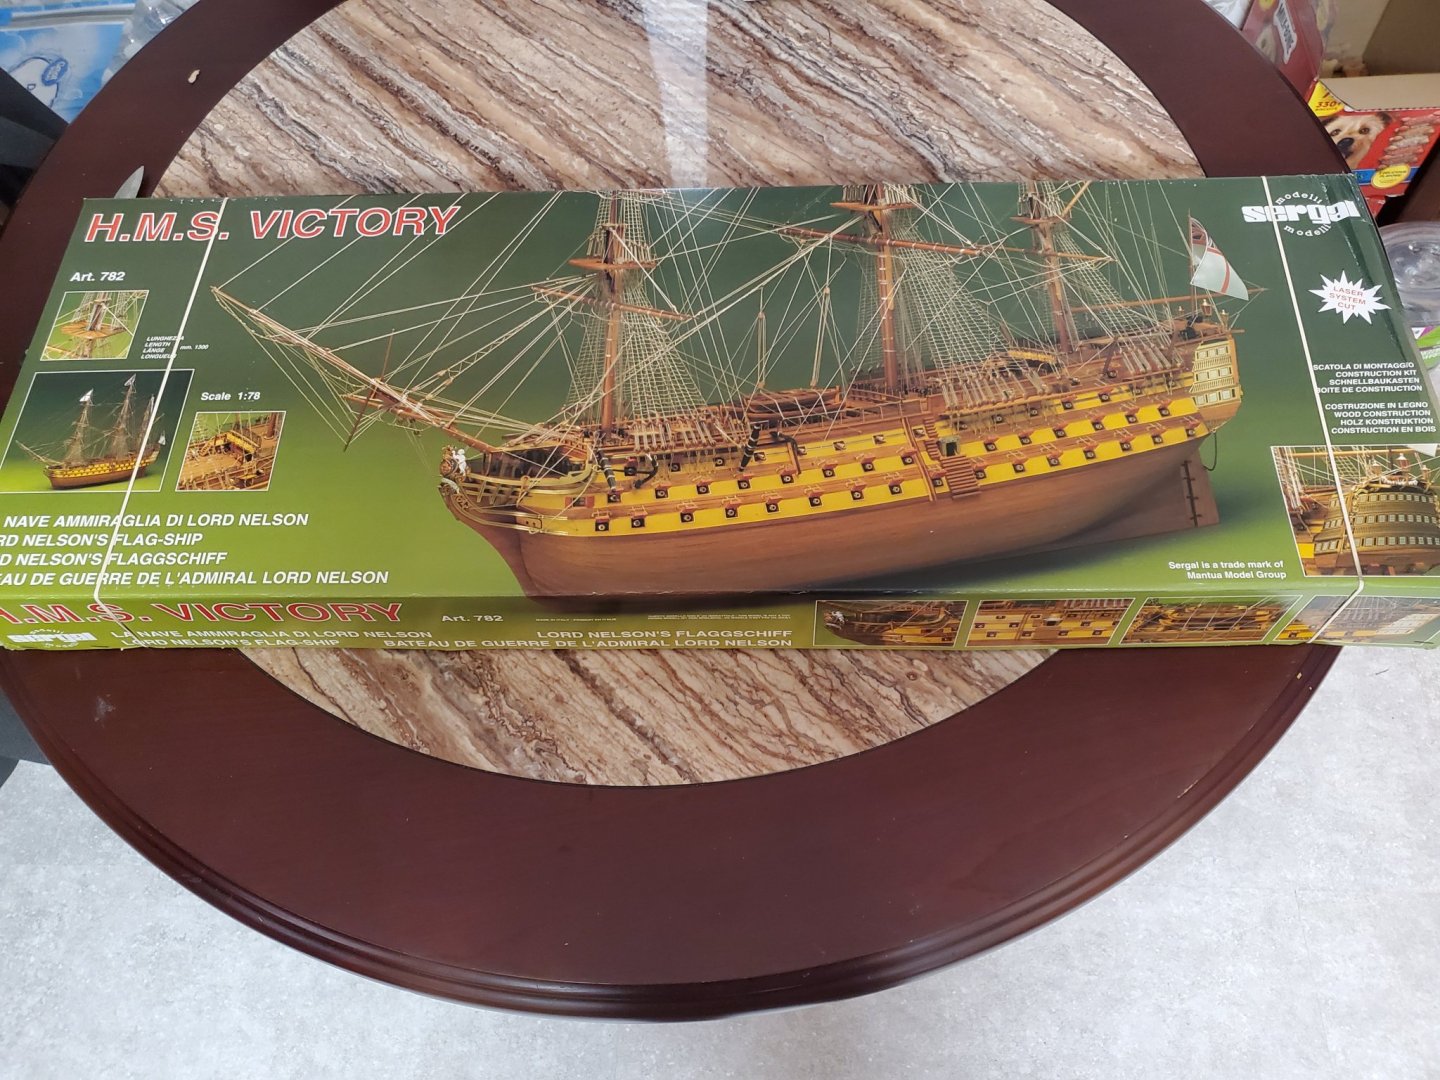
I recieved the Mantua Sergal 782 kit of the HMS Victory this morning. This was not the kit I wanted. I wanted the Billings Boats kit, but due to the difficult times now with this virus they are closed temporarily and my order could not be filled. The distributor was very helpful in getting this kit to me as a substitute. My reason for wanting the Billings was it provided the basics at a good price and I could replace the lesser quality parts with aftermarket and make the ship better detailed. I will be doing the same thing with this kit. I did have to pay an extra $72 for this kit. The Billings was $397. I have been studying McKay's book , The 100 Gun Ship, and finding sources for upgrades while waiting 2 months for the kit to arrive. I figure another $300 in aftermarket pieces will accomplish my goal, still being less than the Caldercraft kit.. and hopefully better.


Mark Frazier
 
I searched but could find very little builds of this kit. As I review it, I think I see why. Unless you have plans to replace a lot or scratch build a lot, this is not the kit to get. I think it will work good for me as I will be replacing most of the parts.

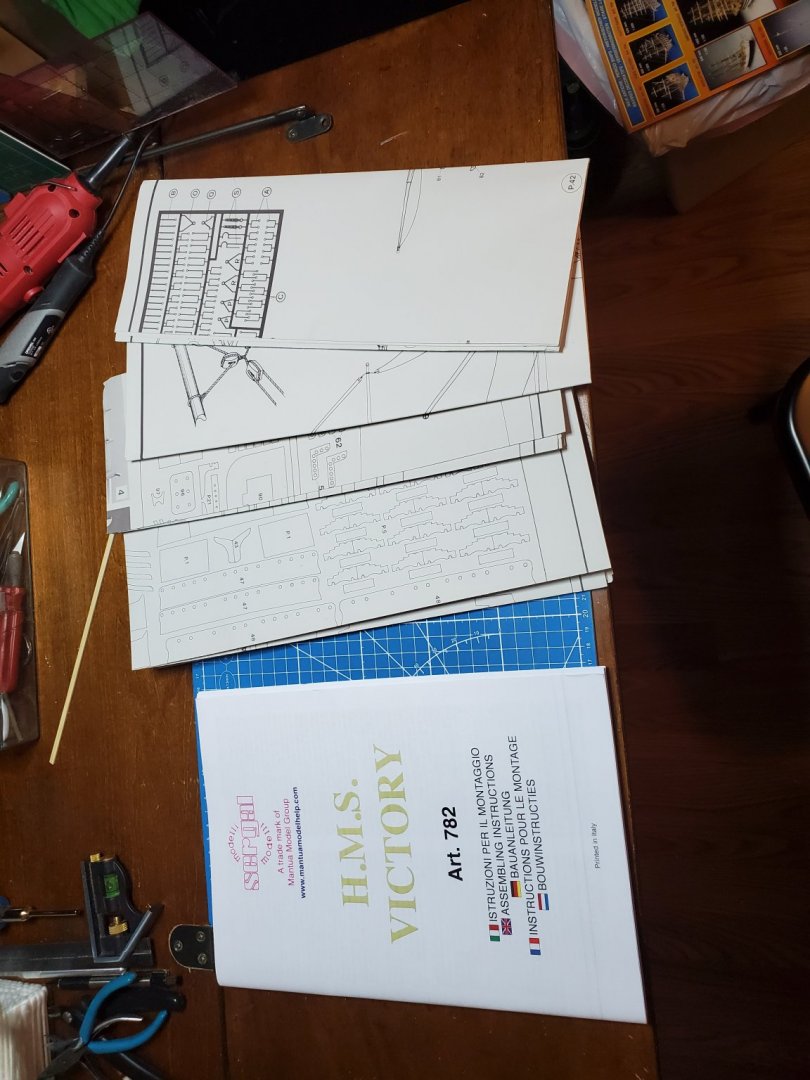
As for instructions..... well they are poor ... or worse. You would have to know what you are doing because they are no help.
20200402_103528.thumb.jpg.fe24aa3b2f75e4ce1acf686f79c9dfc4.jpg
there are 4 double sided sheets of illustrations but two of those are just identifying the parts and one is for rigging. The instruction book is very basic. It is in three languages but with only 63 pages, this limits the information. They are pretty much useless after you assemble the hull.
20200402_103700.thumb.jpg.96e6231d83a6e9867645bb6d07ec80ab.jpg
20200402_103719.thumb.jpg.7db7b721c33f4cb484543a46afb64ee9.jpg
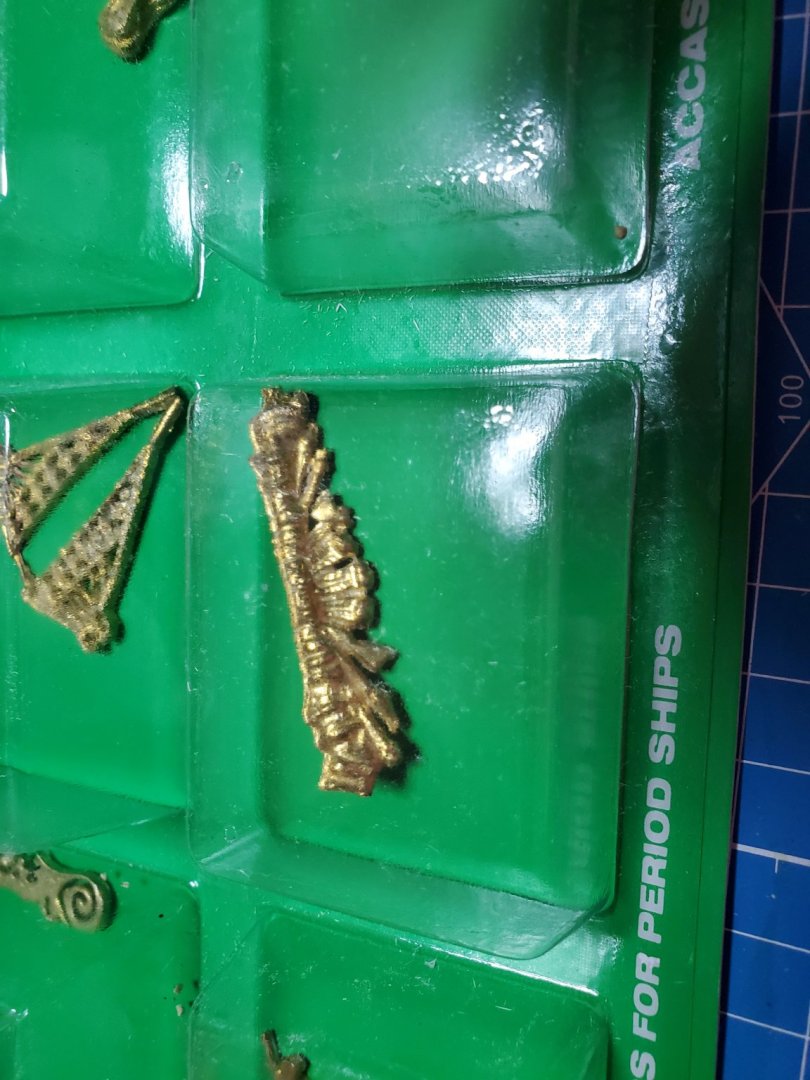
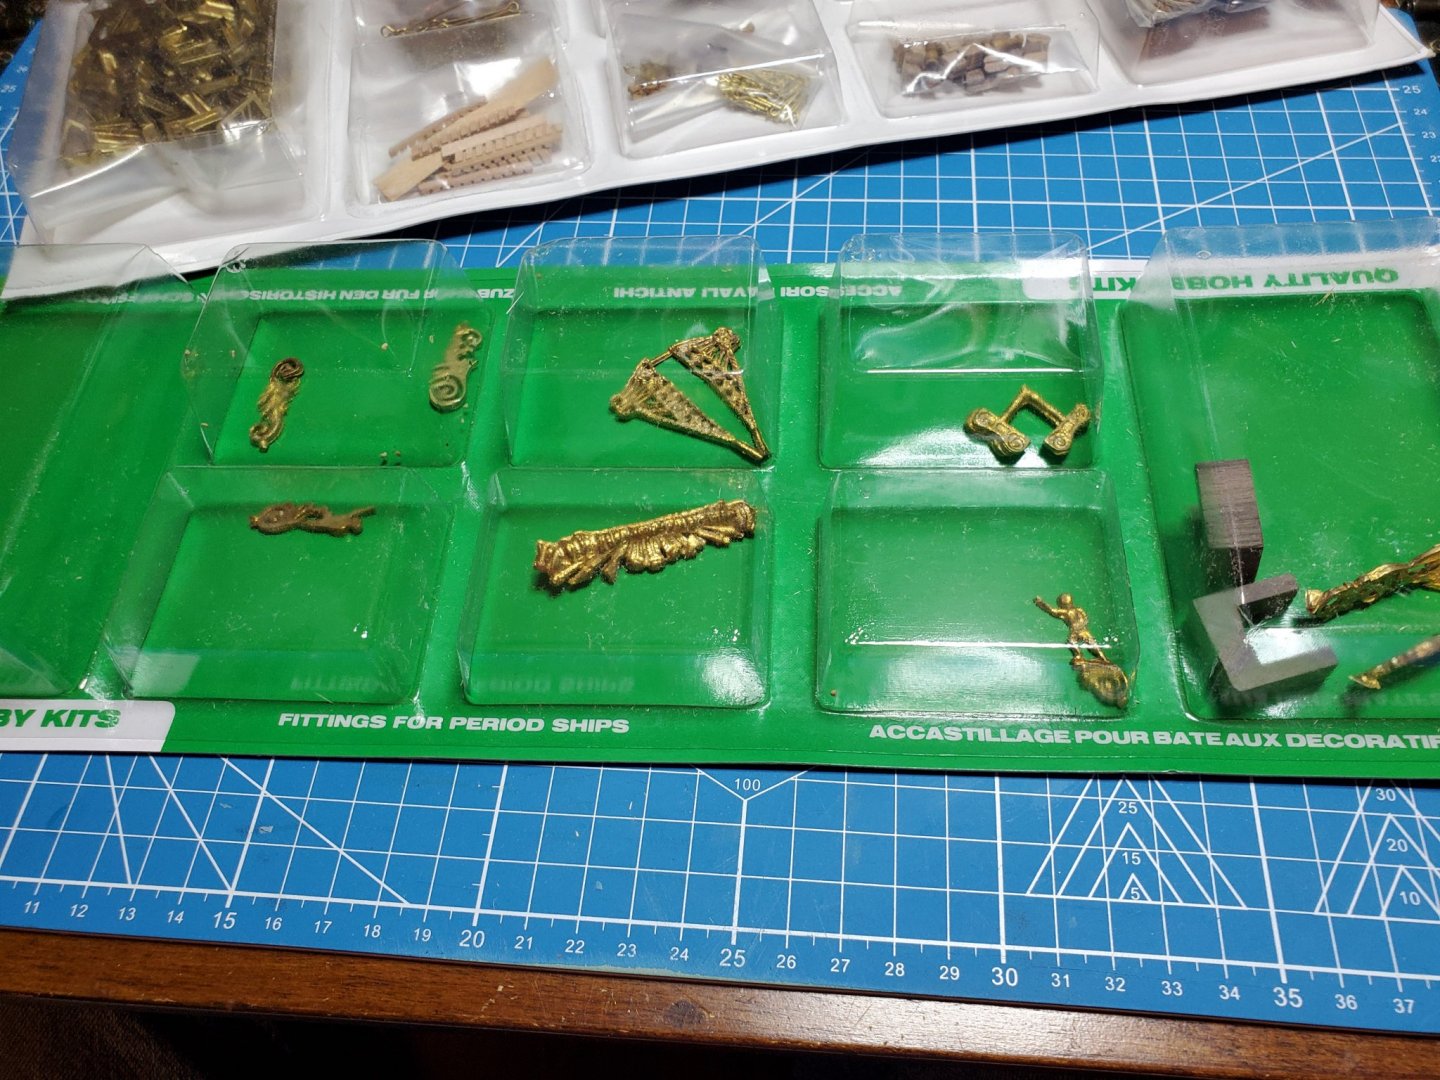
The castings are kind of poor, I will be hopefully replacing most of them with ones from Shapeways. ( I have an order ready to send)
20200402_103840.thumb.jpg.11a5e47305e86736deefb4c4cb208648.jpg
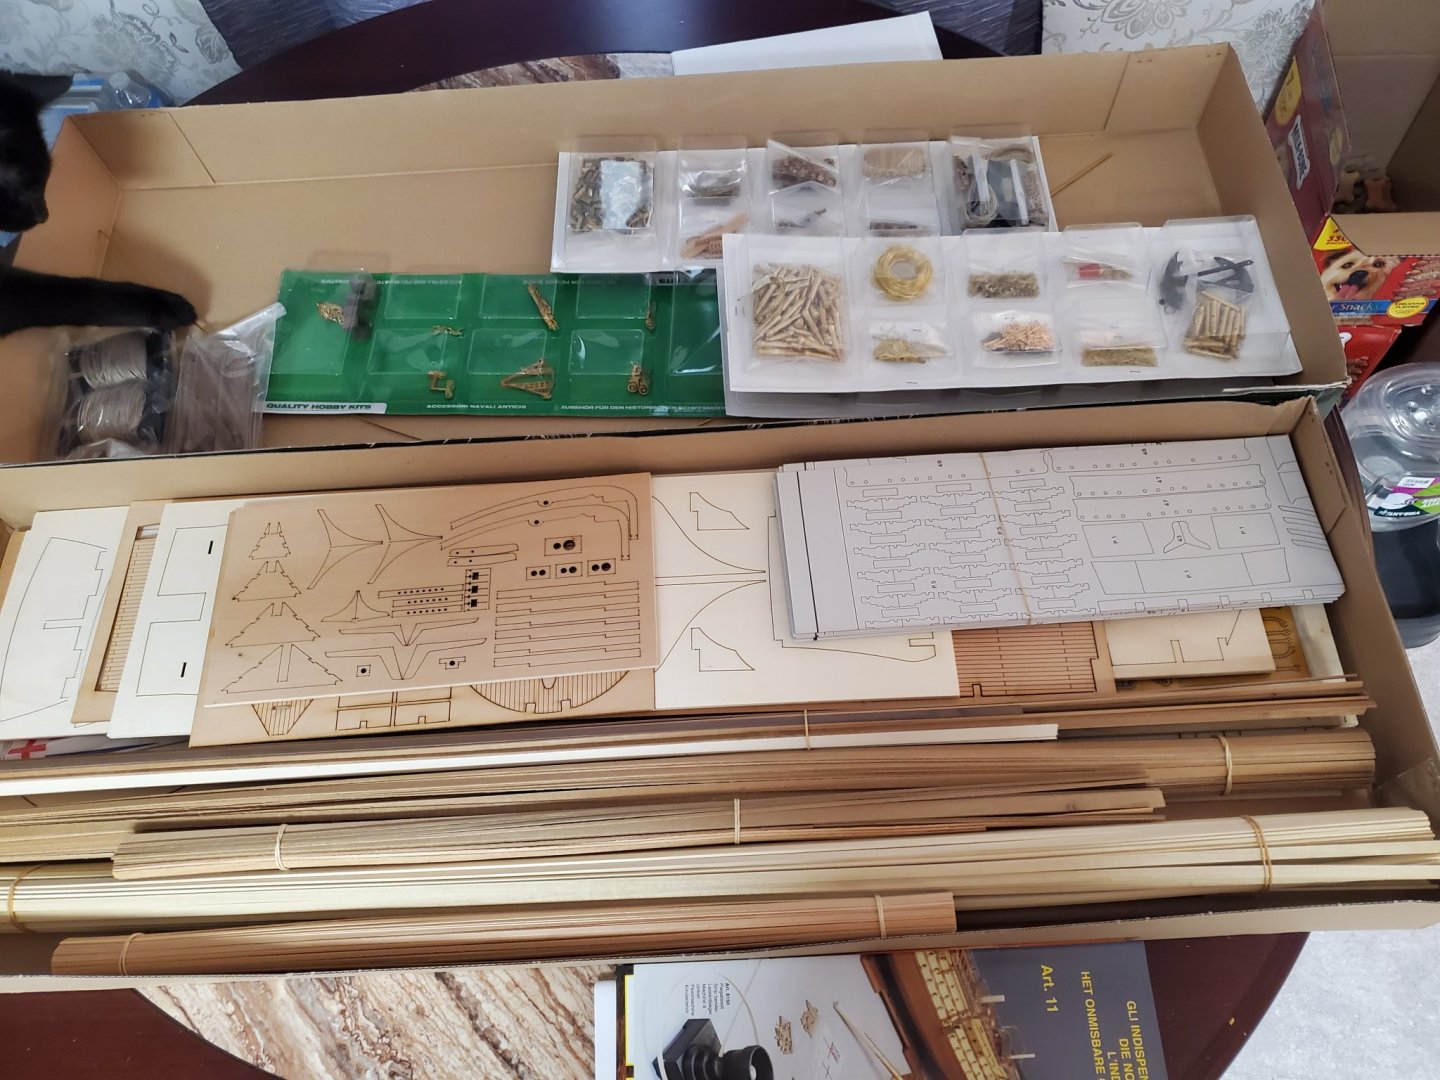
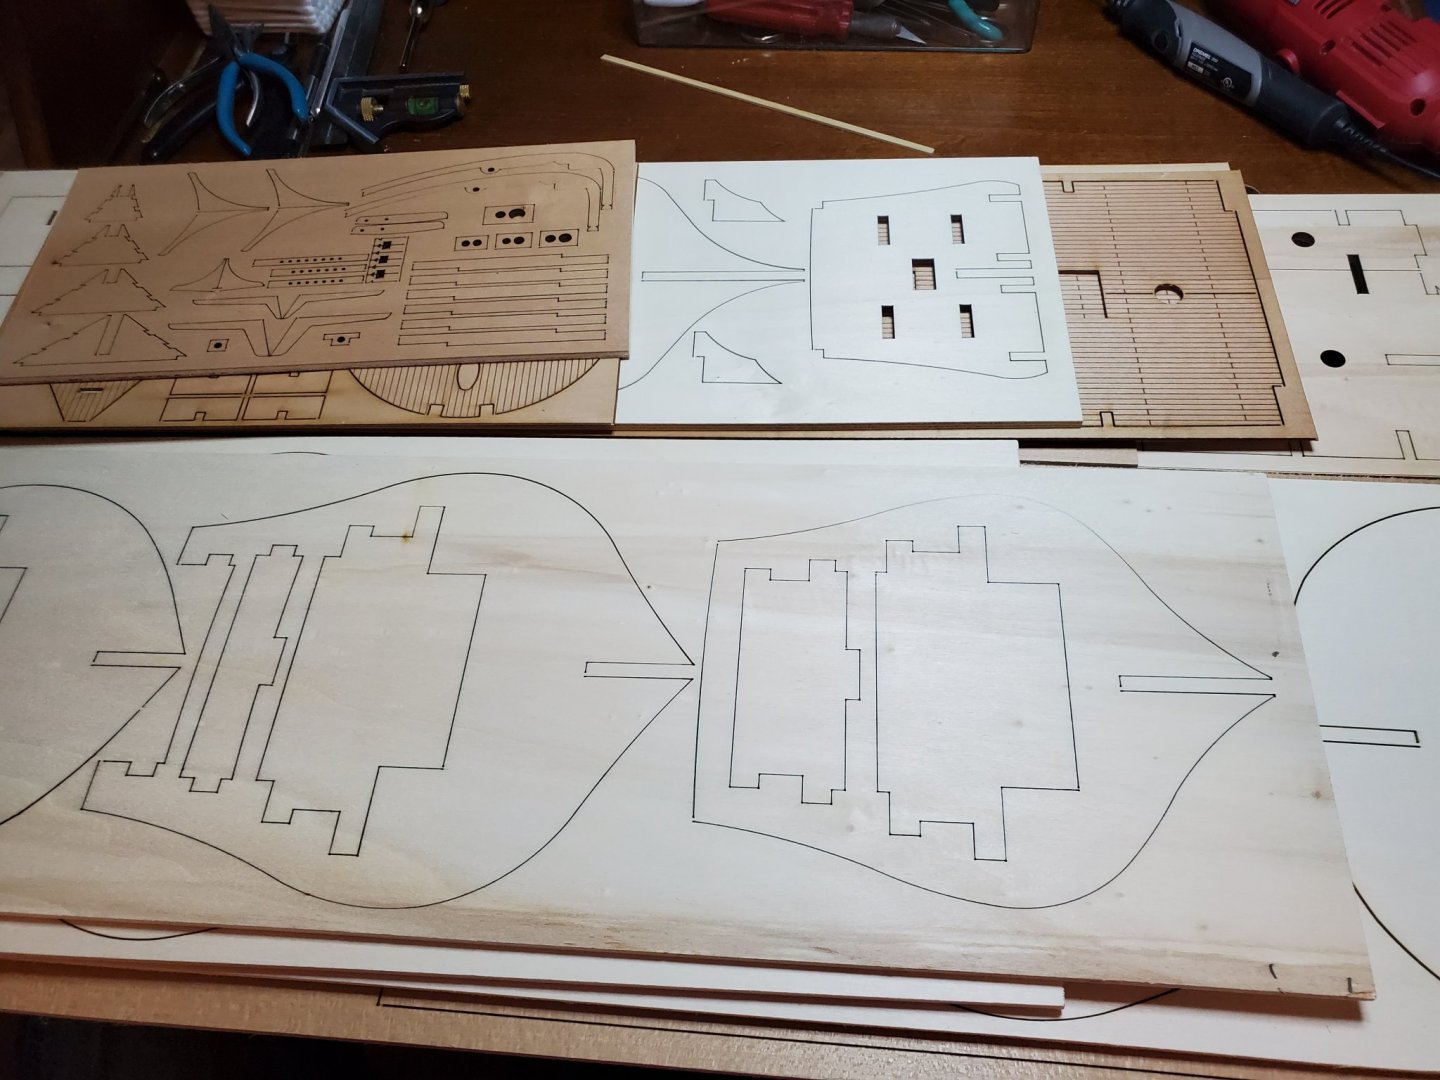
The wood parts are excellent. The wood strips and dowels are pretty good also. This is what I wanted the kit for anyway, the basic structure.
20200402_103640.thumb.jpg.2c1557c008e1218b729582eafb8fd8c8.jpg
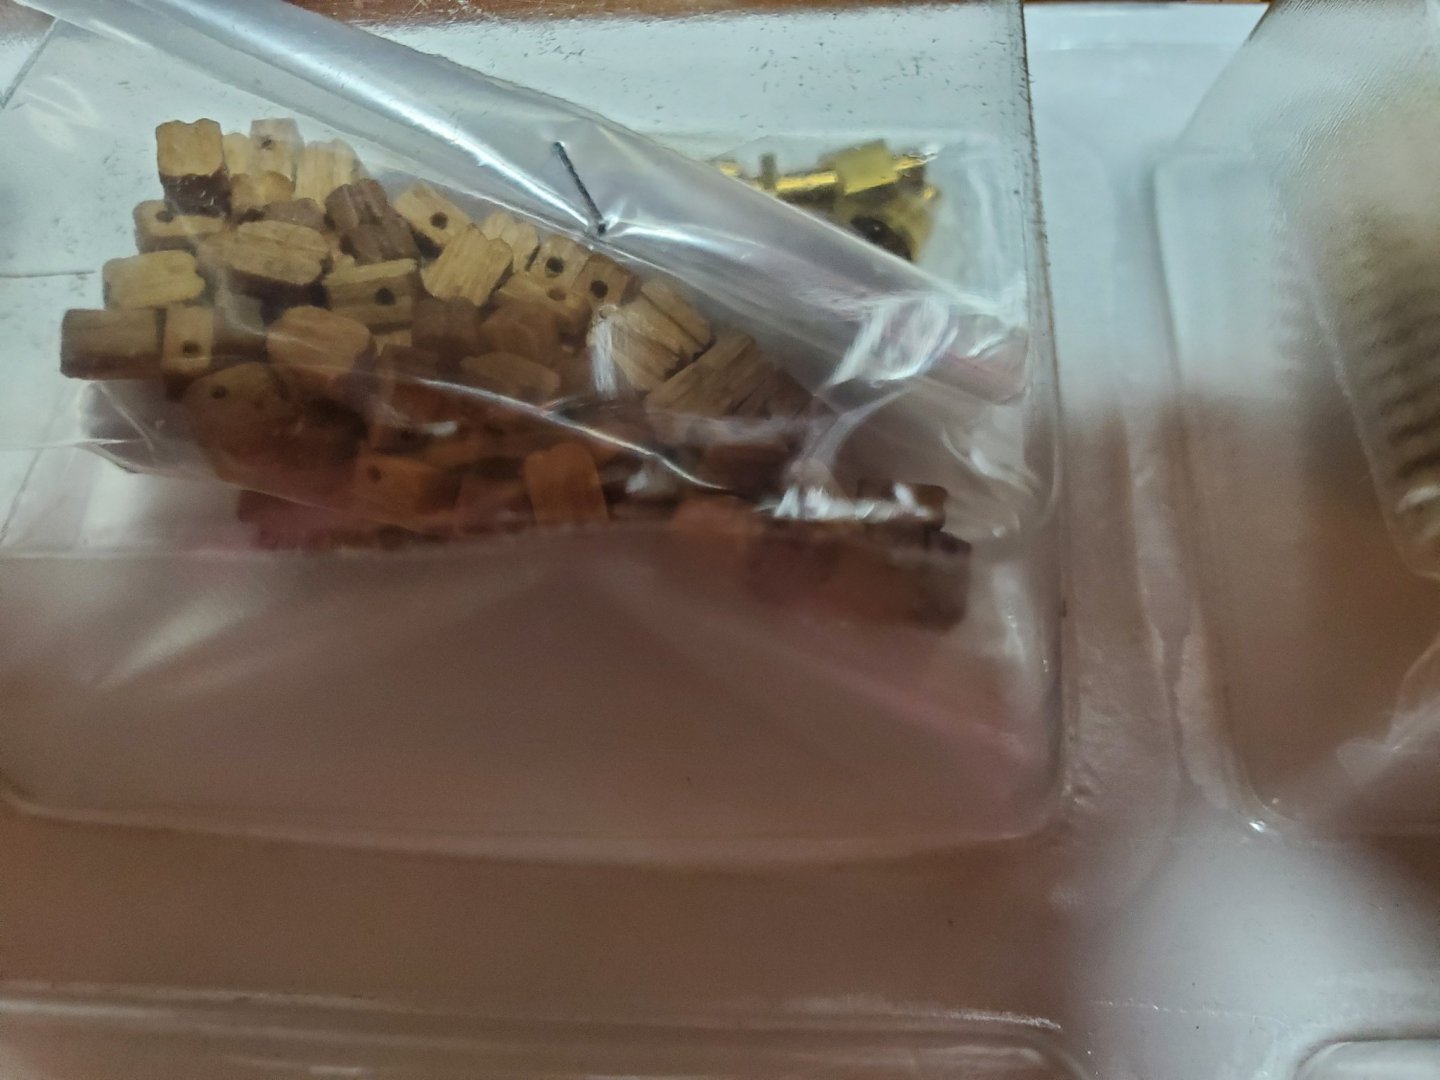
the blocks are all the usual kit quality ... poor .... they will all be replaced with blocks from Syren.

The cannons are turned brass and very nice.
The biggest problem is the stern gallery. It will require major work and a lot of scratch building to be what I want. Hopefully I can do this part and not use the kit parts. I have led lights I would like to install , but that is still undecided. The Billings kit was ideal for doing the lights , but this one would require a lot of work.
My next update will be assembling the hull.

Mark Frazier
 
I have done an inventory to make sure I have everything and it seems I do. Building this kit is by the seat of your pants. Besides the poor instructions ( I don't think the Italian translated well) there is one sheet with a half dozen photos. The rest is up to me. ( good thing I been studying a lot).
20200402_165450.thumb.jpg.c60a5a2b366387385292bf162462c0c1.jpg
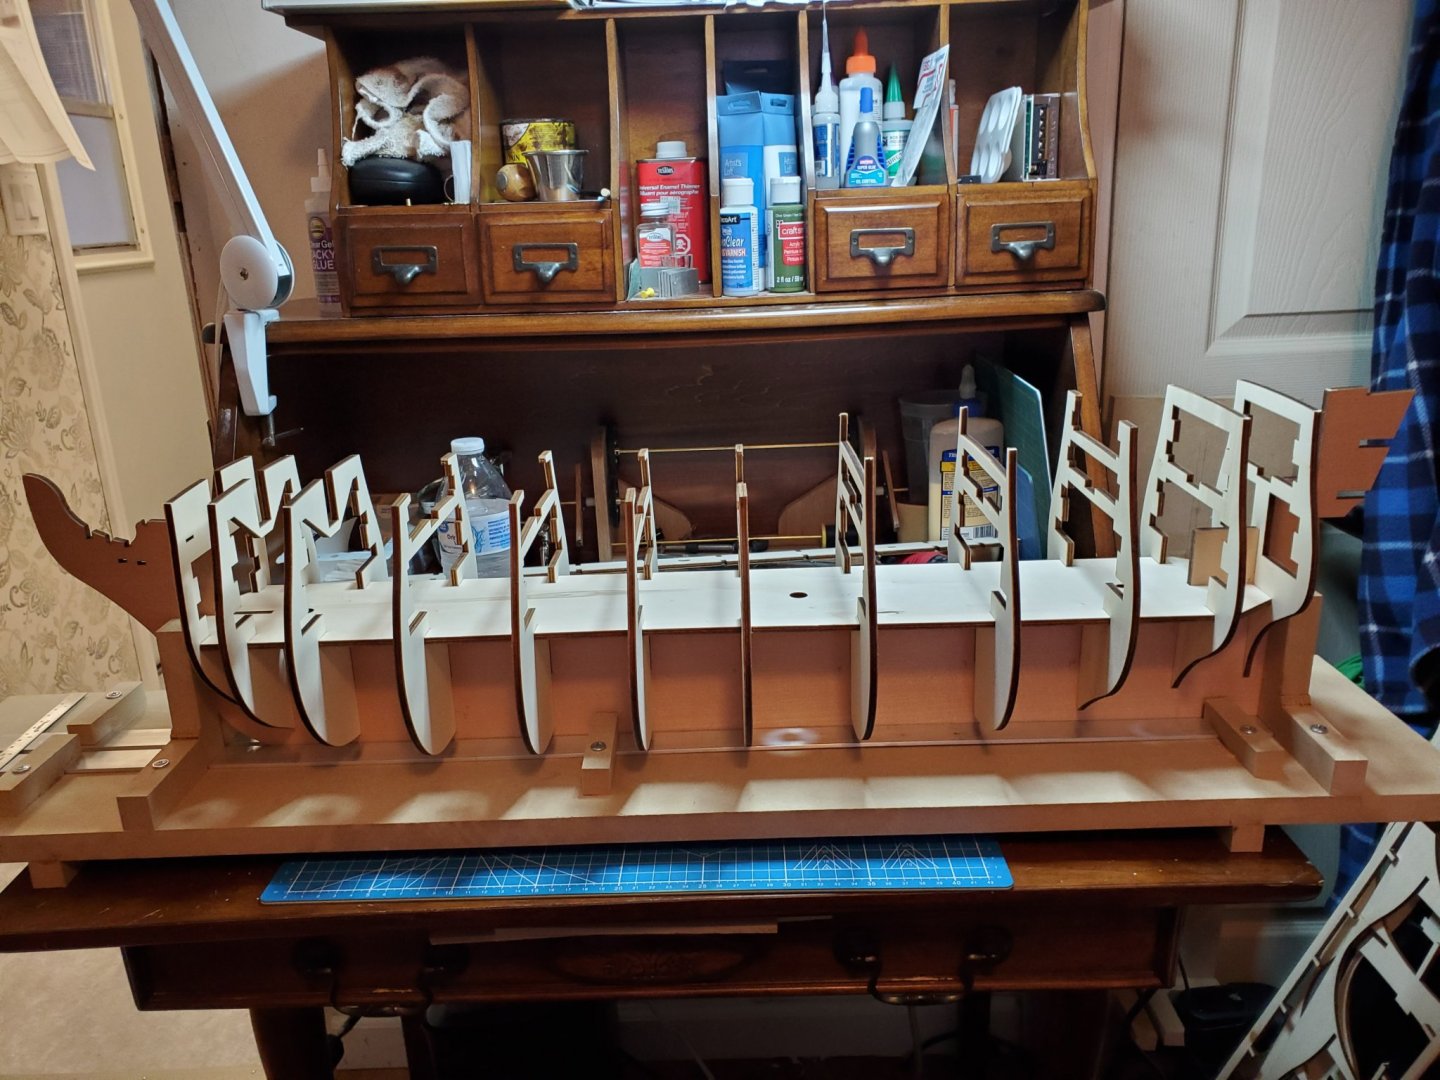
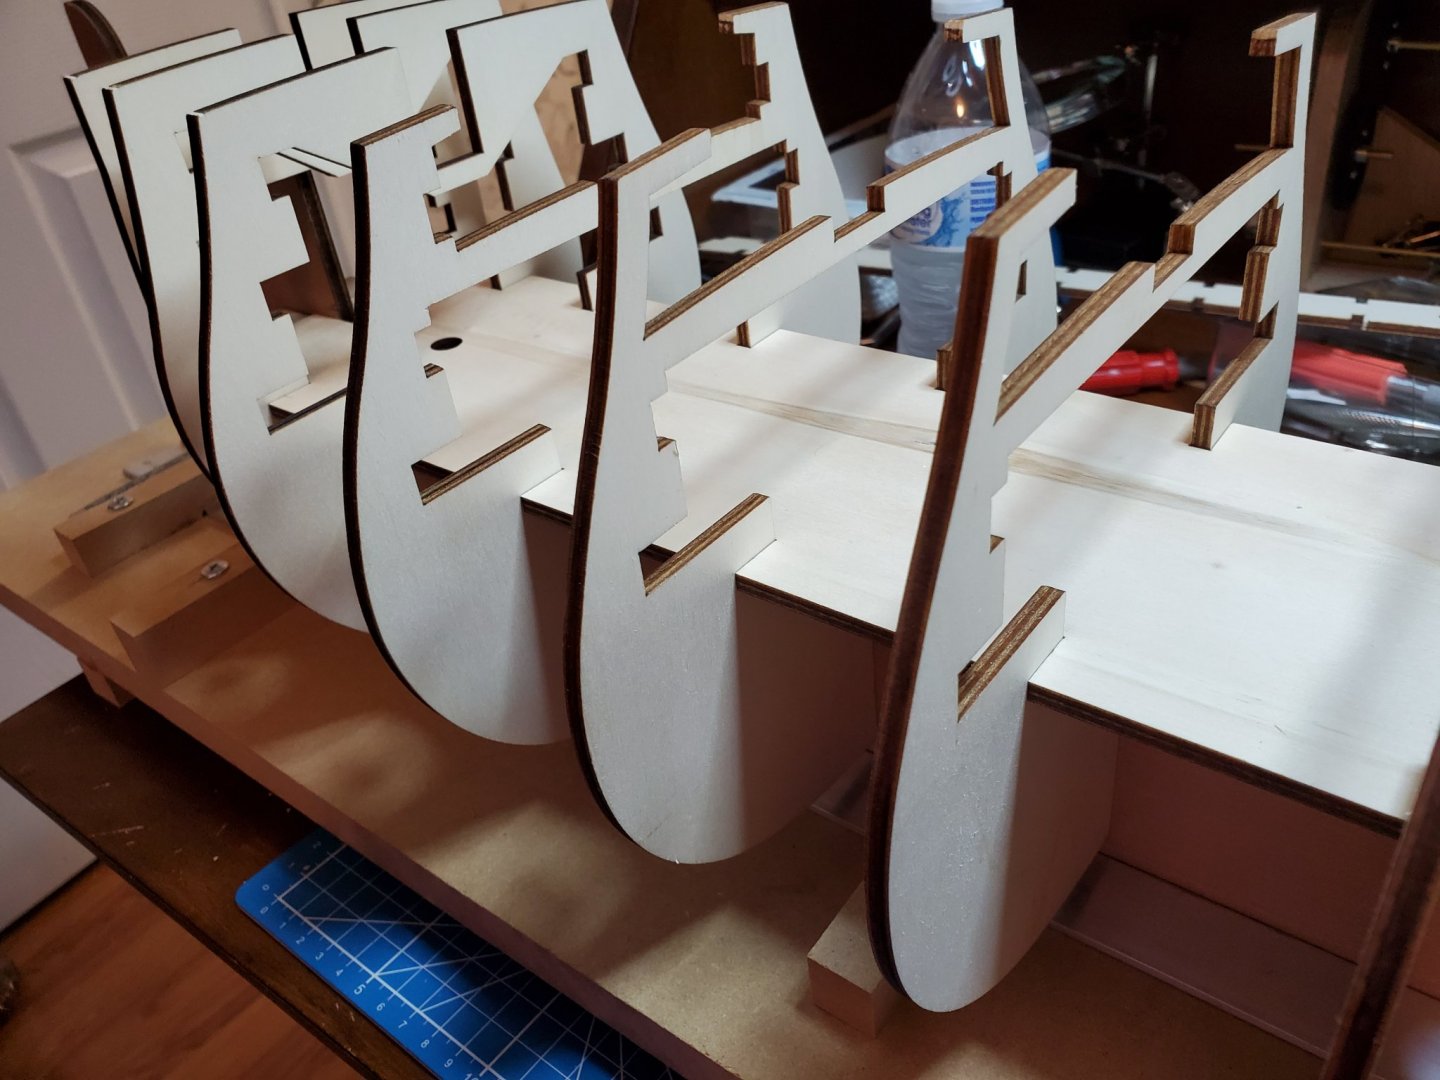
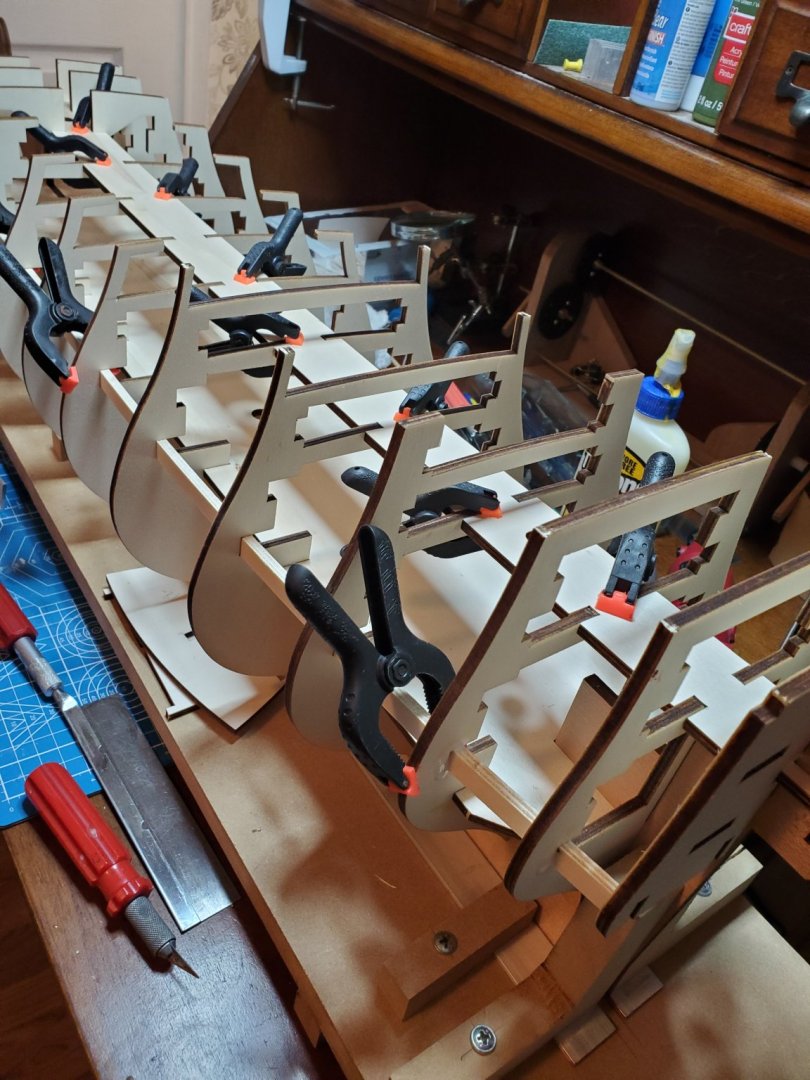
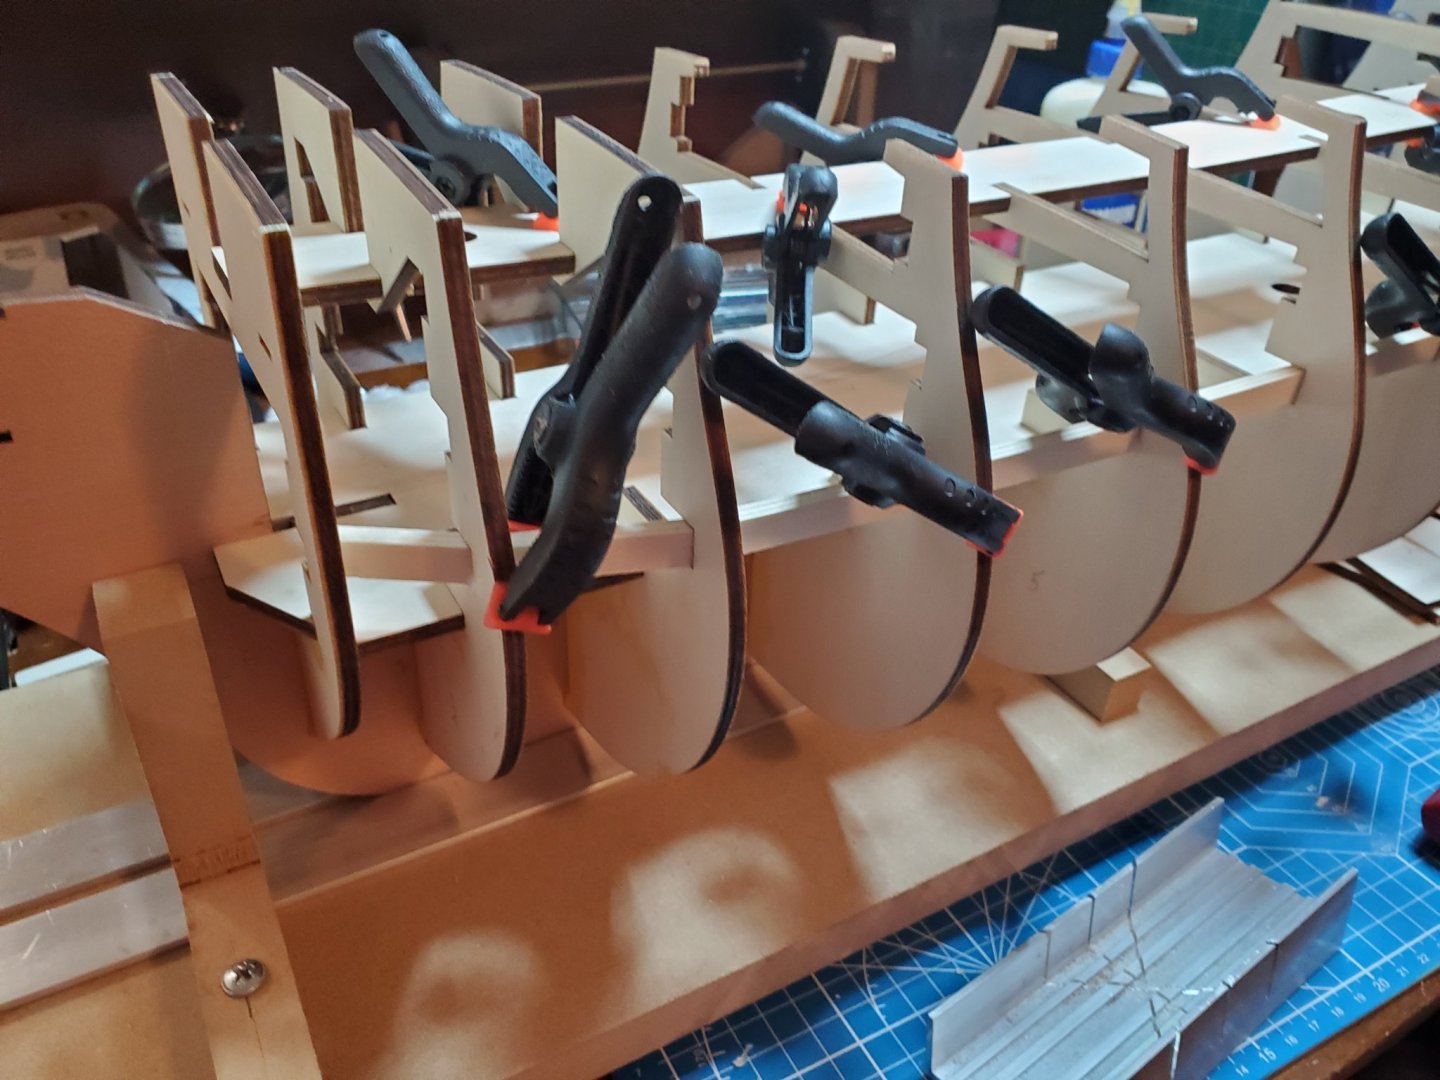
I have dry fit all the bulkheads. The laser cutting was excellent. I just removed the char from the slots and everything fit right together perfectly.
20200402_170425.thumb.jpg.75cbe9404aeb18d273b3219c6b86dd1b.jpg
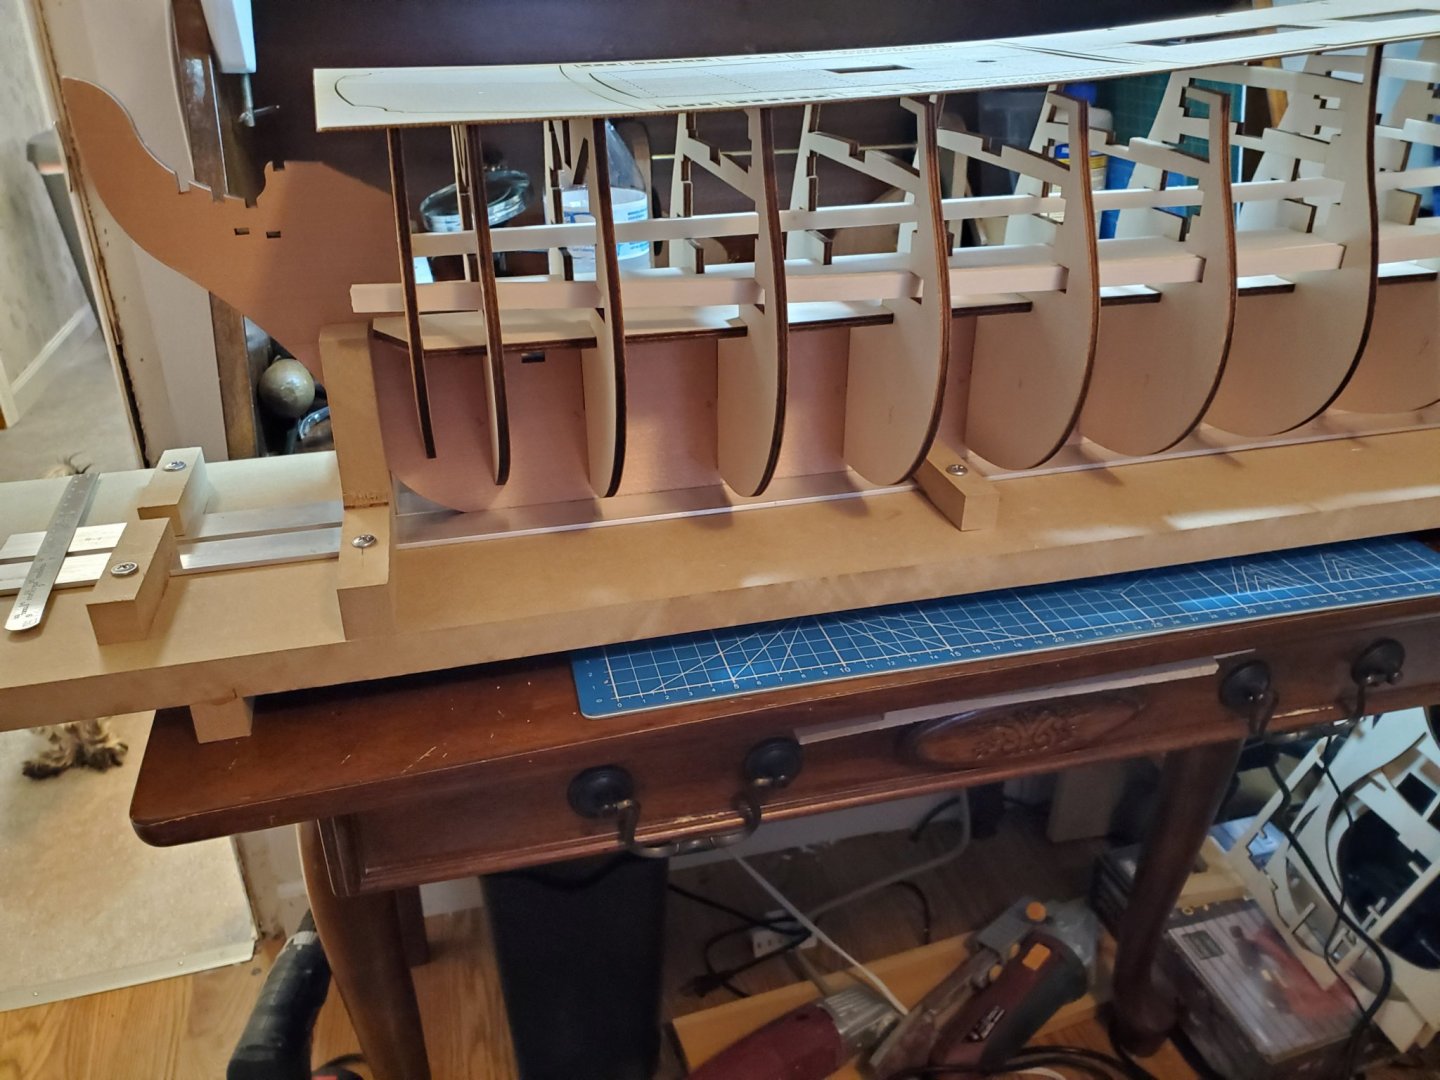
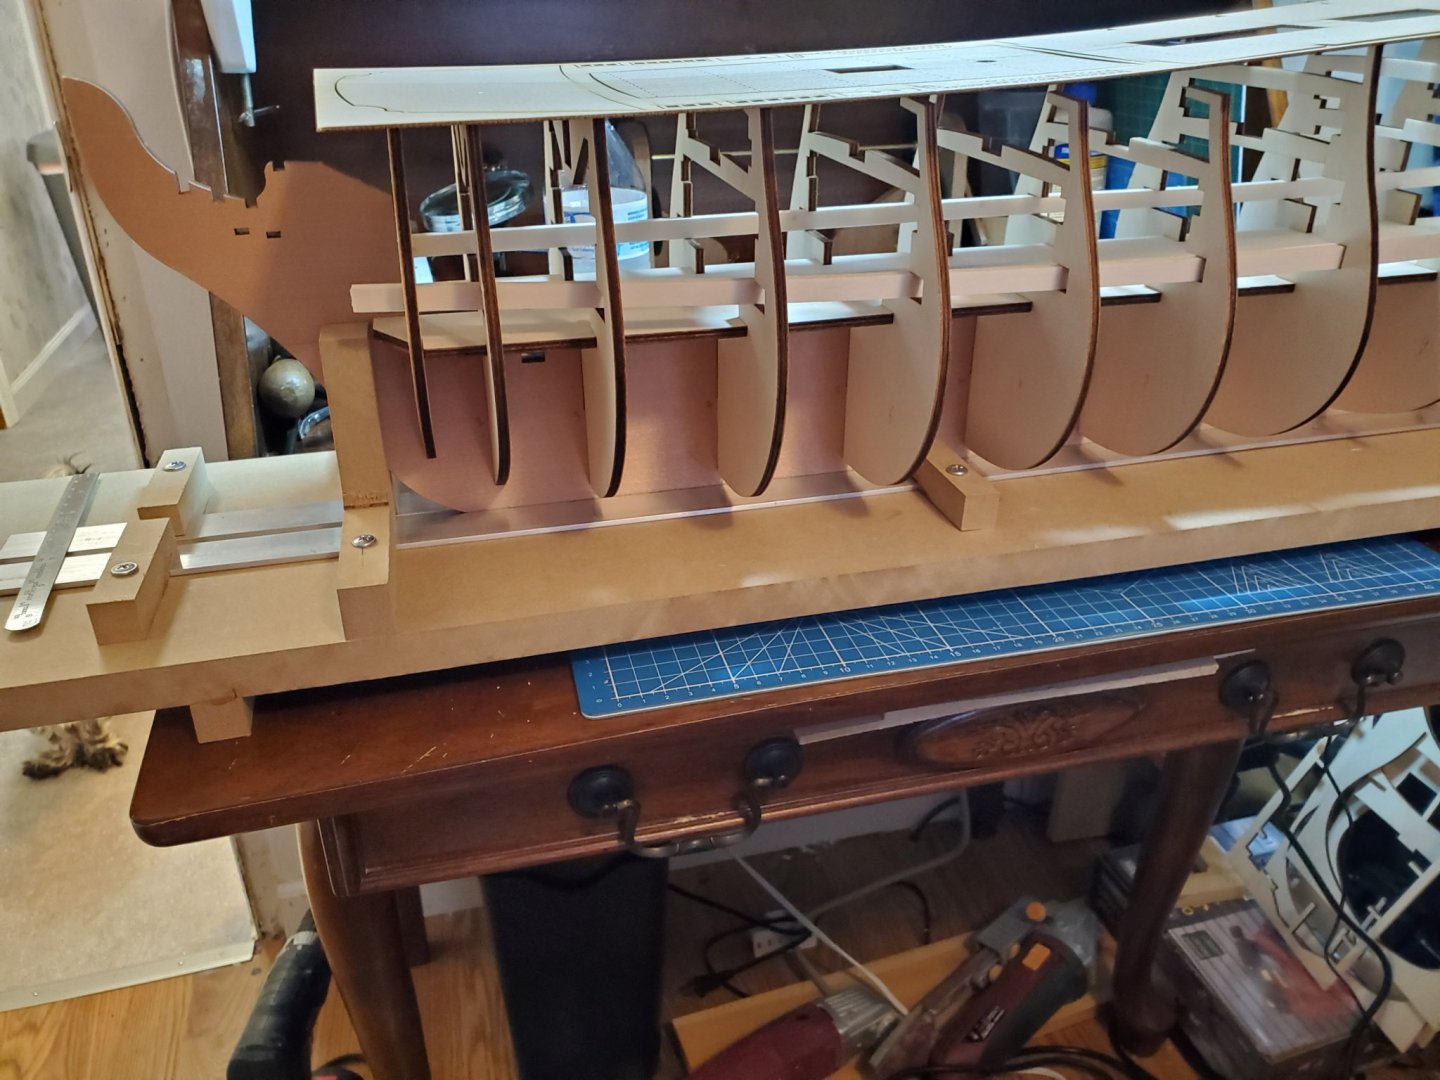
I set it up on my build board for gluing. I have two aluminum bars at the sides on the bottom, held by screwed down blocks. There are three pairs of right angles screwed down to hold it square and upright.

20200402_165502.thumb.jpg.19a4abe93bf206a917ecef20d1056f51.jpg
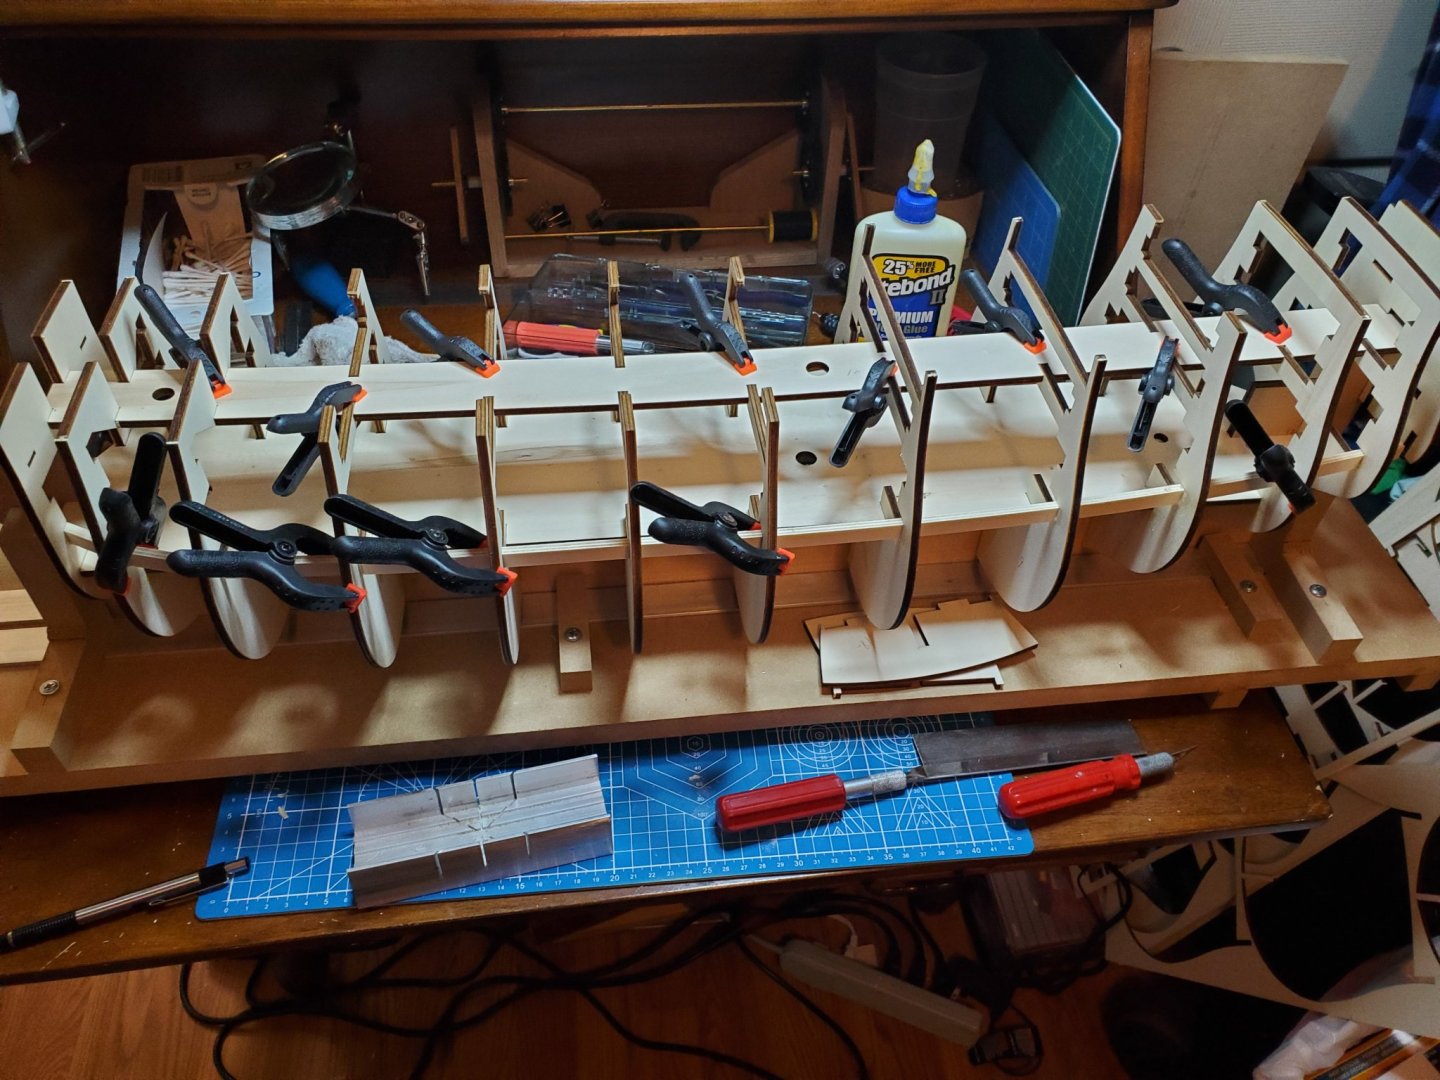
The construction of this hull is kind of interesting. You have to install all the bulkheads at the same time as the deck support you see in the photo can't be installed after the bulkheads. The last three bulkheads get put in and the deck support is slid in place. The rest of the bulkheads are slid over the front of the support and slid into place with the deck support. Once the bulkheads are in place and the deck support is in its location, everything is pretty solid. There is no adjustment. With it in the build board, the next step is to brush glue on all the bulk head joints.

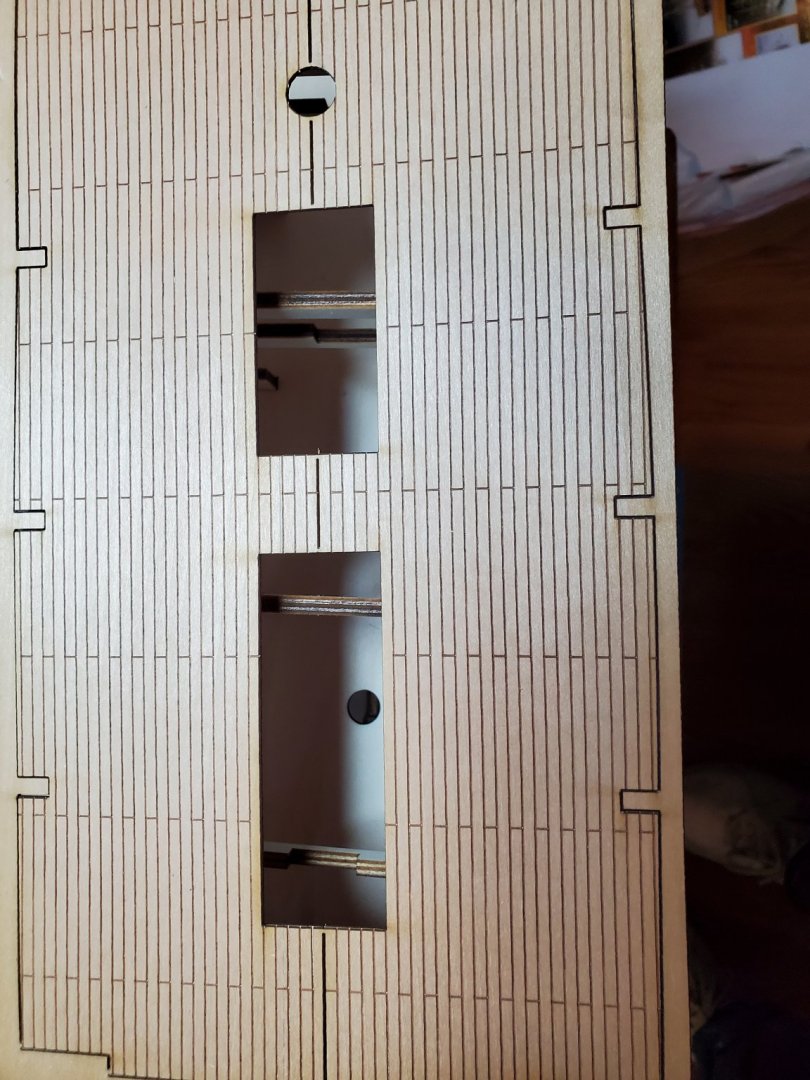
As can be seen in the next photo, the decks have the planks engraved on them and it actually looks pretty good, but they supply planking strips also to give a choice, and I will be planking my decks.
20200402_165753.thumb.jpg.e2b8506682ea1e8dd870223a03eb8a90.jpg

Mark Frazier
 
I welcome all suggestions and ideas, as there is a lot I don't know about ships. My first build was the Corel 1:85 scale Golden Hind. I built it as a dry run to do this one. I am also presently simultaneously building Chuck Passaro's Winchelsea. It will fill in time when I need a break or waiting for parts. I started it while waiting to get this ship.

Mark Frazier
 
As can be seen in the next photo, the decks have the planks engraved on them and it actually looks pretty good, but they supply planking strips also to give a choice, and I will be planking my decks.
20200402_165753.thumb.jpg.e2b8506682ea1e8dd870223a03eb8a90.jpg
Mark Frazier

Hallo Mark,
first of all many thanks for the starting of this building log - It will be very interesting to see your work on this kit.
Referring the deck-planking:
Definitely you have to plank the deck extra - the shown laser engraving of the planks, showing the joints every second planking row is technically completely wrong, so no way (in my opinion) - you made here a correct decision :cool:
 
20200403_095210.thumb.jpg.3ebd7c15a92e1e85d8d1b83d38feb8d0.jpg
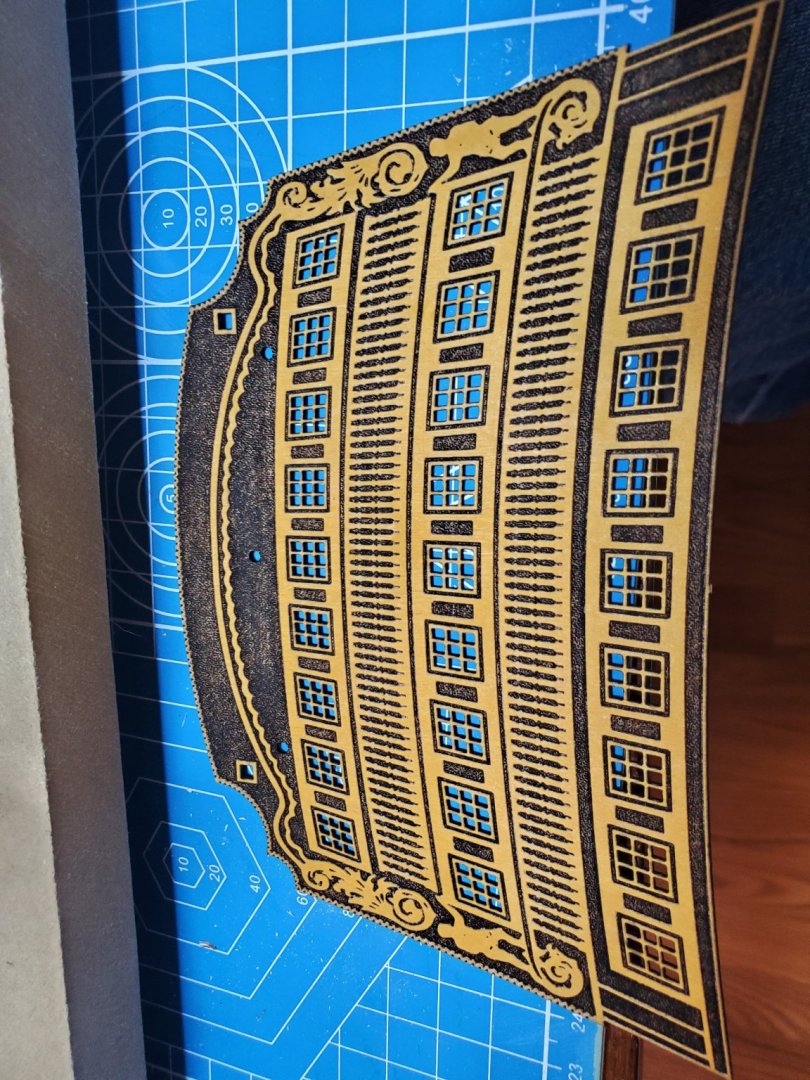
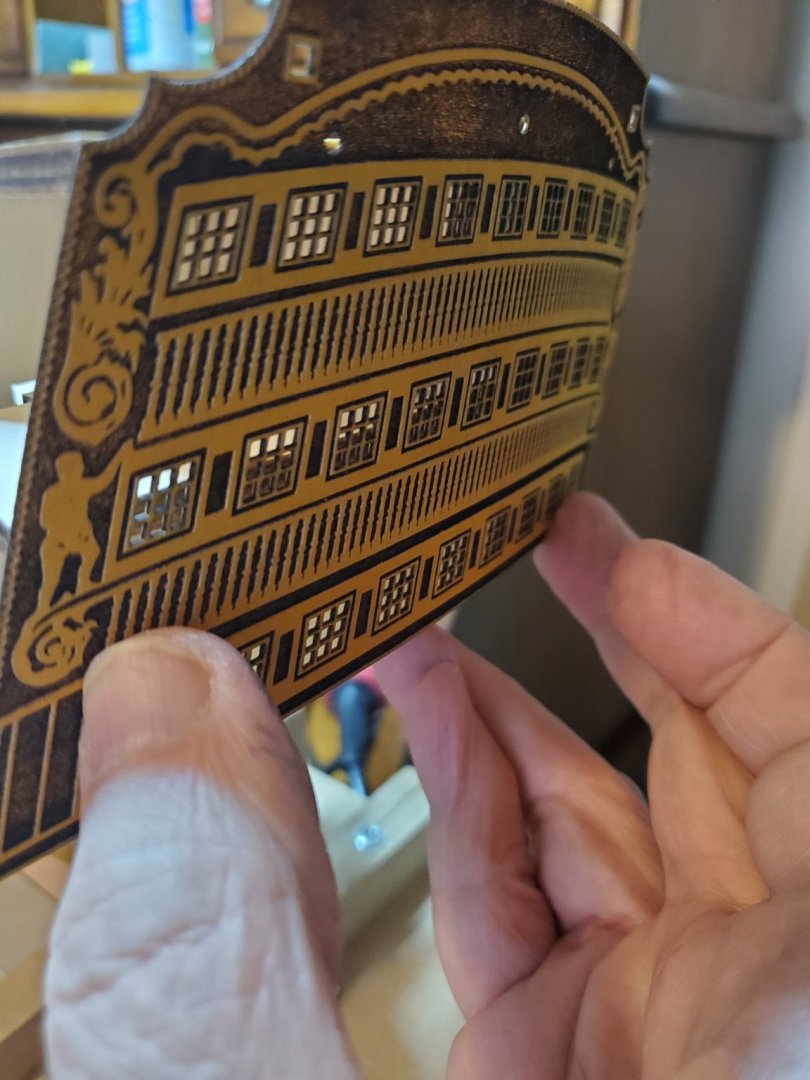
I said this kit was different than the Billings and would change some things. This is the biggest problem area . The above photo is the rear panel for the gallery. It is not bad looking, but the details are laser etched relief into the wood panel. This kit has another panel to put behind this one which is to be painted white. This fills the windows with a white background and I don't like that.
20200403_095218.thumb.jpg.dadc14cbfa76f060b79a971646269cec.jpg
This kit has three pieces for the floors and ceilings, the Billings had 4 which was what I planned on.
20200403_095320.thumb.jpg.58daa24959dfc781384383dae06561c7.jpg
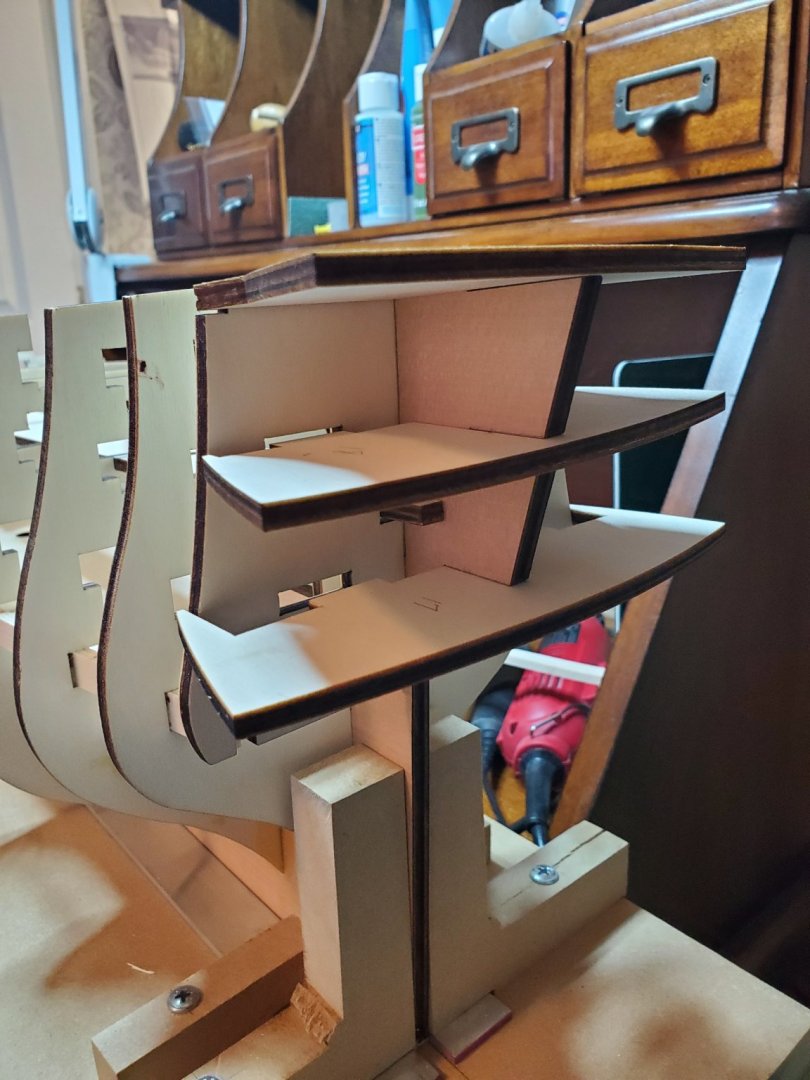
if I don't put the false panel behind it the windows are blocked by the center floor and the vertical piece. The reason this is a big problem is I wanted to put LED lights in this area. So, now I have to decide about rebuilding this whole stern or follow the kit. If I use this panel as is, since the figures are laser etched in relief and the castings are fit onto them also, the Shapeways set of figures may not fit. So, I have to work this out before ordering from Shapeways. The side gallery construction on this model is also much different than the Billings kit and will present another bunch of problems for my original plans.
I only have half the number of LEDs I probably should consider, so I may abandon the lights or only put them in the galleries and leave the cannon ports dark. I wonder if that would look okay. I imagine the real ship wasn't always all lit up, but I don't know.
The first thing is to work out this stern gallery problem so I know what to order. I had a plan on everything until due to this pandemic, I had to change kits. But I didn't know how bad it was going to effect my plan. So.... now with a bag of lemons Life is giving .... I will make lemonade.
Meanwhile, on with the hull constuction.

Mark Frazier
 
20200403_132129.thumb.jpg.547c54f36dbfb140e9be344762184a86.jpg
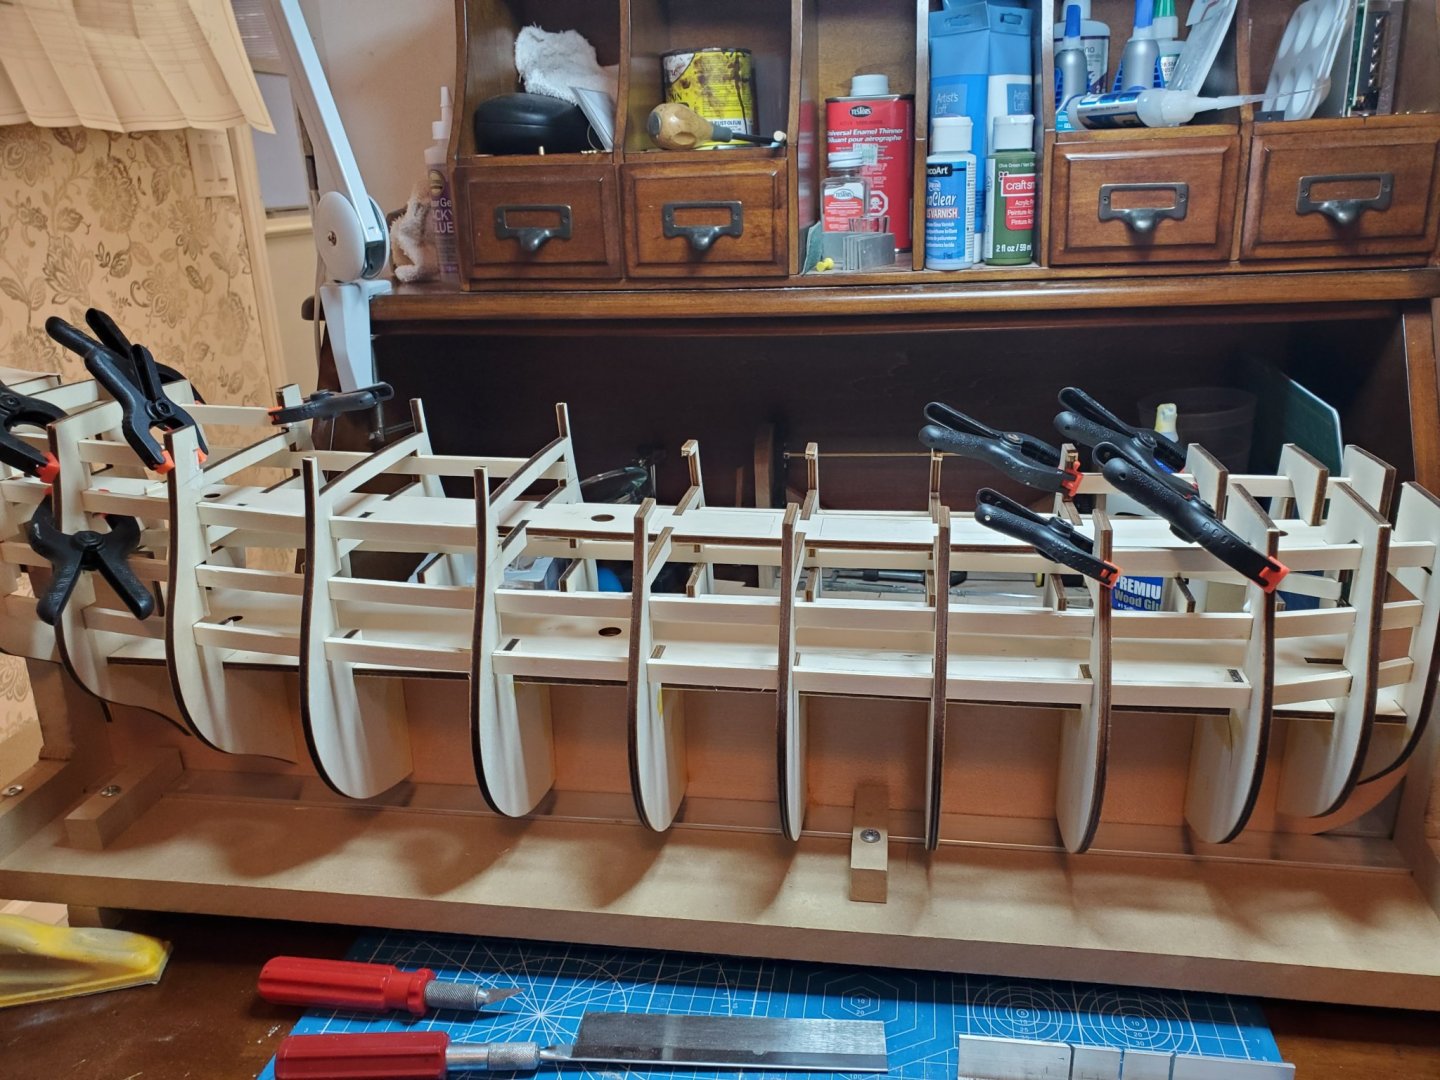
All the dummy cannon rails are installed. The next thing will be planking all the decks. The instructions say plank them and then install them, but the main deck has to be bowed a good bit to install it and the deck under it is split in half. This to me means install and then plank even though it will be more difficult. My mind is still racing wondering about the stern galleries. I need to make a decision.

Mark Frazier
 
20200403_135146.jpg.44f27ebd56e960047b6d339d52727e49.jpg
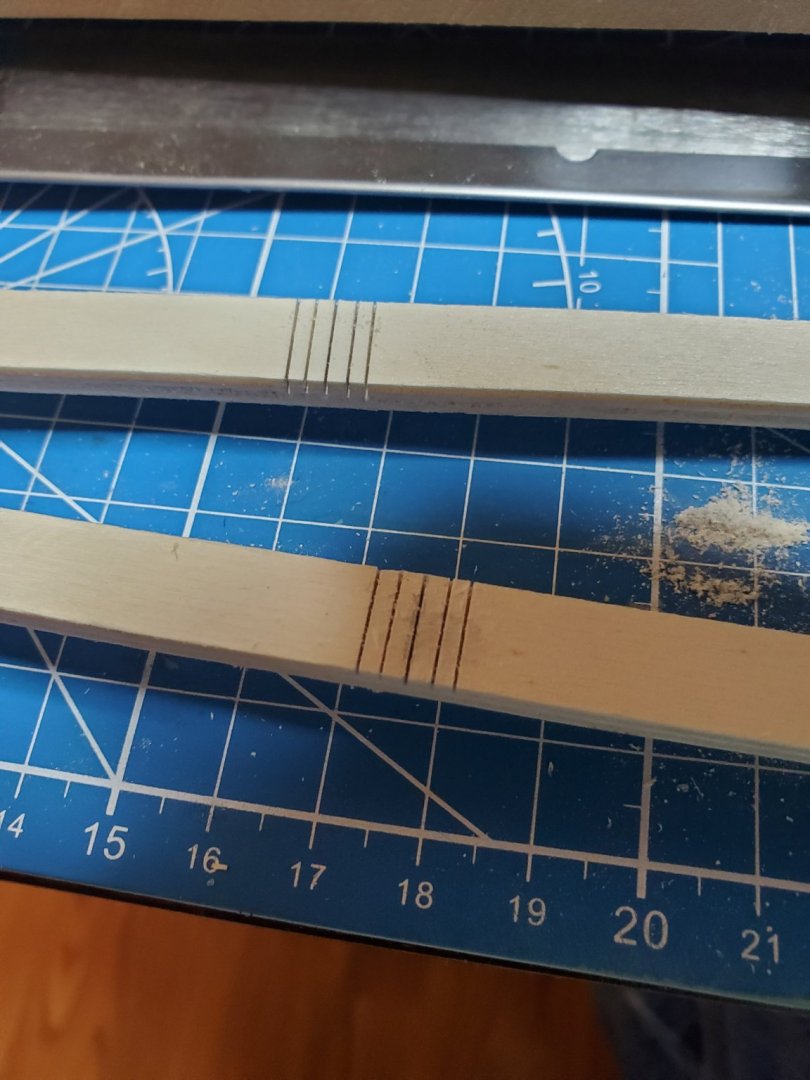
This is how the Billings kit says to plank the deck. I am going to try this on this kit and see how it looks. The thread will simulate the caulking. I cut a pile of 80 mm long pieces and stacked them. I then took a couple of swipes with a sanding block on the edges to remove the "fuzz" and give the edges a sharper look. If this works good, I will post a photo when done.

Mark Frazier
 
Hello Mark. I have never use thread to simulate caulking in my models. IMHO, this method may be not practical for at least one reason: when you will finish laying planking, you will need to sand\scrape it. I cannot foresee what happened to scraped thread ...:eek: If you don't mind, there are many other methods to simulate caulking. Depending on scale of your model you can choose the following

1. 2B pencils. You can create a batch of planks, tight them temporarily and mark only one side of the edge. This suitable for small scales: like 1:72, 1:64
2. Using the black paper of 0.8 ~0.9mm This gets a really nice results, and can be sanded\scraped afterwards . Take a look Zoly's @zoly99sask Ontario build log (see below)


3. Some folks dilute PVA glue with Indian ink, and use this mix to glue planks together. A great way for small scales but a bit messy, you have to cleanup to avoid planks markup.

Hope this help, but the choice and last word is always yours!!! ;)
 
I looked at the paper between the planks as you suggested. This model is 1:78 scale. My planks are only .6 mm thick. I don't think I can get paper in that small an area, but I don't know. It does look great though. I tried the pencil on my last model and wasn't that impressed with it, but if the thread doesn't work I may have to use the pencil. Thank you for letting me know of the options. I want to use what will work best in this situation. Just not sure what it will be.

Mark Frazier
 
Hi Mark,
We usually make some samples with different methods before applying to the actual deck. This way you can try and choose the one looks better to you! Also, you may try the finish on those samples to see how the deck will looks with different finishes e.g. oil, varnishing, polyurethane or shellac.
 
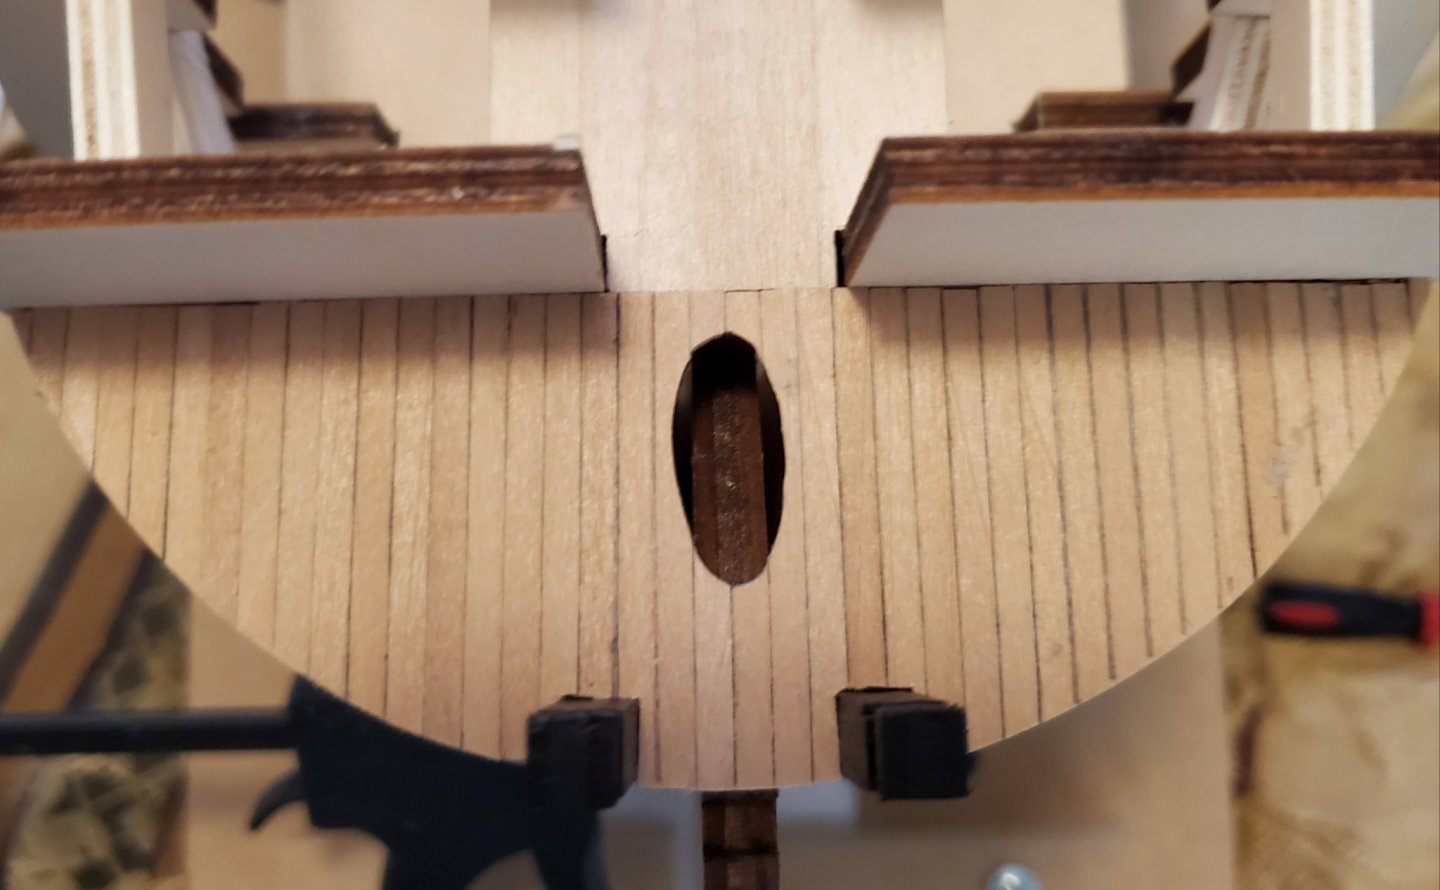
Okay, the thread isn't working because the only thread I have is too thin. I am not going out shopping for any. These planks are the same as what came with my Golden Hind. I will treat them the same way. I colored the edges with a pencil and then after planking if needed, I used a .5 mm drafting pencil and a ruler to draw along the seam to accentuate it. The following photo shows how it looks.
20200403_163305.thumb.jpg.001b26346fd0daafc74e6bcf09cfa9e7.jpg
I am satisfied with this. It actually looks better than the photo.

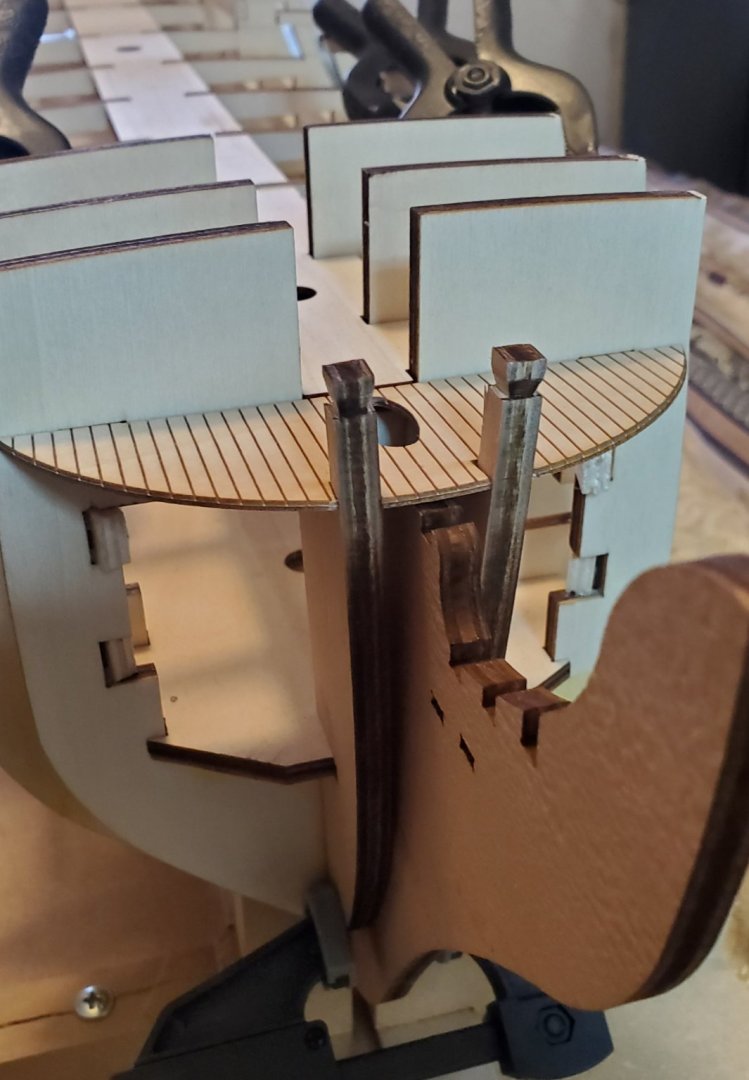
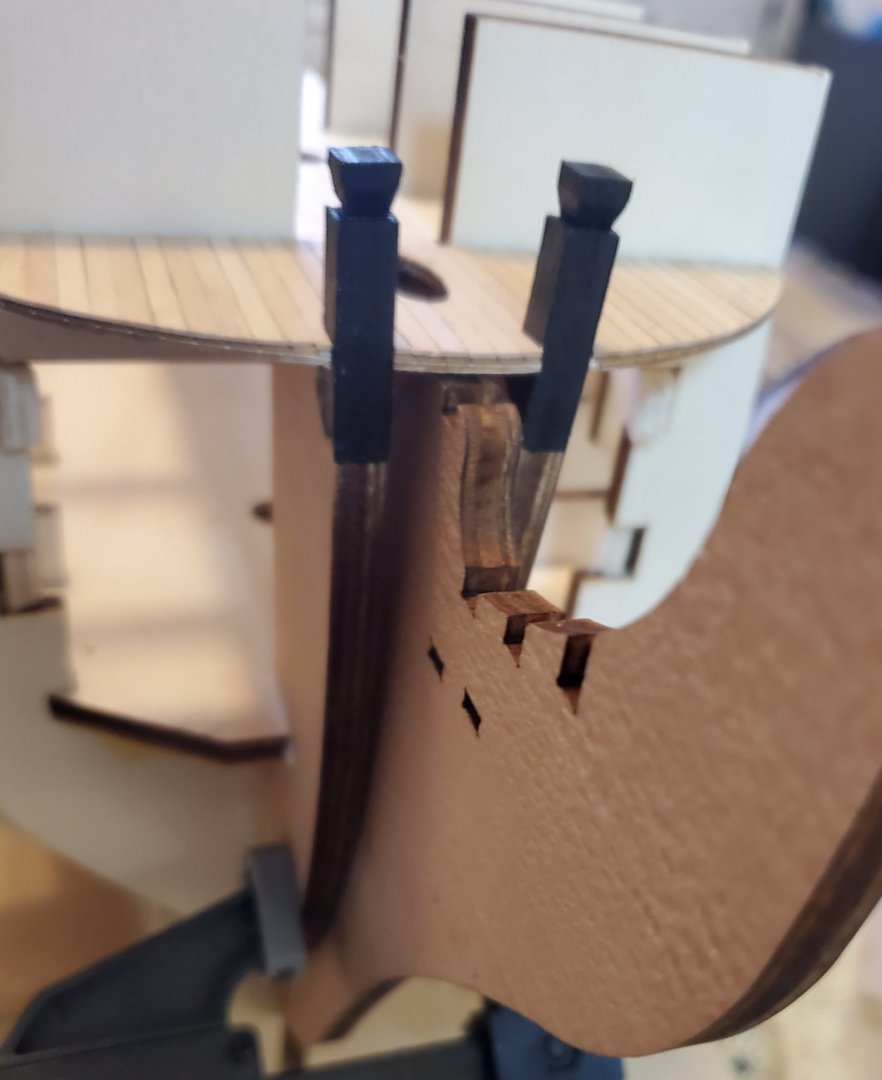
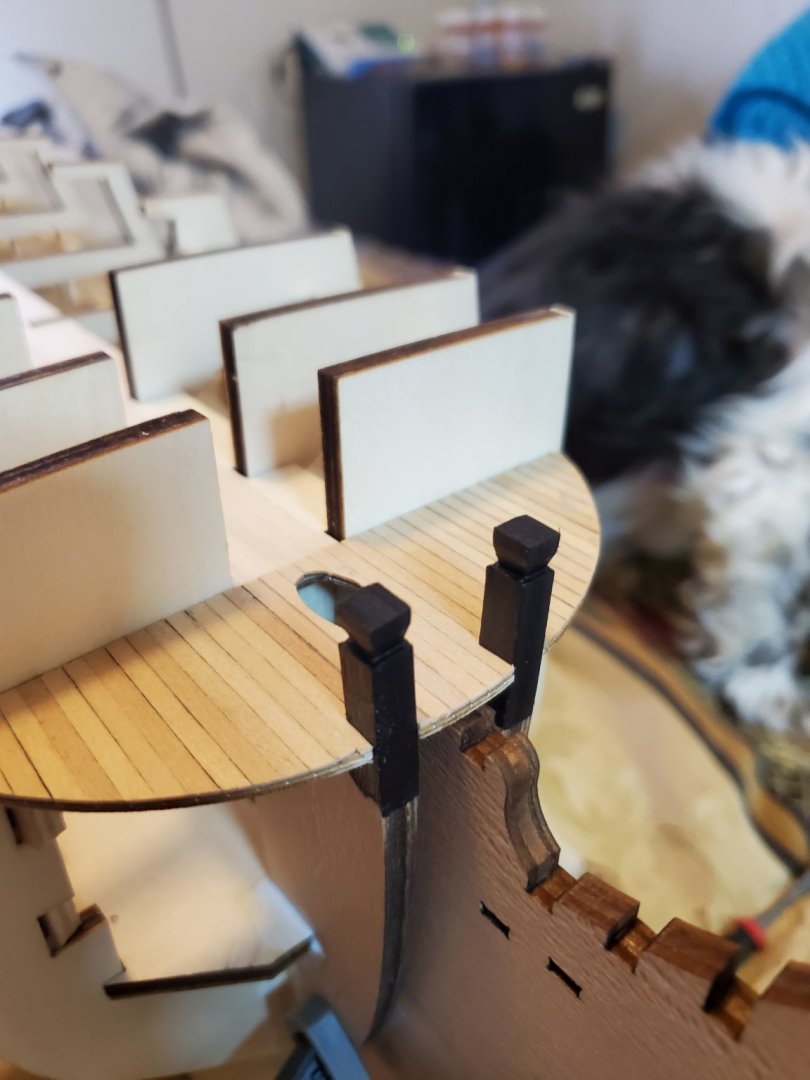
The front bollards needed finished before installing and they need installed before planking the hull as the planks fasten to the bottom of them.
20200403_144352.thumb.jpg.a1dfb521b5fa5151ca9c55e52cd91f05.jpg
The photo above, they are dry fit.

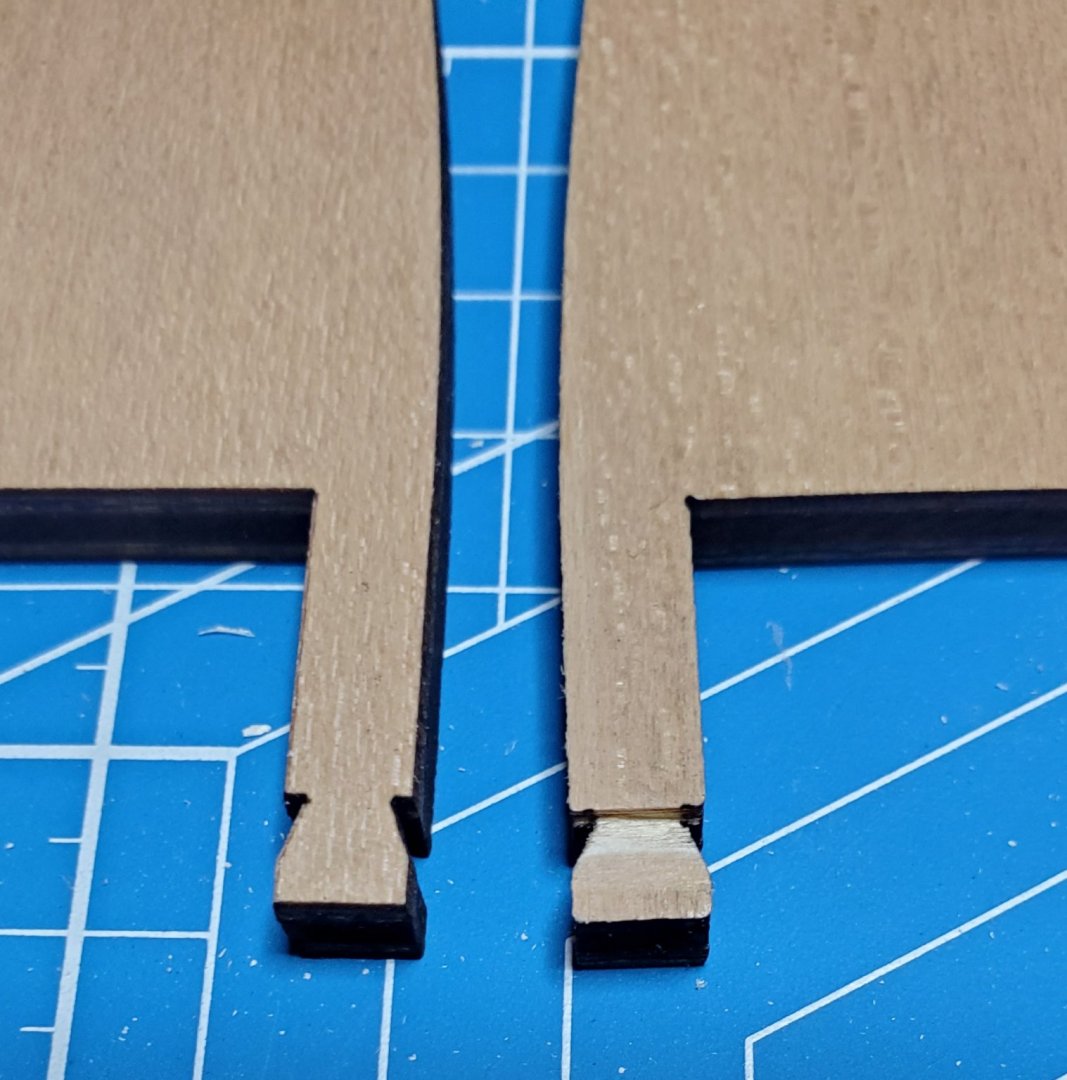
I didn't want to use them as supplied because they don't look right even though the instructions show using them as is.
20200403_143818.thumb.jpg.353b20c1155c5ebab87ebe2fa85f8e3b.jpg
I carved them on the other two sides to match. They look much better.
20200403_145752.thumb.jpg.0fbdc314bf8eccfee5a0b30e62e21790.jpg
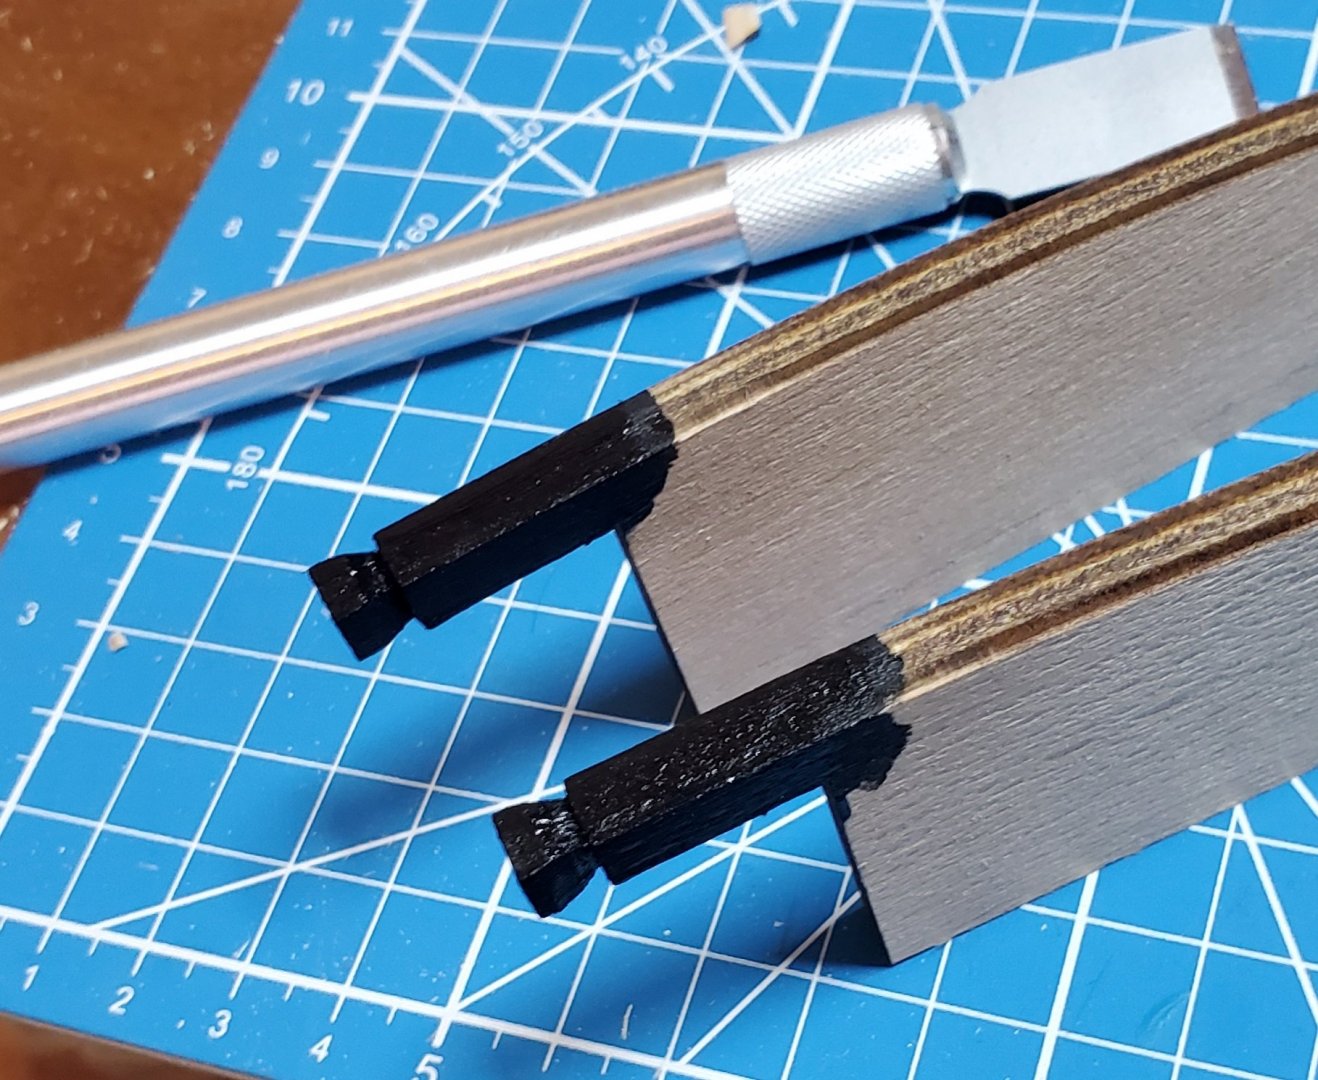
6 coats of matte black acrylic paint and they look good.
20200403_163414.thumb.jpg.51dc9fd8995b6ad99871a1907a200674.jpg
20200403_163119.thumb.jpg.f3f42ec6e03d7e33cb6d51354179ad7b.jpg
This part had to be done to get ready for planking the hull.

Mark Frazier
 
I'm not sure what you mean, but I noticed the wales don't cut into the gunport lines very much on the plans. I believe they actually do cross the gunports more than the plans show on the real ship. I have been thinking about this point for quite some time don't know for sure what I am going to do. I like the look better the way Mantua shows. I have seen several builds done this way and liked them. Usually I noticed them done that way on models that were stained and not painted. This was another decision I have been wrestling with. I like the stained wood, but also like the painted top of the hull and the stained wood on the bottom. I probably won't make these decisions for certain until I get to that place in construction. I would like opinions on this though.
 
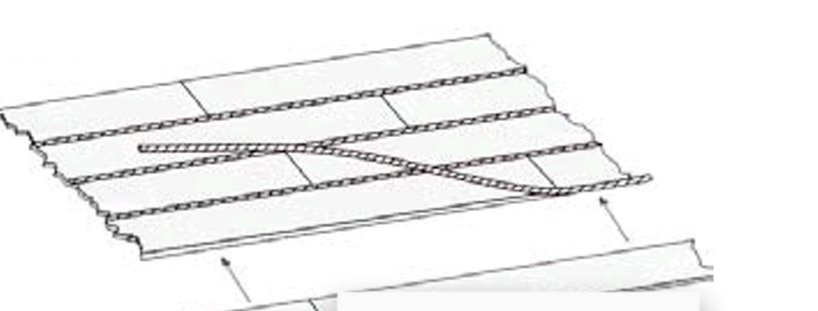
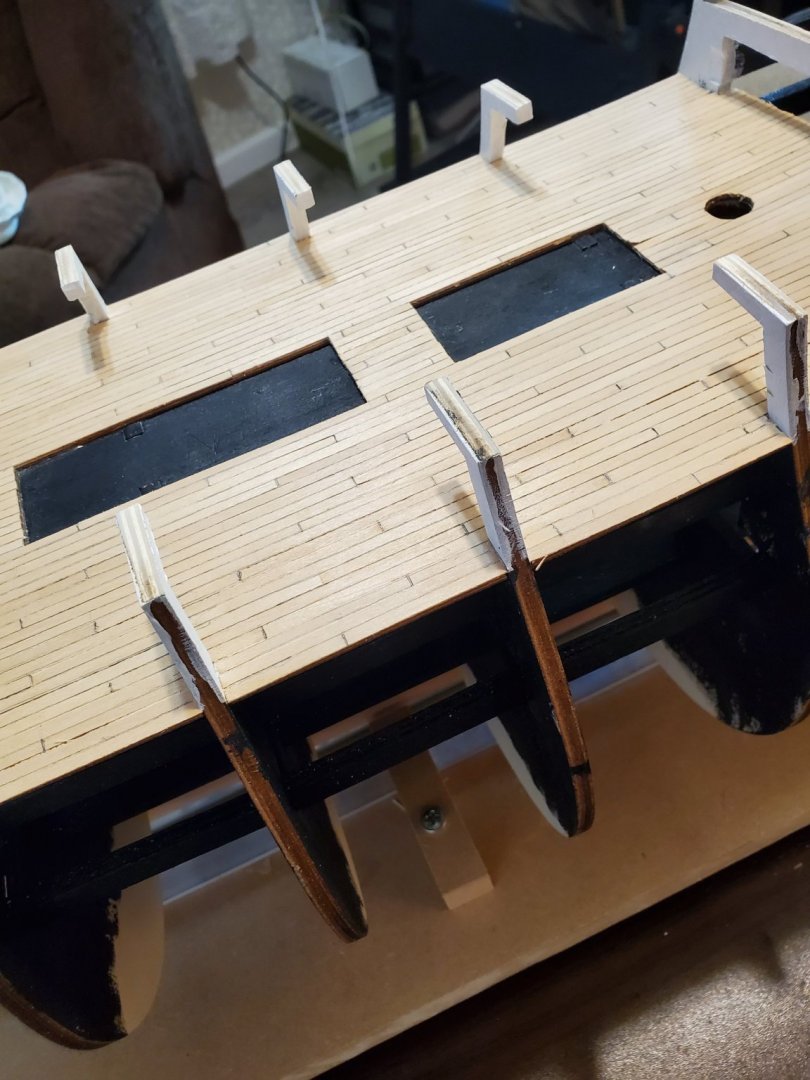
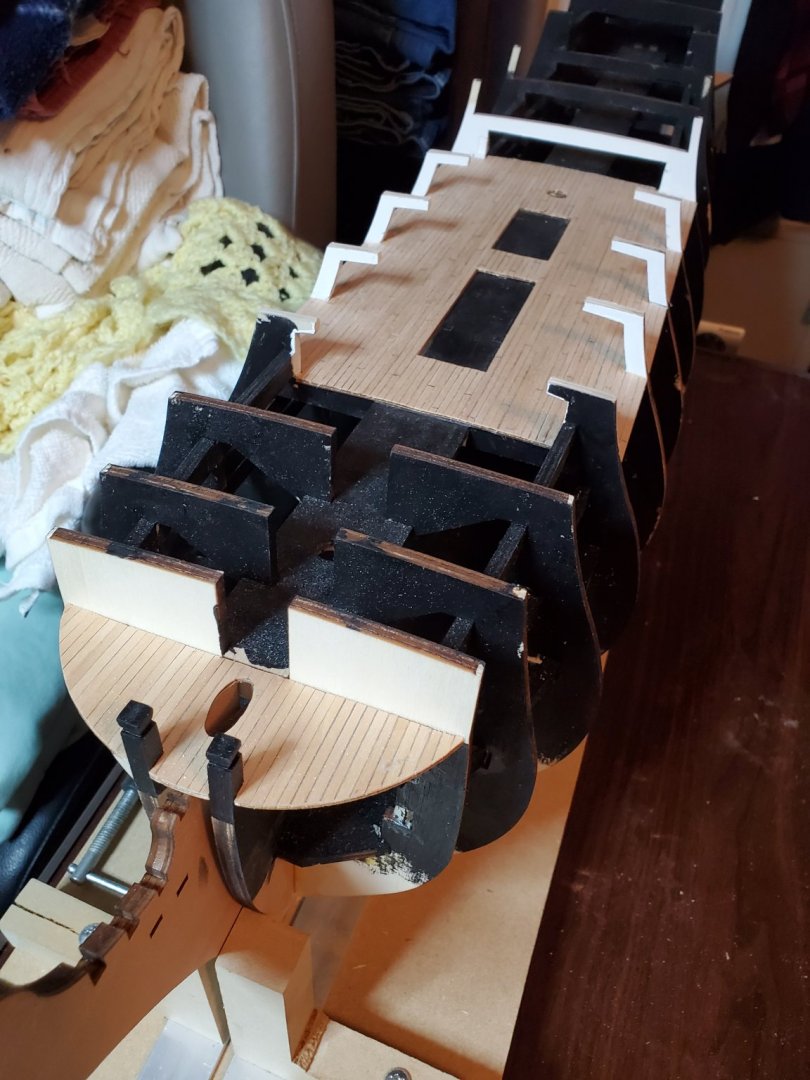
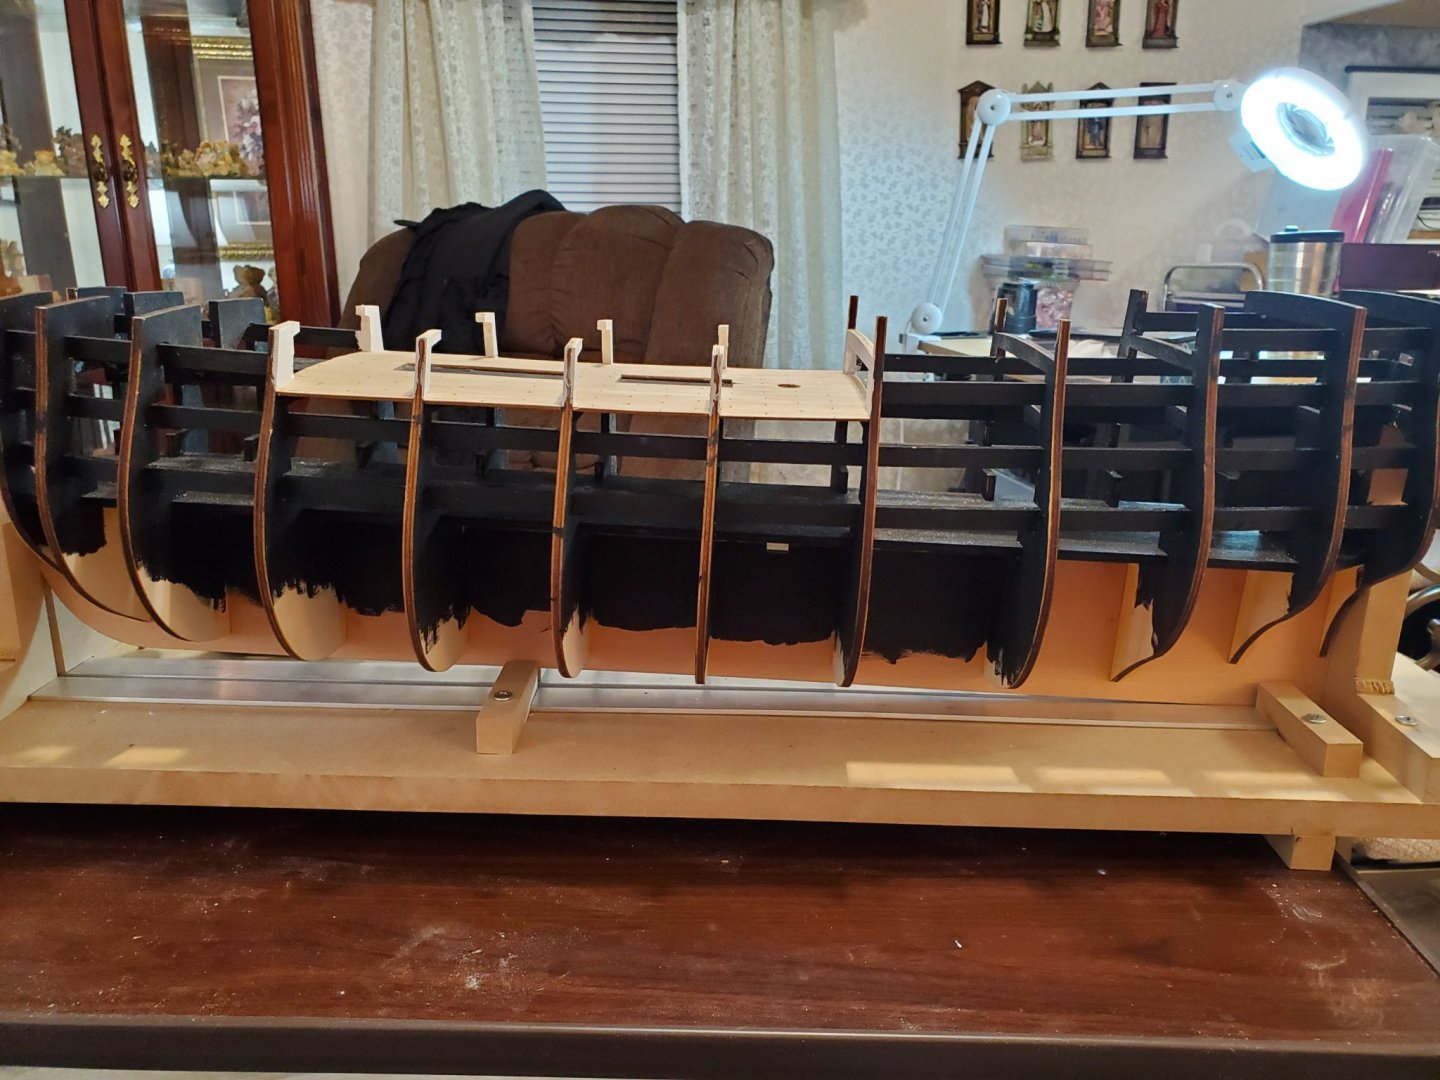
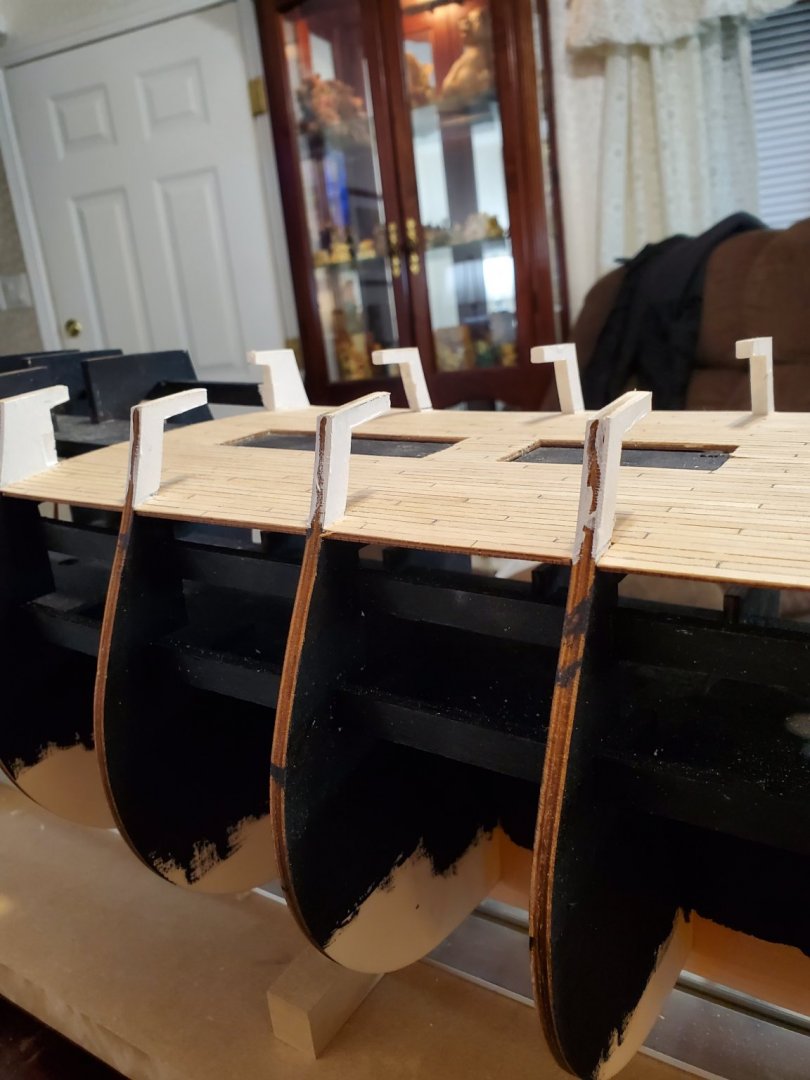
I got the lower deck installed and planked. I used the 4 butt shift pattern. I used a pencil to simulate the caulking but I am not really pleased with it. I tried it on this deck because it will be mostly covered and difficult to see much. It is satisfactory, but I want something better for the upper deck. I am still working on ideas. I still need to put a finish on the deck. My last model, I used matte poly, but I don't care for that.

20200405_213928.thumb.jpg.9537ce3289d8531331ba99905263ca0e.jpg
20200405_214144.thumb.jpg.647742a62e79b01da8fadf7643fc75a1.jpg20200405_213936.thumb.jpg.35c23792e29b3b6f536ca9f9ddab80b6.jpg
I painted the upper deck supports white. The videos I watched on you tube show the supports white. I imagine that the gun deck was white to brighten it up. It would get pretty dark painted any other color. I noticed many builds I have read painted these supports yellow ochre. I painted all the dummy cannon area flat black.

I am going to have to scratch build some of my stern gallery. I don't know where these model companies get their ideas for things. This isn't a bad looking stern in the kit but it is off on the scale sizing and not much like the real ship. Also I want better details. Because of the differences in the design, the Shapeways decoration will not fit, so that will save a chunk of change but now I may have to try and find a way to use the crappy Mantua castings. That will be a last resort and I still have time to think about this. Maybe if l can scratch build the stern and get it closer to correct, I could use the Shapeways decoration. We shall see later.

I keep looking ahead in the very sparce instructions to see if there are any other problems. And there are. The bow area up front is all wrong in the kit so it will require some scratch building. I don't really mind this as this was the plan anyway. Basically I will use the hull and some other things . You could build a decent ship from this kit but it would be a poor excuse for the victory. Oh, well , on towards planking the hull. It is starting to look like a boat.

Mark Frazier

20200405_213928.thumb.jpg.9537ce3289d8531331ba99905263ca0e.jpg

20200405_214144.thumb.jpg.647742a62e79b01da8fadf7643fc75a1.jpg20200405_213936.thumb.jpg.35c23792e29b3b6f536ca9f9ddab80b6.jpg

20200405_213946.jpg
 
Back
Top