HMS Victory by Y.T.- Mamoli - 1:90 scale

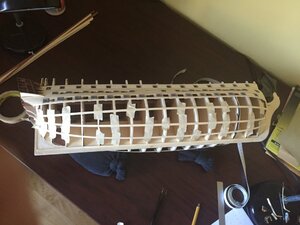
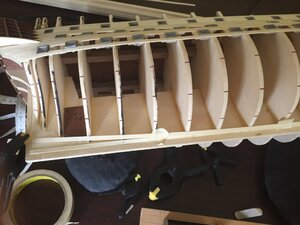
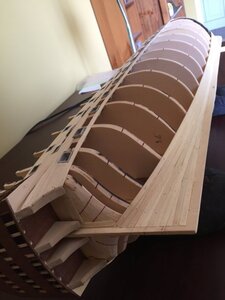
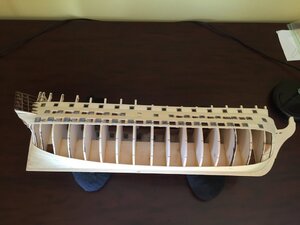
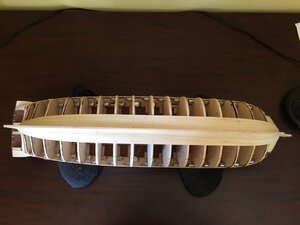
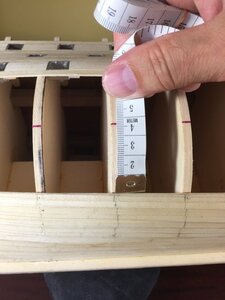
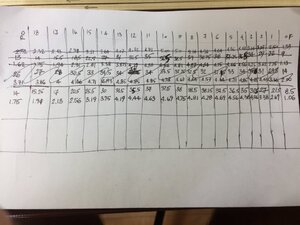
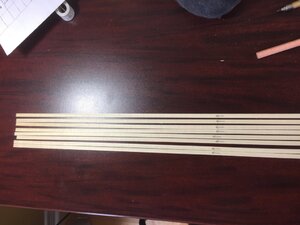
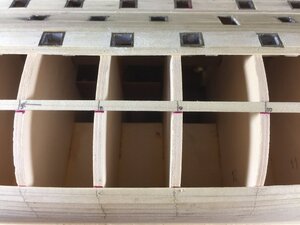
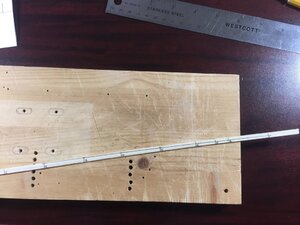
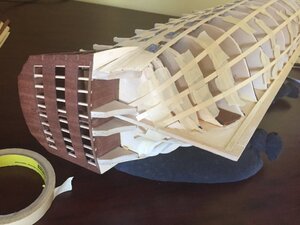
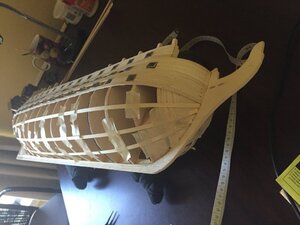
In order to better understand curvatures of the hull I install "spiling battens". Spiling battens I use are thin wood strips which are straight and do not want to easily bend sideways. I use 0.5 x 5 mm wood strips. I lay them in such a way that they are not forced laterally whatsoever. I do so as I do not have intention to do lateral bending on any of the planks. I also do not plan making any of laterally curved planks with cutting plank pieces out of sheet wood material (too expensive, too much work and it is hardly a way historical shipwrights built their hulls - here I can be very wrong, but I do not know differently). I use a simplest planking technique.

The battens are simply attached to bulkheads with masking tape as you can see on pictures below. Masking tape was used instead of pins as it does not split my wood spiling battens.
IMG_5666.thumb.JPG.6c13c33372887da3951632fe00a37283.jpgIMG_5665.thumb.JPG.15b5c909220d6d439d78b4933859f82d.jpgIMG_5664.thumb.JPG.41fb5458567439fcd724a4e2e8da7a8d.jpg
 
Last edited:
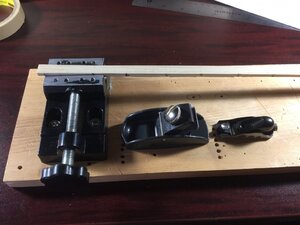
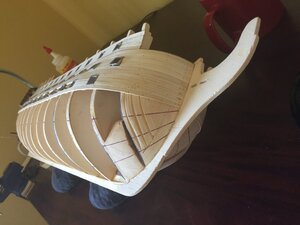
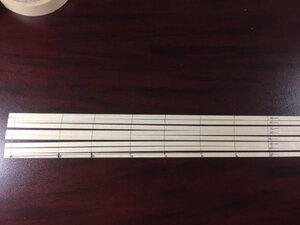
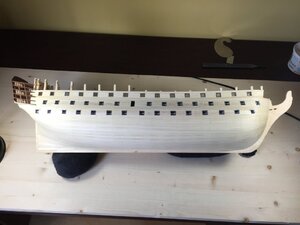
I made up four planking belts which I will plank independently. As I was satisfied with battens I permanently marked my planking belts outline with permanent pen. This is the way I will be doing my planking and permanent markings ensure I do not change my mind on this design.

IMG_5667.thumb.JPG.18af9bf836922a67312ce9ec4bc92df2.jpg
 
Last edited:
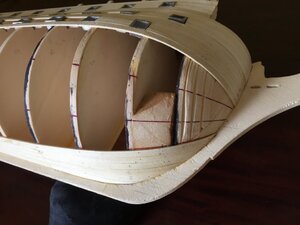
Before laying every new plank I check how it is going to lay out on the hull with piece of thin wood strip. My second plank from the keel fans out dramatically at the stern. I am installing a large wedge between 1st and 2nd planks. On picture below I am figuring out the size and shape of the wedge.

IMG_5671.thumb.JPG.211a9165e63e483fe9d569fec31f8233.jpg
 
Last edited:
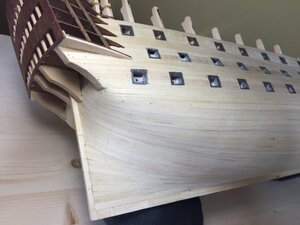
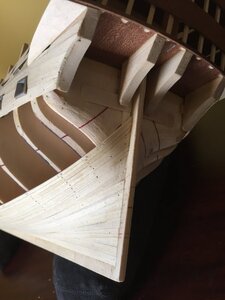
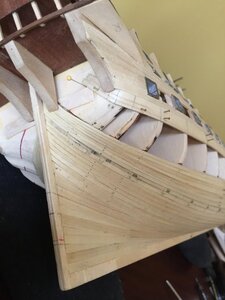
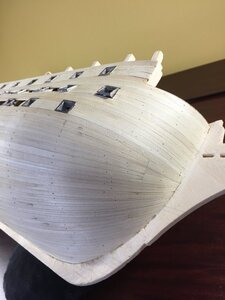
Still adhering to a "grand" planking design. With huge effort and lots of time spent I completed one of four plank "belts" (or bands) on both sides. The band I completed is a bottom one. I consider it as a most difficult one so for me completing it means I had done about 1/3 of planking job. Why it is difficult? Because of this:

- planks on the front are to be tapered down + they have to be end cut under special angle specific to each plank to fit into rabbet groove

- planks at rear are fanning out (almost each of them) so wood wedges to be installed + each plank has to be end cut under special angle specific to each plank to fit into rabbet groove

See pics below.

IMG_5686.thumb.JPG.f5a6ea84a3134bc39fa6235477f096f4.jpgIMG_5687.thumb.JPG.b4aa6c962c0bca58218b0b9bb587470b.jpgIMG_5688.thumb.JPG.0bb4d1b4ed9a1d08207ddcf65786093a.jpgIMG_5689.thumb.JPG.b5f836aa445769a82d875503eb5ed327.jpg
 
Last edited:
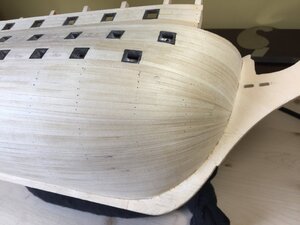
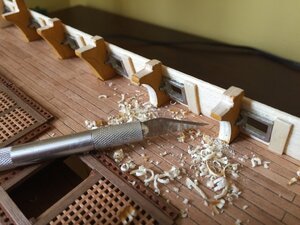
I finally decided how to fix Mamoli problem with bulkhead frames being too bulky and too close to gun ports which would cause an issues with gun rigging. I cut off with X-acto knife significant part of every conspicuous bulkhead frame as so:


IMG_5690.thumb.JPG.d6e1b73a4f8a5dbdd37a8656bd19d1f9.jpg
 
Last edited:
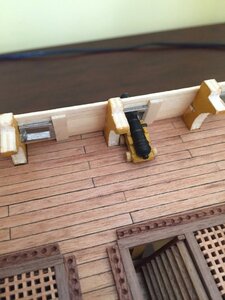
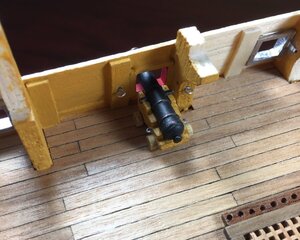
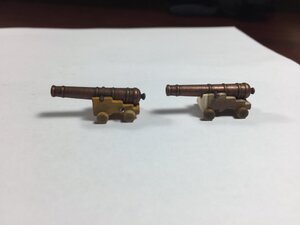
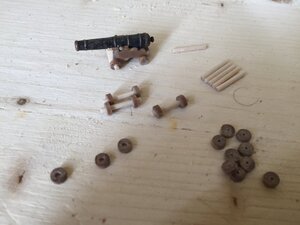
Modified 10 gun carriages by lengthening them and relocating front wheels further to the front. These are for 10 visible guns from top gun deck. Now carriages look proportional to gun barrels. When fixed carriages painted yellow the wood piece extension will not be seen.

IMG_5720.thumb.JPG.7c72dd832f80c410316a1e83fe1198f5.jpg
 
Last edited:
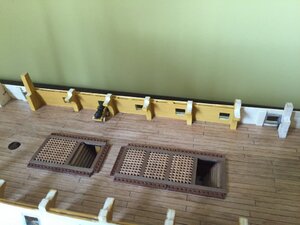
Here is my built update. I built up the wall thickness at the gun deck where some of guns are going to be seen through the hatch opening. I believe it looks more natural and also further fixes Mamoli issue with rigging these 10 visible guns. As we remember Mamoli does not intend rigging these guns so guns are to close to bulkheads and as is it is not possible to rig. I also painted walls yellow ochre as actual ship is painted.


IMG-5796.thumb.JPG.327ff5624a34c1d6dd3f010f568679ff.jpg
 
Last edited:
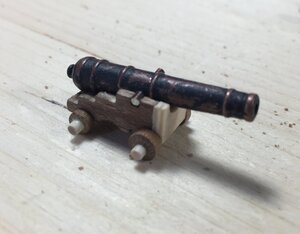
For guns visible I cannot use Mamoli kit supply - carriage is too small for guns provided. I lengthened the carriages (after painting yellow seems will not be seen). I had to provide larger diameter wheels on the front as this would correspond to real items. See pictures. All is scratch built. Axles are made of ice cream sticks. Wheels are cut off of 5 mm diameter walnut bar. Axles were turned with electric drill holding the sand paper on them. Holes in wheels were done holding the piece and drill in my hands.


IMG-5805.thumb.JPG.29aa5f41db35d3d6e419f4cfcdf58fa0.jpg
 
Last edited:
I can relate to your frustration with the kit quality ,I had the same problem with my Mantua Santa Maria ,very neat planking by the way and nice tips for tapering the planks.
 
I do my planking in much the same way I don't force the wood into any bends laterally. I have built ships that way in the past and ended up with a stepped planking look when it was all planked, that made sanding difficult and in some places I sanded clean through the planking and had to use filler to fill the void. now I just let it law where it naturally wants and I taper them in. work smarter not harder rule. very nice work so far on this build and great Planking job.
 
Back
Top