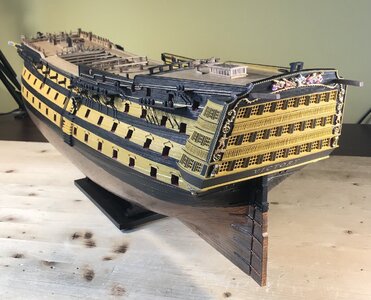
HMS Victory by Y.T.- Mamoli - 1:90 scale

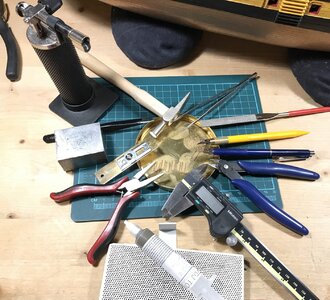
I was amazed how easy I did same work applying silver soldering. I used flux silver paste. Precision was not a problem. No holding jigs were required. Paste held parts together all right. Only issue was that copper wire got soft after soldering. This I had overcame with slight hammering of welded piece. Piece became as strong as at the start and more square as originals were.
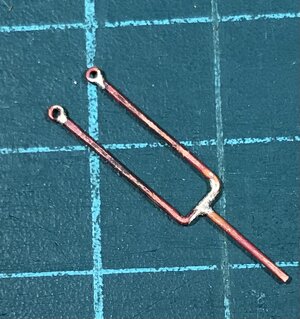

9A200DDE-09BB-4411-A1D5-1AAE7E312657.jpeg
 
Last edited:
You are welcome.
Placed the order as it will be adequate for my needs now and will continue the log for that when it arrives (Nov. 8 they say) but will continue to work on my BN and do the hull lines for the plan sheet that I received and have posted.
It is interesting that I have my son's friend who did some recovery on the wreck and brought it and the museum to my attention. Interesting virtual tour of the castle/museum can be found by Googling it.
Rich
Sorry? What is it about?
 
I just completed one a few months ago. Same exact thing. It was missing parts, wood dried out and brittle. Unless you want to spend the equivalent to up grade, or more, don't waste your money. There are better models out there for your money.
Update: The seller lowered the price to $100. However, based on the amount of work I've seen on this thread, I passed on it. It's sold anyways (somebody is going to have a lot of interesting work... :D I hope they find this thread. It is a master class).
 
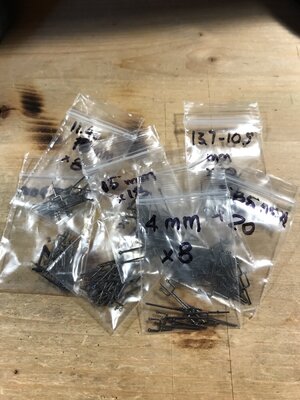
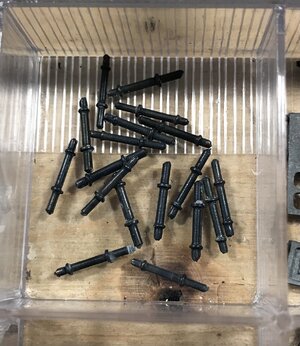
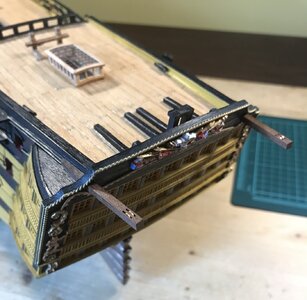
The saga of making hammock cranes and iron stanchions if finally over. Total of 134 items were completed. Now a new saga starts of having them installed. I am sure it will be fun. Notes on parts blackening. I entirely switched to Birchwood Casey Brass Black. I tried JAX Brass black for very last time. I again got very dissatisfied with it and threw away all remaining solution. JAX produces black patina which easily falls off exposing part bear metal. Trying to fix by submerging in JAX again just makes it worse. I got all patina stripped off and redone in Birchwood Casey Brass Black.


7D9C4A56-1FBF-42A0-9B0B-3D5E2CFF1AA4.jpeg
 
Last edited:
Hello Y.T. You probably get loads of questions. Do you know the measure between the bowsprit and the top of the figure head on the victory? I cannot find this anywhere and need to seat my figurehead?
Cheers
Grant
 
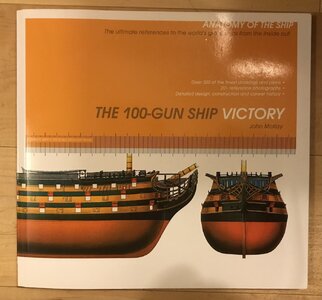
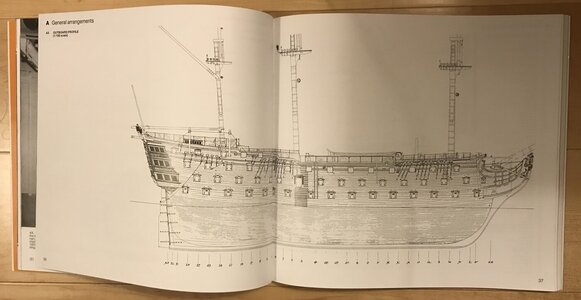
Hi Grant. I would install a bowsprit temporarily and positioned figure head accordingly. For sizing of parts and dimensions on my model I use this book on picture below. I regret I purchased it too late in the game. I would avoid lots of problems if I had it from the start. Now I do not do anything without first scaling dimensions from this book.


03038BB4-8230-483D-A716-EB020C24260D.jpeg5A818EC7-7266-464F-88E8-BC7E3740B7DF.jpeg
 
Last edited:
Hi Grant. I would install a bowsprit temporarily and positioned figure head accordingly. For sizing of parts and dimensions on my model I use this book on picture below. I regret I purchased it too late in the game. I would avoid lots of problems if I had it from the start. Now I do not do anything without first scaling dimensions from this book.


View attachment 262100View attachment 262101
Thank you
 
Back
Top