HMS Victory - CalderCraft 1:72

Great start Paul. I was happy to see you start your build log as I have the same box in storage AND, coincidently the same four books for reference. I'll be watching your build and cheering you on, although your experience will, undoubtedly help you navigate the challenging waters of the project. Thanks for sharing and your observations as you go.

Ken
 
And so it begins:

I purchased this kit back in 2014 ( 8 YEARS AGO) for $1,400 Australian. After finishing 4 previous models ( CC Endeavour, Occre Albatros, Amaiti Stage Coach & Occre Stephensons Rocket) I was hooked on wood kits. I had a windfall and invested in the kit.

I was keeping it till I had enough skill to to do it justice. Well 8 years and 4 more ships later and being 64 this year its time to begin.

I will not go through an unboxing, as this is in an old video here:


I purchased the obligatory ref books along the way as well as the CC Victory Admiralty Paint set. I have used Admiralty paint before and they are great to use.

So without rambing on here bigginith the adventure.

I will be doing both a pictural & Video log of this adventure. ( I'd supply the drinks & popcorn, but given the time that this log is likely to go on for, I will be in serious debt. Gifts of popcorn & beer gladly accepted.

Take care see you soon.
View attachment 287820
I also have this kit. I'm 71 so I gotta start soon. Thankfully there is quite a bit of info on You Tube and at the JoTiKa website with their build photos.
 
Tks Snowy, Donnie,Marc,Hoss, Michael, Spars & Bob. She is a pleasure to work with.

Your all very welcome. The next upadate will be a few days with the Gunport Templates. Pre fitted the top first 2 following the manual exactly and they appear to be correctly aligned .( wont know till I place the next ones down.)

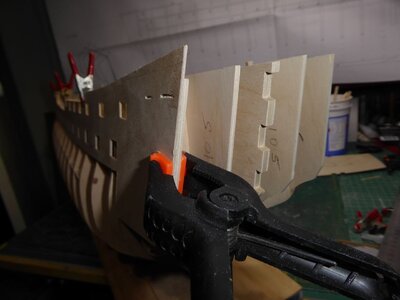
First one is fiddly, but once clamped lines up as expected, I will need to pre drill the holes for pin nails as the ply is too hard to brass pin push through as they just bend. Good solid Ply.

See you soon.
 
Another follower of this built. I am sure I will be learning a lot from your tips and skills.

Cheers
Daniel
 
Hello Paul. Great start- I love the video input. All looking fantastic for what I’m sure will be an outstanding build. If there are any chairs left I’m also pulling one up.

Cheers
Grant
 
WOW, well I guess that means a pressure log. (Fitting Aligning & bending the Gun-port Termplates).

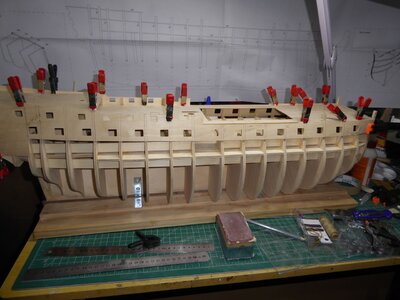
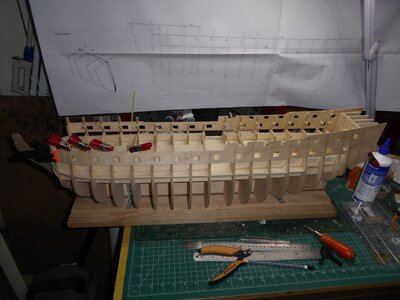
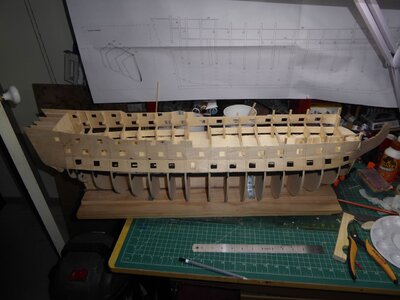
Okay the first mini stressful moment. Fitting the first gun-port template. The first gun-port template is pivital in ensuring the rest of them fit correctly. Fortunately it does not involve bending & soaking & blood pressure wobbles( That comes after).
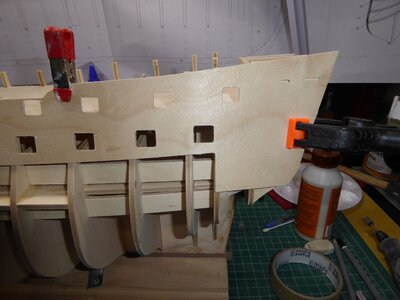
IT does involve specific location points and these are described in details and photos in the manual in easy to understand steps.

First was to temporarily fit & pin the upper gun deck as it is used as a reference.
P1010239.jpegP1010240.jpeg
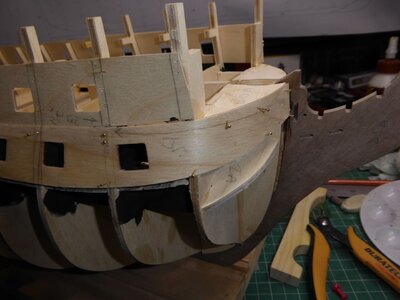
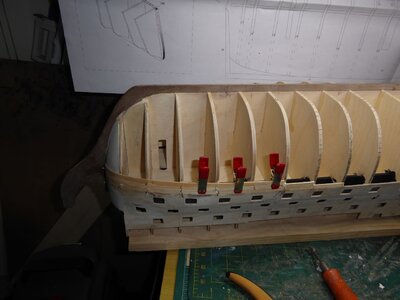
After cutting away & cleaning off the CNC lugs, the end of the template is aligned flush against the stern outer supports ans flush against the lower curve of the support.
P1010241.jpeg
Next the 2nd gun must fit flush with the inside of bulkhead 17P1010244.jpeg
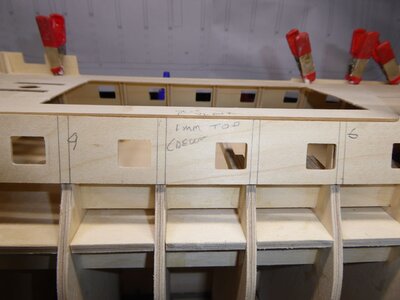
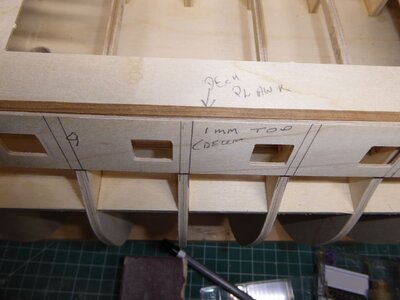
Then the upper edge is to be set 1mm above the upper gun deck between bulkheads 6 & 9 ( This is easily done by laying a 1mm deck plank on the upper gundeck and making sure the template is flush
P1010245.jpeg
P1010246.jpeg
The bow end should then fit flush with the bow and the bow gunport shoul also be automatically aligned.
P1010247.jpeg

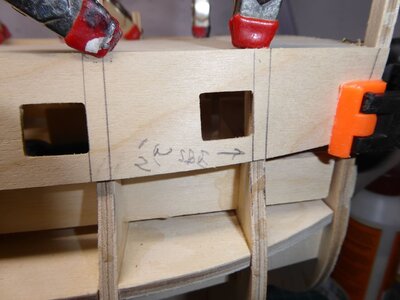
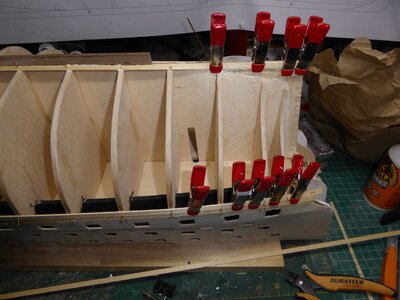
The template wasthen double checked and using lines I drew for the bulkheads glued & pinned the first gun-port in place. The glue use was gorilla wood glue ( (not std PVA)
P1010248.jpeg

After the glue had dried & set the upper gun desk was removed as it is not needed till after planking is complete.
P1010251.jpeg
t this stage I painted the gun ports black leaving the entryway clear as intend to plank that area.

Next came the Bendy, Wetty, Pressury ( I know) bit. IT is compounded by the fact that you hope the first template is correct ( As long as you followed the previous instructions it is!)

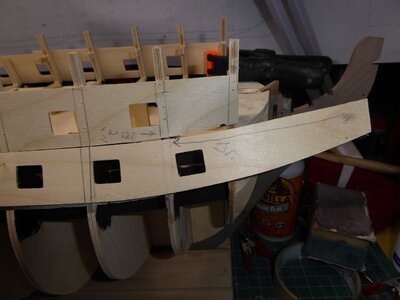
Once again I pre pinned the next template and marked the bulkheads and bend area needed.
P1010255.jpeg
P1010254.jpeg
The pre marked area only was soaked in hot water for 10 min. It did not de-laminate and bent quite easily.( with pls dont snap thoughts of course)
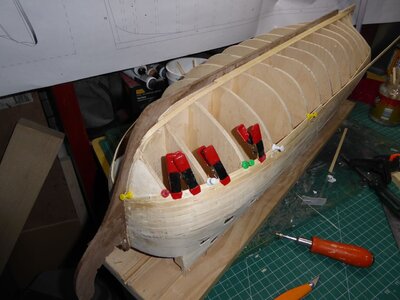
I then pined it in place and it wil b allowed to dry over ningt prior to gluing.
P1010256.jpegP1010258.jpeg
Well thats the first pressue video ( now for a fresh cold home brew!)

All good so far and a joy to work with. The designer Chris Watton did a great job and credit to Jotika for quality timbers.

Heres the next video to give you brain pressure!
 
Paul, don’t the bulkheads require any beveling (or chamfering)? I noticed a fairly sharp edge where the second gunport strip bends around that first bulkhead and then saw that it appears that none of them are beveled? Won’t that create some bumps and valleys in the planking at the bow and stern?
 
Hi Lou

Tks for your concern. The hull shape has to be correct as it has 3 layers and will be a major eye sore if not done correctely.

YEP, Bevelling starts at the 3rd gunport template and below. The 2nd follows the edge of the false lower deck and front supports which are flush edge with the bulkheads.

The bow is bluff at the upper section and the gun templates form the first planking layer for this area. The 3rd template requires minor bevelling of the 2nd bulkhead and bows parts 20 + 21( planking supports.)

parts 40,41 & 42 attched to the bow bulkhead support the pre shaped templates

Bulkheads bown & stern will be belved prior to the 2nd & 3rd templare & planking. I will also be putting in filler blocks at bulkheads 1-3 and 17-18.

Only the first gun-port template has been glued, 2nd pinned in place for shape drying due to multiple complex bends. It will be removed before any beveling.( which is mentioned in the manual) is done. Lots of prep work still to be done


Cheers
 
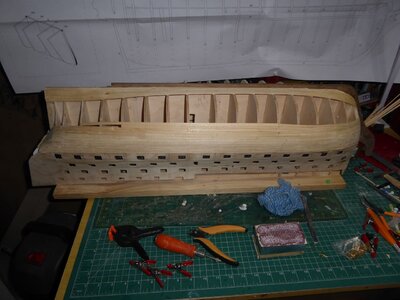
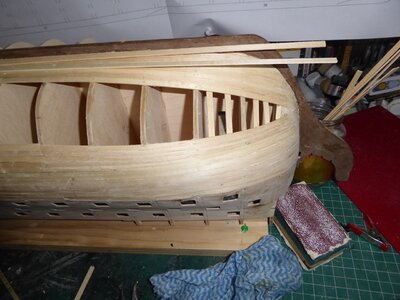
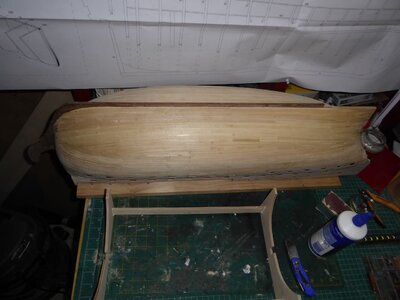
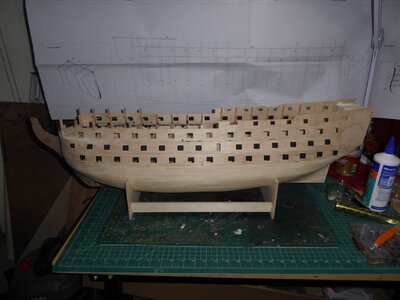
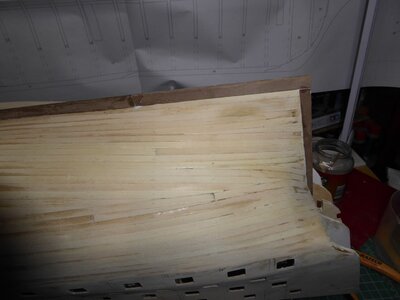
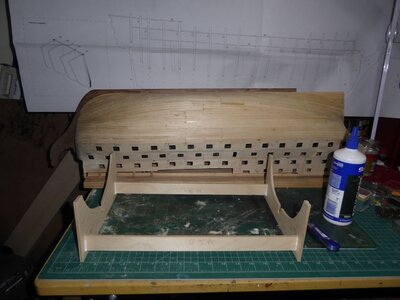
Okay after 30 days the first planking is now complete. No major issues. Filler block used at bow. first 6 rows, no tapering req,.
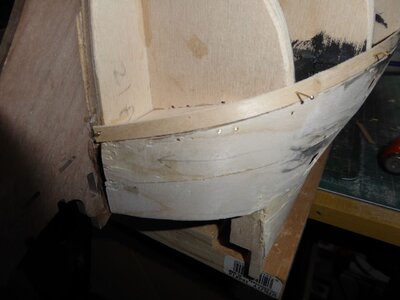
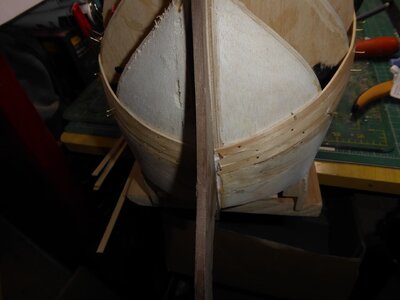
2nd 7 req tapering from 6mm to 3.7 at bow.

The rest of the planks comining up from keel fitted easily with no soaking. The stern only req 3 stealers.
Only note to make was that the planks are 1m long so need cutting as to unwealdly to palce as a single length.
The supplied lime wood was great to work with and given the kit was 7 years old was not brittle and both bent to shape and sanded nicely.

The sanding down only took 1 4 hours. So far thats has been a great kit to work with. Had I to do it gain I would have used two filler blocks at the bow and one at the stern to make it simpler to shape.

The video included this time is a little jumpy and has a head cam section ( on a elastic head band.). The problem was that I oculd not see what I was recording some sometimes it misses sections.

Overall first planking was enjoyable if not long. ( Big ship)

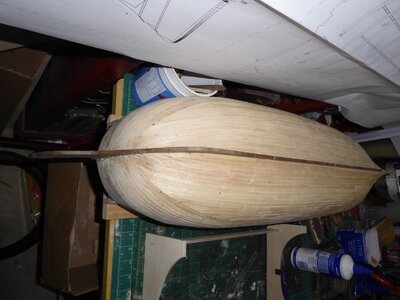
P1010267.jpegP1010270.jpegP1010273.jpegP1010274.jpegP1010278.jpegP1010279.jpegP1010280.jpegP1010281.jpegP1010282.jpegP1010287.jpegP1010293.jpeg

The last image is the re addition of the tail keel & stern post which where excuded during first planing to allow sanding of first layer back to keel width( -1mm for 2nd planking).
Next is the stern galleries.


P1010284.jpeg
 
Back
Top