HMS Victory Mantua 1:78 (first build) by Grant Tyler

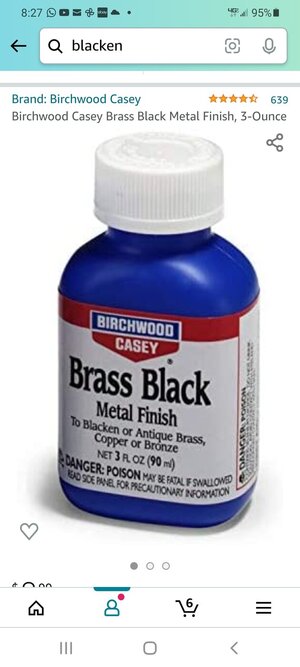
GrantTyler, if you blacken your brass, it will look much more realistic (like the pictures you posted). There are a few threads at SOS that will tell you what to use. In particular I use the below, but there are others brands. After 3-5 minutes I take the piece out and I clean it with a cloth.

If the kit brass does not darkened, then place them in Acetone. Sometimes they have a protective film to avoid oxidation. After the Acetone, dry it and place the piece in the darkening solution.

Screenshot_20211008-082725_Amazon Shopping.jpg

Cheers
Daniel
 
GrantTyler, if you blacken your brass, it will look much more realistic (like the pictures you posted). There are a few threads at SOS that will tell you what to use. In particular I use the below, but there are others brands. After 3-5 minutes I take the piece out and I clean it with a cloth.

If the kit brass does not darkened, then place them in Acetone. Sometimes they have a protective film to avoid oxidation. After the Acetone, dry it and place the piece in the darkening solution.

View attachment 260437

Cheers
Daniel
Thanks for the tip on using acetone, Daniel. I did not know that bit of information.
 
GrantTyler, if you blacken your brass, it will look much more realistic (like the pictures you posted). There are a few threads at SOS that will tell you what to use. In particular I use the below, but there are others brands. After 3-5 minutes I take the piece out and I clean it with a cloth.

If the kit brass does not darkened, then place them in Acetone. Sometimes they have a protective film to avoid oxidation. After the Acetone, dry it and place the piece in the darkening solution.

View attachment 260437

Cheers
Daniel
Thanks Daniel. I will use this technique on my next ship, which will be smaller and hopefully I have learned from you guys how to go more authentic. With my Victory I have gone too far with the Mantua Brass look to undo. Still I’m very happy so far and enjoying the build and learning.
 
Very impressed with your build. Planking really looks nice. Beautiful work.
 
I did not have much time to work on His Majesty's Ship this weekend as the Doc gave me the green light to ride again. Went for a first ride, not technical but was pretty "broken" after.

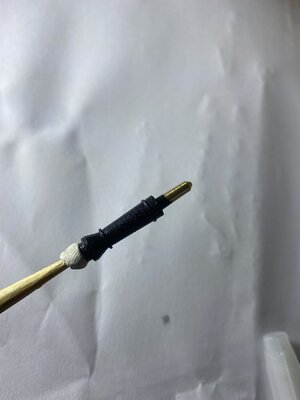
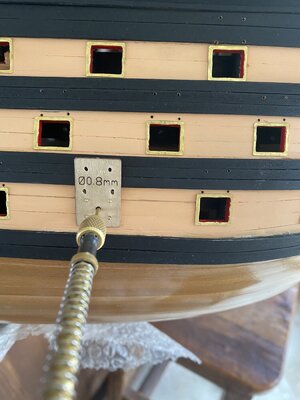
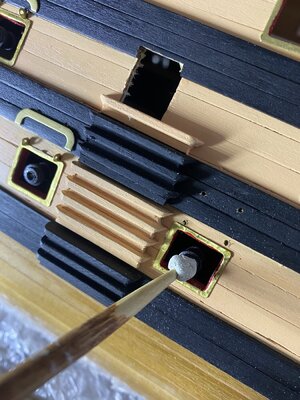
I made the sea gangway steps and added some more canons into the hull. I don't know if anyone knows a measuring technic to achieve in line canons. I used the jig provided in kit, drilled a 1mm pilot hole and then used my Dremel 3mm. To insert the canons I use some Prestik on a kebab stick and lined them up using my judgement. They are coming out ok.


IMG_1746.JPG

IMG_1949.JPGIMG_1951.JPG

IMG_1950.JPG

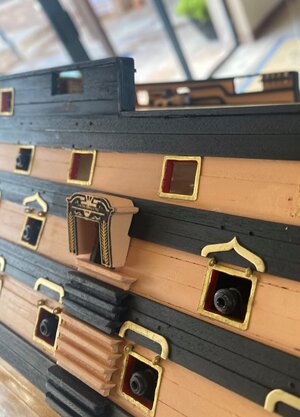
I then run the blade of my exacto knife to remove the excess red paint on the brass gun port covers.
 
Very nice progress Grant. The close-up shots of the gunports look good!
 
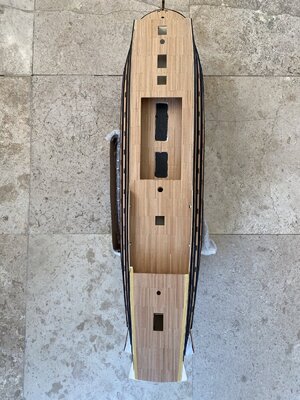
I never sent you guys a pic of my deck (taken a while back in the build) which as I mentioned I am not happy with. One of the first steps in the plan and my inexperience came through. I do like the different shades of the walnut though. I have sanded it and applied a thin coat of matt poly and before I go further I am going to spend time seeing if I can make it look more appealing.

I am going to build the bowsprit next so that I have a whole lot of options when get tired of making the gun port lids, I can move on to the bowsprit rigging and placing the cannons in lower deck and quarter deck. Not in my personality to make one item over and over. IMG_0984.JPG
 
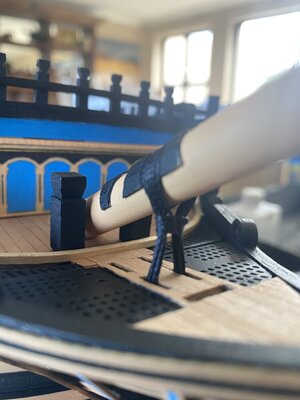
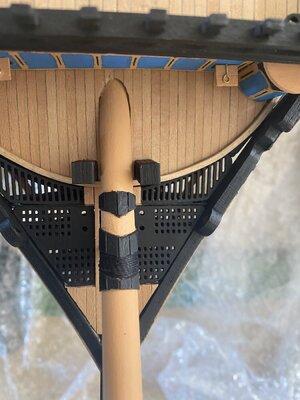
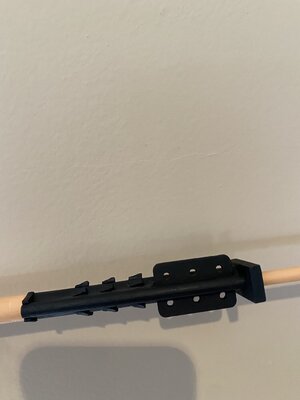
I have made the bowsprit. I followed the plans from Mantua with some changes.

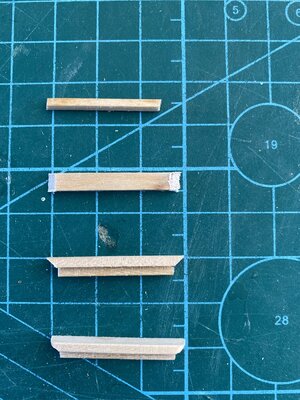
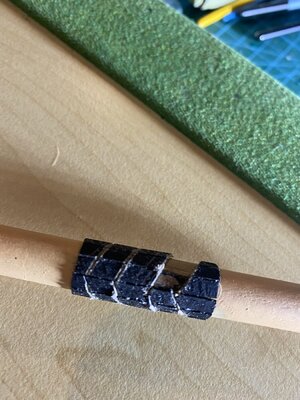
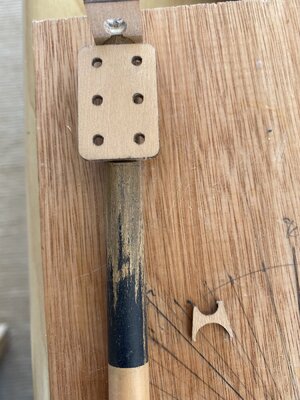
Mantua requires a 10mmx 5mm planks to be fitted for the rope spaces. Well, I had no such plank and it looked rather sad whatever I tried. I viewed a you tube video of the Deagostini bow build and decided to copy. Used some deck planks and from center line glued these on. Then cut in the angle of the rope fit and cut off the gaps...left a little mess on the bowsprit itself. Filed to shape.

IMG_1953.JPG

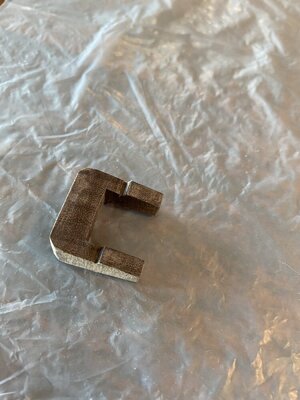
I cut a wedge to insert the front piece(I really need to study up on all the terms for these ships.) Help. The instructions do not show this so I did not make it flat with the Bowsprit but it gives it strength and helps with alignment. Looks way better too. I cut it deeper than the picture shows.

IMG_1960.JPG

Again following the You tube of Deagostini build I made 18 5mm x 2mm blocks and using a piece of wood (as a spacer and level) and my center line CA glued these to the Bowsprit. Dremel tool to get a curved appearance.

IMG_2037.JPG

Dry fitted all the parts associated with this to make sure it works prior to gluing into position.

IMG_2029.JPG


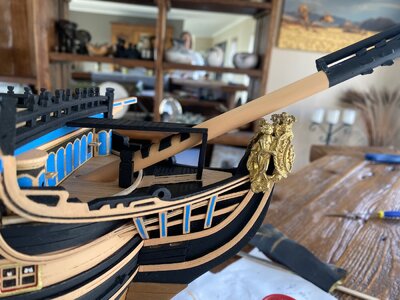
Does anyone knows how high the bowsprit must be from the top of the figure head? I still have to cut and seat my figure head. I cannot find this info anywhere?

Final painting.

IMG_2036.JPG

The gaps where the rope goes I could not get right. The rope does cover this so I am tempted to go ahead.

Making sure my hole and fitment of the bowsprit is correct...very primitive I know..hope it works. Still dry fitted.

IMG_2039.JPG

PS you see my pub and pool table have become my work bench;). Have to clean up when kids come home and want to entertain.
 
Sorry guys, I think I must edit my photos for the post. I take loads of photos as they show all your mistakes or things you need to fix. I will do so in future apologies.
 
That is beautiful work that you are doing Grant! Wow man, it is impressive in anybody's language! Thumbs-Up Why edit anything? There is no need for that!
 
Grant Tyler, if you believe the Anatomy of McKay, then the distance from the bowsprit to the prince at this point is 576 mm, which on our 78 scale will be 7.4 mm.
c87b367caedbcdaeaa61acaf2534bcd1.jpg
 
That is beautiful work that you are doing Grant! Wow man, it is impressive in anybody's language! Thumbs-Up Why edit anything? There is no need for that!
Hello Heinrich. Hope you are well. Thanks for this. I feel I need to cut the background nonsense out and focus on the build. I wouldn't edit the picture as such, sort of defeats the object of this site.
 
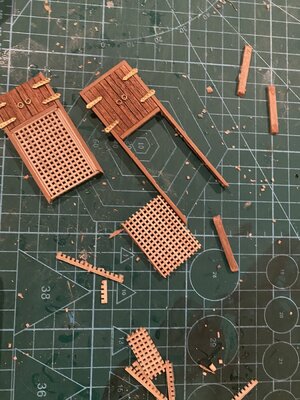
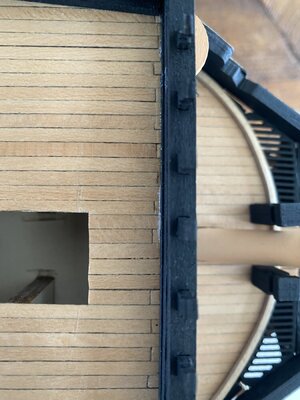
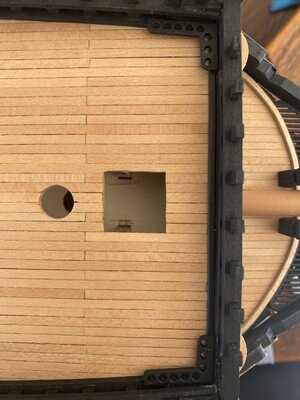
Got time to paly with my Victory:D. I decided to fit the upper gun deck, gratings and hatchway for the steps down to the middle decks. I built these at the beginning of my build and when I dry fitted them they where very sad. Clearly clueless with regard to grating construction and 45 degree joins.
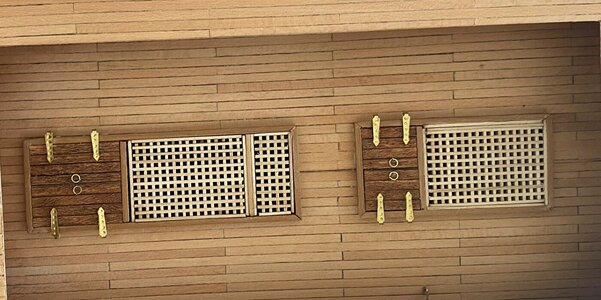
IMG_2086.JPG

Had to break and remake :IMG_2108.JPG

I counted the grating pieces left in kit and checked the on plan sheet to ensure sufficient remained and I was hopelessly short. I was also aware that I was limited with the 4x2 walnut. I had to reuse the parts I just broke (was interesting) Do all kits provide just enough for the build...no room for error for us rookies. I cleaned up best I could with the above grating strips and had to lose a line, making the unit thinner. Problems coming....

The remake fitted into the holes on the deck, not over like the kit build required and my view looked better, however as the original fitted over the holes, I did not take care in preparing the holes and deck for this. I will sand and make the grating look better, however it does not fit the decking snuggly. I am hoping that if I make cannon ball racks (as the real ship has) it will solve this.
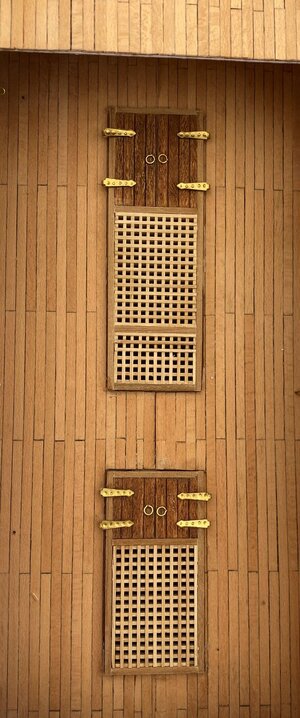
IMG_2117.JPG

I think I can get these looking good. Loads of sanding and clean up all-round. I have a feeling that this upper gun deck and I are going to battle each other.

Gammoning the bowsprit :IMG_2133.JPG

IMG_2134.JPG


This went well for my first attempted and was happy that the rope fitted ok in the gap made on the bowsprit. I think I have made my life difficult in the future by making the forward one first, and also fitting the bowsprit before inserting the block fittings etc. for the rigging on it. Apologies the photo angle makes the bowsprit seem out of line.

I have also added more decorations above each gun port, fitted 3 more and made the side door. The side door block I had shape more than directed to sit tightly against the wales. I glued the engraving provided on, however as with my Stern engravings for the balustrades I do not have the fine art skills to paint this- will look horrid. The jury is out on this...any ideas would really help me here. Dry fitted.IMG_1982.JPG
IMG_2062.JPG


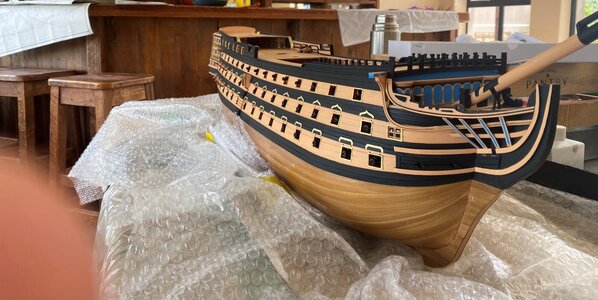
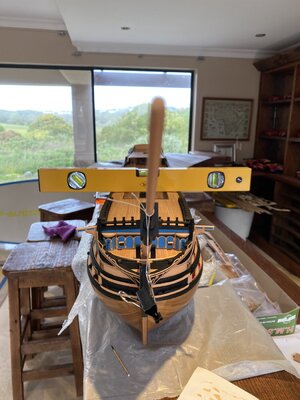
Here is my HMS Victory build thus far. I have applied a thin layer of gloss poly (my family want this...hmm) to the hull however I am tempted to do the second Matt? Is this possible? Should I paint in the waterline? I need to make these calls now as I will have to invert the ship. The jury is out. Cheers SOS have a great weekend for those with some to go, and those just starting.
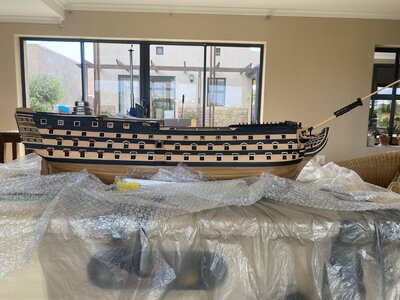
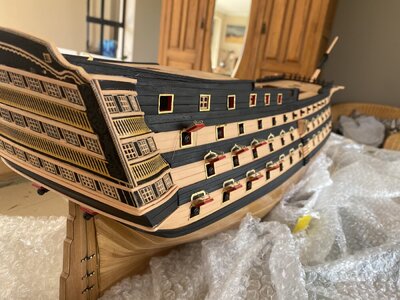
IMG_2136.JPGIMG_2139.JPGIMG_2137.JPG
 
Good pictures of work in progress. Victory is on my 'to build' list. I have the JoTiKa kit already but lack the courage to start.
 
Back
Top