...meaning you have already perfected the therapy part, @RogerDLooking really great Grant. I’m learning a lot following your posts, except the therapy bit.
 ???
??? |
As a way to introduce our brass coins to the community, we will raffle off a free coin during the month of August. Follow link ABOVE for instructions for entering. |
 |
 |
The beloved Ships in Scale Magazine is back and charting a new course for 2026! Discover new skills, new techniques, and new inspirations in every issue. NOTE THAT OUR FIRST ISSUE WILL BE JAN/FEB 2026 |
 |
...meaning you have already perfected the therapy part, @RogerDLooking really great Grant. I’m learning a lot following your posts, except the therapy bit.
 ???
???

There's little paradox in this statement,becasue when you started rigging you had 0 to little skill like most of peope who start doing new things, but by doing rigging on Victory you improved your skill. So you see you can't build to your current level because your already exceed itI need to build to my skill and the scale level.

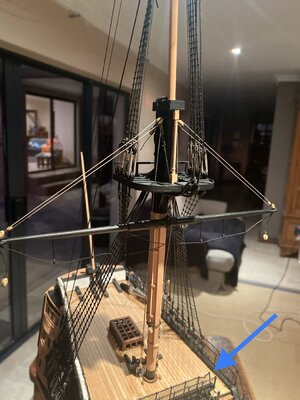
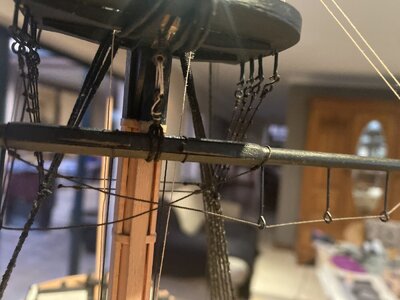
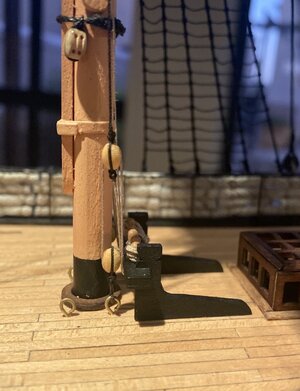
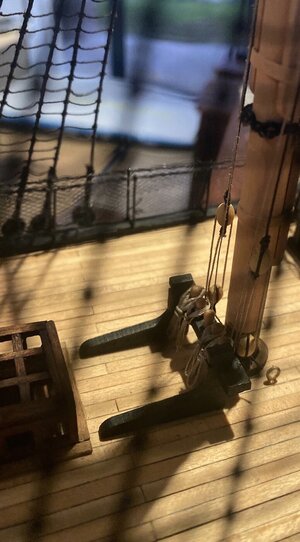
I couldn't stomach more than an hour worth of doing ratlines. I hate that job with a passion...Good evening- It is time for you guys to share the pain.....HMS Victory and ratlines..... They say sharing and feeling vulnerable is good therapy.
Ratlines:
View attachment 312180
Ratlines:
View attachment 312181
Ratlines:
View attachment 312182
Ratlines:
View attachment 312183
Ratlines:
View attachment 312184
Cheers Grant

There's little paradox in this statement,becasue when you started rigging you had 0 to little skill like most of peope who start doing new things, but by doing rigging on Victory you improved your skill. So you see you can't build to your current level because your already exceed it.

Grant is sleeping so I'll answer for him: https://drydockmodelsandparts.com/I love everything about your process and all time you dedicate to your craft!! Grants Victory is becoming a beauty each and every day. I am curious where you get your blocks or are you one to craft your own blocks.
Awesome now I need to figure out what scale for rope and blocks I am going to actually need lol. But I know where I can atleast order fromGrant is sleeping so I'll answer for him: https://drydockmodelsandparts.com/
And he just became restless as he dreams of his Victory but there’s an orthodontist nearby tapping away on his keyboardGrant is sleeping so I'll answer for him: https://drydockmodelsandparts.com/


 ). At best I would have put i
 t down to normal wear and tear. Seriously though, lots of good stuff to look at in those pictures, great job so far
True story- the paradox is like a never ending circle...There's little paradox in this statement,becasue when you started rigging you had 0 to little skill like most of peope who start doing new things, but by doing rigging on Victory you improved your skill. So you see you can't build to your current level because your already exceed it.


Well, you can't expect us to sit idle, while you enjoy your much needed beauty sleep...While I sleep : Paul steals my Keyboard, Heinrich redefines the meaning of finesse, Mark drafts legislation-the model shipbuilders act, Johann has stomach issues, Rob seeks new blocks and rope and Roger gives the orthodontist a rev....


Interesting bit of history.Good morning. Reading A short History of HMS Victory by Commander W Wharton - published in 1874. Interesting point from 1799 to 1801 the Victory was used as a Hopital ship.
View attachment 312657
But this flag didn't exist yet in that periodInteresting point from 1799 to 1801 the Victory was used as a Hopital ship.
