Good morning- you are correct- I just thought a Red Cross would be funBut this flag didn't exist yet in that period

 |
As a way to introduce our brass coins to the community, we will raffle off a free coin during the month of August. Follow link ABOVE for instructions for entering. |
 |
Good morning- you are correct- I just thought a Red Cross would be funBut this flag didn't exist yet in that period

Red Cross? I just saw a plus sign. I swear I didGood morning- you are correct- I just thought a Red Cross would be fun
I thought it was the Tongan flag in reverse.Red Cross? I just saw a plus sign. I swear I did

Good morning. The Victory was made a hospital ship after she was damaged in a tussle with the French. The reverse Tongan flag may be hoisted on Grants Victory if I keep damaging her while doing the rigging....I thought it was the Tongan flag in reverse.
 . First my netting and now I took off a gun port lid....
 . Cheers Grant
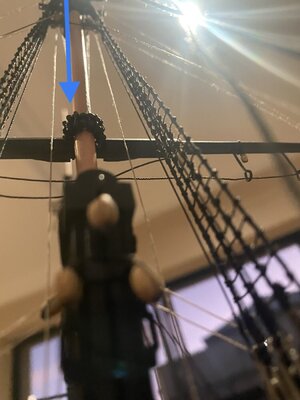
Aside from the rest of your outstanding construction, your parrel beads caught my attention. Those are some of the best-looking trucks and beads I've seen yet and you did them from scratch! BRAVO!!!Good morning. The placement of the Mizzen top yard. Fun and games for sure.
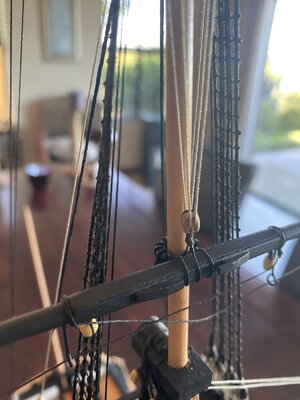
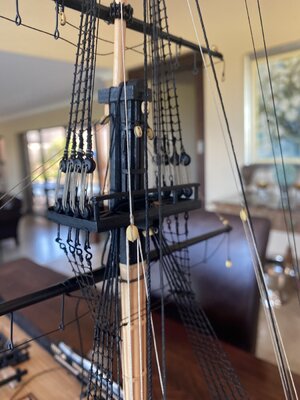
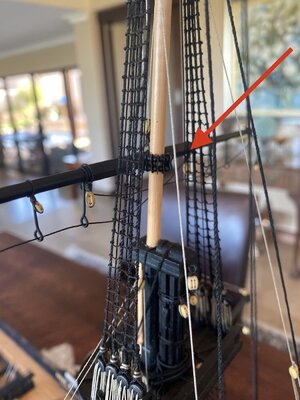
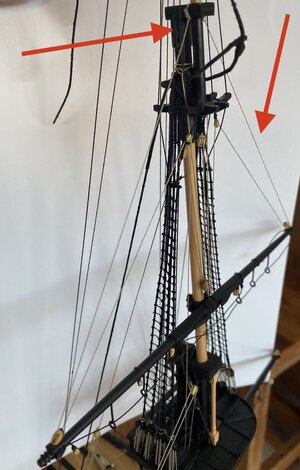
The yard lift tye runs from the topmast near the hounds down through a double block on the yard back up and down to a double block just below the crow nest- port and starboard.
View attachment 312751View attachment 312752
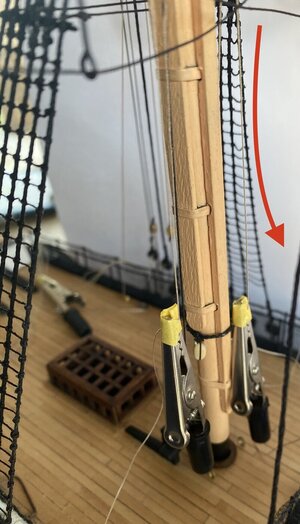
The tye is attached to the channel (problems for Grant here) by a pendant and single block and then tied off through a small block to cleat on the poop deck
View attachment 312753View attachment 312754
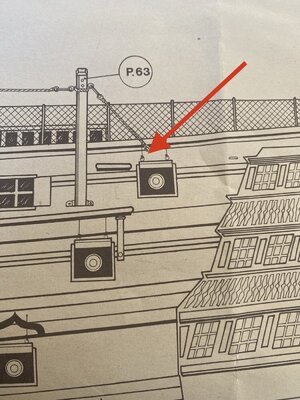
Note: the back stays are not tensioned as this will only be done once the fore stays are done to main mast. The problems I had derived from the Mantua plans and position of the upper small channel.
View attachment 312758
This should be more aft and made the back stay too close to the pendant of the tye so they crossed. I move the pendants forward 5mm on the channel and while it is still close solves the issue.
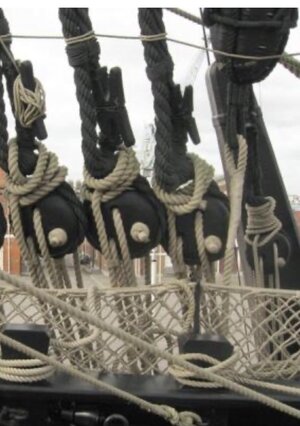
I made a parral from beads and some copper spacing (used dremel to file the spacing into shape). My scratch making is not the best and this kit has minimal fittings.
View attachment 312757
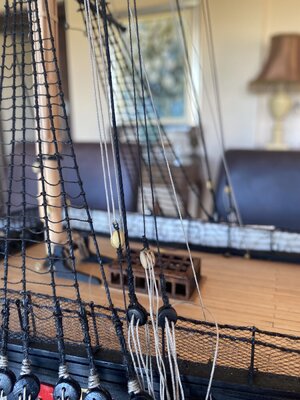
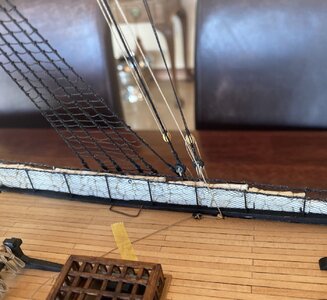
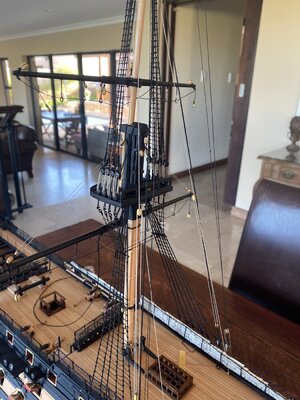
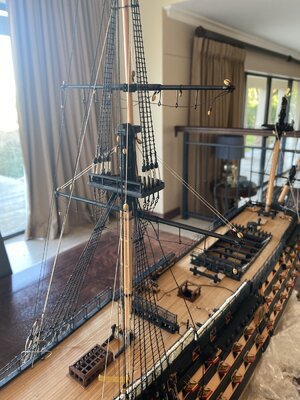
Some picture of how the Mizzen topmast yard looks completely:
View attachment 312756View attachment 312755
Cheers Grant
Good evening Heinrich- thank you so much. I am well pleased with “Grants Victory “. Learnt so much and am still in the rookie class. I know I’m progressing reasonably ok with some applications and still cannot get others right. I enjoy researching how the rigging works and at times I think the British “just liked ropes”. It like why on earth would they do that. Cheers GrantAbsolutely superb-looking rigging on that mizzen mast Grant. Your execution looks so good - with that you can and must be well pleased ... surely?!
Good evening Daniel- whew...thanks. Cheers GrantAside from the rest of your outstanding construction, your parrel beads caught my attention. Those are some of the best-looking trucks and beads I've seen yet and you did them from scratch! BRAVO!!!
Good evening Paul. Thank you. I Will take some pics and post. Cheers GrantThings just keep getting better and better Grant. That is some really fine rigging.
I agree with Daniel - those are some finely executed parrels. Would you be willing to provide more detail on your construction method? You said copper - or was it brass? Thickness? How did you make them black? Painted or tarnished? Beads from your daughter's jewelry box?

Agree the work is top notch and the ship will be a beauty to see once completed.Things just keep getting better and better Grant. That is some really fine rigging.
I agree with Daniel - those are some finely executed parrels. Would you be willing to provide more detail on your construction method? You said copper - or was it brass? Thickness? How did you make them black? Painted or tarnished? Beads from your daughter's jewelry box?
Excellent work on the rigging so far Grant. I especially like your take on how to 'belay a line on the deck'
Just kidding, reallView attachment 312935y great work and a joy to watch
 .....you mean I have to redo this...
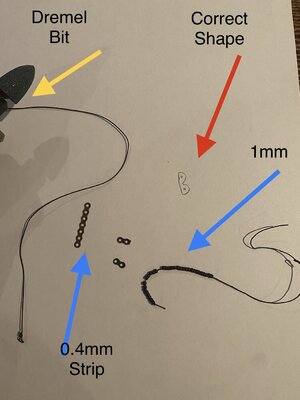
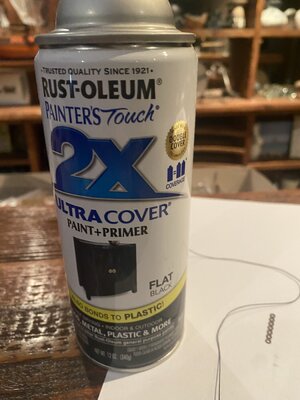
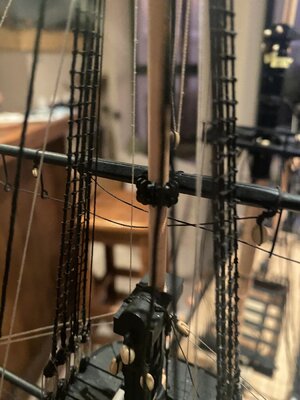
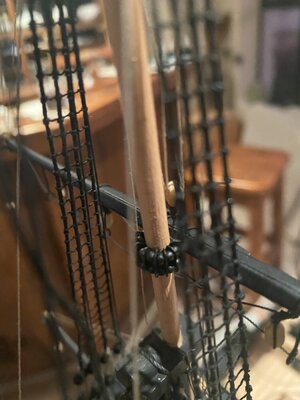

 .
.
Simply "just the way of the modeler"Good morning. The Victory was made a hospital ship after she was damaged in a tussle with the French. The reverse Tongan flag may be hoisted on Grants Victory if I keep damaging her while doing the rigging..... First my netting and now I took off a gun port lid....
. Cheers Grant
A really wise solution. My respectGood morning- Parrals:
