- Joined
- Aug 8, 2019
- Messages
- 5,569
- Points
- 738

No, I'm just bad in lyricsRegional differences?
 |
As a way to introduce our brass coins to the community, we will raffle off a free coin during the month of August. Follow link ABOVE for instructions for entering. |
 |
 |
The beloved Ships in Scale Magazine is back and charting a new course for 2026! Discover new skills, new techniques, and new inspirations in every issue. NOTE THAT OUR FIRST ISSUE WILL BE JAN/FEB 2026 |
 |

No, I'm just bad in lyricsRegional differences?

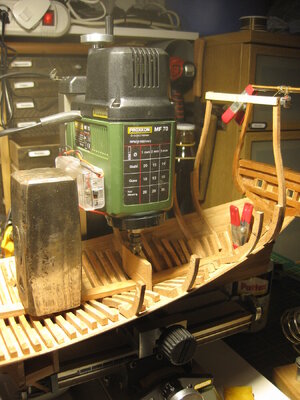
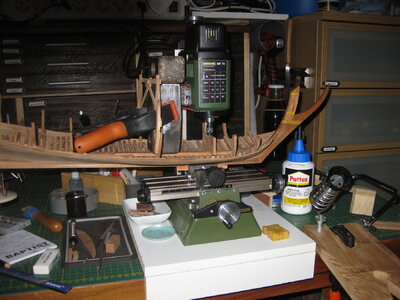
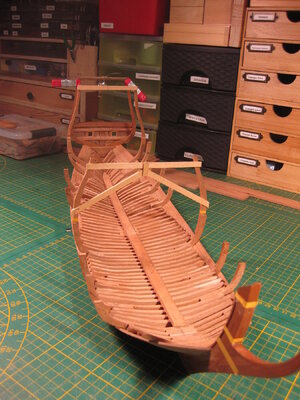
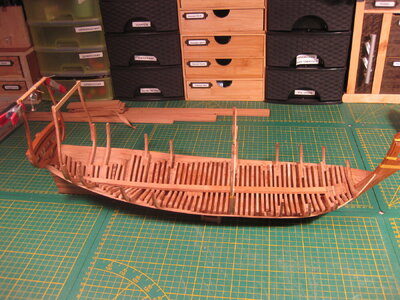
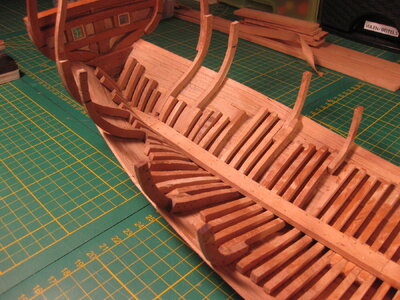
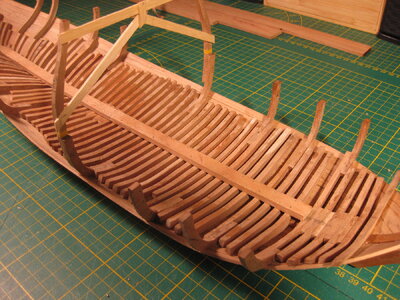
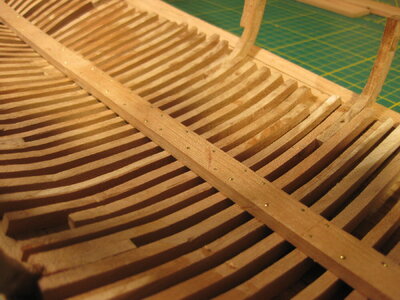
With only 2 hands your have to be inventive to install such a long piece of wood, Stephan. And the nails will hold the keelson in place.Thanks all for the likes, comments and Visit.
The floor timbers are in shape and I also constructed the Kolzem, in English Keelson. Luckily the Keelson is almost straight, only a light bend on the bow- and stern section. Only a precise and strong clamping in that area was necessary to get it in place. The thickness of the keelson is 5 mm. and a width of 12 mm. Not easy to bend, but in this case a "makkie" (Dutch for a easy job)
Only them clamping was a little more.... How too?
I got a Idea with my Proxxon MF70. The z-axle is with a screw and pretty strong. So I used this to do the job.
View attachment 444774
View attachment 444775
Yes it looks dangerous to do it this way, but surprisingly enough the construction of keel, planks and floor timber is very strong. I used a hammer and chisel to shape the floor timbers, that also went very well. After a long time of drying (the glue need to harden before I get the ship out of the construction) I nailed the keelson to the floor timber with brass nails. Next thing on my list is a few layers of hull planks and a lot of study how to go further with the floor.
View attachment 444776View attachment 444777View attachment 444778View attachment 444779View attachment 444780
thanks for watching
Good afternoon Stephan. I will have a break, watch the Expance and fix up the Bounty model in my pub. Then a POF British ship. Cheers GrantThanks Grant, your build is ready, what's next? Or first watching The Expance?
That sounds like a plan, Grant!Good afternoon Stephan. I will have a break, watch the Expance and fix up the Bounty model in my pub. Then a POF British ship. Cheers Grant

Thanks Paul, it's also fun to do. Because you have to think about every step you take.Fantastic Stephan! Among the most interesting builds on the forum!
Thanks Uwe.Very good progress - Looking very good
Always searching to how it can be done with the stuf on your workplace take a hugh amount of time.With only 2 hands your have to be inventive to install such a long piece of wood, Stephan. And the nails will hold the keelson in place.
Regards, Peter
The expance is great watching, not boring at all.Good afternoon Stephan. I will have a break, watch the Expance and fix up the Bounty model in my pub. Then a POF British ship. Cheers Grant
Thanks, the keelson is almost straight, just a small bent. I just had to keep it in place to let the glue dry. That's why I clamped it and the machine was the perfect tool for this. I could use instead also a heavy weight, but the risk of movement was to high. The little mill is more steady.Your keelson work is superb, Stephan, but I do wonder why not steam-bend the timber before fixing in place?

After a lot of work on the floor timber and keelson, it’s nice to work on the planking again. And I see that the keelson is helpful with the clamping. Nice work, Stephan.Small update, but it was a time consuming work. I was attaching the planks on the kim till I reach the place where the first wale will come.
Then I can go further on the inside. A lot of measuring and bending is needed to end just under the wale.
Pictures of the clamping and my work spot.
View attachment 445897View attachment 445898View attachment 445899View attachment 445900

And welcome to, because sometimes it is difficult to find a spot to hold it in place.And I see that the keelson is helpful with the clamping.

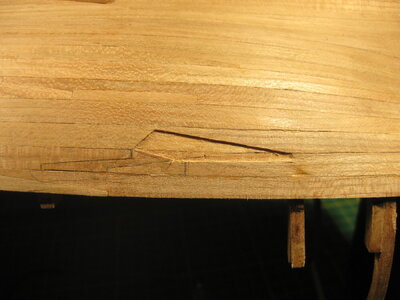
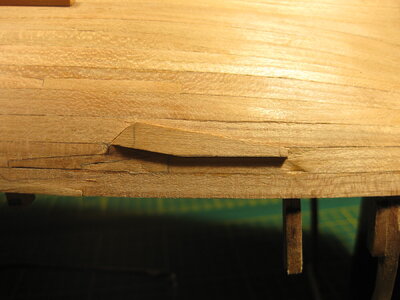
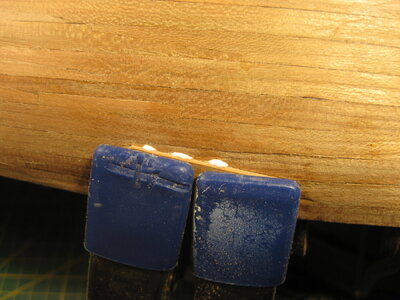
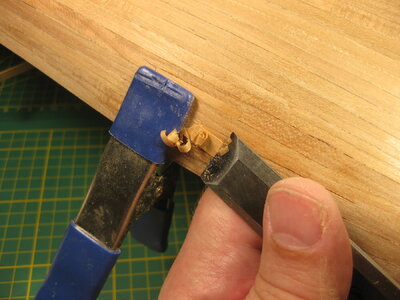
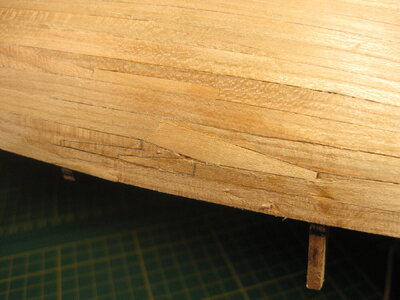
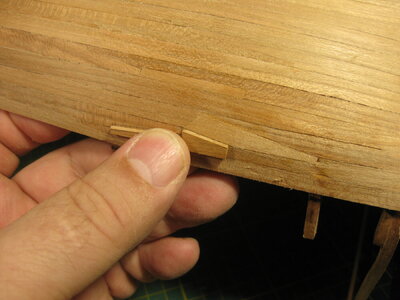
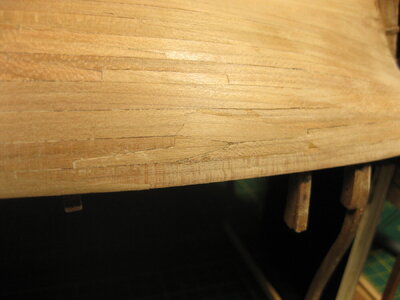
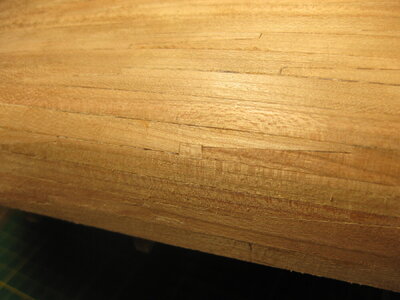
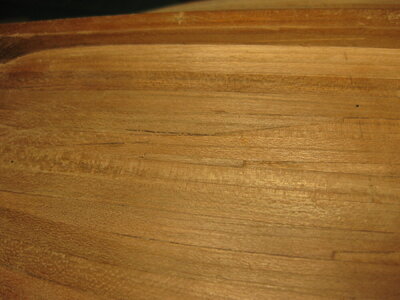
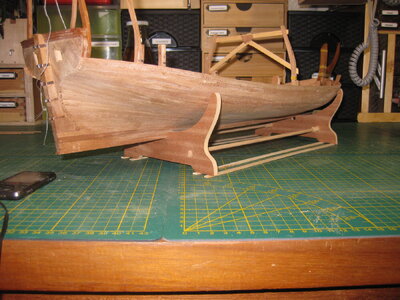
Nice re-do’s, Stephan. And her lines are very nice. The last picture shows that very well.Thanks for the likes and visit to my build log.
I had a lot to do, even some re-do's on the planking. There is 1 row to go before I reach the spot where the wale will come. I stop a while planking on the outside and go further with the inside. First the zitters, then the wegering and after that I start to make the shape of the ship with a few frames and attaching the centen. But I'm think this will be somewhere about Christmas.
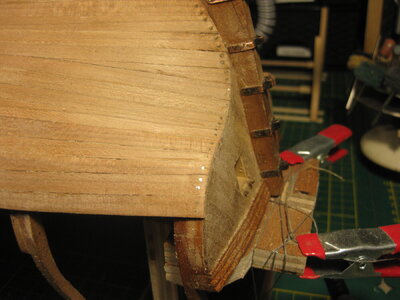
After the planking was done I need to look for mistakes and gaps on the outside. Hide them by placing tiny pieces of wood inside them or replace parts of the planking. I made some pictures of that proces and the end result.
View attachment 447710View attachment 447712View attachment 447713View attachment 447718View attachment 447720View attachment 447721View attachment 447723
and a few other places
View attachment 447714View attachment 447716
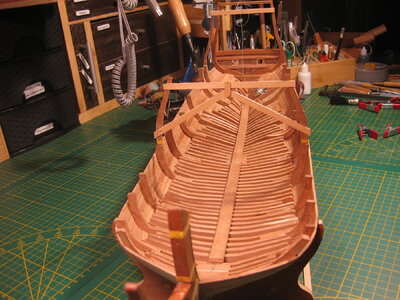
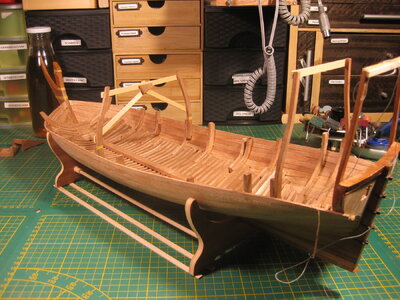
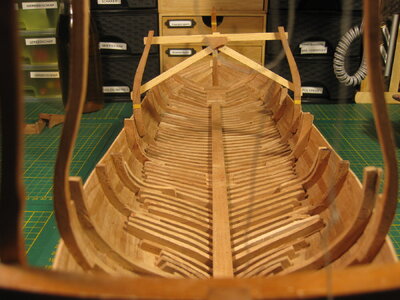
on side is done now the other side, but first a few pictures how it looks now.
View attachment 447725View attachment 447726View attachment 447728View attachment 447729View attachment 447730
Thanks for stepping by

Thanks Peter, it is a lot of fun to see actually a ship form growing. Gives me indeed more pleasure in this build.Nice re-do’s, Stephan. And her lines are very nice. The last picture shows that very well.
Regards, Peter
Thanks Jim, yes the shape of a Dutchman is recognizable.WOW, mon ami! She is taking shape, and now I can definitely see you building the Hohenzollern. As Peter said in the above post, the beautiful lines are the proof!
Thanks Tobias.Great results Stephan, very nice line.

Thanks Johan, yes those repairs are a Dutch thing. If you look at the wreckage of the Pinas Samuel (NE81) in Den Helder, then everything is allowed.That's some fancy repairs you had to make!
One might argue the repairs have authenticity, since Dutch shipwrights used any available shape and form to get the job done.
