Kingfisher 1770 1:48 POF

Hello Paul,

Bugger, for some reason or another I didn't receive any updates on your Kingfisher blog, but boy, what a mess I found; an expertly painted figurine triggered an avalanche: a French shipwright with a spion or is it a shipwright with a French spion, or is it spy and, naked whalers!? A gender discussion; also part of the chaos and an upcoming fishing trip where some delightful young boy will be fooled by his grandfather. To top it off, the real(?) shipwright is off; he's taking a break, I kid you not.
If anything, the replies from the past couple of weeks show one thing: most modelers have way more imagination than what's good for them ánd for their surroundings... Unfortunately I'm one of them.

Johan
 
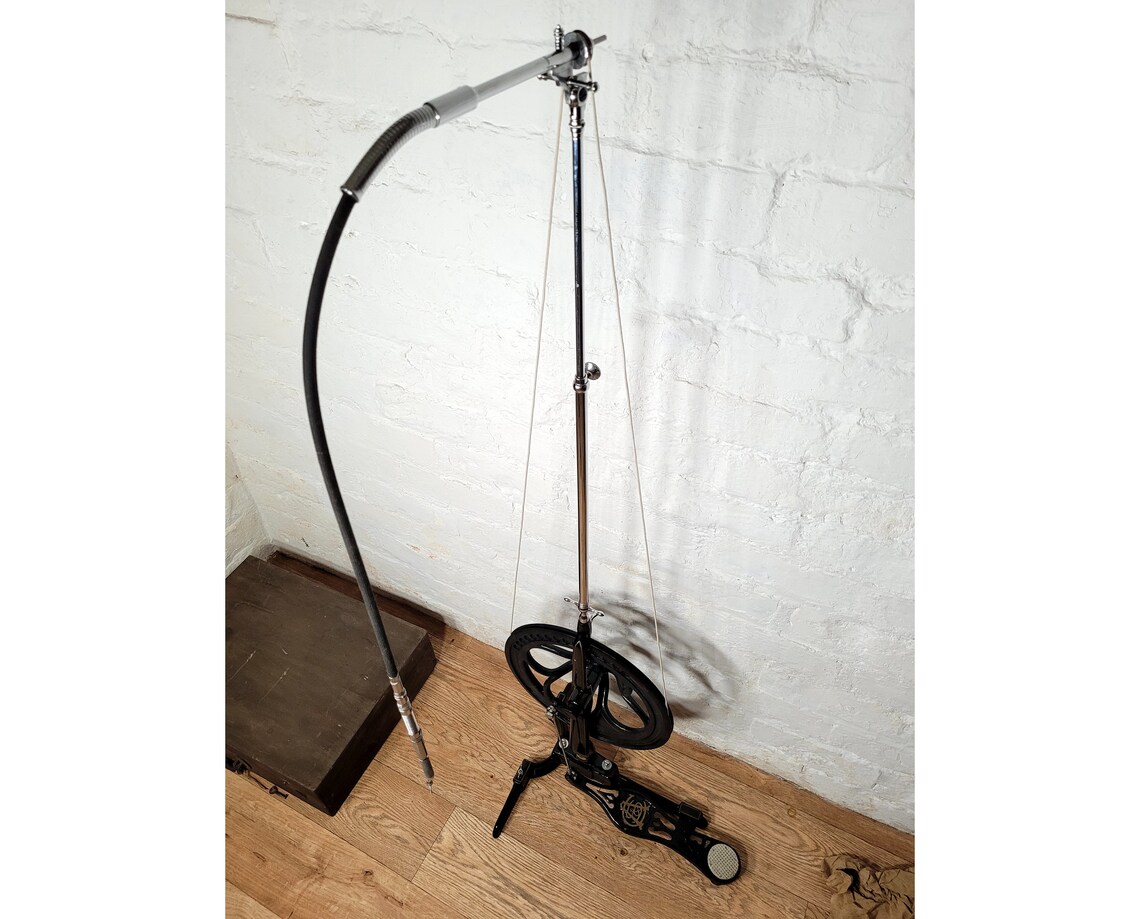
don't think he would need one, Steph. When he graduated from dentistry school he was awarded the tool he is using today as part of his job and hobby as well ROTFROTF
il_1140xN.4699513603_ggxe.jpg
does it hurt? lol
 
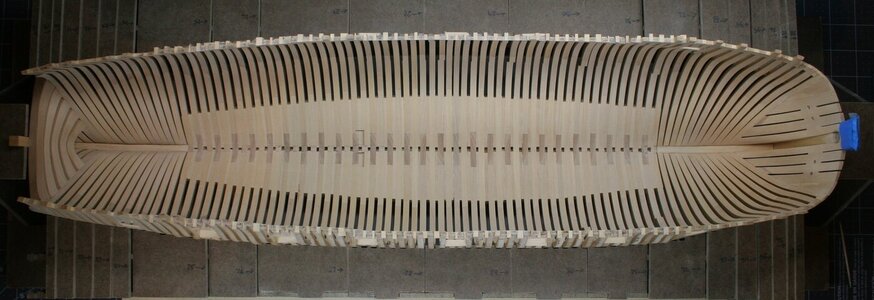
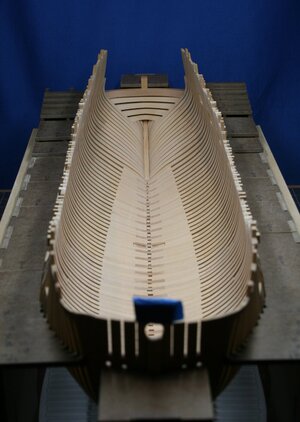
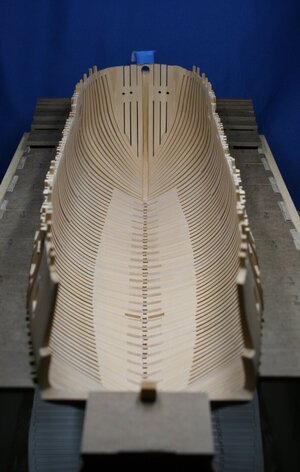
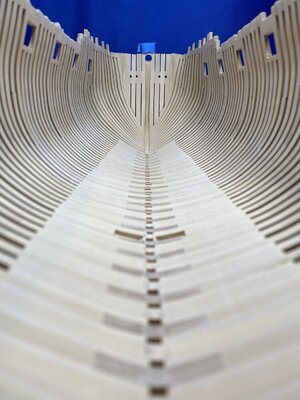
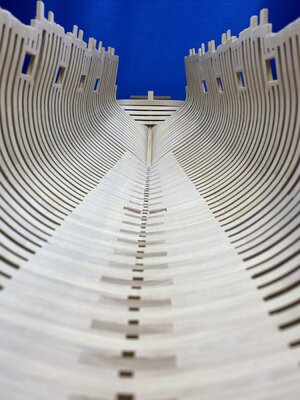
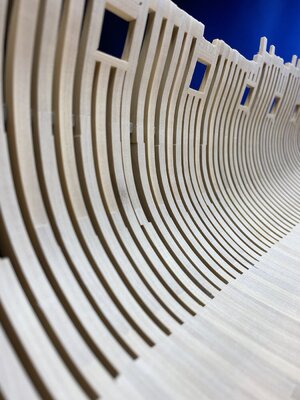
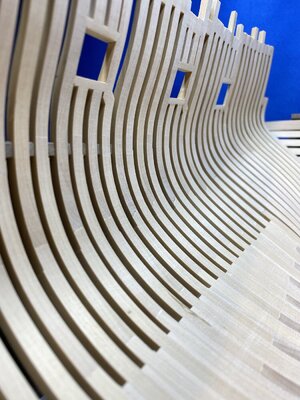
I returned recently to the Lauck Street Kingfisher, and it was essentially more of the same: fitting frames - cutting fillers (recall that each of these must be customized because the space between the frames is not uniform) - and installing chocks at the tops of the frames (also requiring a custom thickness).

While the glacial pace made it hard to appreciate that progress was being made - in time the frames were all in place.

I won't declare victory quite yet because I still need to add the sills for the row-ports - and then there are chocks/spacers/fillers to be placed between every third frame or so along the vertical height of the frames (still need to study the plans better to understand that part).

But I was tired of framing and anything associated with framing so I spent a few days fairing the inside of the hull. I've said it before, but it bears repeating: sanding boxwood is no joke.

Anyway, having all the frames set is a significant milestone so I'll share some images.

IMG_9770.JPG

IMG_9772.JPG

IMG_9775.JPG

IMG_9777.JPG

It's difficult to take representative photos with a full size SLR camera so I took a few pictures with my cell phone:

IMG_1347.jpg

IMG_1348.jpg

IMG_1349.jpg

IMG_1351.jpg

IMG_1352.jpg

Anyway, you get the idea...its faired on the inside...
 
I returned recently to the Lauck Street Kingfisher, and it was essentially more of the same: fitting frames - cutting fillers (recall that each of these must be customized because the space between the frames is not uniform) - and installing chocks at the tops of the frames (also requiring a custom thickness).

While the glacial pace made it hard to appreciate that progress was being made - in time the frames were all in place.

I won't declare victory quite yet because I still need to add the sills for the row-ports - and then there are chocks/spacers/fillers to be placed between every third frame or so along the vertical height of the frames (still need to study the plans better to understand that part).

But I was tired of framing and anything associated with framing so I spent a few days fairing the inside of the hull. I've said it before, but it bears repeating: sanding boxwood is no joke.

Anyway, having all the frames set is a significant milestone so I'll share some images.

View attachment 387459

View attachment 387460

View attachment 387463

View attachment 387464

It's difficult to take representative photos with a full size SLR camera so I took a few pictures with my cell phone:

View attachment 387471

View attachment 387472

View attachment 387473

View attachment 387474

View attachment 387470

Anyway, you get the idea...its faired on the inside...
Wow! Amazing attention to detail. I love it.
 
Witaj
Pawle moje gratulacje ,przekroczyłeś kolejną granicę możesz być siebie dumny. Pozdrawiam Mirek
 
I love the lines of a faired inner hull, it's looking so smooth. Victory! It's really an impressive sight Doc. Just Wow!
How are your shoulders and arms holding up? :rolleyes:
 
I returned recently to the Lauck Street Kingfisher, and it was essentially more of the same: fitting frames - cutting fillers (recall that each of these must be customized because the space between the frames is not uniform) - and installing chocks at the tops of the frames (also requiring a custom thickness).

While the glacial pace made it hard to appreciate that progress was being made - in time the frames were all in place.

I won't declare victory quite yet because I still need to add the sills for the row-ports - and then there are chocks/spacers/fillers to be placed between every third frame or so along the vertical height of the frames (still need to study the plans better to understand that part).

But I was tired of framing and anything associated with framing so I spent a few days fairing the inside of the hull. I've said it before, but it bears repeating: sanding boxwood is no joke.

Anyway, having all the frames set is a significant milestone so I'll share some images.

View attachment 387459

View attachment 387460

View attachment 387463

View attachment 387464

It's difficult to take representative photos with a full size SLR camera so I took a few pictures with my cell phone:

View attachment 387471

View attachment 387472

View attachment 387473

View attachment 387474

View attachment 387470

Anyway, you get the idea...its faired on the inside...
With this milestone it’s time for a BIG WOW, Paul. I know wath it is …… frame after frame after frame …….
But with the sanding the result it there! With nice and impressive pictures.
Regard, Peter
 
My congratulations also from my side - it is looking very good - like a very good build scratch model, or a very very good build kit model
Defitely very good and accurate made - :cool:
 
I returned recently to the Lauck Street Kingfisher, and it was essentially more of the same: fitting frames - cutting fillers (recall that each of these must be customized because the space between the frames is not uniform) - and installing chocks at the tops of the frames (also requiring a custom thickness).

While the glacial pace made it hard to appreciate that progress was being made - in time the frames were all in place.

I won't declare victory quite yet because I still need to add the sills for the row-ports - and then there are chocks/spacers/fillers to be placed between every third frame or so along the vertical height of the frames (still need to study the plans better to understand that part).

But I was tired of framing and anything associated with framing so I spent a few days fairing the inside of the hull. I've said it before, but it bears repeating: sanding boxwood is no joke.

Anyway, having all the frames set is a significant milestone so I'll share some images.

View attachment 387459

View attachment 387460

View attachment 387463

View attachment 387464

It's difficult to take representative photos with a full size SLR camera so I took a few pictures with my cell phone:

View attachment 387471

View attachment 387472

View attachment 387473

View attachment 387474

View attachment 387470

Anyway, you get the idea...its faired on the inside...
Hi Paul, Somehow I just knew it would be this good but actually seeing it and realising the work involved has left me in awe of your skill.
 
Milestone indeed. Very nice. The labor put into sanding has paid off.
Truly Fabulous Paul :cool:

Kind Regards

Nigel
Looks superb Paul, I love the camera angles :)
One of those looks... There is a dictum: You can forever look at three things: how fire burns, how water flows, and ...disposition of frames in Kings Fisher made by Dockattner! Yea...great work, mon ami!!
Wow! Amazing attention to detail. I love it.
Wow, what a surprise. Congrats for reaching this milestone and for the beautyful hull.
Witaj
Pawle moje gratulacje ,przekroczyłeś kolejną granicę możesz być siebie dumny. Pozdrawiam Mirek
I love the lines of a faired inner hull, it's looking so smooth. Victory! It's really an impressive sight Doc. Just Wow!
How are your shoulders and arms holding up? :rolleyes:
Always a pleasure to see an update and pictures of you work. Your efford in sanding payed off
And what magnificent pictures they are! ExplosionFirst Place Metal
With this milestone it’s time for a BIG WOW, Paul. I know wath it is …… frame after frame after frame …….
But with the sanding the result it there! With nice and impressive pictures.
Regard, Peter
This is a wonderful milestone, Paul. The view is captivating, looking forward to the exterior presentation.
My congratulations also from my side - it is looking very good - like a very good build scratch model, or a very very good build kit model
Defitely very good and accurate made - :cool:
Hi Paul, Somehow I just knew it would be this good but actually seeing it and realising the work involved has left me in awe of your skill.
Looks awesome. congratulations. I would sail in it. lol
Superb work and beautiful captured on photo.

Gentlemen, I am rather embarrassed by your very kind comments. And thanks to many others for the 'likes'. To be on the receiving end of your support is very encouraging as you guys are counted among the modelers I look to for learning and inspiration. What I lack in experience and knowledge I try to make up for with old fashioned effort (hard work in this case as the boxwood is not so easy to shape).

There are some 'issues' but I am hoping those will be hidden by future additions or will visually slip away into the totality of the build...

Your kindness has given me the fuel I needed to work on row-port sills...
 
Back
Top