L’Hermione La Fayette 1:89 (New kit) - Artesania Latina

Joined
Dec 6, 2019
Messages
60
Points
88

Build Log #1: Part 1, L’Hermione La Fayette - Unboxing & Wood.

So, we begin! My first ship since 2009, when I completed the old Hermione kit from AL. Suffice it to say I was much younger then and I simply ‘winged it’!
Built the whole model in 5 months doing 9 hours a day. (Interestingly, the instructions booklet missed a lot of steps so no wonder. The new instructions are in CD, writable, and much clearer).

Also, this is my first build log! Bear with me, I’m learning :)


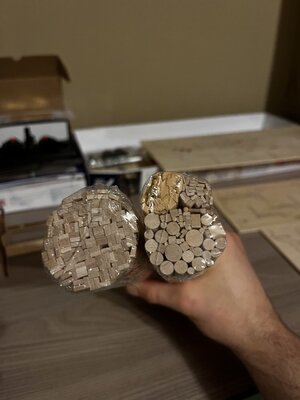
Unboxing the kit it becomes apparent how AL has opted for cheeper woods (probably due to the ship being painted). Still, I miss the variety of colours and woods.

Plywood laser cut elements.
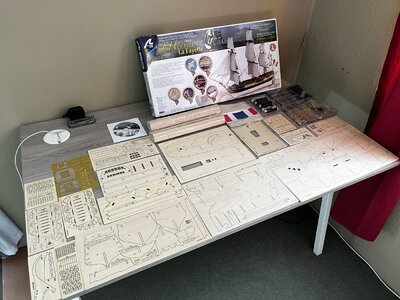
F477F92A-BFFF-4430-A8B2-088BF240A415.jpeg

Same mono-colour scheme for the spars and planks.
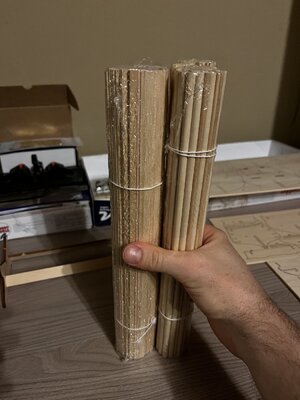
0D55C381-DD8A-48D1-A9B0-C62097853480.jpeg
26B0E543-F5EF-4837-90CC-D5BF86C40A33.jpeg
 
Last edited:
Build Log #1: Part 2, L’Hermione La Fayette - Second Deck.

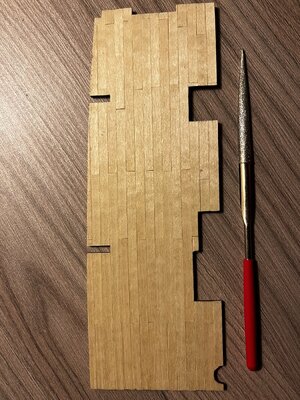
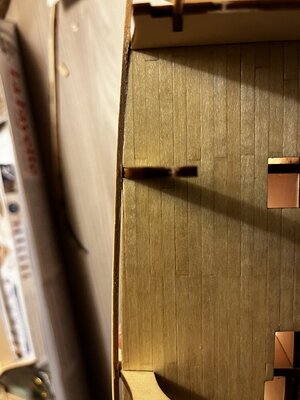
In modeling I feel it is important to be true-to-life (accurate) but at the same time not to overdo it. in this case, the instructions say to cover the second deck with strips of veneer, sand down, then ‘add’ the planking details by pencil. I find this a lazy step.

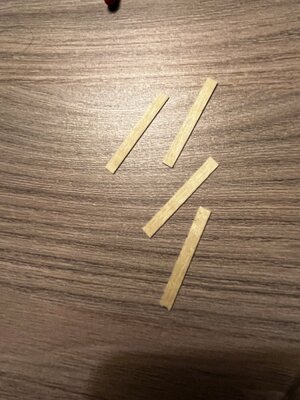
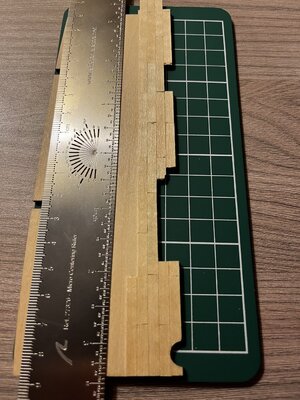
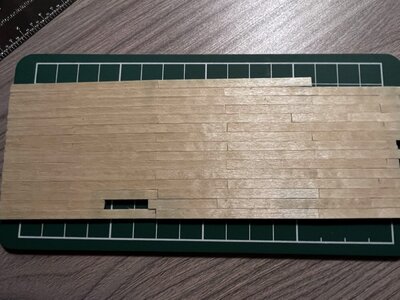
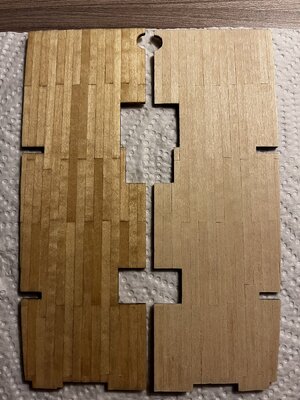
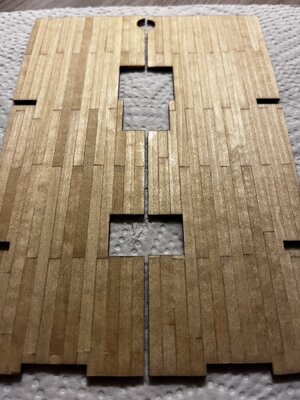
So I’m cutting my own planks and individually gluing them to position. It’s a time-consuming process but the result is worth it.

Planks.
E7853945-385C-45C6-96A8-E7823EF9216C.jpeg

Planking the deck.
95227536-B64A-4854-AB93-BEFF345D6792.jpeg
4126A329-BA17-4883-8902-C36463F233E1.jpeg


Is this the typical type of thing one does on these ‘simpler’ models, or am I over-engineering it a bit?
 
Last edited:
Many Thanks for starting the building log - and you are doing it very good - informative and showing your work and way

Interesting to read also, that with the years AL changed most of the wood into plywood sheets, which are painted later on. Unfortunately this is a way some of the manufacturers are going..... unfortunately

Off course the real ship was on most of the parts painted, see the photo report of my visit on the real replica


Maybe also some information in this toipic can help you later on


refering to your deck planking:
It is realy a question of taste and possibilities how to make the deck planking, and often it depends on the available material.
I am personally not plank the deck without takeing the openings in the deck, like the hatches , deck houses etc. into account. Maybe you can take a look at this post, where we discussed the planking pattern. in the forum you can find a lot information about pattern, butt joints, treenailing etc.


But definitely do not make the planks too short. planks had a maximum length of up too 7 to 9 meter in real, so in your scale 1:89 it would be 8 or 9 centimeter long strips.... up too. in scale 1:89 I would not do any treenailing, because they would be definitely out of scale, but the butt joints are worth to make. (my personal opinion)

I know..... so much information in the beginning, but if you want to "In modeling I feel it is important to be true-to-life (accurate) but at the same time not to overdo it." it is worth to do it. Check also other building logs of the Hermione, or other similar ships ......
Such valuable information! Thanks Uwe.

It is true that navies painted their ships, and if the P. O'B novels are accurate, then they even repainted when out on sea. Of course, no paint looks better, than good quality wood! My first Hermione I did not paint, just stained here and there.

As to the plank lengths... Oh my they are far too short then! I'll either leave it as is or redo it.
Welcome Wander. Look forward to seeing your build. Cheers Grant
 
An
Good luck with your build. Do you plan to paint it in modern day replica colors(blue-yellow-black-white)? If not there's more "classic" wersion of painting. This one has copperd hull but it doesn't matter.


This is an interesting question, and certainly, one that I pondered over and over.
I finally opted for the current look (and even got the paint set from AL), so it will be the Bold and the Beautiful :p.

I also got the metal figures for Hermione, to add "realness and scale". Coming from plastic models (tanks, planes, etc.,), a model's scale, and the size of the thing, is clear when there are human figures added.

I need to say that in principle, and in my opinion (not bashing anyone), I do not like painting wood. Plastic can be painted to look like wood, but wood shouldn't be painted. In this case, I'm bending my rule a bit, considering that a) the wood is mainly plywood so not the most aesthetic wood, b) warships were painted and this will probably be the first, and last, wood ship model I'll be painting like this, so might as well make the most of it.
 
Also from my side as a South African now living and working in China, a big welcome to SOS and all success with the Hermione. I agree with your sentiments of on not painting a ship and have also steered clear of that on my Willem Barentsz. However, the Hermione is best known for her colors and to keep in character with the replica, it is understandable that you decided to paint her.
 
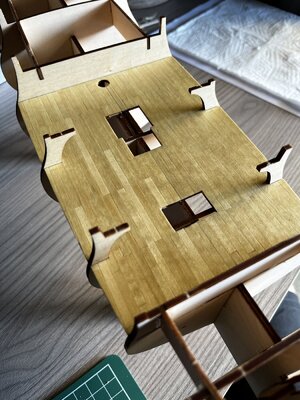
Lower deck done, not happy with how the centre join came out.

But, having been made aware of my too short planks by Uwek I rechecked the instructions, which indicates 68mm long planks. They definitely look way better.

413D6CF9-479D-4FA1-9931-54E4724A3D08.jpeg
F00E42AD-7F0B-4C9F-98EC-E8BF5C648E8D.jpeg
4005C383-A156-490C-ACB3-A4C4CF8B1379.jpeg
1EEB6367-9DFD-4E2B-A2A7-04AC4DAFE837.jpeg
6F370EFB-EB8C-4E7A-B82B-B170A43D3583.jpeg
BEC4C949-7655-4AC5-84AA-AC1E8C1822E1.jpeg


According to reference photos of the Hermione’s decks, the treenails are not visible. So I opted for realism vs the awe factor. Hence the lack of ‘dots’.
 
Last edited:
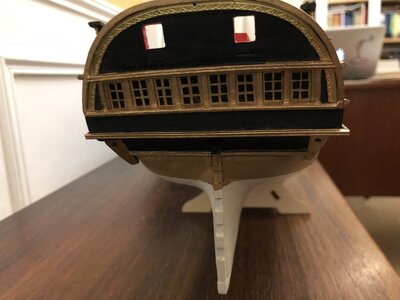
Hello, me too I have started this model a year ago working on it part time. But I decided to make some changes from the box model and use pearwood, ebony and boxwood instead of the wood from the kit. I also use only one colour, the red paint. Anddecided to built the rear castle the way it probably was on the real Hermione of 1781 instead of the strange one of the 1997 rebuilt. The rebuilt is based on the sistership la Concorde who's plan are at the Greenwich Museum. So here is where I am so far...

IMG_3099.jpeg

IMG_3100.jpeg

IMG_3101.jpeg

IMG_3102.jpeg
 
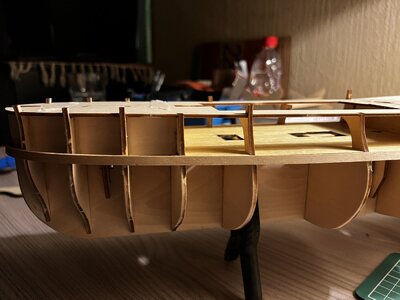
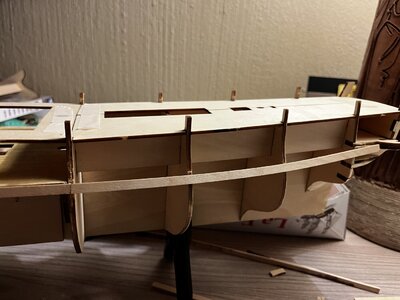
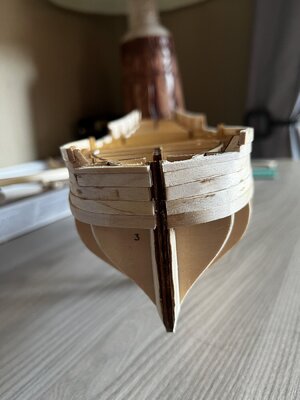
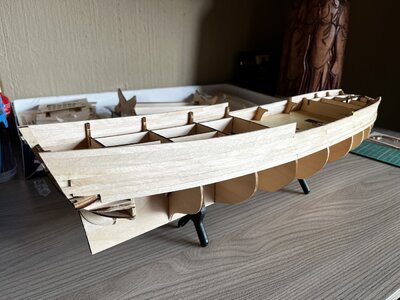
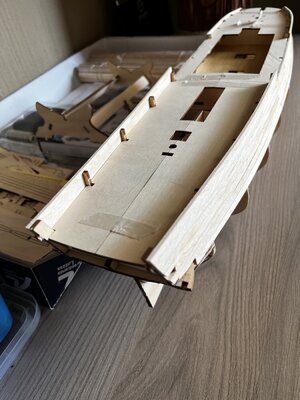
Build Log #1: Part 3, L’Hermione La Fayette - Planking the hull.

The hull framework is complete, and the first planking is done! The top deck dry fitted as reference for the planking.

ECAC87CB-3AE6-4B99-A35A-0AB380093A25.jpeg
AB538DFB-D859-4D0E-A524-68C9F9BA079D.jpeg
F62751EA-15F4-403C-BEE7-94F92DB6AF22.jpeg
85ABE282-79AC-4C1A-A486-A1DE46986F16.jpeg
988EABE4-CBF1-4010-A792-6ED6B8DEB9BB.jpeg
77E828E0-56A4-4FC2-AA2C-1BA8F9CB7EA7.jpeg
 
Last edited:
Lower deck done, not happy with how the centre join came out.

But, having been made aware of my too short planks by Uwek I rechecked the instructions, which indicates 68mm long planks. They definitely look way better.

View attachment 306160
View attachment 306161
View attachment 306162
View attachment 306163
View attachment 306164
View attachment 306165


According to reference photos of the Hermione’s decks, the treenails are not visible. So I opted for realism vs the awe factor. Hence the lack of ‘dots’.
Looks like you're off to a cracking start Wander. I have also pulled up a chair and will follow your progress with interest, good luck Thumbsup
 
Build Log #1: Part 3, L’Hermione La Fayette - Planking the hull.

The hull framework is complete, and the first planking is done! The top deck dry fitted as reference for the planking.

View attachment 306546
View attachment 306547
View attachment 306548
View attachment 306550
View attachment 306551
View attachment 306552
Good evening Wander- off to a great start. Prepare your hull: fairing, lining and plank plan and then take your time on each plank to fit your plan. Each plank is a project all on its own. Cheers Grant
 
Good evening Wander- off to a great start. Prepare your hull: fairing, lining and plank plan and then take your time on each plank to fit your plan. Each plank is a project all on its own. Cheers Grant
Hi Grant. True words! This is exactly what I find when I handle a plank. I am forever finding myself having to squash that impulse to "just glue it".
 
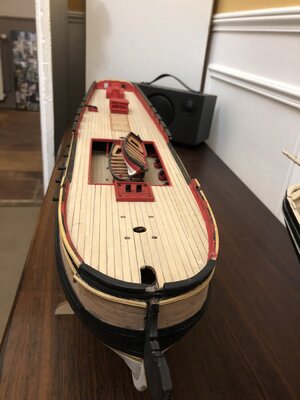
Upper planking done.

79B0BFDF-7DD3-4157-B221-C601B59DD22D.jpeg
B358DAFA-9AD7-4B01-BF4A-2598A64B333E.jpeg
6C8BC30F-CA21-4F84-BADF-8CECA5DED177.jpeg

It so happened during a particularly tough negotiation with a plank, that I used superglue to fix it.

It worked so well that 28 planks later I realise I only used superglue. This is a facepalm moment.

Have I dug myself into a hole or should I just continue and remember to use wood glue as well?
 
Back
Top