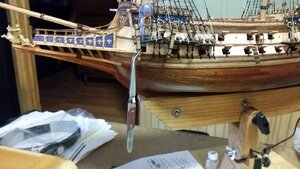
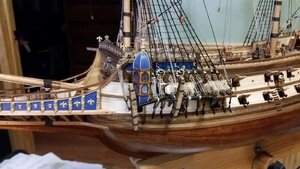
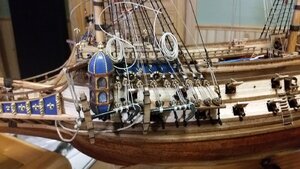
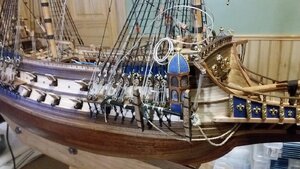
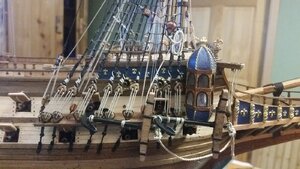
La Couronne Corel/scratch 1:100 First build [COMPLETED BUILD]

I have the kit for almost 20y
That ship was in the window of my hobby store and for many was admiring the ship
Made 21 models since I got it but never got the courage to start it but soon I think
After I finish the 3 models I have in production :D
 
Having built 4 model of Corel in the pas, yes their instructions are not easy to understand some time. But they are real nice when finish it is just a mater of taking our time read the instruction kind of 4 step in advance and go slowly. (Same for Mamoli kit by the way)
The Couronne is one of the 3 from them that I still have in my reserve, got the kit for at least 20 y and never got the courage to start it as it is my kind of dream model to build I have start to build wood ship model because of that ship so will follow your build very carefully:)
If you have any questions, let me know. I've worked through the weak and sometimes missing information in the instructions, but didn't follow the number tables used to guide you on the rigging. Instead, I used them for reference for lines that were not clear in the drawings, and followed my own pattern adding lines, moving through the drawings in numerical order to keep things organized and clear. Many modifications were made by following the descriptions in R.C. Anderson's book instead of the instructions. The addition of parrels the lines associated with them and redesign of the tops resulted in subtle changes to the shrouds and ratlines, especially the puttocks (futtock shrouds). The relocation of the channels to a lower position below the upper cannon deck, combined with new cannon port locations changed everything about the shroud angles but affected little else.
 
If you have any questions, let me know. I've worked through the weak and sometimes missing information in the instructions, but didn't follow the number tables

Tanks Kurt
I think that I will be ok but I have take a lots of note from your build and will absolutely refer to them when the time come
For now I want to finish the Royal Louis to really continue the Syren and My lady ship she really bug me about it.
 

Attachments

  • 1594178823320.gif
    1594178823320.gif
    42 bytes · Views: 15
Can anyone tell me the most proper arrangement to carry the anchors on La Couronne? According to Wolfram zu Mondfeld, The following four anchors, all the same size but with different names, would be stowed as follows:

Best Bower - fore end of stbd channel
Small Bower - fore end of port channel
Sheet anchor - on stbd channel behind the Best Bower
Spare anchor - on port channel behind the Small Bower

I noted in another source on La Couronne that they stowed two anchors, one on each fore channel, and two more anchors, one on each of the main channels.

Which storage configuration make the most sense, or is the preferred from sources you have seen?
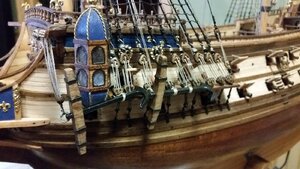
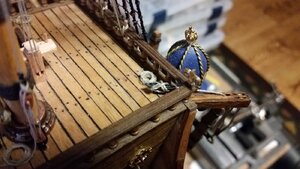
short time ago, we started here a short talk about the anchors
 
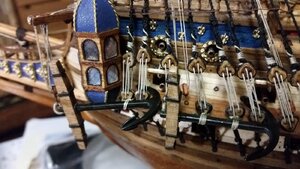
A plan for installation of all four anchors was started, with a pair of anchors to be stowed on the fore channels. The port side anchors were installed. The weight of the anchor was not sufficient to keep the cathead tackle line taut, so watered down PVA glue was applied to the line and the anchor ring weighed down with a set of forceps until the glue dried. The anchor buoys and buoy lines need to be made later.

983 Rig Port Anchors.jpg

984 Cathead Tackle Line Tied to Cleat.jpg

985 Water Down PVA on Cathead Anchor Line with Forceps as Weight.jpg

986 Completed Rigging of Port Anchors 1.jpg

987 Completed Rigging of Port Anchors 2.jpg
 
Last edited:
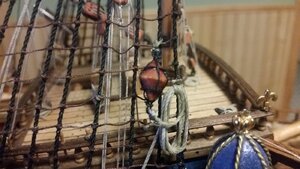
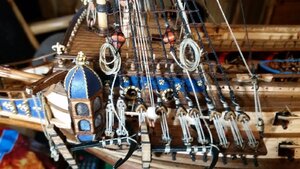
The anchors on the starboard side were stowed and tied down on the fore channel. Then, ropes for the anchor buoys were rigged on three of the four anchors. I chose not to hang an anchor buoy on the sheet anchor on the starboard side out of personal choice, not from any point of research. The anchor buoy lines were tied and lashed to the anchors, and coiled above, with each coil tied to the shrouds with a cord. Watered down PVA glue was used to help form the coils so they hang naturally.

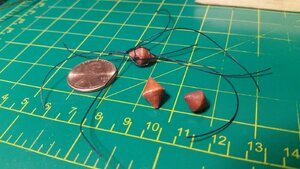
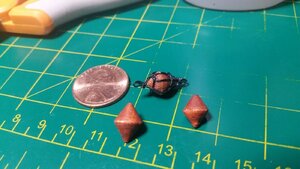
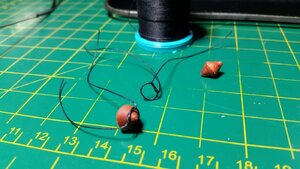
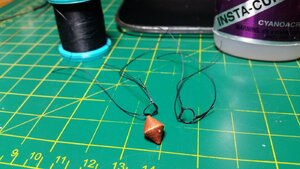
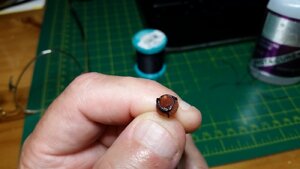
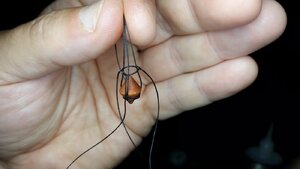
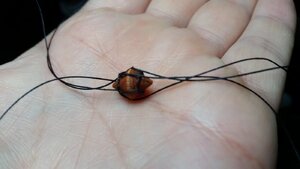
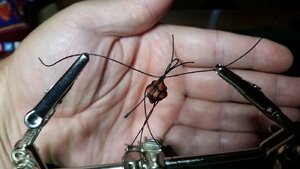
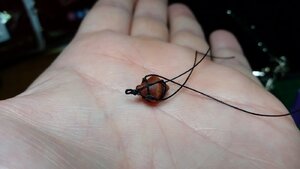
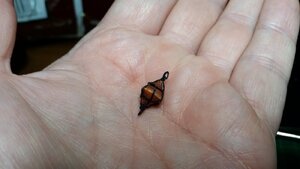
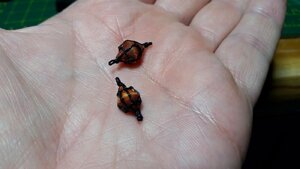
The anchor buoys were shaped from a length of dowel using a file while the dowel was spinning in the lathe. The ends were cut and shaped by hand, then the buoys were stained. The first of the three buoys had its encompassing net of rope rigged using 0.045" black thread. To do this, I had to figure a method of making the network of rope without large knots and not make a mess of the whole thing. What I figured out was that if I made a loop of thread in the form of a loosed overhand knot for the circumferential ropes encircling the buoy, the two ends can make up two of the three axial lines. The size of the overhand knot loop was set by fitting it to one end of the buoy, then the overlapping thread was held fats with CA glue. The bitter ends were bent to an axial angle, and are 120 degrees from each other. Another length of thread was bent over the loop and glued to it to form the third leg of rope. The loop of rope and its three legs are placed onto one end of the buoy, and a second loop assembly was made for the other end of the buoy. The legs are passed under the opposite loop as both loops are placed on the buoy, and the loops are glued to the buoy with small amounts of CA glue. The ends of the legs are gathered at the ends of the buoy, and one of the legs is bent back around to form an eye at the end of the buoy. To hold the legs together, a length of thread is tied around them to seize them all together. A double overhand knot was sufficient. The bitter end of the line from the eye is pulled through the seize to shrink the eye to the proper size. The seize is slid to the end pf the buoy, tightening the legs. Then, CA glue is applied to the seize to hold the legs and eye to the buoy. The ends of the seize line, the legs, and the line from the eye are trimmed flush. More CA is used to secure the network of lines on this end of the buoy after the positions of the leg lines are adjusted to their final, proper location around the circumference. The procedure for tying off the legs and making an eye is performed for the other end of the buoy, and you're done! The buoy is hung on the shroud by one end and the end of the buoy line from the stowed coil is secured to the bottom end.

988 Port Anchors Stowed.jpg

989 Stbd Anchors Stowed.jpg

990 Scratch Build Anchor Buoys.jpg

991 Anchor Buoy Assembly.jpg

992 Stbd Anchor Buoy Hung.jpg

993 Stbd Anchors Complete.jpg
 
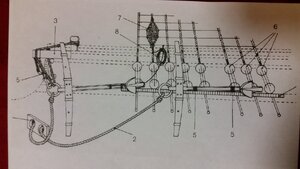
Since I had to make a couple more anchor buoys for the port side, it made sense to take pictures of how they were made, to help other understand the process I wrote earlier. Two more anchor buoys were made, hung from the shrouds, and their lanyards were tied to them. Also, below is the diagram of anchor stowage from Wolfram zu Mondfeld's Historic Ship Models.

995 Make Anchor Buoy Loops.jpg

996 Attach Third Leg Line.jpg

997 Glue Loop to Buoy.jpg

998 Slip Second Loop Over Legs of First.jpg

999 Second Loop Glued in Place.jpg

1000 Seize Two Leg Lines and Eye Loop.jpg

1001 Ends Trimmed.jpg

1002 Buoy Complete.jpg

1003 Two Anchor Buoys.jpg

1004 Anchor Buoy Diagram.jpg

1005 Port Anchor Buoys Complete.jpg
 
1004 Anchor Buoy Diagram.jpg
Are the anchor shafts for those mounted at the channel actually lashed to the lower deadeye irons?
I've only seen these lashed to bollards or cleats on the bulwark, not to the channel so I'm curious for more detail.
 
Back
Top