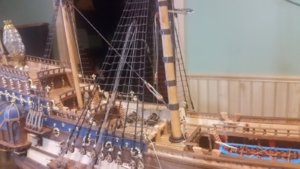
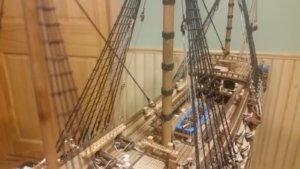
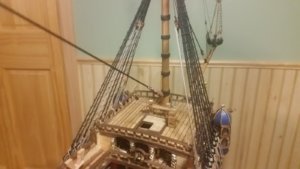
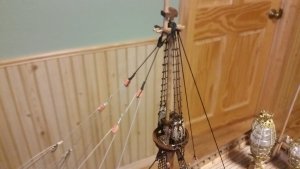
-

Win a Free Custom Engraved Brass Coin!!!
As a way to introduce our brass coins to the community, we will raffle off a free coin during the month of August. Follow link ABOVE for instructions for entering.
-

PRE-ORDER SHIPS IN SCALE TODAY!
The beloved Ships in Scale Magazine is back and charting a new course for 2026!
Discover new skills, new techniques, and new inspirations in every issue.
NOTE THAT OUR FIRST ISSUE WILL BE JAN/FEB 2026
You are using an out of date browser. It may not display this or other websites correctly.
You should upgrade or use an alternative browser.
You should upgrade or use an alternative browser.
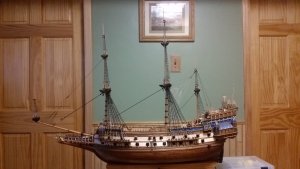
La Couronne Corel/scratch 1:100 First build [COMPLETED BUILD]
- Thread starter DARIVS ARCHITECTVS
- Start date
- Watchers 54
- Joined
- Apr 20, 2020
- Messages
- 313
- Points
- 278

Am a bit late catching up with your thread Kurt... What a mesmerizing build! I read thru it in one sitting. I guess it's the equivalent of Netflix binge watching. Thanks for sharing. Learned so much in terms of technique, creativity and simple tools of the trade. As a newbie, these are invaluable and I hope you don't mind if I copy some of your ideas when I start my next project.
Am a bit late catching up with your thread Kurt... What a mesmerizing build! I read thru it in one sitting. I guess it's the equivalent of Netflix binge watching. Thanks for sharing. Learned so much in terms of technique, creativity and simple tools of the trade. As a newbie, these are invaluable and I hope you don't mind if I copy some of your ideas when I start my next project.
For me it's like binge building! One of the few positive effects of the Covid-19 societal changes. More time for hobbies. Copy all you want. I borrowed from many diverse build logs and shipbuilding threads, and am a newbie to wooden ship construction also. This is my first ship, and skills in other hand crafts transfer over quite well. There are many small items I would change, but learning with this ship is preparation for the next one, which I think will be easier because La Couronne is a small model in comparison. Some things that went off target include rigging the fiddle blocks on the load tackle upside down, making the forward most towers of the stern side galleries a bit too tall, and using the kit provided oversized kevels instead of making smaller and properly sized ones from scratch. One of the things that makes me proud of this model is how the chainplates are perfectly angled in alignment with the shrouds, and still do not block the bronze cannons. Many models out of the box and many builds seem to forget this important feature. Some models have chainplates at strange and almost random angles to avoid blocking the gun ports, and it throws off the geometry in a noticeable way. Many additional details in ornamentation and the internal lighting make this build better than the kit by itself. All in all, I am very happy with how it's turning out. Patience in planning each next move makes you avoid most of the mistakes and limitations in access to areas of the ship you need to get your fingers into later in the build. Small and slender needle nosed pliers with precision jaws are essential and so helpful, as are tiny alligator clips for rigging. If you have any question why a feature of this ship is chosen to go a certain way, or a comment about how it could be improved, please speak out. I have had so few of the other model builders make suggestions on their own, but those that have were invaluable. This forum is more vocal than others with regard to volunteering tips, and it's truly appreciated.
Tell me what sort of ships peak your interest and why. 17th century royal galleons are my starting point. The rigging is complex and sail design relatively primitive to 18th century ships, but they have a lot more embellishment than later ships.
- Joined
- Apr 20, 2020
- Messages
- 313
- Points
- 278

Thanks again. I am eagerly awaiting the delivery of my Black Pearl by ZHL. I chose this because, being a newbie, I felt a bit more comfortable that there are a number of builds in this forum of the same model which I can fall back on if I get in trouble. Looking forward to seeing more posts from you.For me it's like binge building! One of the few positive effects of the Covid-19 societal changes. More time for hobbies. Copy all you want. I borrowed from many diverse build logs and shipbuilding threads, and am a newbie to wooden ship construction also. This is my first ship, and skills in other hand crafts transfer over quite well. There are many small items I would change, but learning with this ship is preparation for the next one, which I think will be easier because La Couronne is a small model in comparison. Some things that went off target include rigging the fiddle blocks on the load tackle upside down, making the forward most towers of the stern side galleries a bit too tall, and using the kit provided oversized kevels instead of making smaller and properly sized ones from scratch. One of the things that makes me proud of this model is how the chainplates are perfectly angled in alignment with the shrouds, and still do not block the bronze cannons. Many models out of the box and many builds seem to forget this important feature. Some models have chainplates at strange and almost random angles to avoid blocking the gun ports, and it throws off the geometry in a noticeable way. Many additional details in ornamentation and the internal lighting make this build better than the kit by itself. All in all, I am very happy with how it's turning out. Patience in planning each next move makes you avoid most of the mistakes and limitations in access to areas of the ship you need to get your fingers into later in the build. Small and slender needle nosed pliers with precision jaws are essential and so helpful, as are tiny alligator clips for rigging. If you have any question why a feature of this ship is chosen to go a certain way, or a comment about how it could be improved, please speak out. I have had so few of the other model builders make suggestions on their own, but those that have were invaluable. This forum is more vocal than others with regard to volunteering tips, and it's truly appreciated.
Tell me what sort of ships peak your interest and why. 17th century royal galleons are my starting point. The rigging is complex and sail design relatively primitive to 18th century ships, but they have a lot more embellishment than later ships.
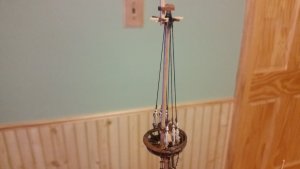
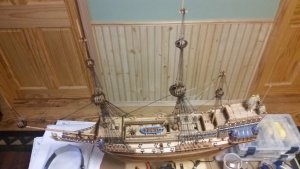
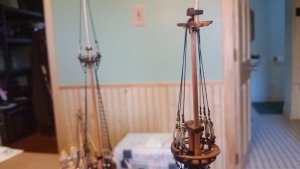
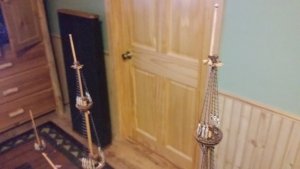
There was good progress on the rigging in the last couple of days. Pairs of shroud lines were served and set into place on the fore and main topgallant masts and the mizzen topmast. The 3mm deadeyes were rigged on the mizzen topmast. Then, I changed work over to the mizzen topmast stays.
Four euphroes were made from 0.5mm thick walnut. This was done by taking a strip of walnut and drilling three 0.30mm diameter holes 1.5mm apart. The outer shape of each euphroe was cut with a hobby knife and sanded to a long, slender teardrop shape. CA glue was used to anchor 0.25mm tan line on one side of a euphroe to help hold it in place as the line was wrapped around the outside edge and then seized to the standing part. Each hole in the euphroe and in all the blocks was chamfered using a dental pick so the line bends around the turn when passing through more sharply. To get all the euphroe lines of each crow's foot even, small alligator clips were used to prevent the running lines from slipping though the blocks higher up in the stay line assembly. Once both euphroes were tied to the mainmast shroud the starboard mizzen topmast stay, the next two crow's foot lines for each euphroe were carefully rigged with even tension. The port mizzen topmast stay was carefully rigged to match the dimensions of the starboard one as it was rigged.
There was only a small amount of slack in the crow's feet. The lines needed to be taut enough to prevent a radius in the lines at the root of a crow's foot and still not pull the mainmast shrouds out of position. Adding the mizzen topmast running backstays helped tension the topmast stays by drawing the mizzenmast rearward. The mizzenmast runnig backstays were rigged, with their running lines tied off to belaying pins on the rails of the poop deck.
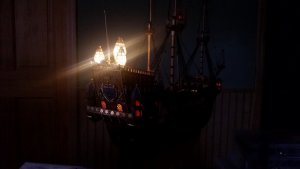
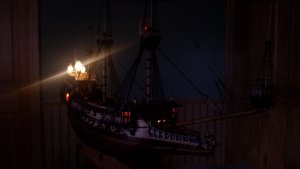
After the first day, I took a look at the model in the dark with the lights on to admire its progress. It will be a relief to finish the last shrouds and ratlines soon.
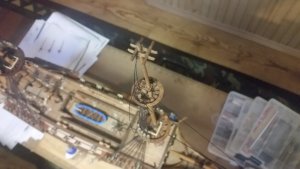
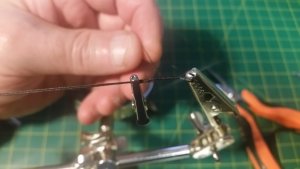
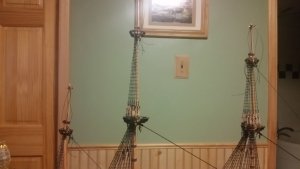

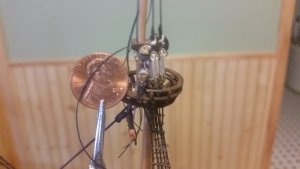
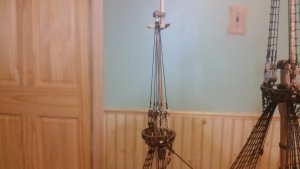
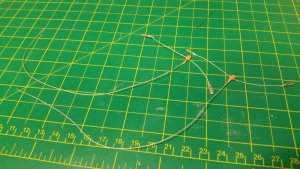
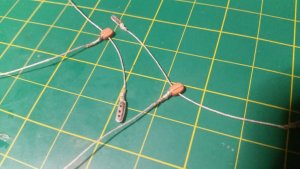
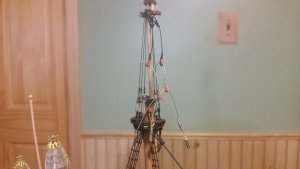
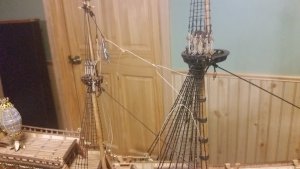
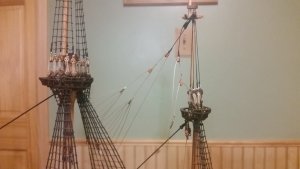
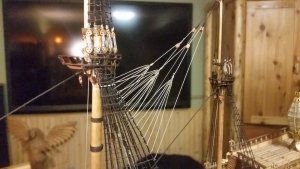
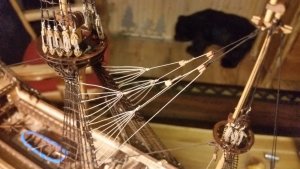
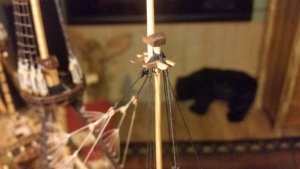
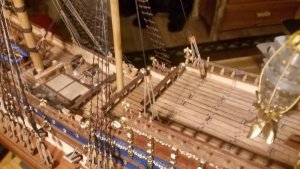
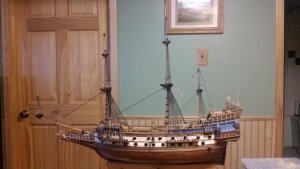


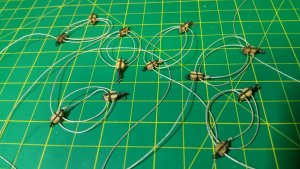
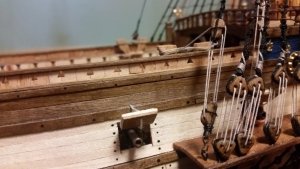
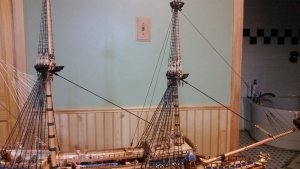
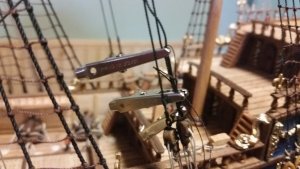
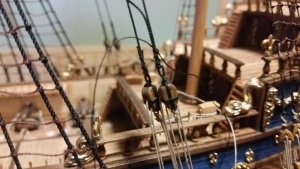
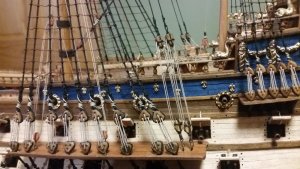
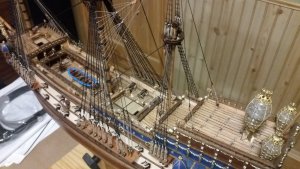
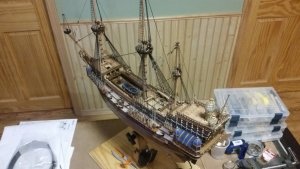
It's backstay day! All of the topmast backstays for the fore and main mast were rigged today. Instead of using ordinary blocks, the backstays were rigged in the Dutch fashion as shifting backstays with fiddle blocks. Hooks for the blocks were fashion from the brass eyelets which Corel supplied with the kit. To attach each stay line to the upper block on the falls, a throat and a round seizing was used. The fiddle blocks were lashed around their strops for extra detail.
When making a small whip to act as a seize, alligator clips are used to hold a loop at the top, the bitter end from the loop at the bottom, and at the center, a third clip is used to hold all the wraps every three turns so the turns don't overlap or unravel. Once you get the finger motions memorized for making a whip, it gets much faster.
On the main topmast backstay falls, both had to be belayed on the same kevel, one above the other. Corel instructions only show using one kevel for belaying two backstays.


Last edited:
The fore topgallant stay was rigged. It runs to a tackle attached to the sprit topmast top. The sprit topmast was installed at a slight forward angle, in anticipation that this stay would pull it rearward. The tension of the stay was set, and the sprit topmast was drawn rearward and is perfectly vertical. If the topmast was installed in a vertical position, the tension of the stay would draw it out of position. The sprit topmast shrouds had enough flexibility and tension to stay taut even after the the past was repositioned.
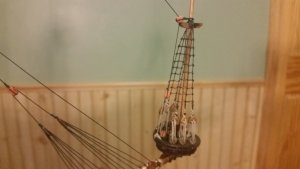
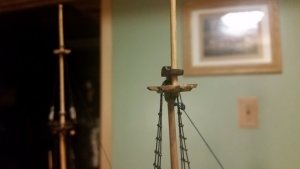


Last edited:
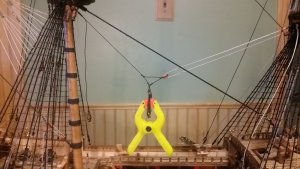
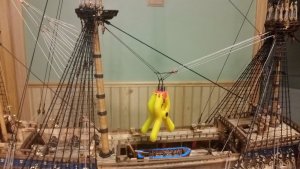
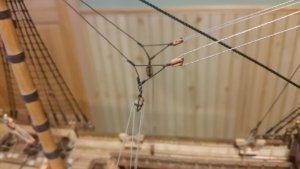
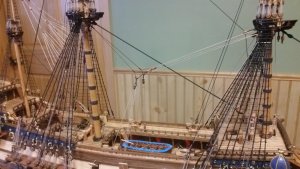
Today the garnet tackles were rigged in their storage positions. These are the main loading tackles for moving heavy items on and off the ship, including the pinnace and cannons. The illustration in Wolfram zu Mondfeld's Historic Ship Models was used to learn the details not provided in the Corel drawings to making the rigging look authentic. I spent a lot of time stropping blocks and using whips for making eyes and seizes, and belaying the lines to the the kevels. The garnet tackles were carefully matched port and starboard, with alligator clips and plastic clamps used to weigh down the upper block suspension. The seizes can slide on the line to allow for position adjustment prior to gluing them to lock them in place. Blocks had to be installed on eyelets attached to the foremast top. PVA mixed with water was applied to the belayed lines to hold them in place. All of the standing rigging is now complete. Next, the running rigging begins with preparing the yardarm with blocks, and rigging the yards with halyard, slings and parrels.
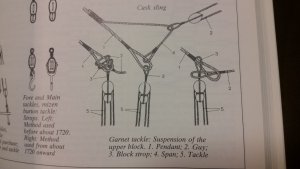
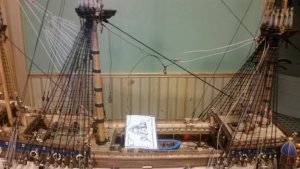
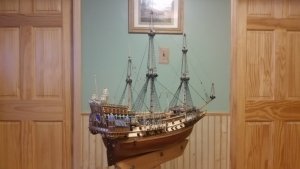
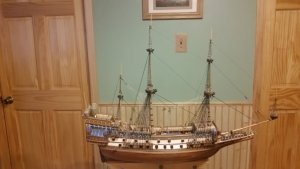


The last few days were spent preparing yardarms and masts for running rigging by attaching pendants and blocks. Some 3.5mm single blocks from Falkonet were converted to combination topsail sheet and lower lift blocks. I'm really impressed with the blocks from Falkonet in Russia. I will probably never use cheap blocks again.
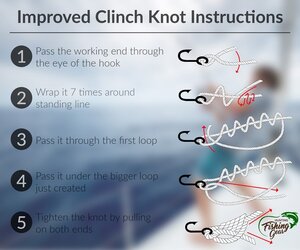
I'm coming up with some favorite knots to tie blocks to yards and pendants with. I like using the improved click knot to tie blocks to pendants in favor of simple bends and seizing for small blocks.
Fore topgallant lift blocks
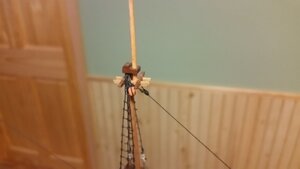
Main topgallant lift blocks
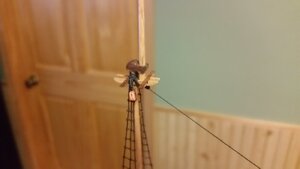
Pair of Blocks for Lifts on Mizzen Topmast and One Block for Lateen Lift
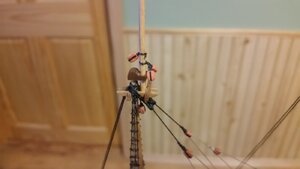
Preparing brace line pendants
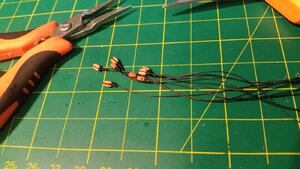
Converting single blocks to combine topsail sheet and lower lift blocks
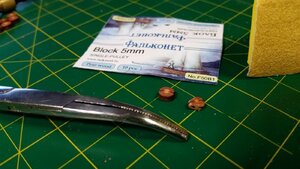
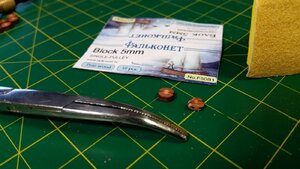
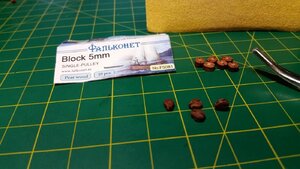
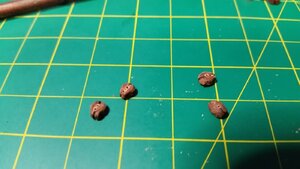
Typing blocks and pendants to yardarms
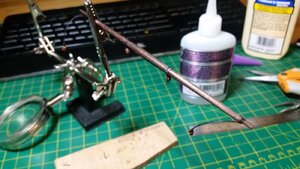
Yard blocks and pendants completed
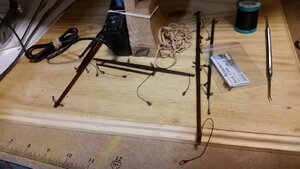
Lift blocks on sprit topmast
Improved clinch knot
I'm coming up with some favorite knots to tie blocks to yards and pendants with. I like using the improved click knot to tie blocks to pendants in favor of simple bends and seizing for small blocks.
Fore topgallant lift blocks

Main topgallant lift blocks

Pair of Blocks for Lifts on Mizzen Topmast and One Block for Lateen Lift

Preparing brace line pendants

Converting single blocks to combine topsail sheet and lower lift blocks


Typing blocks and pendants to yardarms

Yard blocks and pendants completed

Lift blocks on sprit topmast

Improved clinch knot

Last edited:
Kurt Konrath
Kurt Konrath
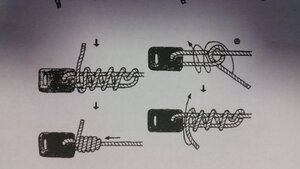
The improved clinch knot method resembles what I was taught as a fisherman's knot. Most useful with nylon fishing line that is slippery and doesn't hold common knots well.
Your rigging is looking great and neatly done, keep it up.
Your rigging is looking great and neatly done, keep it up.
Yes! It is commonly called a fisherman't knot. Note that the knot above (the one I use) is a bit different than the fisherman's knot you use to tie a hook with. Below is the typical fisherman's knot. See the picture in the last post for comparison. The helical wraps of the line in the knot I use wrap around two both runs of the standing part (two lines).The improved clinch knot method resembles what I was taught as a fisherman's knot. Most useful with nylon fishing line that is slippery and doesn't hold common knots well.
Your rigging is looking great and neatly done, keep it up.
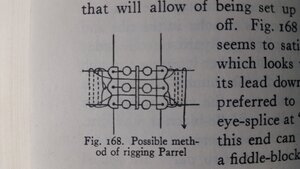
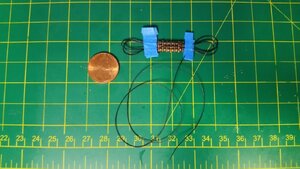
Today the fore and main lower yard parrels were manufactured from scratch. The Corel instructions simple have you lash the lower yards and lateen yard using line to the masts. I took some scrap walnut and fashioned a stick having the cross section of a parrel rib. Three holes were started with a prick punch and drilled into the end of the stick with a drill press, but only 1 cm deep. Any deeper, and the tiny 0.7mm drill bit would not drill straight farther down into the wood and the holes would be out of position. Then, the stick was sliced into thin sections with a band saw, like slicing a sausage. The tiny parts were then sanded by hand and lacquered, and the results are shown in the second photo below. The pattern for lashing the parrels was taken from R.C. Anderson's The Rigging of Ships in the Days of the Spritsail Topmast 1600-1720. A mystery regarding the Corel plans was solved. The line leading from the yard to the tackle on the deck in front of each mast is shown in the Corel plans to be tied to the yard, which makes no sense. Earlier in this build log I mentioned that Corel may have mistaken those lines to be toplines for hoisting aloft the topmasts. Now I realize Corel probably meant those lines to be the lanyard used adjust the tension of the parrels. So, I will run the parrel lines to the deck and install a tackle adjacent to the topline tackles.
Both parrel sets are assembled in accordance with R.C. Anderson's illustration. Multiple layers of masking tape are used as the line is passed through the ribs and trucks. The trucks are Toho 11/0 glass beads #9020-2018-09, and are a bronze/brown color. They are the perfect size for this model. To rig the parrels, an eye is made on the end of a length of line, and the standing part is threaded through the eye to form a loop. A piece of tape is applied to hold the loop and the rest of the line is passed through center holes of the ribs and trucks from left to right. the line then makes loop, again held by a piece of tape, and is threaded from right to left through the upper holes. Then another loop is made on the right, taped to the beginning loop, and the line passed through the bottom holes. a loop is made, taped to the loop underneath, and the remaining line will later be run to the tackle on the deck. The yard will be passed through the loop on each side of this assembly with the parrel placed around the backside of the mast when it is time to install the yard.
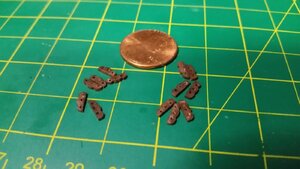
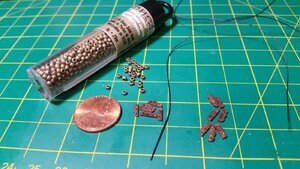
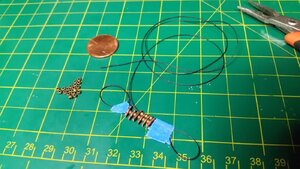
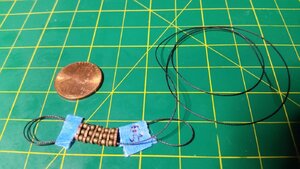
Foremast Parrel
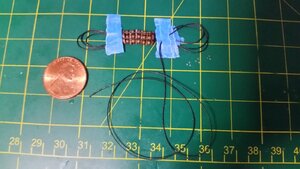
Mainmast Parrel
Both Parrels ready for installation
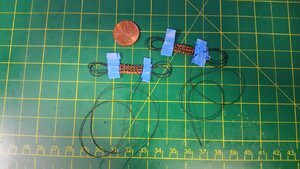
Both parrel sets are assembled in accordance with R.C. Anderson's illustration. Multiple layers of masking tape are used as the line is passed through the ribs and trucks. The trucks are Toho 11/0 glass beads #9020-2018-09, and are a bronze/brown color. They are the perfect size for this model. To rig the parrels, an eye is made on the end of a length of line, and the standing part is threaded through the eye to form a loop. A piece of tape is applied to hold the loop and the rest of the line is passed through center holes of the ribs and trucks from left to right. the line then makes loop, again held by a piece of tape, and is threaded from right to left through the upper holes. Then another loop is made on the right, taped to the beginning loop, and the line passed through the bottom holes. a loop is made, taped to the loop underneath, and the remaining line will later be run to the tackle on the deck. The yard will be passed through the loop on each side of this assembly with the parrel placed around the backside of the mast when it is time to install the yard.


Foremast Parrel

Mainmast Parrel

Both Parrels ready for installation

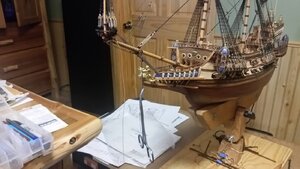
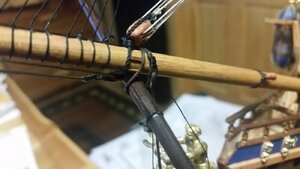
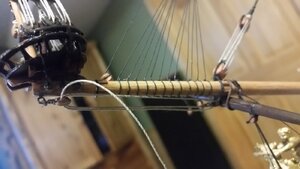
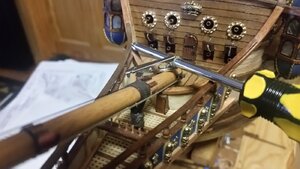
More work on La Couronne today. The spritsail yard was hung from the sprit and the spritsail yard halyard tackle was rigged. Getting the length of the sling for the yard involved sliding the seizings to adjust the length and finally making the last eye on the end of the sling. Surgical forceps applied weight to the bitter end of the sling, holding it taut while slight black thread was used with a needle and needle nosed pliers to seize the eye. The remaining sling line was trimmed, and the halyard line was run through the blocks, tensioned, and tied off at a cleat at the base of the bowsprit. The remaining halyard line was coiled around a screwdriver shaft, glue applied, then glued to the deck when it was stiff enough for the coil to hold its shape.
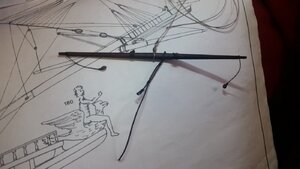
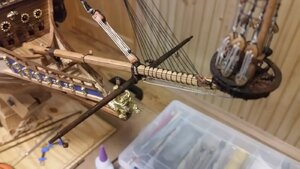
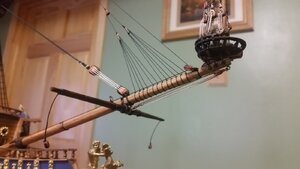


Do you guys suggest I make the sails and lash them to the yards before installing the yardarms with their parrels and slings?
Kurt Konrath
Kurt Konrath
Yes, I can see the difference now! Comparing side by side helps tell the difference.


