-

Win a Free Custom Engraved Brass Coin!!!
As a way to introduce our brass coins to the community, we will raffle off a free coin during the month of August. Follow link ABOVE for instructions for entering.
-

PRE-ORDER SHIPS IN SCALE TODAY!
The beloved Ships in Scale Magazine is back and charting a new course for 2026!
Discover new skills, new techniques, and new inspirations in every issue.
NOTE THAT OUR FIRST ISSUE WILL BE JAN/FEB 2026
You are using an out of date browser. It may not display this or other websites correctly.
You should upgrade or use an alternative browser.
You should upgrade or use an alternative browser.
La Couronne Corel/scratch 1:100 First build [COMPLETED BUILD]
- Thread starter DARIVS ARCHITECTVS
- Start date
- Watchers 54
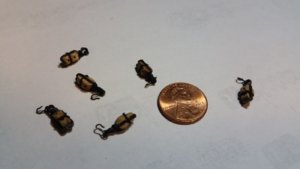
Very good looking blocks - well done
- Joined
- Aug 16, 2019
- Messages
- 870
- Points
- 343

I am amaze to follow your build
The detail, the care to every detail wow
The detail, the care to every detail wow
I had a panic session when I confused "cable laid (left hand laid)" and "hawser laid (right hand laid)" with the terms "cable" and "rope". Alexey at Donimoff's Workshop was kind enough to educate me. I thought his bit of wisdom was worth passing on to others:
In few words: rope is made from yarns, cable is made from ropes. Ropes are always opposite lay to source yarns. Cables are always opposite lay to source ropes.
I use fabric yarns which is already right lay. So my ropes are left lay. Then I put these ropes to another machine and make cables. So my cables are always right lay.
In meanwhile it doesn’t matter which lay to use on a model. This is a model.
In a real world they may produce as right lay ropes and as left making then left or right cables.
Alexey
He provided rope and cables to me for La Couronne. His cables are right hand laid and his ropes are left hand laid, all originating from the yarns he uses which are right hand laid. This created a bit of confusion for me when referencing the illustration in RC Anderson, in which showed the difference between cable laid and hawser laid ropes.
Thanks Alexey !
Hi Darius,I had a panic session when I confused "cable laid (left hand laid)" and "hawser laid (right hand laid)" with the terms "cable" and "rope". Alexey at Donimoff's Workshop was kind enough to educate me. I thought his bit of wisdom was worth passing on to others:
In few words: rope is made from yarns, cable is made from ropes. Ropes are always opposite lay to source yarns. Cables are always opposite lay to source ropes.
I use fabric yarns which is already right lay. So my ropes are left lay. Then I put these ropes to another machine and make cables. So my cables are always right lay.
In meanwhile it doesn’t matter which lay to use on a model. This is a model.
In a real world they may produce as right lay ropes and as left making then left or right cables.
Alexey
He provided rope and cables to me for La Couronne. His cables are right hand laid and his ropes are left hand laid, all originating from the yarns he uses which are right hand laid. This created a bit of confusion for me when referencing the illustration in RC Anderson, in which showed the difference between cable laid and hawser laid ropes.
Thanks Alexey !
I also use Domanoff rope machine. But it definately makes a difference if you use rope or cable laid. For anchor cable and main rigging stays cable laid was used, for all running rigging rope was used. If you twine the ropes yourselve you can make cable and rope in the same diameters by just selecting a different size yarn.
The yarn is rope laid and is available in all different thicknesses, this means after your first run through the ropewalk you create cable, if you combine these cables again through the rope walk you make rope, etc etc, building up the thickness of your rope or cable. That means you can create correct diameter cables for anchor cable and stays cable and ropes for the rest of the rigging.
Well, I decided to push ahead using the right hand laid cables that Alexey provided. Maybe I'll make left hand laid shroud lines on the next ship.
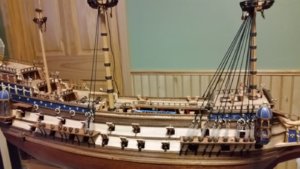
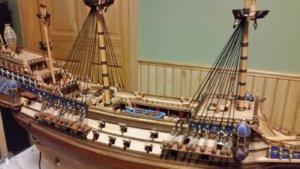
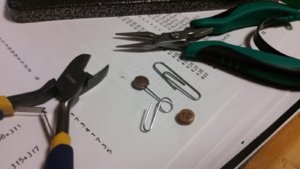
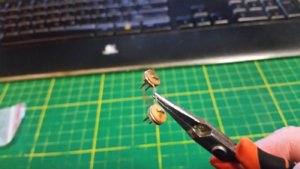
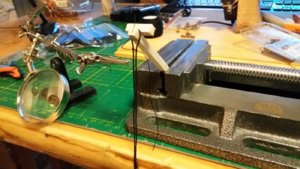
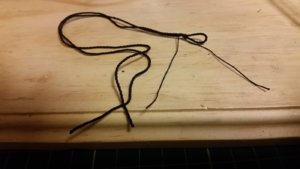
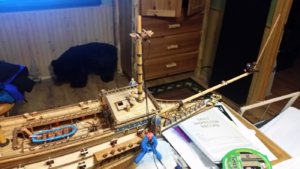
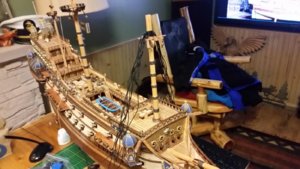
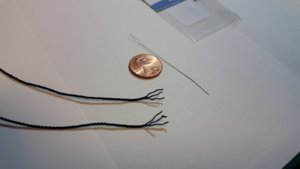
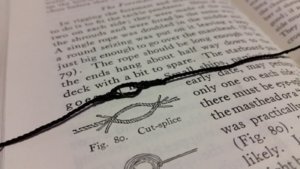
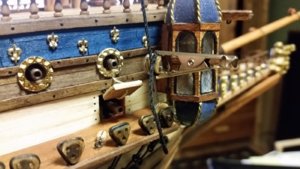
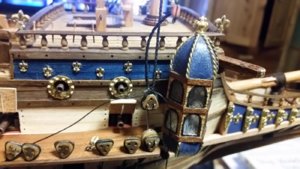
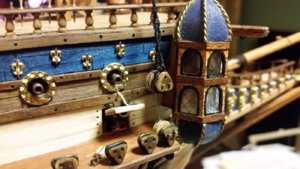
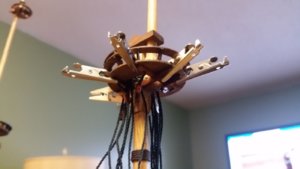
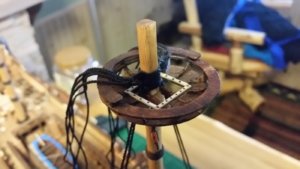
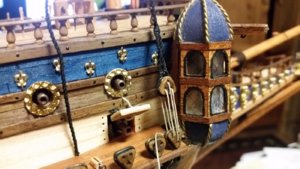
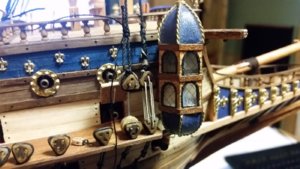
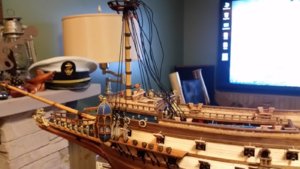
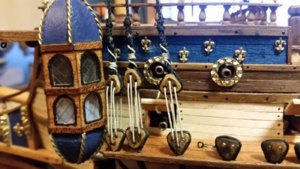
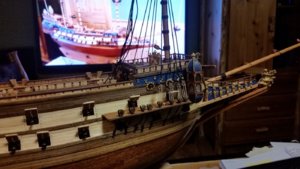
A lot of work has been done recently getting the shroud rigging off to a start. I made a deadeye spacing tool for later use from a couple paperclips and two deadeyes. Shroud lines were cut and formed into pairs. A piece of wood held in a bench vise made tying the seizes easier. The shrouds are 1.0mm right hand laid cable provided by Alexey at Dominoff's Workshop. The shroud pairs and seizes were placed on the masthead and the seizing lines cinched tight, starting on the starboard side and alternating from one side to the other, forward-most shroud pair to to after-most shroud pair. Room was left beneath the first pair of shrouds to allow the top to be glued into place. The last single pair of shrouds were actually spliced together using small pliers, needles, and very steady hands. The needle made a good miniature marlin spike. No one else will ever see this tiny splicing, but I know it is there.
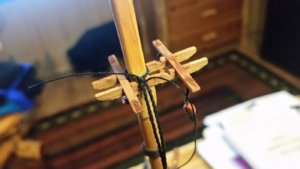
After studying how to lash deadeyes, work began. The shroud is glued to one side of the upper deadeye to make tying easier. A seize of the overlapping shroud line is made at the top of the deadeye, the seizes are added farther up. All the seizes that hold the shroud line above the deadeye were tied with whip knots. Small individual alligator clips are used to hold the line in various places for each seize. After some practice, you learn a method for doing them without fumbling around too much. Tan colored 0.25mm line was used to make the lashings. Now the spacer tool is removed.
Starting with a stopper knot at the end, the line is fed through the deadeyes. After the deadeyes, it is half hitched, then wrapped four turns around the shroud standing part and bitter end. I passed the end of line between the shroud cords with a needle to prevent if from unwinding as the final seize was made at near the end of the lashing at the top of the rig. After a long day, four pairs of shrouds were completed.


- Joined
- Aug 16, 2019
- Messages
- 870
- Points
- 343

A bit late but for future information about your chain plate and deadeye I almost always replace them as you did. I got them from Blue Jacket they do have a great choice and a huge choice of different part (http://www.bluejacketinc.com/)
More work on La Couronne today. The parts to make the chainplates still haven come in from two separate suppliers, so I stopped waiting and scratch built my own from wire and thin brass sheet just to finish the remaining unfinished chainplates on the mainmast on the starboard side. The wire was 0.32mm (20g) blackened copper and the brass sheet which was 0.254mm (0.010") thick and matched pretty closely to the other previously used chainplate parts. The chainplates were painted black and nailed to the wale on the hull. The chainplates for the mizzenmast will be done later. As building progresses, there is more reliance on scratch building and less on kit parts in many areas.
More pairs of shrouds for the mainmast were prepared with seizings. The last odd pair will be cutspliced and installed later, just like the last pair on the foremast. Then the rest of the deadeyes will be rigged on the mainmast. I bought some 0.25mm dark brown thread for the ratlines. Since the shrouds are black,the dark brown will offer a bit of contrast in color without standing out too much.
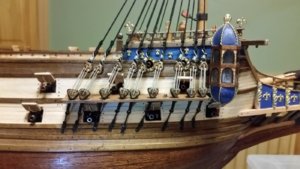
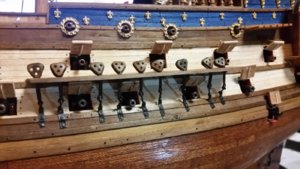
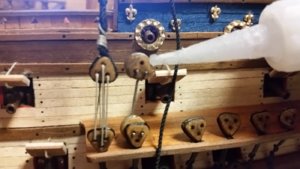
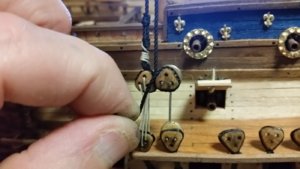
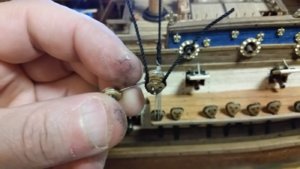
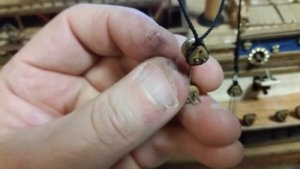
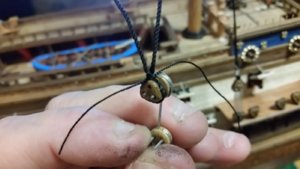
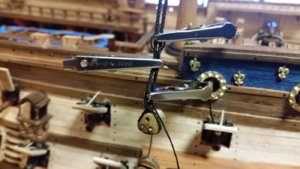
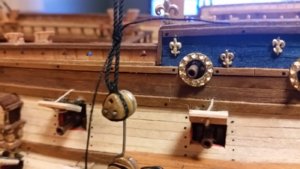
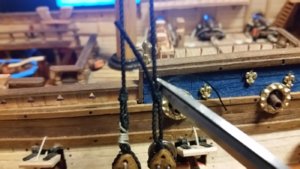
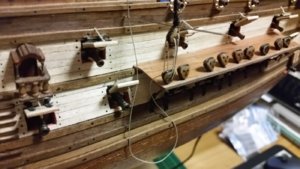
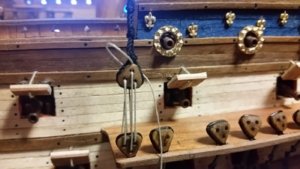
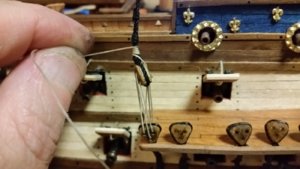
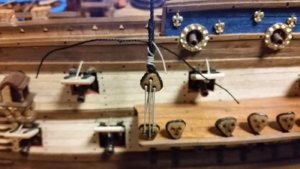
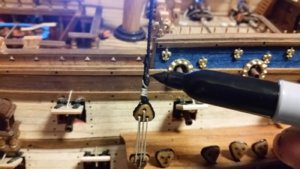
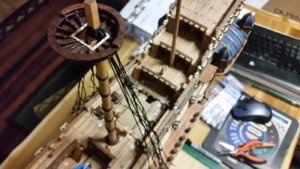
A couple more shrouds and deadeye were rigged on the mainmast, starboard side. The pictures below show the progression on how the deadeyes were rigged with a lanyard and the line wrapped and seized. The shrouds are right hand (hawser) laid, so the bitter end of the shroud will always be to the left of the standing part when finished being rigged. The shroud is glued to the deadeye first on one side while under tension, then the rigging tool is disconnected from the lower deadeye and the shroud glued to the other side of the deadeye. The bitter end of the shroud will always cross over the standing part when viewed from outboard. The shroud line is seized at the top of the deadeye before the tool can be reconnected to the lower deadeye, or else the tension will tear the shroud off the upper deadeye on the left side. The next step is to apply two seizings to the shroud above the deadeye, secure them with a small bit of CA glue and trim the ends off. Small alligator clips were used to hold thread above and blow the seize location to allow seizings to be wrapped, and line to be held in place so line wouldn't go slack or seizing wraps to cross over one another. Once you find a pattern for applying the alligator clips to the loop above, the bitter end below, and often directly onto the wraps to prevent them from going slack as you pass the line around the shroud using pliers and fat fingers, it will get easy. Making small seizes will become a practiced art. The upper deadeye is now finished.
Now for the lanyard. About 25cm of tan line for the lanyard was prepared by tying a stopper knot on one end. The other end of the lanyard was passed through the right lower hole in the upper deadeye from the rear side, with a bit of CA glue to secure the knot so it can't be pulled through the hole under tension The line was passed through the upper and lower deadeyes in the proper sequence, then passed between the shroud line and the top of the upper deadeye from the rear using a needle. The line was then was passed around to the left and behind the upper deadeye, under the standing part of lanyard to form a bight, then looped aorund the shroud lines, circling upwards, then passing through the shroud lines from the rear, when the excess is trimmed off at the front of the shroud lines. Sometimes a bit of CA glue was added to the wraps to hold them in place. CA was also used sparingly on seizings before trimming the ends. Otherwise, they could unravel if the had to be re-positioned on the shroud. A simple overhand knot of black thread combined with a bit of CA holds the end of the lanyard after it is passed between the shroud passes and trimmed off. The cut end of the lanyard is disguised by coloring it black with a black Sharpy pen.
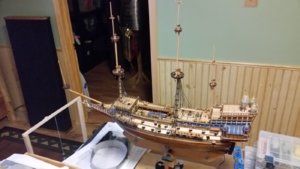


Last edited:
The shrouds for the mizzen mast were completed today. The little deadeye tool is a lifesaver. I had to break one of the port lids in order to install the mizzenmast chainplates on the starboard side, and re-glue it to its hinges once they were finished. Things are getting better with practice. The port side chainplates and deadeyes came out a bit better. All the seizes and lanyard wraps were faithfully replicated on the mizzenmast shrouds as well as the fore and mainmast shrouds, which is very difficult an a ship this small, 1:100 scale.
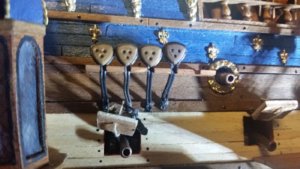
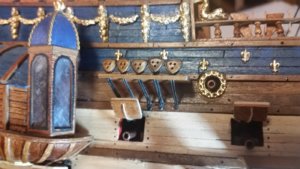
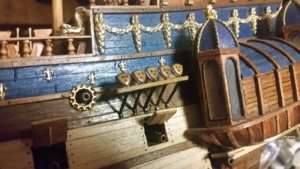
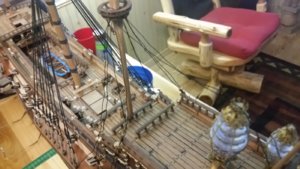
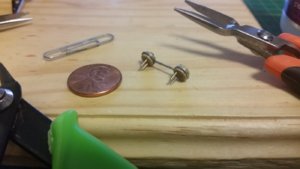
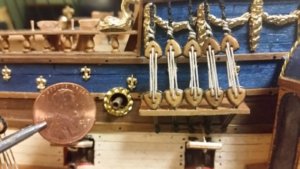
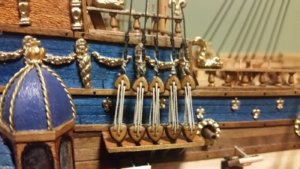


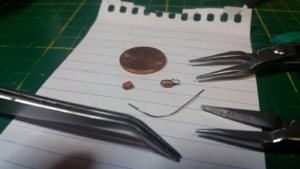
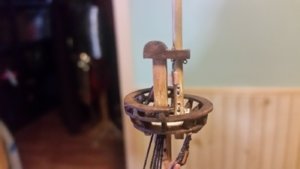
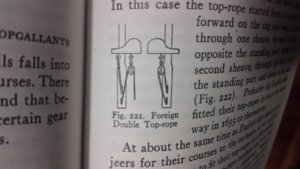
Preparations for rigging the double top ropes were made according to the illustration in R.C. Anderson's The Rigging of Ships in the Days of the Spritsail Topmast, 1600-1750. Top ropes are typically installed temporarily to allow lowering the topmasts for maintenance in port and raising them into position in the crosstrees. They are usually dismantled, leaving only the eyebolts in place. They are not often found on ship models. Sheaves were cut into the topmasts, and tiny laser etched eyelets were installed in the bottom of the caps. On each cap, one eyebolt and two eyebolts with single blocks hung by hooks were installed. I only had four Model Shipways 4mm blocks that had hooks, so I had to make two more for the mizzenmast using 3.5mm blocks and wire I obtained from the twist tie on the remains of a bag of sliced bread I found in the kitchen. I made toast from the bread and ate it, then went back to work. After stripping the paper off the twist tie, the wire was wrapped around each block, carefully twisted tight, and a hook was formed using round pliers and needle nose pliers. The wire was blued using bluing acid I keep around for bluing guns. A Dremel tool was used to drill tiny holed in the bottom of each block, and large holes to form the sheaves in the topmasts. I used a pencil to darken the wood where the sheaves are to make them look like iron. The eyelets were glued with CA into the holes in the caps, and the blocks hung from the appropriate eyelets.
In the Corel instructions, there are rope which are tied to the fore and main yardarms and crojack and lead to a tackle hooked to a deck eyebolt in front of each mast. I can't see any reason for a haul-down line to pull the yardarms down when gravity does such a great job of lowering them when you slack off the ties. So, the blocks which are hooked to the deck for these apparently useless lines will be used instead for the tackles of the top ropes for each mast.
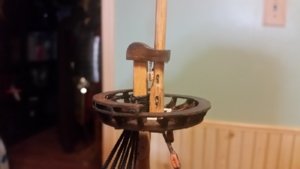
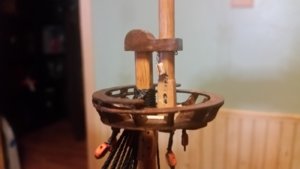
In the Corel instructions, there are rope which are tied to the fore and main yardarms and crojack and lead to a tackle hooked to a deck eyebolt in front of each mast. I can't see any reason for a haul-down line to pull the yardarms down when gravity does such a great job of lowering them when you slack off the ties. So, the blocks which are hooked to the deck for these apparently useless lines will be used instead for the tackles of the top ropes for each mast.


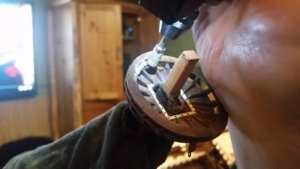
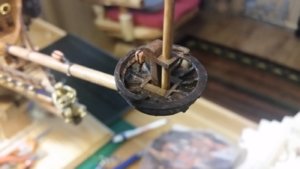
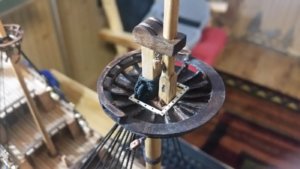
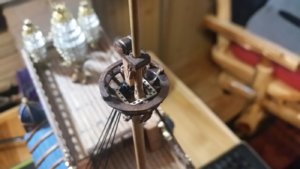
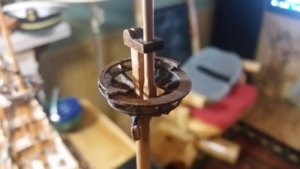
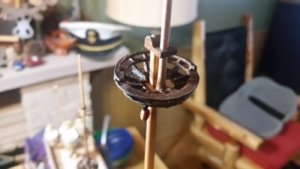
More progress today. After considering how the spritsail, topmast and topgallant shoud lower deadeyes were going to be located in their respective tops, it occurred to me that there was no room for them on the first rail because the second rail above that would interfere with them. So, a dangerous and careful modification of them was performed with a Dremel tool and diamond burr bit. The inner diameter of each top's upper rail was increased. The mast assemblies above each top were removed, since they are not yet glued down, but the mizzen, main and foremast tops had to be worked on while on the masts. After a couple hours, they were reshaped, and wood fibers were carefully filed away with a hand diamond file. The freshly exposed wood was stained, and I breathed a sigh of relief, having dodged a bullet of potential irreversible damage to the tops. Time for a break.


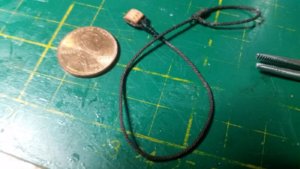
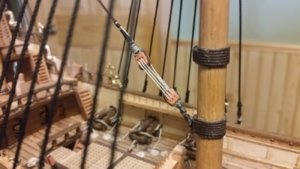
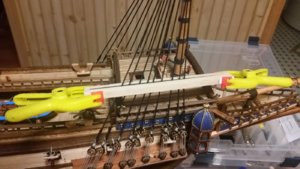
The lower stays were rigged today. The upper ends of each stay were eye-spliced, and each mouse was made from wraps of thread. The blocks on the other end of each stay were lashed with lanyards to their lower blocks. A tool for making ratlines was also made. It clamps onto the shrouds and maintained their separation, and keeps the ratlines level as you go. The pieces of wood have 300 grit sandpaper glued to the sides that contact the shrouds so it doesn't slip on the shrouds. Other model builders have used this type of tool with great success.
Tiny eye splices
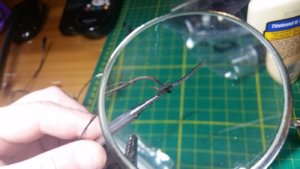
Mizzen Mast Stay. Look at that tiny eyesplice!
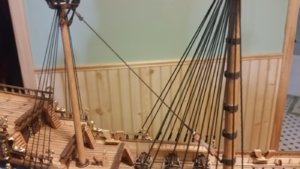
Foremast Stay
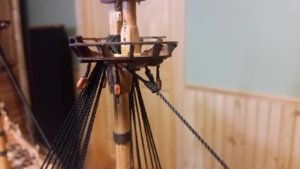
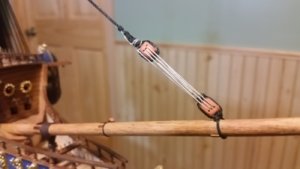
Mainmast Stay
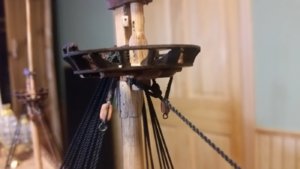
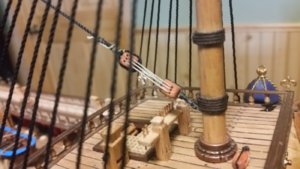
Mizzenmast Stay
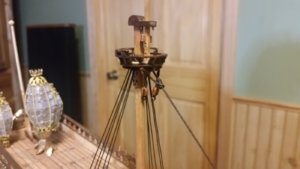
Cool Ratline Tool
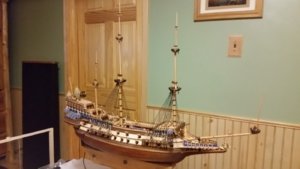
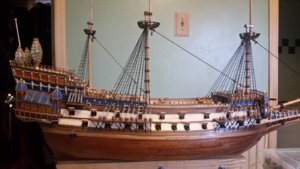
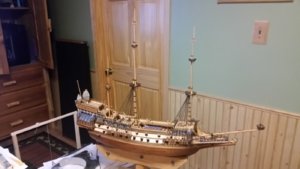
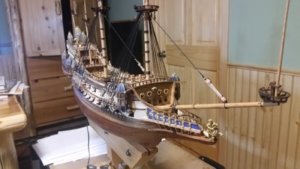
Progress so far...
Tiny eye splices

Mizzen Mast Stay. Look at that tiny eyesplice!


Foremast Stay


Mainmast Stay


Mizzenmast Stay


Cool Ratline Tool

Progress so far...

I began tying ratlines for the very first time today. The first few passes at the bottom had some issues, but the work went faster with practice. The foremast ratlines on the starboard were completed. The ratline spacing jig worked very well keeping the ratlines properly spaced, at the proper horizontal angle, and prevented the shrouds from moving out of position.
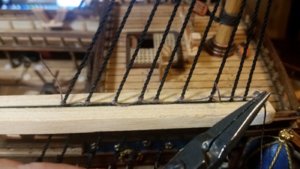
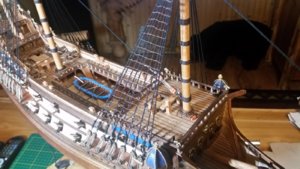
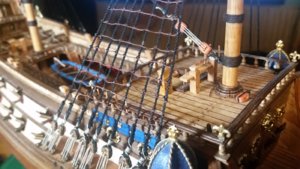


very fine work.


