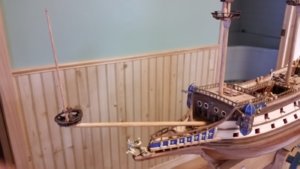
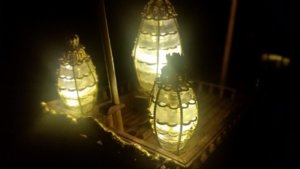
La Couronne Corel/scratch 1:100 First build [COMPLETED BUILD]

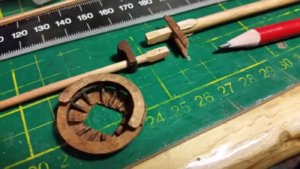
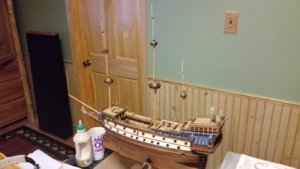
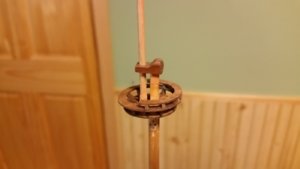
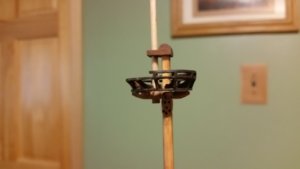
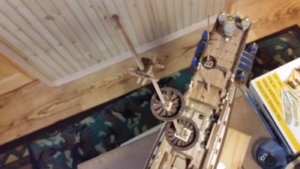
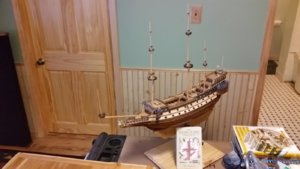
Work continues on the mast assemblies. The top assemblies for mizzen, main, and fore topmasts were completed in that order, and everything is assembled loose to see how the overall progress is going. The sprit topmast trestle-trees and top are next, then the topgallant trestle-trees for the other masts. The flag staves at the top of the fore, main, and mizzen masts were made, and the caps and flag staves fitted to the topgallant masts. Oops... :rolleyes: I just noticed that the cap on the for topmast is too low. I'll have to patch that by expending the topmast with a squared length of wood and raise it 7mm more to its proper height. Easy fix. No one will notice... ;)
While I'm at it, I'll replace the cheeks on the main topmast. They appear too small.

Mizzen Top
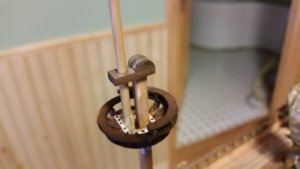
495 Mizzen Top Fiited.jpg

Start main topmast top assembly.
496 Main Topmast Top Assembly.jpg

497 Main Topmast Trestles Installed.jpg

498 Main Topgallant Mast Lug on Foot of Mast.jpg

499 Main Topgallant Mast Fitted.jpg

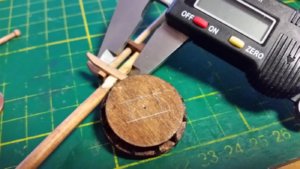
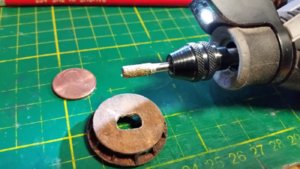
500 Measure for Hole Size in Top.jpg


501 Make Hole wioth Dremel with Diamond Burr.jpg

Assembly fore topmast top assembly in similar fashion.
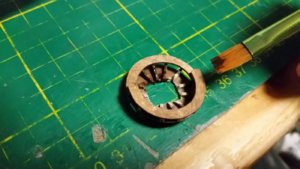
502 File Square Then Stain.jpg

503 Assembly Fore Topgallant Top Assembly the Same Way.jpg

All top assemblies except the sprit assembly fitted together.
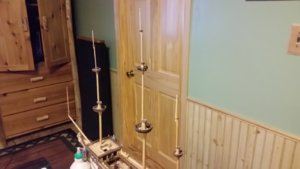
504 Tops Fitted So Far.jpg

505 Progress So Far.jpg
 
Last edited:
Hi Everyone!

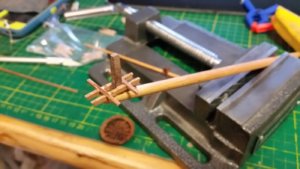
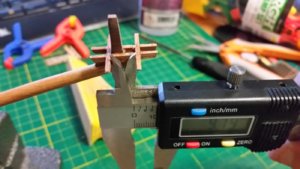
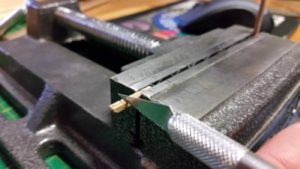
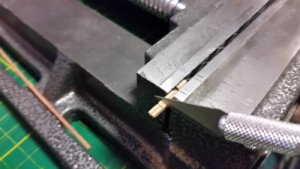
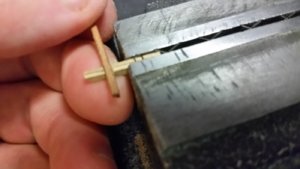
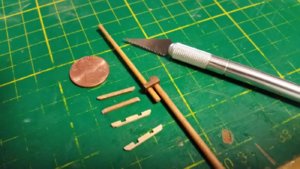
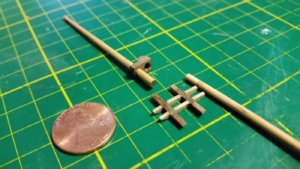
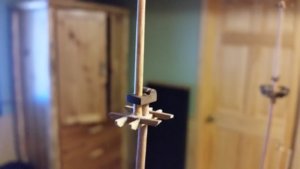
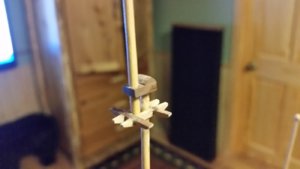
The topgallant trestle-trees were made today, except for the sprit topsail mast upper trestle-tree, which will be made next. The parts are very tiny. An X-Acto saw is used to start cutting the notches in the trestle-tree parts for the cross-trees. After two slots are cut, the wood between them is removed with a careful twist of a razor knife. When the pieces are properly shaped, tapered on the ends, and ready to assemble, a slender needle nose pliers and your fat fingers are used to assemble the trestle-tree assembly together, with the space between the trestle-trees adjusted such that the flagstaff and the topgallant mast fit with no gaps. Add a tiny drop of CA glue to the intersections between the trestle-trees and cross-trees. Fit the assembly to the top of the topgallant mast, making sure that it is aligned with the lower end of the mast such that the flagstaff is directly forward and in line with the main axis of the hull. Add a small drop of CA glue deposited into slender stick of wood and apply it the join ONLY the trestle-tree assembly to the topgallant mast. The flagstaff and cap remain unglued for disassembly to allow rigging later.


515 Sawing Fore Topgallant Cross-Tree Notches.jpg

516 Break Piece Out With Twist  of the Knife.jpg

517 Test Fit Cross-Tree Lumber.jpg

518 Fore Topgallant Trestle-Tree Assembly.jpg

519 Trestle-tree Assembled and Glued.jpg

520 Trestle Tree Glued Only to Fore Topgallant Mast.jpg

521 Make Main Topgallant Trestle-Tree the Same Way.jpg

522 Make Mizzen Topgallant Trestle-tree the Same Way.jpg

523 Mast Asszemblies Fitted but not Glued.jpg

524 Progress So Far.jpg
 
Before the Courone France was buying his war ship from other country or use merchant ship
The Courone was the first major warship build by Frenchman and build in France
A story about the construction said that the oak that was use came from Bretagne and from a forest from a noble that was not a good friend to the king
 
Great work Kurt your Couronne is looking fabulous.I haven't see many renditions of this or Mantua's version with colour added.I think the blue is just the right amount as I know the full on painting detail for this vessel,whilst it may be historically accurate (who really knows?) can look a bit OTT.

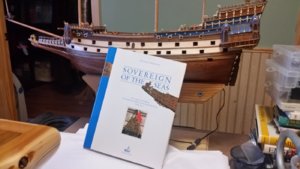
Secondly,congratulations on finding Busman's book.This will be invaluable for your SOTs build.Another book which I found helpful was Sovereign of the Seas by James Sephton.I didn't mention it earlier as I couldn't be certain of the author as the book as only just resurfaced from our house moving process.This does not discuss fine details but discusses the geometry of the hull and deck height's and placement.I found this a useful guide in determining the tweaks I did to Deagostini's hull form

Kind Regards

Nigel
Hello Nigel,

The Corel version of La Couronne comes with prestained blue wood, and my ship follows this interpretation, plus added blue to the gallery tower caps. I believe that the blue should be lighter in color, but the prestained wood looked so nice that I didn't want to replace it. Besides, blue and gold look good together. Lapiz lazuli looks amazing. There is so much we do not know about La Couronne. Most of what is used comes from dubious sources and interpretations long after the ship was scrapped. I do have James Sephton's book, and have already read it once.

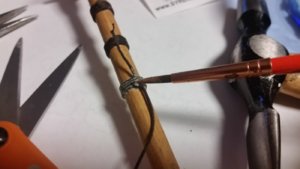
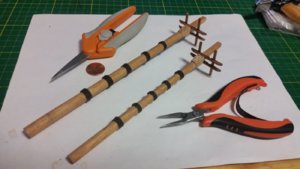
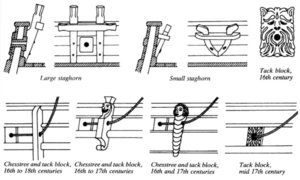
I am considering removing the kevels off the model and replacing them with smaller and better shaped versions. The Corel ones are crude and overly large. New staghorn kevels are in order. See examples below, taken from Historic Ship Models by Wolfram zu Mondfeld. The more information I gather, the more changes and tweaks are made on the model.

The DeAgostini HMS Sovereign of the Seas will prove a challenge in parsing through all the research informations as wells as the modifications and enhancements. I'm looking forward to it!

Kevels.JPG
 
Last edited:
Kurt it may be the Mantua version that comes with the painting chart,Red,white,blue and gold,it looks far too much IMHO.
Yes Kevels,my understanding is that belaying pins didn't come about until the middle of the 17th century.

Kind Regards

Nigel
Really? There are fife rails, and bulwark belaying pin racks on the Corel La Couronne, combined with kevels. Is this something I should re-design before things get too cluttered, perhaps? I assumed that the kevels were just there for the fore and main coarse sail sheet lines.
 
Kurt
I think I read this in Spritsail to Topmast?by RC Anderson,This came about regarding SOTS in another forum when we were discussing Deagostini's representation.
I would thoroughly research this before doing anything.

Kind Regards

Nigel
 
Kurt
I think I read this in Spritsail to Topmast?by RC Anderson,This came about regarding SOTS in another forum when we were discussing Deagostini's representation.
I would thoroughly research this before doing anything.

Kind Regards

Nigel
I'll check that book... steer me to any useful discussions you know of regarding SotS also!


PS: Nope. Didn't see any details in RC Anderson about the years in which delaying pins were introduced. It must have been elsewhere. With so many assorted lines besides heavy sheets and tacks, you would think there would be more information available as to where to belay them for early 17th century ships.
 
Last edited:
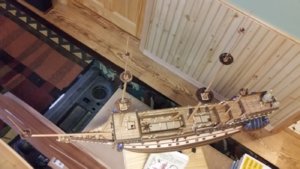
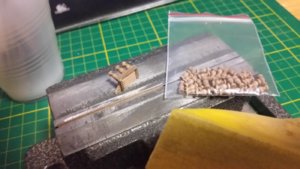
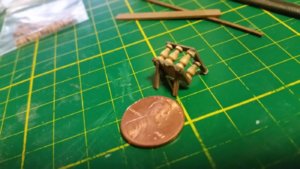
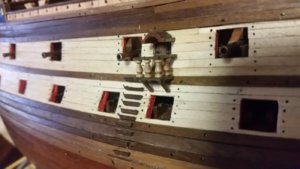
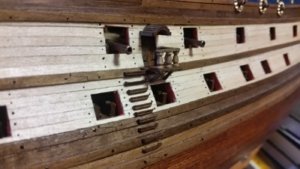
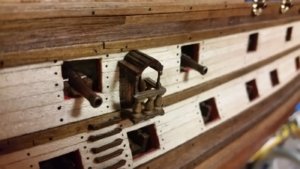
Time to have fun working on one of the small details. A lighted magnifier is necessary for all of this work. The boarding portal ladder and deck were fabricated and installed today. Small pieces of wood were snipped with small hobby scissors and sanded to length and shape with a small soft sanding block. The portal deck was made from thin mahogany. It is trimmed and supported with shapes pieces of walnut. The assembly went together quickly using CA glue. Left over railing binnacles made it look fancy. The roof was cut using the band saw, then filed to shape.

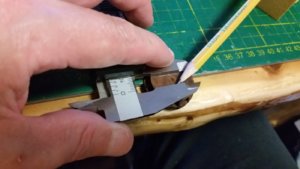
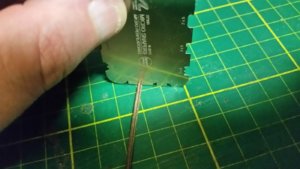
The ladder rungs are cut to length after using a micro scraper to shape the wood. For additional detail, bordering on ridiculous for this scale, the rungs are hollowed out a using a diamond burr with the Dremel rotary tool. Each rung was glued to the side of the ship down to the waterline. A little varnish brushed on all the new parts darkened them up nicely.

529 Shape Walnut Strip for Ladder Steps.jpg

530 Fabricate Boarding Boarding Portal Deck.jpg

531 Boarding Portal Deck.jpg

533 Boarding Portal Ladder Complete.jpg

534 Boarding Portal Ladder.jpg
 
Back
Top