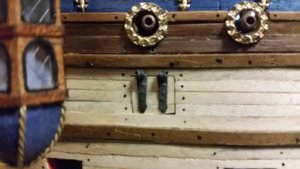
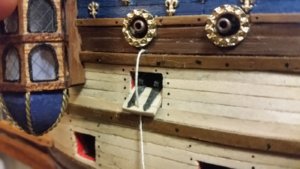
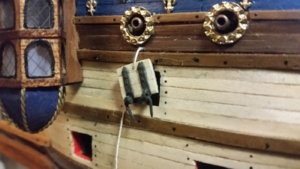
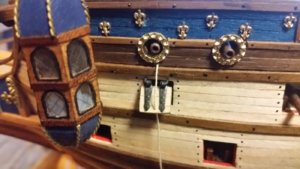
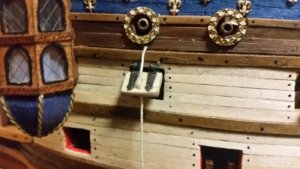
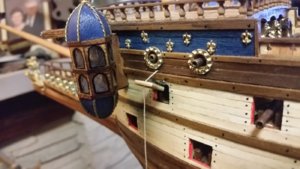
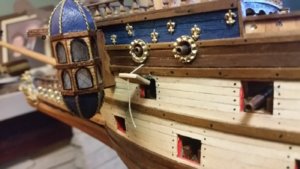
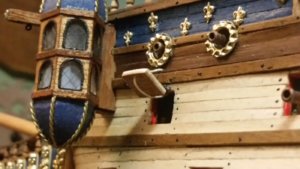
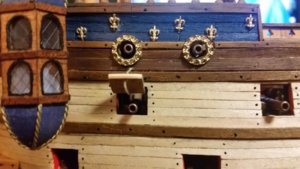
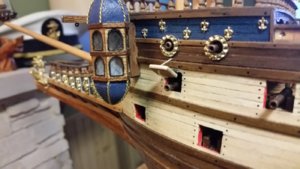
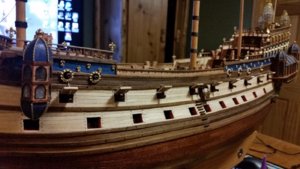
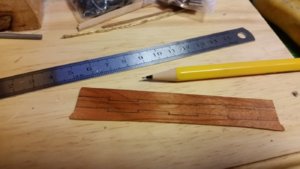
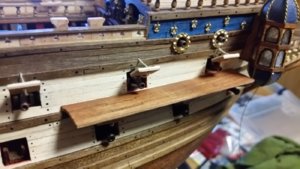
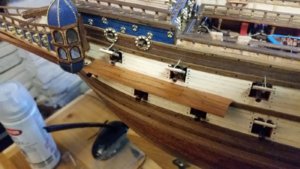
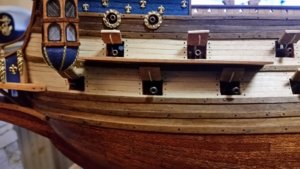
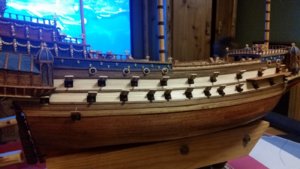
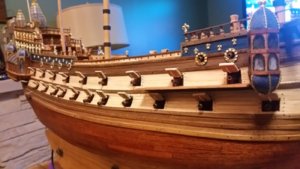
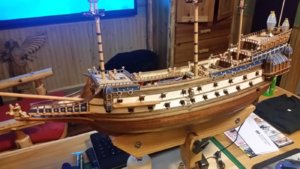
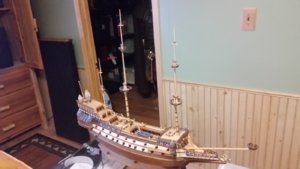
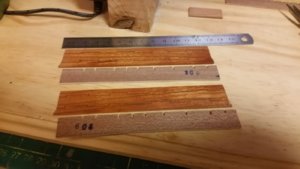
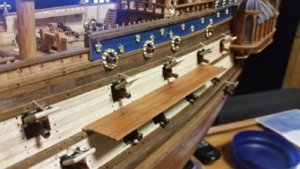
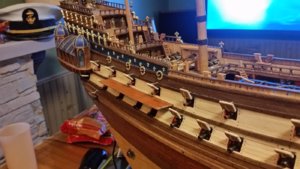
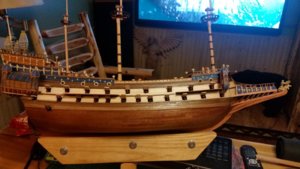
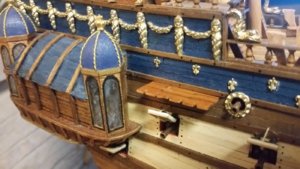
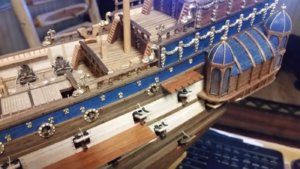
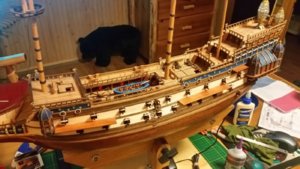
Some details were worked on. The plywood channels are going to be replaced with scratch built ones made out of cherry wood. This is being done for two reasons. First, the channels for the foremast and mainmast are being relocated below the upper gun deck, just above the central wale, and just below the gun ports of the upper gun deck. For many early 17th century galleons, the tumble home was greater than ships built just before 1700, so the channels needed to be located lower on the hull in order for the shrouds not to contact the railings or gunwales. The tumble home on the Corel hull shape can allow the channels to be mounted higher, but I think it looks closer to the convention of the time with them in the lower position. It's a feature that distinguishes the vessel as early 17th century. Because moving the channels will require relocating all the shroud and deadeye locations to avoid blocking any guns, the slots for the chain plates will be cut into the channels after the channels are installed on the hull.
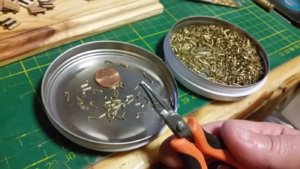
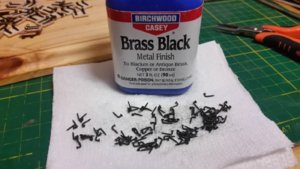
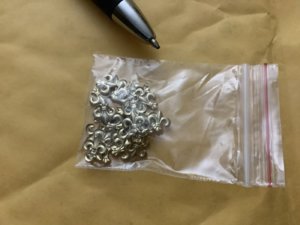
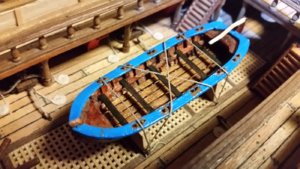
The pinnace boat frame supports were detached from the main deck and sanded thinner because they looked overly thick and clunky. The rear support frame for the pinnace was re-positioned a bit farther forward and re-glued to the grating, then four blackened brass eyelets were installed on the frame surrounding the grates, adjacent to the pinnace frames. The eyelets are Caldercraft part number 83505, and are laser etched and very small. Model eyelets tend to be over sized, and these are much closer to scale. Laser etched eyelets are much smaller that any eyelets I make from wire, even with tiny tools. The boat was lashed to the support frames with 0.25mm tan cord supplied with the kit. To make this easier, the the cord was tied to the first eyelet, and then it was passed through the remaining three eyelets. Each eyelet, starting with the one the cord is tied to, installed into drilled holes with CA glue. The line is still loose enough to get the boat under it. The boat is glued to the supports, and the cord loops are passed over the front and rear ends of the boat. The slack in the cord is then removed, pulling it carefully through the eyelets, and the the loose end is secured at the first eyelet. A bit of PVA glue secures the knot. The remaining end of the rope can be glued to the deck, or if you prefer, coiled and glued to the deck.
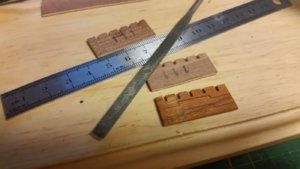
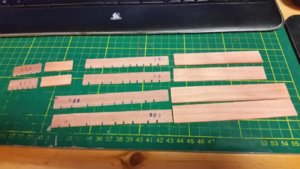
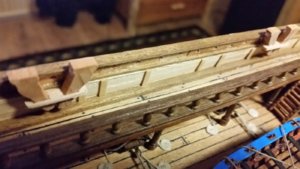
Instead of breaking off and replacing the over-sized kevels, I decided to simply add the horizontal supports for each kevel individually. Some thin boxwood scrap was cut with scissors, then notches were cut with a small razor saw, and a needle file and small sanding block were used to shape each tiny piece until they were custom fit around the staghorns of each kevel. You have to have steady hands and a delicate touch to make last minute changes like this in tight areas. The parts were positioned in place after a few test fits, and secured with CA glue. The last picture below shows the kevels before staining. To darken the white wood, some pine colored stain was applied with a small brush and the color now matches the staghorns perfectly. If you're going to fix a mistake or add a detail, it needs to blend in.


