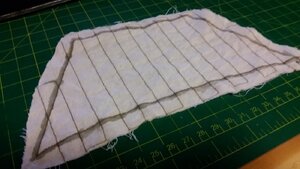
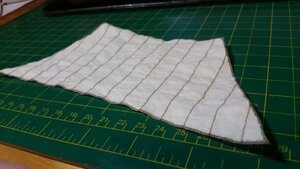
La Couronne Corel/scratch 1:100 First build [COMPLETED BUILD]

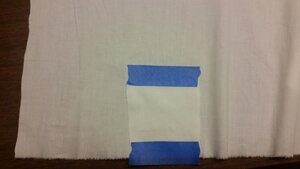
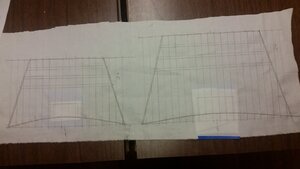
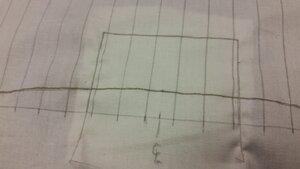
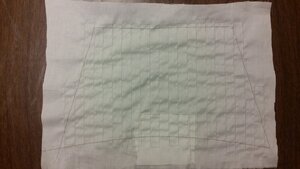
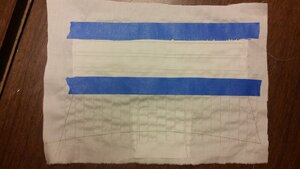
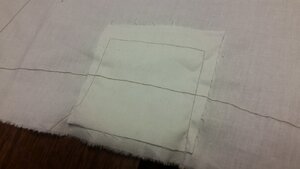
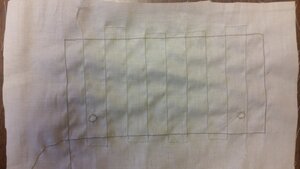
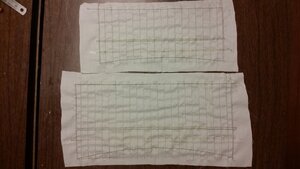
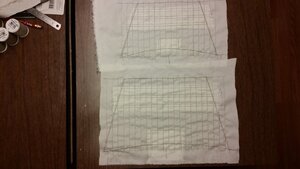
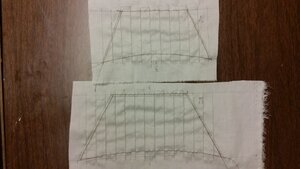
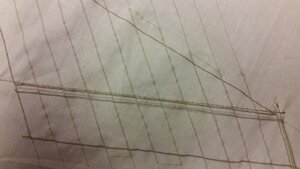
Working a little further in sail making, the perimeters of several of the sails were sewn. A patch of cloth for the top lining was taped with masking tape to the rear side of the fore and main topsails, and secured to the sail with the stitch along the foot of the sail. The top liner is an extra layer of fabric that protects the center area at the foot of the topsails from wear caused by rubbing against the front of the tops and their railings. More sewing on all these sails will be done later. I will buy a lighter color of thread for the panel seams, finishing sewing on the top liner, and other reinforcements such as reef bands. How the stitches for the laces that join the bonnets to their courses for the main course, fore course, and mizzen lateen are going to be made is something I haven't figured out yet.

1027 Sail Perimeters Sewn.jpg

Front of main topsail
1029 Main Topsail Top Lining Sewn at Foot.jpg

Rear of main topsail
1030 Topsail Top Lining Held by Tape for Sewing Foot.jpg1031 Topsail Perimeters Sewn.jpg
 
Thanks, The Amazon price is good and the sales pitch covers the bases. I'll look forward to more convenient small work but still need readers for regular reading or are those ocular senior sensors???? PT-2
Mine are permanently part of my head now. I’ve turned into a borg.
 
Even if the S.R. is one of my favourite ship I will never start a big project like your. Do not have the skill to do it so I just admire your work:)
 
Besides the magnifier and light on my head, when it arrives, my wife will not be able to call it if I put it down and forget where. . . unlike calling my cell phone to tone out for recovery;-) PT -2
 
Lots of sail work was done today, guys. I finished the sewing of the seams, reef bands, and top lining reinforcements. I'm debating whether or not to add reinforcements for the cringles or not. The drain holes that will be cut in the spritsail were reinforced by hand sewing with the same thread used to make the panel seams. Top linings and reef bands are sewn with a second layer of fabric. I was careful to line up the weave directions for both layers first. Masking tape is helpful in holding the second layer in position while sewing with the sewing machine. The sewing went a lot faster than expected, only two days of work. Lots of pictures below show the entire process. After staining, bonnets will be cut away from their respective sails before bolt ropes are sewn on.

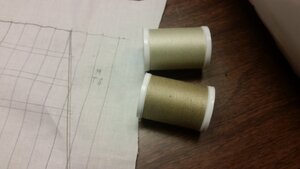
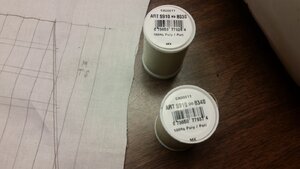
Two colors of thread used. Lighter one is used for panel seams. Below is the process of making the mail topsail.
1031 Seam Thread Color & Sail Perimeter Thread Color.jpg1032 Thread Colors Used for Sail Panel Seams and Perimeter Edges.jpg1033 Main Topsail Top Lining Sewn.jpg1034 Main Topsail Panel Seams Sewn.jpg1035 Main Topsail Reefband Sewn.jpg1036 Back Side of Main Topsail Showing Top Lining.jpg

Making the fore topsail.
1037 Fore Topsail Top Lining Sewn.jpg1038 Back Side of Fore Topgallant Showing Top Lining.jpg1039 Fore Topsail Reef Bands Sewn.jpg1040 Fore Topsail Front Side.jpg

Spritsail with hand sewn drain holes.
1041 Hand Sew Drain Holes in Spritsail.jpg

All sails shown below, with perimeter edges, panel seams, top liners, and reef bands sewn. The first ones below are the fore and main courses.
1042 Fore and Main Course Sewing Done.jpg

Fore and main topsails.
1043 Fore and Main Topsail Sewing Done.jpg

Fore and main topgallant.
1044 Fore and Main Topgallant Sewing Done.jpg

Sprit topsail and spritsail.
1045 Sprit Topsail and Spritsail Sewing Done.jpg

Mizzen crojack sail.
1046 Mizzen Crojack Sail Sewing Done.jpg

Mizzen lateen sail.
1047 Mizzen Lateen Sail Sewing Done.jpg
 
Lots of sail work was done today, guys. I finished the sewing of the seams, reef bands, and top lining reinforcements. I'm debating whether or not to add reinforcements for the cringles or not. The drain holes that will be cut in the spritsail were reinforced by hand sewing with the same thread used to make the panel seams. Top linings and reef bands are sewn with a second layer of fabric. I was careful to line up the weave directions for both layers first. Masking tape is helpful in holding the second layer in position while sewing with the sewing machine. The sewing went a lot faster than expected, only two days of work. Lots of pictures below show the entire process. After staining, bonnets will be cut away from their respective sails before bolt ropes are sewn on.

Two colors of thread used. Lighter one is used for panel seams. Below is the process of making the mail topsail.
View attachment 173948View attachment 173949View attachment 173950View attachment 173951View attachment 173952View attachment 173953

Making the fore topsail.
View attachment 173954View attachment 173955View attachment 173956View attachment 173957

Spritsail with hand sewn drain holes.
View attachment 173958

All sails shown below, with perimeter edges, panel seams, top liners, and reef bands sewn. The first ones below are the fore and main courses.
View attachment 173959

Fore and main topsails.
View attachment 173960

Fore and main topgallant.
View attachment 173961

Sprit topsail and spritsail.
View attachment 173962

Mizzen crojack sail.
View attachment 173963

Mizzen lateen sail.
View attachment 173964
Great job with your precise sewing. Did you do this straight off or have you used a sewing machine before? Maybe some guidance from someone close by. With this production you can apply as an apprentice sailmaker or at least in a tailor's shop for fine clothing. Go new as with repairs you never know what hidden critters lurk in the pockets. Hopefully when you move to a wet stage there will not be a shrinkage problem. I'll look forward to seeing these bent onto the yards and fore stays. PT-2
 
Great job with your precise sewing. Did you do this straight off or have you used a sewing machine before? Maybe some guidance from someone close by. With this production you can apply as an apprentice sailmaker or at least in a tailor's shop for fine clothing. Go new as with repairs you never know what hidden critters lurk in the pockets. Hopefully when you move to a wet stage there will not be a shrinkage problem. I'll look forward to seeing these bent onto the yards and fore stays. PT-2
When I was 12 years old back in 7th grade, I was one of the few guys who paid attention when learning how to use a sewing machine. I saw it as another valuable skill, not something I'd never use again, even though all we made was a silly cartoony dog pillow. Later, I make medieval cloaks and tabards to go with my armour. Sails are easy compared to clothing. The hard part is coming up though, hand sewing the bolt ropes, clews, and cringles.
 
When I was 12 years old back in 7th grade, I was one of the few guys who paid attention when learning how to use a sewing machine. I saw it as another valuable skill, not something I'd never use again, even though all we made was a silly cartoony dog pillow. Later, I make medieval cloaks and tabards to go with my armour. Sails are easy compared to clothing. The hard part is coming up though, hand sewing the bolt ropes, clews, and cringles.
Thanks for the step by step. I’ve been scratching my head so long over sails I am about to go bald.
 
Thanks for the step by step. I’ve been scratching my head so long over sails I am about to go bald.
I was the only guy in a typing class because my parents said that I needed that skill if I was going to college. It didn't matter though as there were a lot of cute girls typing away close by. :))) PT-2
 
More sail work. The challenges for making sails for 1:100 ship are different than making sails for larger models, which most people prefer. Corel is the only company that makes most of their models in this scale, and the details which are sacrificed from larger models have to be carefully selected or you will throw out things that would have made the model look more extravagant. On the other side, if you add details which appear on larger models, you cannot make them tiny enough to fit in scale. They appear grossly oversized. Things like hull trenails and iron tails, blocks, lines, and sail stitching are tempting to include on a small model when you are aware they should be on a ship, but at the scale of 1:100, some must be left out so that the appearance of the model at 1 meter will approximate the appearance of the real ship at 100 meters.

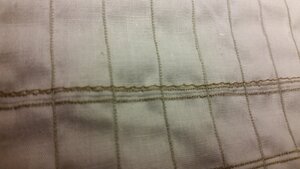
After careful consideration of how to make the bonnets and lace them, it was decided that the bonnet lacing would be simulated by a simple 3mm running stitch above the 0.5mm foot stitch of the main course, fore course, and lateen sails. 100% poly general purpose thread, #8060 "ecru" was used, and it is a shade darker than the tabling stitch thread on the periphery. The running stitch simulating the bonnet lacing was carefully and slowly machine sewn. The running stitch will appear equally on the rear side, when it shouldn't, but that is something I'll have to live with using this method. It would have been nice to have two running stitches atop one another to simulate the lacing loops, but I cannot run two stitches over one another accurately at the scale, it would over-complicate the appearance as well. At present, the bonnets and sails are still part of the same piece of cloth, but after staining, the parts will be cut into separate pieces so that the bolt ropes for bonnet and sail may be hand sewn onto their entire periphery.

1048 Bonnet Lacings Sewn with 3mm Running Stitch.jpg1049 Bonnet Lacing on Mizzen Lateen Sail.jpg1050 Close up of Simulated Bonnet Lacing.jpg
 
More sail work. The challenges for making sails for 1:100 ship are different than making sails for larger models, which most people prefer. Corel is the only company that makes most of their models in this scale, and the details which are sacrificed from larger models have to be carefully selected or you will throw out things that would have made the model look more extravagant. On the other side, if you add details which appear on larger models, you cannot make them tiny enough to fit in scale. They appear grossly oversized. Things like hull trenails and iron tails, blocks, lines, and sail stitching are tempting to include on a small model when you are aware they should be on a ship, but at the scale of 1:100, some must be left out so that the appearance of the model at 1 meter will approximate the appearance of the real ship at 100 meters.

After careful consideration of how to make the bonnets and lace them, it was decided that the bonnet lacing would be simulated by a simple 3mm running stitch above the 0.5mm foot stitch of the main course, fore course, and lateen sails. 100% poly general purpose thread, #8060 "ecru" was used, and it is a shade darker than the tabling stitch thread on the periphery. The running stitch simulating the bonnet lacing was carefully and slowly machine sewn. The running stitch will appear equally on the rear side, when it shouldn't, but that is something I'll have to live with using this method. It would have been nice to have two running stitches atop one another to simulate the lacing loops, but I cannot run two stitches over one another accurately at the scale, it would over-complicate the appearance as well. At present, the bonnets and sails are still part of the same piece of cloth, but after staining, the parts will be cut into separate pieces so that the bolt ropes for bonnet and sail may be hand sewn onto their entire periphery.

View attachment 174207View attachment 174208View attachment 174209
I appreciate your going over the details Darius. I just wish I knew what the heck you were talking about. I guess I need to curl up with a good dictionary.
 
More sail work. The challenges for making sails for 1:100 ship are different than making sails for larger models, which most people prefer. Corel is the only company that makes most of their models in this scale, and the details which are sacrificed from larger models have to be carefully selected or you will throw out things that would have made the model look more extravagant. On the other side, if you add details which appear on larger models, you cannot make them tiny enough to fit in scale. They appear grossly oversized. Things like hull trenails and iron tails, blocks, lines, and sail stitching are tempting to include on a small model when you are aware they should be on a ship, but at the scale of 1:100, some must be left out so that the appearance of the model at 1 meter will approximate the appearance of the real ship at 100 meters.

After careful consideration of how to make the bonnets and lace them, it was decided that the bonnet lacing would be simulated by a simple 3mm running stitch above the 0.5mm foot stitch of the main course, fore course, and lateen sails. 100% poly general purpose thread, #8060 "ecru" was used, and it is a shade darker than the tabling stitch thread on the periphery. The running stitch simulating the bonnet lacing was carefully and slowly machine sewn. The running stitch will appear equally on the rear side, when it shouldn't, but that is something I'll have to live with using this method. It would have been nice to have two running stitches atop one another to simulate the lacing loops, but I cannot run two stitches over one another accurately at the scale, it would over-complicate the appearance as well. At present, the bonnets and sails are still part of the same piece of cloth, but after staining, the parts will be cut into separate pieces so that the bolt ropes for bonnet and sail may be hand sewn onto their entire periphery.

View attachment 174207View attachment 174208View attachment 174209
In another log I had asked about the use of tree nails. If the real ship builders use bungs of the same wood and run the grain the same direction, one could barely see them up close. I did the virtual tour of the Victory and only saw three identifiable bungs during the tour of at least five decks. For me, the use of tree nails on my USS Constitution at 1:100 scale was an interesting thought, but on further musings, it was a non-starter. Again, thanks for your good work and your meticulous sharing.
 
In another log I had asked about the use of tree nails. If the real ship builders use bungs of the same wood and run the grain the same direction, one could barely see them up close. I did the virtual tour of the Victory and only saw three identifiable bungs during the tour of at least five decks. For me, the use of tree nails on my USS Constitution at 1:100 scale was an interesting thought, but on further musings, it was a non-starter. Again, thanks for your good work and your meticulous sharing.
Iron nails were used far more than trenails (bungs) in the 18th century ships you work with. Remember, I am working on a vessel from 1636. The technology changed a lot since then. A treenail, also trenail, trennel, or trunnel, is a wooden peg, pin, or dowel used to fasten pieces of wood together, especially in timber frames, covered bridges, wooden shipbuilding and boat building. The grain of a trenail is perpendicular to the plank, it follows the axis of the trenail.
 
Last edited:
Iron nails were used far more than trenails (bungs) in the 18th century ships you work with. Remember, I am work on a vessel from 1636. The technology changed a lot since then. A treenail, also trenail, trennel, or trunnel, is a wooden peg, pin, or dowel used to fasten pieces of wood together, especially in timber frames, covered bridges, wooden shipbuilding and boat building. The grain of a trenail is perpendicular to the plank, it follows the axis of the trenail.
Thanks for clarifying that, Darius.
 
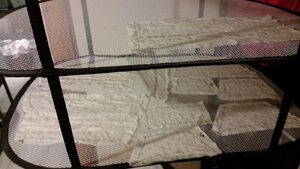
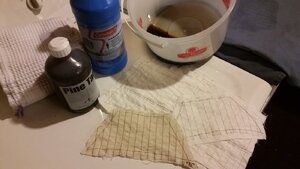
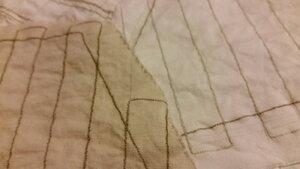
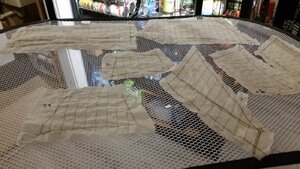
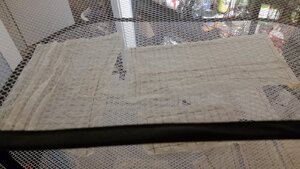
The test sail (a copy of the main topgallant sail) was immersed in purified kerosene with pine tar in it. It was then washed in soapy water, rinsed off, and dried. The first two pictures show the test sail next to unstained sails. It looks okay. So, I treated all the other sails the same way. The staining is very subtle, the darkening of the stitching being the most remarkable change. They are now drying now over a fan. The shade of the test sail is a couple shades darker than the original ivory sateen fabric. I think the sails will look pretty good color wise. After they dry, it will be time to apply some CA glue on the fabric just outside the stitching around the outside and trim away the excess cloth.

1052 Test Sail After Staining and Drying.jpg1053 Test Stail Next to Unstained Sail.jpg1054 Stained, Soap Washed and Rinsed Sails Drying.jpg1055 Drying Sails Over Fan.jpg
 
The test sail (a copy of the main topgallant sail) was immersed in purified kerosene with pine tar in it. It was then washed in soapy water, rinsed off, and dried. The first two pictures show the test sail next to unstained sails. It looks okay. So, I treated all the other sails the same way. The staining is very subtle, the darkening of the stitching being the most remarkable change. They are now drying now over a fan. The shade of the test sail is a couple shades darker than the original ivory sateen fabric. I think the sails will look pretty good color wise. After they dry, it will be time to apply some CA glue on the fabric just outside the stitching around the outside and trim away the excess cloth.

View attachment 174252View attachment 174253View attachment 174254View attachment 174255
Pretty amazing stuff, Darius. I don’t think I’ll go that far on my first ship. But I will use a lot of what you did.
 
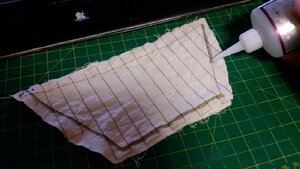
Moving forward working on the test sail, CA glue was applied outside of the table stitch that runs around the outside edge of the sail. A little soaked past the stitch, but who's perfect? When dried, the extra fabric was carefully trimmed away with a sewing scissors.

View attachment 174259View attachment 174260View attachment 174261
Are the thread lines supposed to be that dark? Just asking out of ignorance on my part. I’ve been debating the color of thread to use.
 
Back
Top