La Soleil Royal 1:90 Scale (ZHL) A Bandido Build

Thank you.
Great technical help.
I use the drawings and does it look right.
With eye on spec.

Technically correct is great unless it is looking wrong to eye or misleading.
As we know scales cannot be relied on : 1:500 scale piston will not be the same as 1:1… especially in output …. yes?

I take the old masters view - they built the shipwright models to show an interpretation / design idea. Then discuss.
Reality
Can be different ….
Of course they knew different hull lines brought differences.

Some of the Administrators had there choices, too.

We not have the original ships - just a would be drawing which changed as work progressed. Even the paint differed - paint it blood red or wait until we get ? From ? No worry about needing the ship.

TTFA and happy building :)
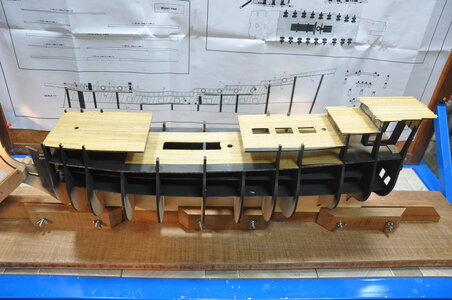
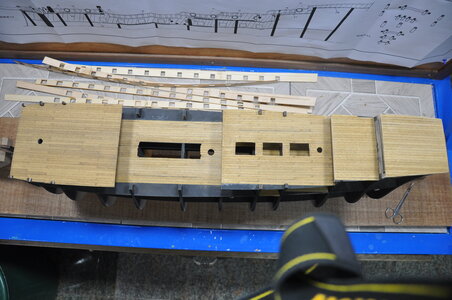
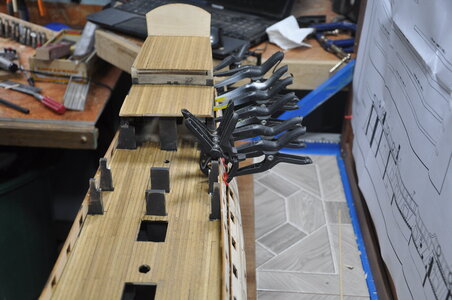
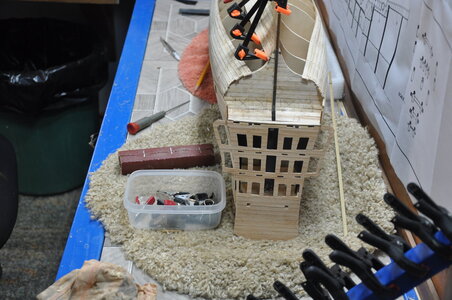
The last couple of days have been working on planking the decks, I am trying to plank if possible as much as I can before installing the deck's exterior panels in the bow and stern areas it is much easier!
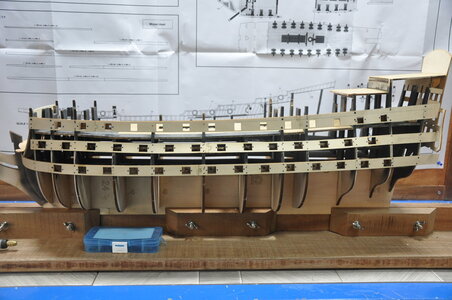
The forward Deck has me thinking as there are 4 to 6 cannons positions under it and that deck looks to me like it must be installed before the upper exterior planking can be done? so the placement will need to be done later looks tricky to me!!???:confused:picture19.JPGpictyure20.JPG
 
The last couple of days have been working on planking the decks, I am trying to plank if possible as much as I can before installing the deck's exterior panels in the bow and stern areas it is much easier!
The forward Deck has me thinking as there are 4 to 6 cannons positions under it and that deck looks to me like it must be installed before the upper exterior planking can be done? so the placement will need to be done later looks tricky to me!!???:confused:View attachment 290533View attachment 290534
Hi Bandido
Yes, there are cannons under the poop deck and under the quarter deck (1st and 3rd decks on your picture)
These cannons are sitting on the main deck.
You should wait before gluing the poop and quarter deck
 
Hi Bandido
Yes, there are cannons under the poop deck and under the quarter deck (1st and 3rd decks on your picture)
These cannons are sitting on the main deck.
You should wait before gluing the poop and quarter deck
So When did you finally mount the cannons and install the decks? I was thinking that the decks needed to be installed prior to planking the upper portion of the ship, sorry my ship terminology is not great, I will look at that tomorrow
Thanks for the heads up!
 
So When did you finally mount the cannons and install the decks? I was thinking that the decks needed to be installed prior to planking the upper portion of the ship, sorry my ship terminology is not great, I will look at that tomorrow
Thanks for the heads up!
The Pictures are very misleading on the plans if you follow them the decks are in fact installed!! Very confusing isn't it?
 
Thanks Gilbert I see that now
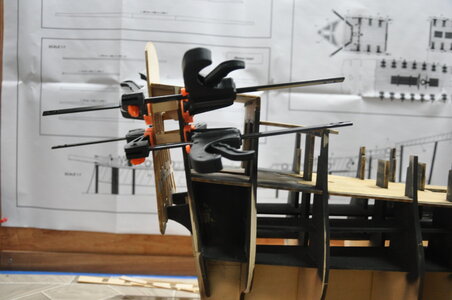
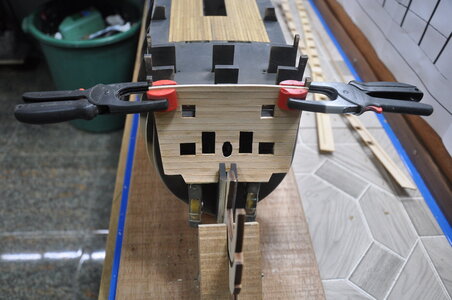
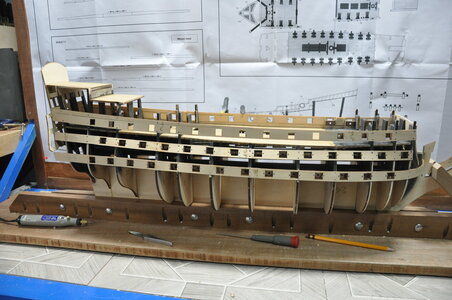
Another day has flown by working on detailing the decks and a coat of matt varnish to protect them during construction!! Had an issue with the starboard, panel either I installed it incorrectly or it had a bow in it can't tell if it is supposed to be concave-convex or straight? mine had a bow in it so I had to install 4 support pieces between the panel and the rear bulkhead hopefully to straighten it out I hope that will not be an issue later on!! started installing the half cannon brackets to the gun port strips. Hopefully, later this week will begin to install them to the Hull.picture21.JPG

picture22.JPG

picture23.JPG
 
Another day has flown by working on detailing the decks and a coat of matt varnish to protect them during construction!! Had an issue with the starboard, panel either I installed it incorrectly or it had a bow in it can't tell if it is supposed to be concave-convex or straight? mine had a bow in it so I had to install 4 support pieces between the panel and the rear bulkhead hopefully to straighten it out I hope that will not be an issue later on!! started installing the half cannon brackets to the gun port strips. Hopefully, later this week will begin to install them to the Hull.View attachment 290754

View attachment 290755

View attachment 290757
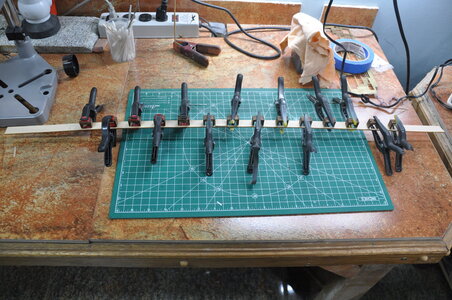
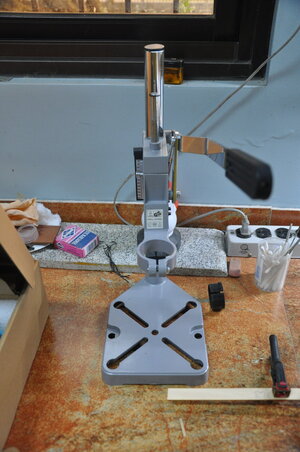
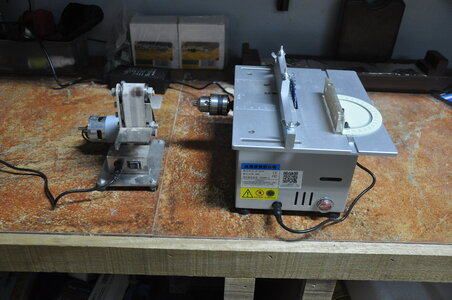
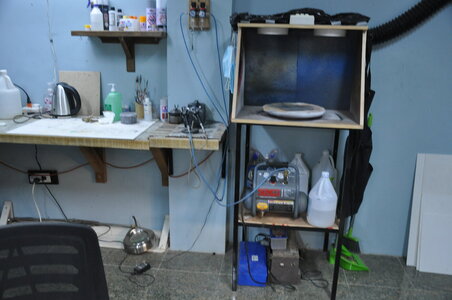
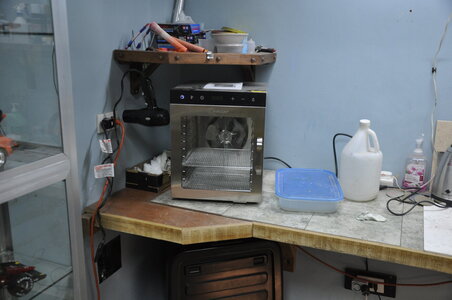
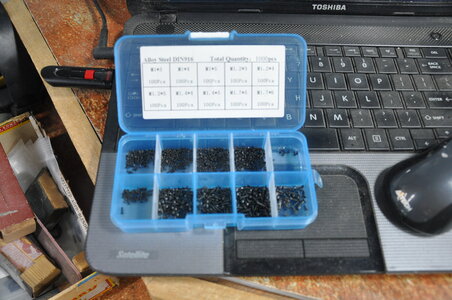
For those of you who love tools as much as I do, I purchased a few now that I have decided to revisit model shipbuilding, Sometimes I think I get more excited over the tools I use to build a model than the actual build:) I built the spray booth for my Model car building, the air compressor It leftover from my Finish carpenter Days and the dehydrator my wife and I use she dries fruit and I dry paint, glue you name it! very handy.

DSC_0042 (1).JPG

DSC_0043.JPG

DSC_0044 (1).JPG

DSC_0045 (1).JPG
 
For those of you who love tools as much as I do, I purchased a few now that I have decided to revisit model shipbuilding, Sometimes I think I get more excited over the tools I use to build a model than the actual build:) I built the spray booth for my Model car building, the air compressor It leftover from my Finish carpenter Days and the dehydrator my wife and I use she dries fruit and I dry paint, glue you name it! very handy.

View attachment 290758

View attachment 290759

View attachment 290760

View attachment 290763
Today I tackled the cannon port hole pieces parts 61-62-63 and 64 for those of you who have built this kit,
 
Today I tackled the cannon porthole pieces parts 61-62-63 and 64 for those of you who have built this kit,
pushed the post button by mistake!! It was quite the experience! but finished one side will do the other tomorrow it will be easier now that I know what has to be done, I sent Max at ZHL a heads up on the Issues with those parts, I know they never pre-assembled that kit prior to putting the kit on the market otherwise they would have experienced the engineering issue!
 
pushed the post button by mistake!! It was quite the experience! but finished one side will do the other tomorrow it will be easier now that I know what has to be done, I sent Max at ZHL a heads up on the Issues with those parts, I know they never pre-assembled that kit prior to putting the kit on the market otherwise they would have experienced the engineering issue!

pushed the post button by mistake!! It was quite the experience! but finished one side will do the other tomorrow it will be easier now that I know what has to be done, I sent Max at ZHL a heads up on the Issues with those parts, I know they never pre-assembled that kit prior to putting the kit on the market otherwise they would have experienced the engineering issue!
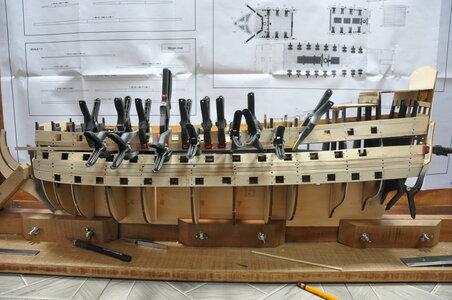
Finished installing all the gunwales on both sides of the ship I am glad that is done, the gunwales at the gun ports break easily happened to me twice today!! working with wood it's great you can fix anything!! Started to install the fill-in planks between the wales. not to repeat myself but I am glad the gunwales are done!!!!!! picture 24.JPGpicture27.JPGpicture26.JPGpicture28.JPG

picture25 (1).JPG
 
Finished installing all the gunwales on both sides of the ship I am glad that is done, the gunwales at the gun ports break easily happened to me twice today!! working with wood it's great you can fix anything!! Started to install the fill-in planks between the wales. not to repeat myself but I am glad the gunwales are done!!!!!! View attachment 291977View attachment 291980View attachment 291979View attachment 291982

View attachment 291978
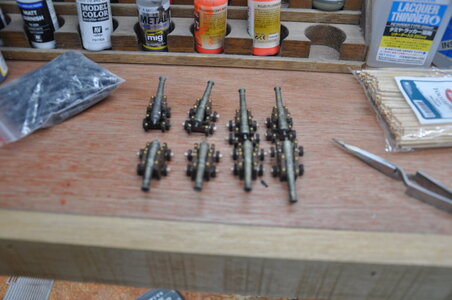
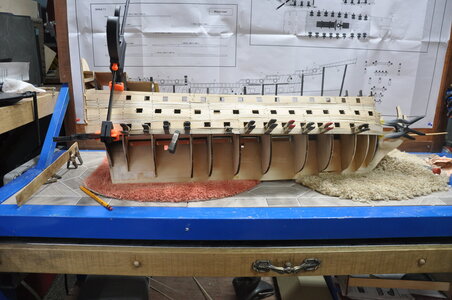
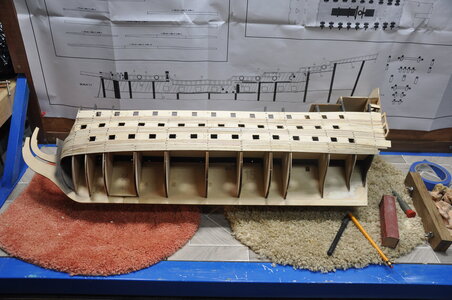
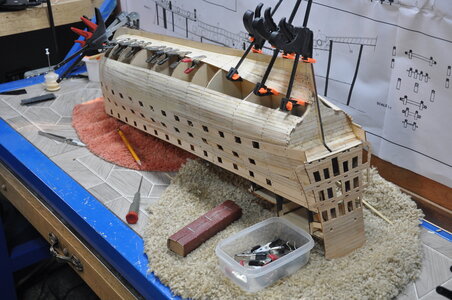
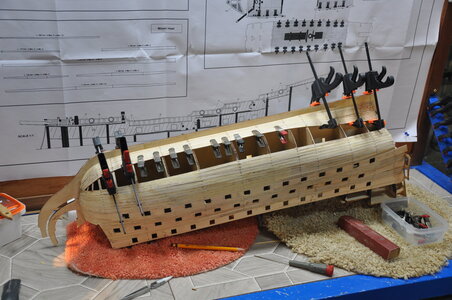
Started the base planking of the Hull very time-consuming!! separated the hull into 4 plank sections to better handle the task. Looking at the instructions that came with the kit showing the planked hull, it is not how I would do it so I decided to do it the way I was taught by my uncle 30 years or so ago we will see how it goes! Carved out the bearding line on the picture32.JPGpicture29.JPGpicture30.JPGpicture31.JPGstarboard keel area to except the planks Also been working on the main deck cannons, I decided to airbrush them Tamiya Dark Iron and Dry Brushed them with Gold Leaf, I also did some modifications on the Carriages, using brass pins and homemade wooden bearing caps, looks alright? Its a big ship compared to the other model I built this is going to take awhile?
 
Started the base planking of the Hull very time-consuming!! separated the hull into 4 plank sections to better handle the task. Looking at the instructions that came with the kit showing the planked hull, it is not how I would do it so I decided to do it the way I was taught by my uncle 30 years or so ago we will see how it goes! Carved out the bearding line on the View attachment 293667View attachment 293664View attachment 293665View attachment 293666starboard keel area to except the planks Also been working on the main deck cannons, I decided to airbrush them Tamiya Dark Iron and Dry Brushed them with Gold Leaf, I also did some modifications on the Carriages, using brass pins and homemade wooden bearing caps, looks alright? Its a big ship compared to the other model I built this is going to take awhile?
looks nice Bandido
 
looks nice Bandido
Gilbert I read your post the other day, and I decided to purchase new rigging blocks from drydock after looking at what the kit had to offer and what drydock had to offer there is no comparison nice stuff!!
 
Started the base planking of the Hull very time-consuming!! separated the hull into 4 plank sections to better handle the task. Looking at the instructions that came with the kit showing the planked hull, it is not how I would do it so I decided to do it the way I was taught by my uncle 30 years or so ago we will see how it goes! Carved out the bearding line on the View attachment 293667View attachment 293664View attachment 293665View attachment 293666starboard keel area to except the planks Also been working on the main deck cannons, I decided to airbrush them Tamiya Dark Iron and Dry Brushed them with Gold Leaf, I also did some modifications on the Carriages, using brass pins and homemade wooden bearing caps, looks alright? Its a big ship compared to the other model I built this is going to take awhile?
Hello Bandido. Brilliant start to your La Soleil. Great detail build log as well. I will be looking in. Cheers Grant
 
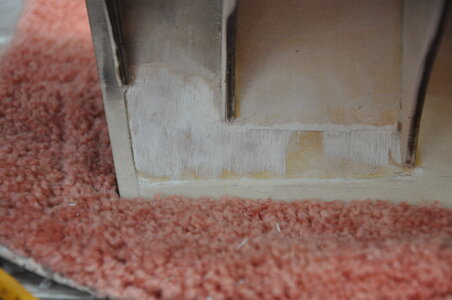
Needless to say! planking the hull is an experience!!! especially the bow!! I never built a ship of this size and the hull planking is quite the project. the next is the finished planking? that looks like an issue also due to the thin 1/2mm thickness of the planks how do you shape those to the curvature you need? Does anyone have suggestions on that one? In picture 33.JPGpicture34.JPGpicture35.JPGall the other ships I built the second plank was about half the thickness and still easy enough to shape!! Also, I discovered that there are four cannons in the rear of the ship??? I have decided to not install those cannons and just cover the openings with the cannon doors.
 
hello i love this model. just wondering what the cost of this ship was? did this include shipping costs? thanks terry
 
Back
Top