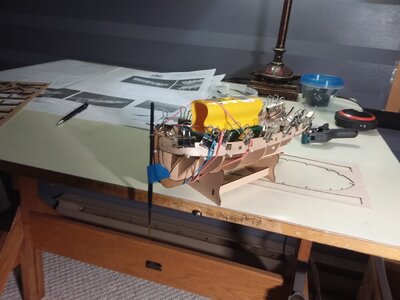
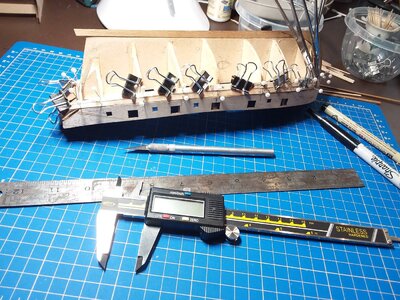
It was suggested that I do a build log since I am just starting out, so despite a deep dislike of making public mistakes, I will do so in the spirit suggested. It will make me a better person (more humble anyway).
I started this week on the model after studying the video tutorials recommended by Amati, and which are done by Leon Griffiths (I think I have his last name right) from Modeler's Shipyard in Australia. There are so many different thoughts about the best way to approach a build that I thought I would just accept him as my guru and follow his methods.
The only things I am not doing as he shows so far are: 1. I am not attaching the rudder post until at least after the first planking. I think this will let me taper the stern area of the false keel and the planks, as well as trimming them more easily and without damaging the rudder post and I can't see a down side. Another build log recommended this. The false keel and the rudder post are both 3mm thick and there are two layers of planks, each 1mm thick. So, if I dont make an effort at the stern it will end up poorly faired onto the rudder post to say the least. 2. Also, another build logger here (Glen?) added two extra blocks to the bow either side of the 3mm thick "bow plank terminal patterns" to make a thicker attachment area for the planks to start at. Again, if they turn out to be in the way, I can carve them away easily enough, but they may be helpful.
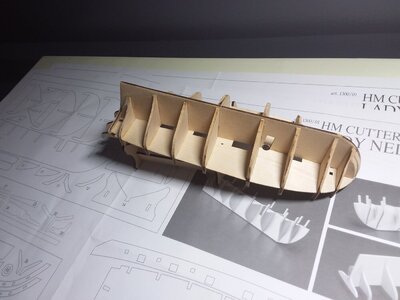
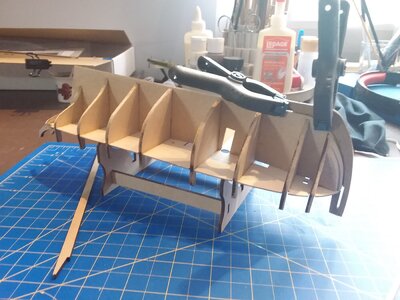
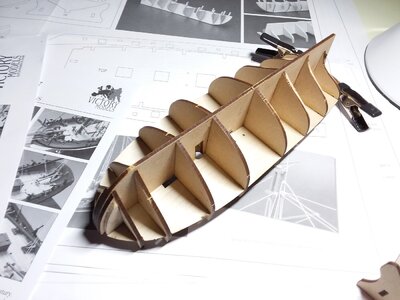
I assembled the bulkheads onto the false keel, and in dry fitting them I found a few were sitting very slightly low, so I put a square or two of paper under them to elevate them a bit. I was happier with that result. The no. 10 bulkhead, the aftermost one at the transom, sits at quite an angle, so the top of it needs to be faired so that it matches the sheer line of the deck at the stern. In doing this as shown by Leon, I found the mdf material came apart from the filing. This has been covered in a separate post. I will try different methods when I fair the rest of the bulkheads shortly. For one thing, I have little experience using a file versus sanding blocks and dowels, so if I am not happy with the file right away, as demonstrated on the video log, I will try plan B. Someone suggested that I might have been filing in the wrong direction, encouraging the "top skin" of the mdf to tear away. You have no choice since the curve of the deck only lets you approach with a file from the stern going forward. For the remainder of the fairing, I think I can choose my direction. Leon uses a file extensively.
Tonight I glued the false deck on. It was a bit of a wrestling match to get all the pins in place to hold everything down within the time permitted by the glue. I think it worked OK. I will leave it overnight to cure. But I can see no issues other than maybe I should be more generous with the PVA. I want to fill the joint, but avoid overflow, but maybe it is better to err on the other side.
The kit instructions suggest to sand and bevel the remaining bulkheads before gluing them in place, but Leon's method is to do it after they are in place and the false deck on. That makes more sense to me.
Oh, and the kit came with the wrong thickness of beechwood deck planking, variously described as 0.6 and 0.5mm thick. The material provided was a bit over 1mm. I notified Amati and also Cornwall Model Boats of the issue. I heard back from CMB that they will be sending me planking of the correct size. Once again, very happy that I chose to buy from them. They were great to deal with during our Great Lakes Schooner build project, even as Covid made things difficult.
I've been offered 0.5mm thick walnut second layer planks to replace the 1.0m that the kit came with. I don't know... I might later wish that I had the extra thickness to sand, especially on a first attempt. Anyway, that choice is fairly far in the future.
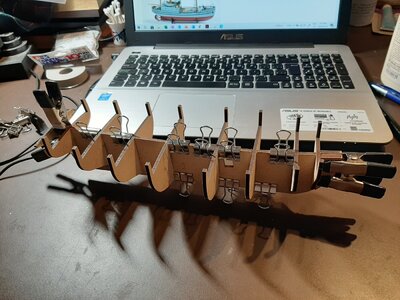
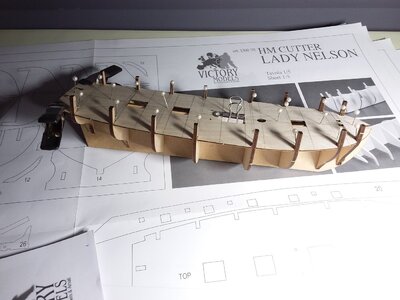


Last edited by a moderator:


