Nice to see you can make long stroke with that big block, Ronald.A nice theory, using machines for the sanding, but meanwhile….
View attachment 372346
Regards, Peter
 |
As a way to introduce our brass coins to the community, we will raffle off a free coin during the month of August. Follow link ABOVE for instructions for entering. |
 |
 |
The beloved Ships in Scale Magazine is back and charting a new course for 2026! Discover new skills, new techniques, and new inspirations in every issue. NOTE THAT OUR FIRST ISSUE WILL BE JAN/FEB 2026 |
 |
Nice to see you can make long stroke with that big block, Ronald.A nice theory, using machines for the sanding, but meanwhile….
View attachment 372346
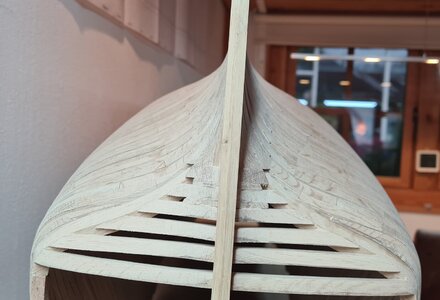
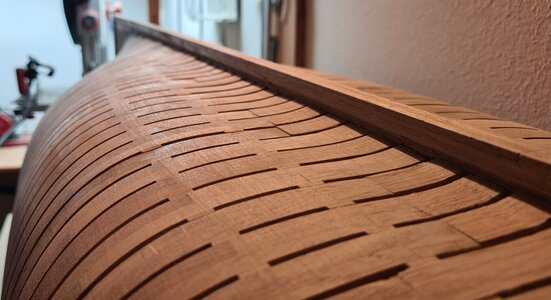

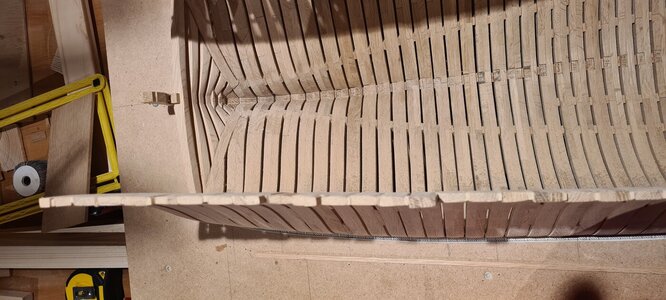
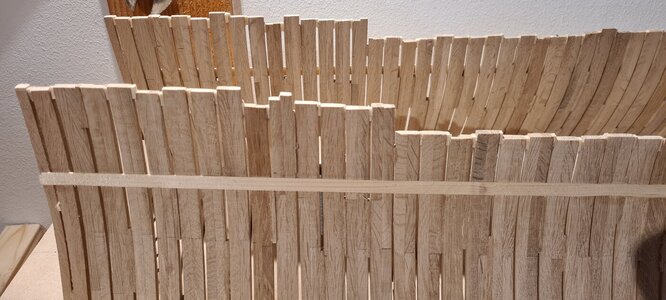
Hi Tobias,Hello Roland,
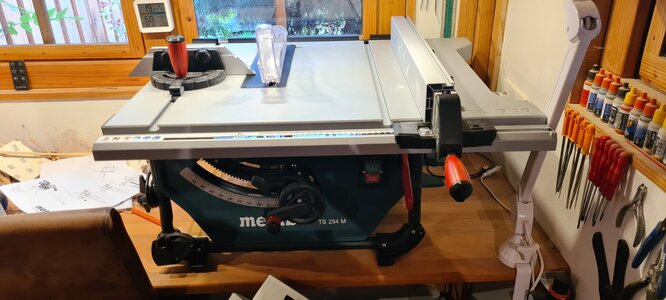
reinforcing the hull with the crossbar is very helpful when sanding. With La Palme I was lucky that the distance between the frames was larger than yours and I was able to screw them together. Nice new tool I hope you enjoy working with it. Maybe you can tell us/me about your experience with the saw, I also need a new one and I'm still very hesitant about the brand.
Hello Roland, thanks for your information. I also watch Go Tool regularly and they are great.Hi Tobias,
I have not much experience with this saw yet, but I decided to buy this one because I have more tools of this brand of which I have no complaints, and I did some research...
For instance see:

Not only is this an advantage when bonding, but it seems to me that this is also structurally stronger for such a part that sticks out like this

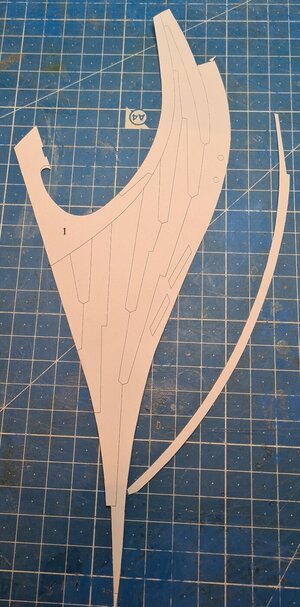
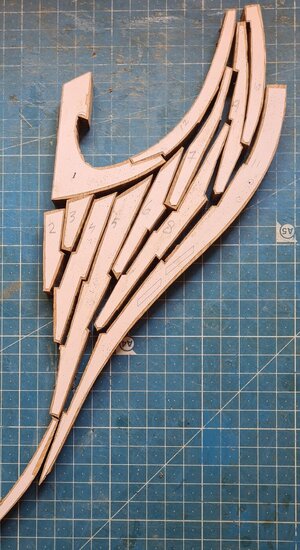
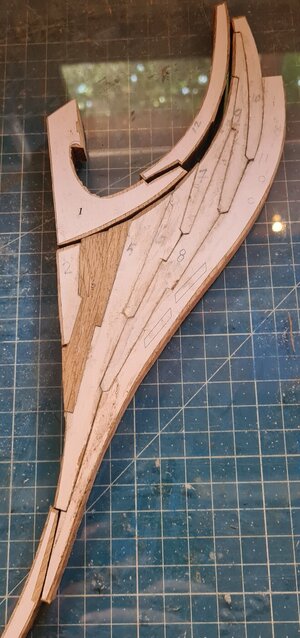
Hi Ronald. Good to see a next step of your build. What a complex part is that. With all those joints I can only say Chapeaux!More then two months has passed. I have to admit that due to lack of time and motivation it is hard to make much progress at the moment. There is still a lot of sanding to do, but I made something else first... Something that seemed fairly simple, but of course again a bit disappointing.. I have no idea what this part is called, but it concerns the part that is placed at the bow on the main frame (extension of the keel). See below...
View attachment 388576
View attachment 388575
I thought, if I finish everything exactly along the line of the paper, it can't go wrong...
View attachment 388574
So you can't go wrong with a magnifying glass...
In the beginning it went well, but as I progressed it became more and more difficult to get them to connect nicely
View attachment 388573
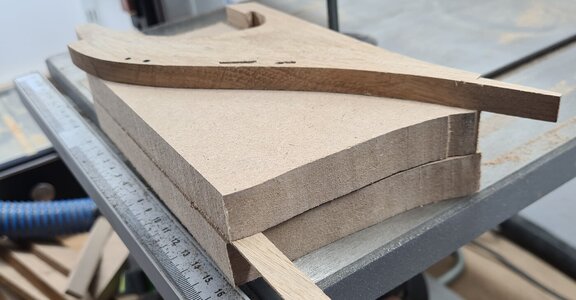
When, after some pressure, all the pieces were glued together, the piece had to be shaped to the right thickness. In addition, the thickness reduces from 10 mm at the main frame gradually towards the front to 7 mm.
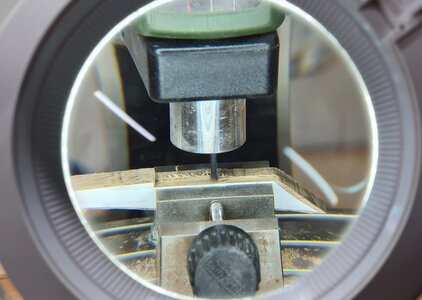
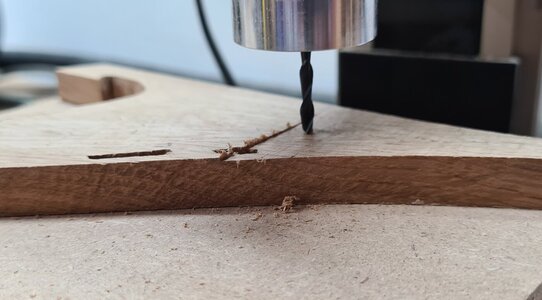
I used an already proven method, namely the milling machine
So 0 to 1.5 mm has to be removed on each side. For this I used two pieces of flat MDF, and neatly cut a lath of 1.5mm and 3mm thick with my byrnes saw. First placed the 1.5 mm slat on one side between the two MDF boards and milled one side, then placed a 3 mm slat and milled the other side. Went well, but it was an attentive job since I had laid everything loosely on top of each other and kept everything in place by hand.
View attachment 388572
View attachment 388571
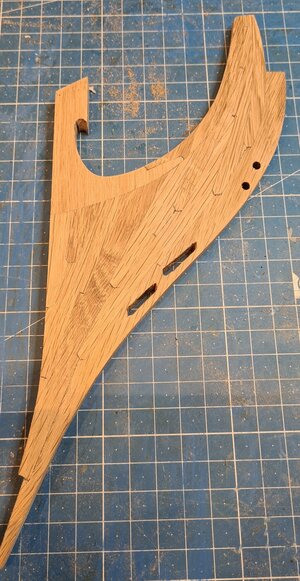
The final result is shown in the photo below.
View attachment 388570
And here again, despite all the preparation, the result is far from optimal... In the beginning (left side) it went well and the pieces fit together nicely. As you go further to the right you will see that the seams get bigger (seams are visible because they are filled with wood glue). What also turned out to be too much of a challenge for me were the two recesses. In the first picture you can see what they should look like. Due to the hard oak and the rather narrow recesses, they did not turn out really nice. The edges are also not nicely finished. The rough structure of the wood also plays a role in this.
In total I spent many evenings working on this, and if I'm being honest, I don't have enough motivation to make a new one at the moment..
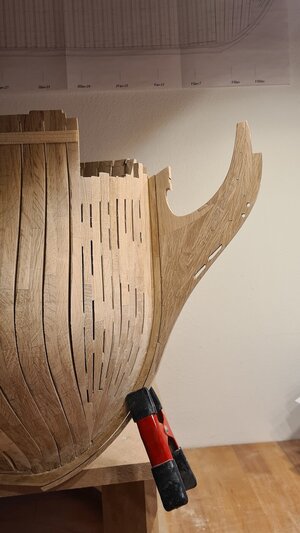
Below is another photo where the piece is loosely placed against the hull.
View attachment 388569
One more question on this point.. Are there any advantages or disadvantages if I already fasten this part to the hull? If not, I had the idea to use screws from the inside to tighten this part against the frame. Not only is this an advantage when bonding, but it seems to me that this is also structurally stronger for such a part that sticks out like this (is this correct english?). What is your opinion?
I now intent to continue with the stern. Hope to be able to show something of it on September 30 in Amsterdam.
That's it for now, until the next update!
Yep, will be there in Amsterdam, see you there!Good morning Ronald, good to see you back.
I guess we all lack motivation at one point during a build to continue what we're doing.
There's only one thing to it; put the thing aside and let it rest.
As for your observation on the stem, given the effort you already put into it, I wouldn't be inclined to use the dustbin on this one, instead I might look at those holes and try, using some files, to improve the shape.
If you would be painting the hull, a lot of inaccuracies will disappear.
One of the possible reasons you started to see inaccuracies might have to do with the thickness of the adhesive. If I read your post correctly, you did not account for like 0,1 to 0,2mm adhesive thickness and that adds up at the end of your stack. An estimated 10 or more bondlines will set you back about one mm or more.
As to whether or not to install the stem, it depends largely on your build sequence, but I would at least try and avoid installing this extension until after planking the hull, if possible, I can't judge that.
Still try to have fun,
Johan
PS Will you also be present in Amsterdam on September 30th?

Yep, also present in Amsterdam together with Johan and Peter, I'll talk to you thennow intent to continue with the stern. Hope to be able to show something of it on September 30 in Amsterdam.
