Le Commerce de Marseille 1788 - 1801 scale 1:48 from Gerard Delacroix

Keep everytime in mind - sometimes also the old shipwrights made something - not nice looking, but "working"
Exactly Uwe, there came a time that I accepted that it is good to strive to perfection, but accept that sometimes that is a bit too far...
However, I did the other side and prevented to make the same mistakes again so I made new ones... However, it went better and faster, see below:
20230413_205242.jpg

A bit curious to see how my work of the other side would look after a bit of sanding, and I must say, it looks better than I thought. There is still hope this project turns out to meet the standards I strive for...
20230413_205213.jpg

20230413_205221.jpg

And now lets continue with the next piece! :D
 
Hi Roland, great job.

Who of us doesn't know these problems, every now and then it doesn't fit perfectly and then there comes the moment when you ask yourself "I'll see that later" and then the moment "No, I don't see it" and the world looks a little different . And from time to time you have to go through “because you can see it” and then it can happen that we do it again and again and …….. How was it a few days ago at @dockattner report, plug in a cigar, coffee and a break then it always works.
 
Last edited:
Hello Ronald. You have made excellent progress and when one takes into account that this is a scratch POF-build, I can only take my hat off to you. What you have achieved is admirable and I am sure there is plenty of hope for this model to turn out the way that you would like her to be.
 
Thank you all for the nice comments! It really helps me to get motivated when I need it....

waiting for some dovetail cutters I need for...
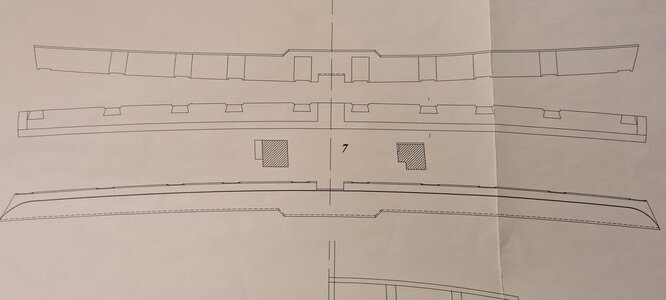
20230414_221459.jpg
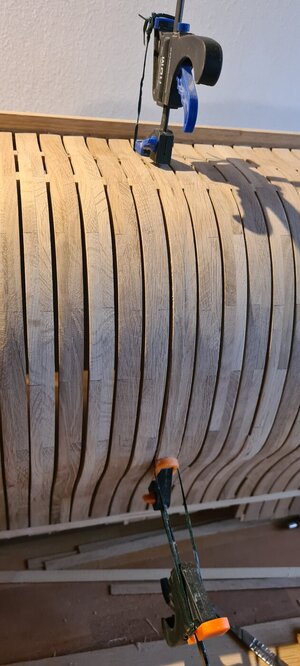
... I started to sand the hull into shape. This is no sinecure...

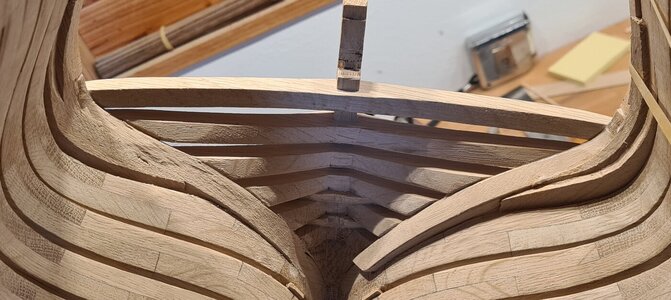
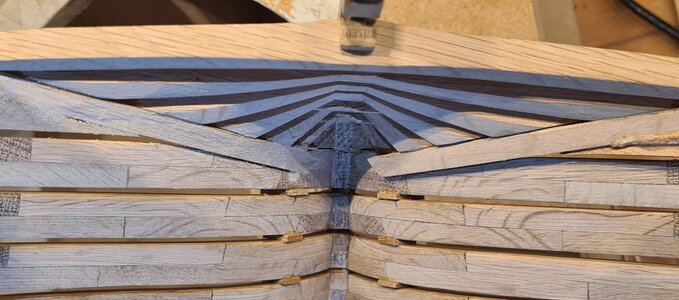
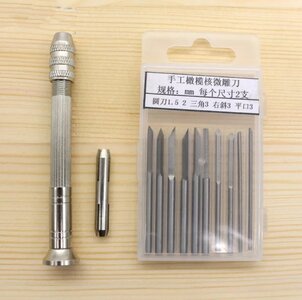
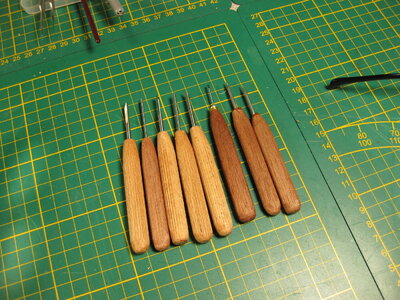
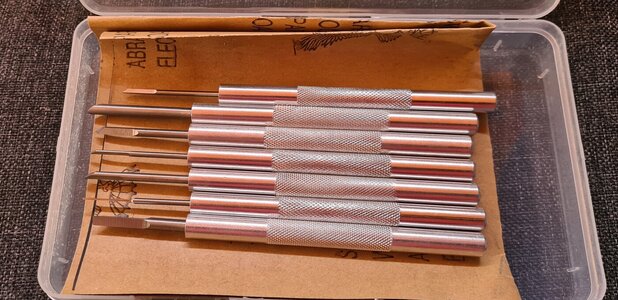
In the meantime I already have a set of mini chisels from a well-known supplier from a well-known Asian country to be able to make these kinds of parts, nice framework that slides into eachother, very curious how that will go...
20230420_172145.jpg
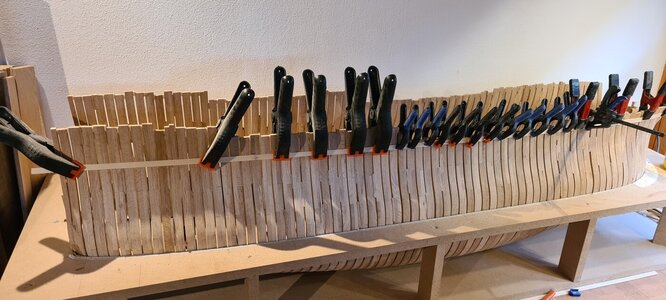
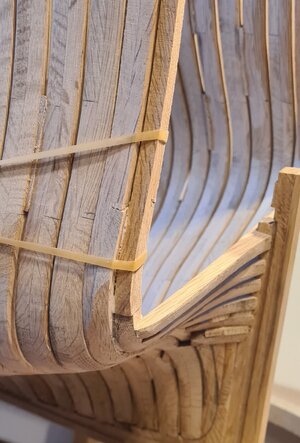
Many frames are only attached to each other at the bottom at the keel and at the top with a temporary filler piece, and the latter, given the small surface, too often has a tendency to come loose. To prevent this, I pasted a thin temporary strip along the top, which gives enough strength to the frame to be able to do more with it....
20230415_172533.jpg
And now a confession and a warning in advance, it is not easy to sand such a lump of oak wood by hand. A fear for many model builders (I can imagine), but I still use some tools, not really intended for model building.....
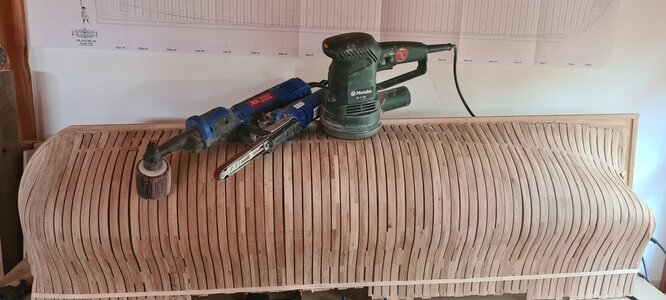
20230420_165444.jpg
I have to admit, it's actually going pretty well. Very carefully, with some policy, the result is certainly not wrong. I often check the line of the hull with a slat, and then it is doable. It's still a lot of work, but at least I'm not chafing a lame arm...
While further shaping the hull, I discovered that frames have been placed somewhat impurely here and there. I can't quite explain why. They are made exactly according to the drawing, and yet some frames seem to deviate just a little too much from its neighbor... I must have done something wrong.... However, it is not a serious issue. The frames will be almost invisible because they will be planked on both the inside and outside (wondering why I make such a fuzz about it then). To get the line of the planks in shape, a small correction has to be made here and there by means of an extra thin slat that I attach on the parts of the frames that are too deep.... I must say, after finishing it is hardly noticable...
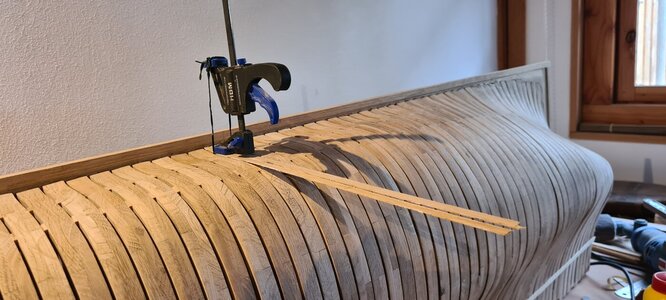
20230416_170626.jpg

20230416_175400.jpg
This job is going to take a while....

Looking at what is approaching, it is about time to start looking at which types of wood I am going to use that will be a lot more visible, namely the planking.... And given the size of the model, I need quite a bit of it. The planks are about 5 mm wide and 2 to 5 mm thick. I also think it would be nice to 'colour' one half of the hull by using different types of wood. Now I have no further knowledge of wood types other than those available at the local hardware store, and would like to hear what you could advise me on this... I know that pear is a commonly used wood type in model building, but what are other suitable applications for such a hull?
 
These are perfect to work with. I gave a few a wooden handle, so I don't have to change the handle so often.

IMG_2945.JPG

Also I did some adjustments on the knife to make a hollow point and another I made of a small drill bit
It is important to keep them sharp and also use a leather strop to sharpen them. There are video's that show you how.
 
Finally I can start this thread where I can share my progress on a project I wanted to start a long time ago... Ever since I saw the plan's of this ship I was attracted to it. I love three-deck galleons and this is really a beauty. I decided to build it in scale 1:48 instead of 1:72 to be able to add al lot of detail... But to be honest, I don't think I can finish this ship. It probably is to complicated, to many problems to overcome. The main reason to start it however, is to challenge myself and see how far I will be able to build this model, that is the adventure....
I do have a big advantage because on this forum there are 2 threads describing the building of this ship.

I prepared this project first by creating a room that I can use as a workshop.

Second I bought some tools I think is necessary for the job, a byrnes tablesaw and a Proxxon MF70 milling machine.... And ofcourse, ordering the plans from ancre.fr...

So, let's get started :)
Hallo @Ronald
we wish you all the BEST and a HAPPY BIRTHDAY
Birthday-Cake
Enjoy your special day
 
Back
Top