- Joined
- Aug 8, 2019
- Messages
- 5,573
- Points
- 738

Or these https://nl.aliexpress.com/item/3300...7561#384_668#3164#9976#226_668#3468#15608#138You might get better results if you used 60 degree milling bit and run it flat instead of on angle.
 |
As a way to introduce our brass coins to the community, we will raffle off a free coin during the month of August. Follow link ABOVE for instructions for entering. |
 |
 |
The beloved Ships in Scale Magazine is back and charting a new course for 2026! Discover new skills, new techniques, and new inspirations in every issue. NOTE THAT OUR FIRST ISSUE WILL BE JAN/FEB 2026 |
 |

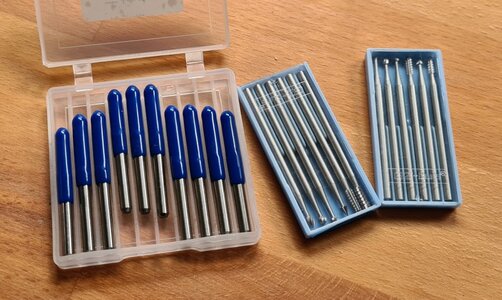
Or these https://nl.aliexpress.com/item/3300...7561#384_668#3164#9976#226_668#3468#15608#138You might get better results if you used 60 degree milling bit and run it flat instead of on angle.
Those are the ones I ordered


Hello, my friend, those bits are more commonly used by CNC routers, are they suitable for our use in milling machines?

Yes why not. I use them in my Milling machine, but also in my handdrill to make ornaments. They are made of tungsten steel. (Carbon steel) very hard.Hello, my friend, those bits are more commonly used by CNC routers, are they suitable for our use in milling machines?
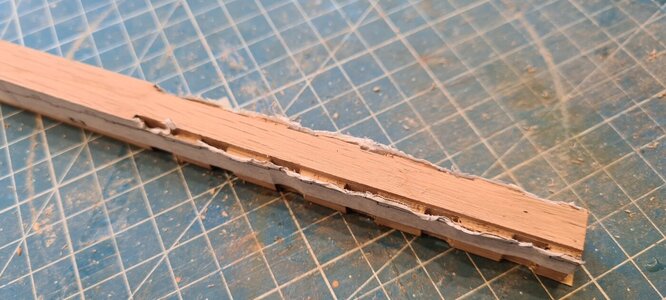
Actually I was referring to a milling bit, not engraving one. Something like: https://www.the-carbide-end-mill-store.com/20m5/drill-mills/60-degree-point.htmlGennaro meant this one https://nl.aliexpress.com/item/4000277849774.html?spm=a2g0o.detail.1000014.23.25511d45jBHMBo&gps-id=pcDetailBottomMoreOtherSeller&scm=1007.33416.213724.0&scm_id=1007.33416.213724.0&scm-url=1007.33416.213724.0&pvid=b08002db-4d68-4723-a5ea-27f5dce72ec6&_t=gps-idcDetailBottomMoreOtherSeller,scm-url:1007.33416.213724.0,pvid:b08002db-4d68-4723-a5ea-27f5dce72ec6,tpp_buckets:668#0#131923#0_668#888#3325#9_23416#0#213724#0_23416#4721#21967#751_23416#4722#21972#5_668#2846#8114#1999_668#5811#27189#89_668#2717#7558#186_668#1000022185#1000066059#0_668#3422#15392#833_4452#0#226710#0_4452#3474#15675#316_4452#4862#24463#354_4452#3098#9599#481_4452#5108#23442#344_4452#3564#16062#114
But good to see you take advice and try again. Another advice I can give you Ronald. Take your time and be patience.
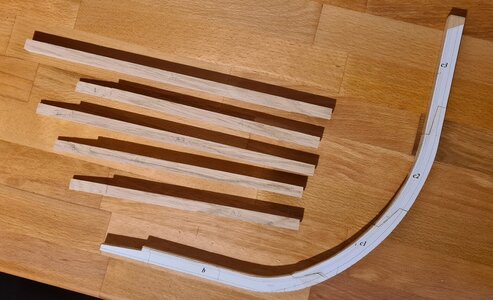
Very good - we all learn a lot also by made mistakes with rial and errors.There is one more thing I would like to share....
I like to share the problems I encounter during this project, and the solutions I try to overcome these. Therefore It will not be a report like the one from Michele Padoan who makes a really beautiful version of the Commerce with stunning updates on his progress... ( I do consult his report lots of times
I think this way by reporting my faillures next to my victories it can also give others idea's on how to do it better, or to prevent making the same mistakes I did.
And, I hope, it gives others the feeling to be part of this project by advising on how to proceed based on my report...
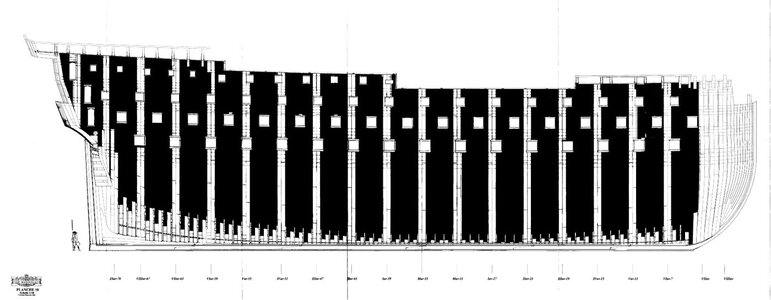

C'è qualcosa che vorrei chiedere per il tuo input.....
Come ho già detto, voglio lasciare un lato del modello aperto per mostrare l'interno. Michele ha fatto lo stesso, e io vorrei fare qualcosa di simile, ma un po' diverso. Michele ha lasciato aperte gran parte dei ponti, ho intenzione di chiuderli del tutto, quindi l'unico modo per vedere l'interno è dal lato aperto. Pertanto, questo lato deve essere il più aperto possibile, ma allo stesso tempo voglio ancora mostrare la curvatura dello scafo.
Nella foto qui sotto vi mostro un'idea approssimativa di cosa voglio lasciare aperta. Le uniche costole che rimarranno intatte sono le costole che hanno anche una nervatura interna (se capisci cosa intendo)...
View attachment 240491
Vorrei davvero chiedere il vostro contributo su questo. Mi mancano questioni importanti da prendere in considerazione, c'è un altro modo "più carino" per lasciare il lato aperto. Tutti i commenti/interni/idee sono ben accetti...
Hello, your representation is very good, fifths of elevation, while the other coasts limited to the floor and half floor. Also at the bow is fine, deviated coasts and oarlocks of cubia, while at the stern I would also do the ambush.
Thank you Michele and Uwe, I have to do a lot more research indeed.. I realized also the following... At what moment can I open up the side? I prefer to open it up while I am working on the details of the decks so I can access the decks from the top as wel as the side, but that would be a problem I think, will the hull be strong enough to hold the top of the side while I remove a very large part of the middle? And indeed, how about the deck beams... I noticed that the deck beams get support of a beam which is mounted alongside the rib's, so perhaps it is enough to mount these before I open up the side and the hull will still have enough support...Maybe you should take also the deck beams (visible will be definitely the inner clamps where the beams are laying) into account, as well the possible outside planking (f.e. wales) you want or have to make?
Before you make a final decision I would define which areas of the ship you want to plank (in combination with gunports)
Also be aware, when leave the complete side of the vessel open, that you have to make the entire interior..... it is a very complex question and I am pretty sure, that decisions are not easy to make. Definitely you should think about all consequences ...... and we would be happy to assist you in such a brain-storming
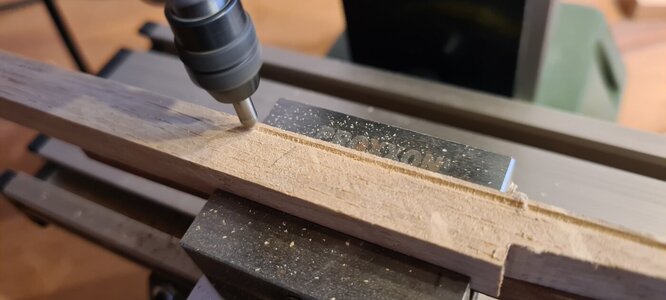
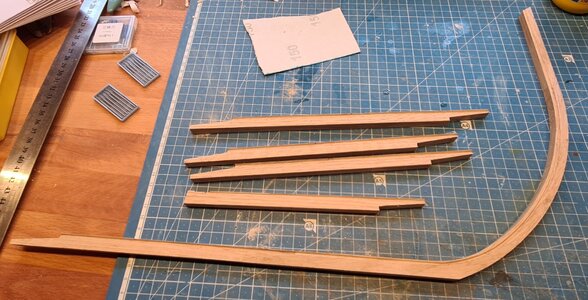
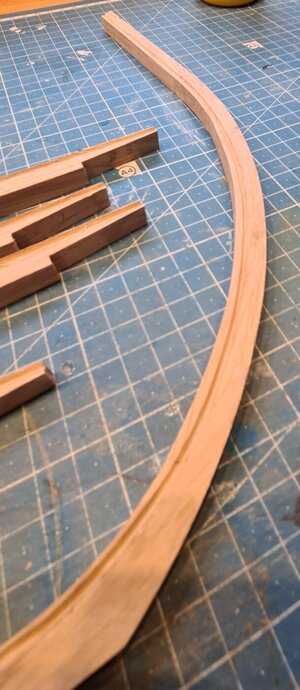
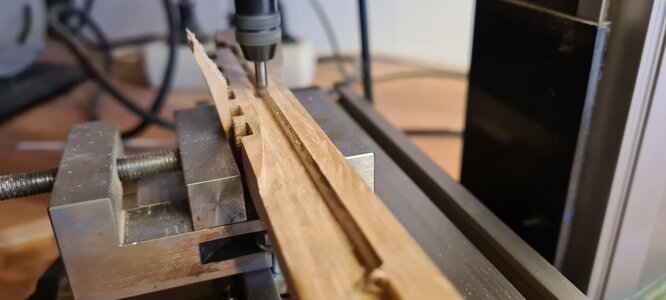
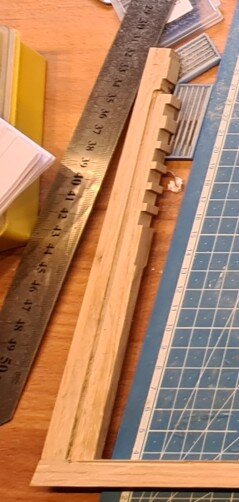

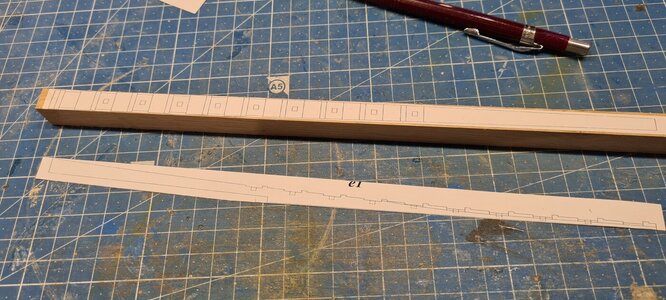
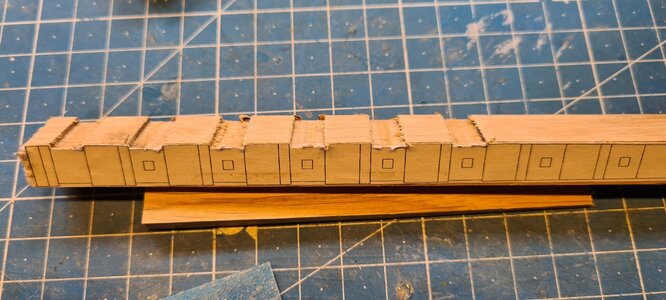
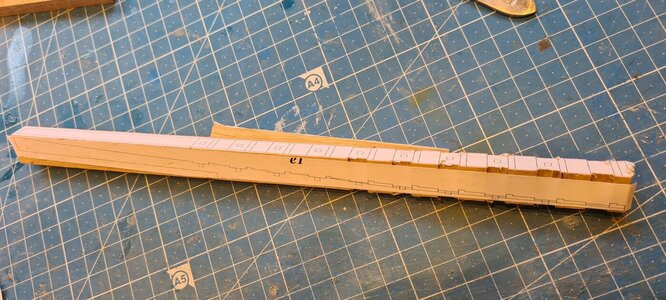
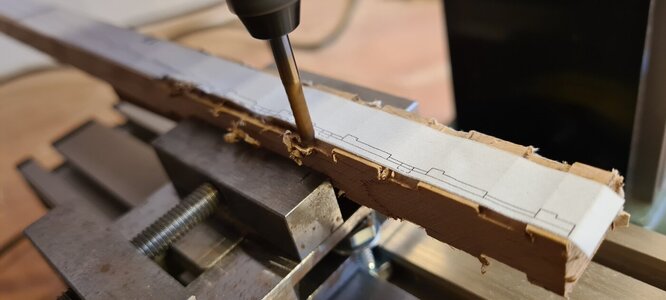
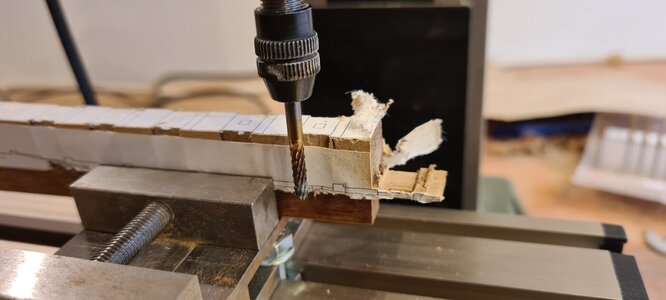
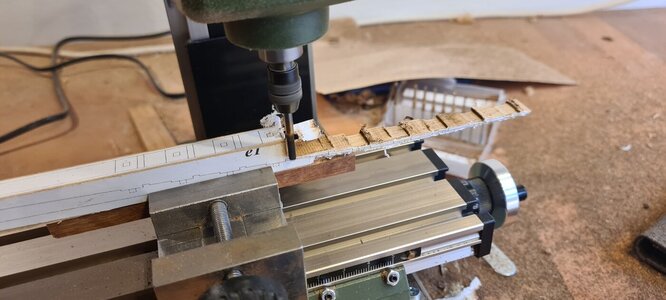
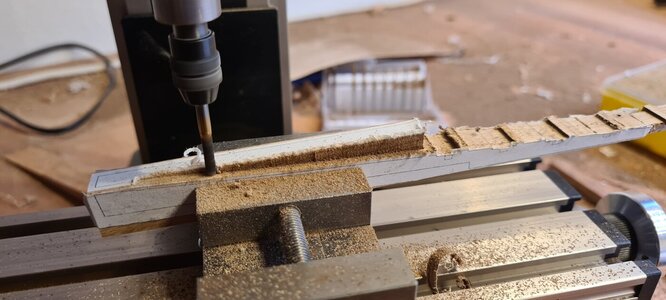
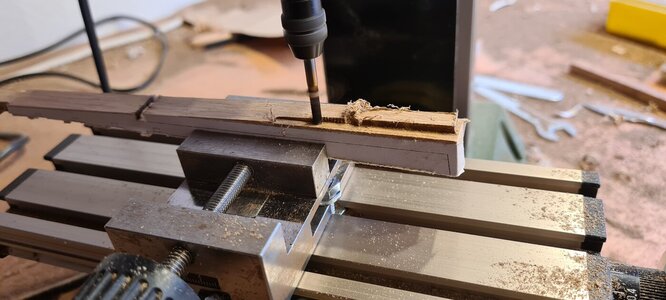
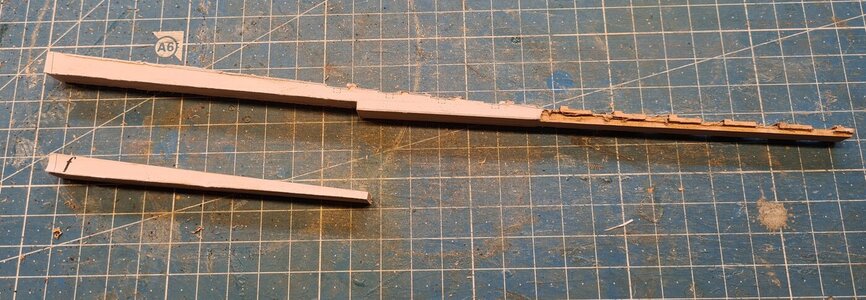
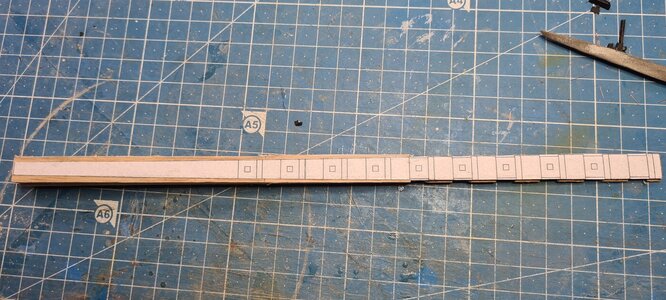
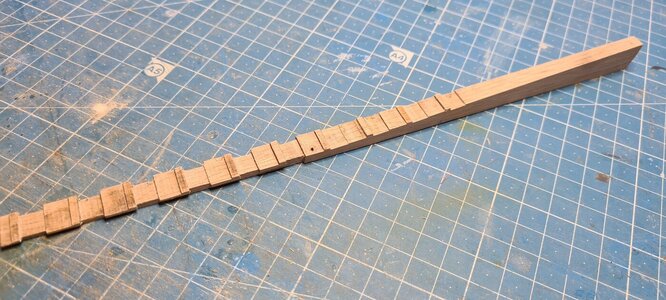
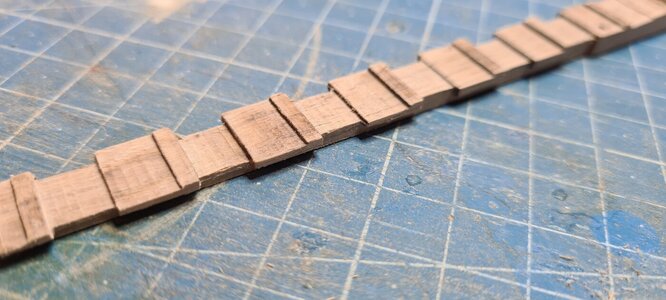
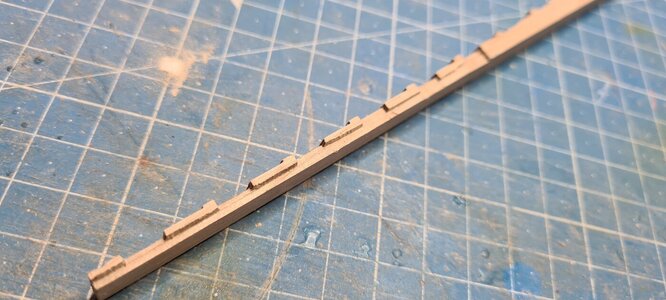
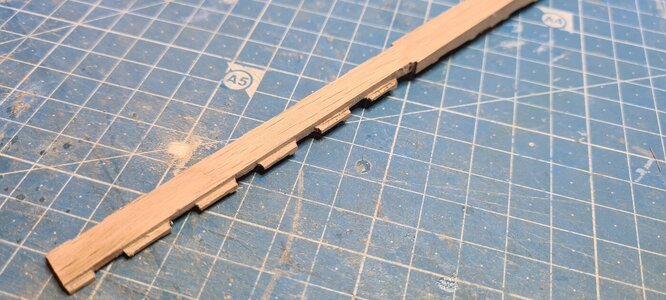
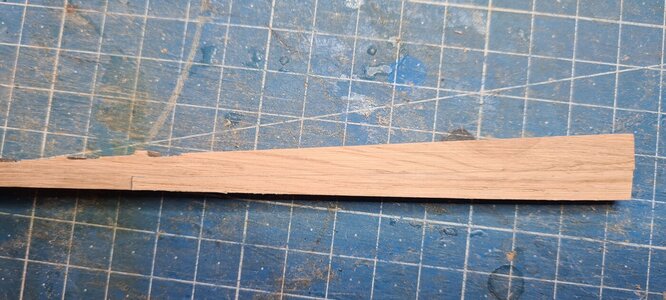
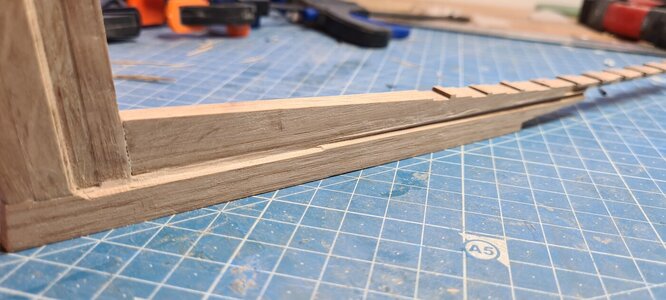
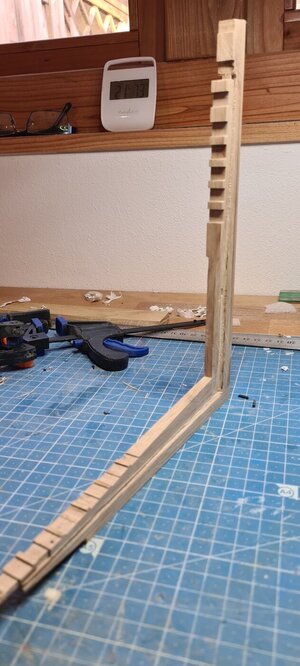
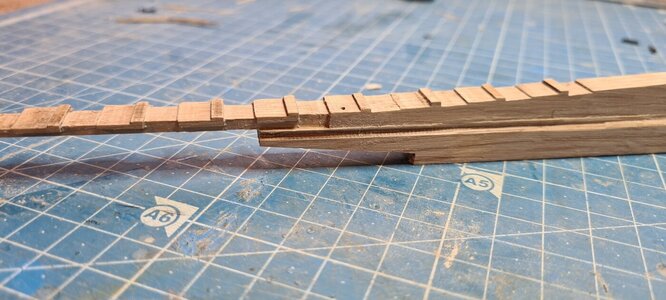
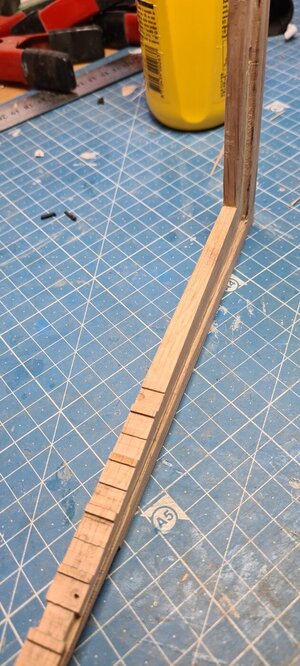
Hi Gennaro, in fact, this was not too difficult. It all goes into a straight line. The only problem was that nothing was parallel so I had to use wedges to clamp the keel in the milling machine and this I had to do all just on sight....Looking really good! Much better than previous attempt. How did you go about cutting rabbet along the stempost? Tricky bastard to cut for sure.
This almost sounds like you knew much better of what I was up against then I did...Very good work with your new "toys" - I am looking forward to see the final milled steps on the keel
