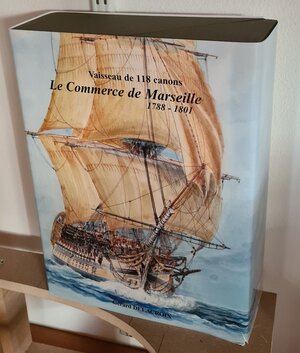
Le Commerce de Marseille 1788 - 1801 scale 1:48 from Gerard Delacroix

Joined
Nov 3, 2020
Messages
113
Points
213

Location
Netherlands
Finally I can start this thread where I can share my progress on a project I wanted to start a long time ago... Ever since I saw the plan's of this ship I was attracted to it. I love three-deck galleons and this is really a beauty. I decided to build it in scale 1:48 instead of 1:72 to be able to add al lot of detail... But to be honest, I don't think I can finish this ship. It probably is to complicated, to many problems to overcome. The main reason to start it however, is to challenge myself and see how far I will be able to build this model, that is the adventure....
I do have a big advantage because on this forum there are 2 threads describing the building of this ship.

I prepared this project first by creating a room that I can use as a workshop.
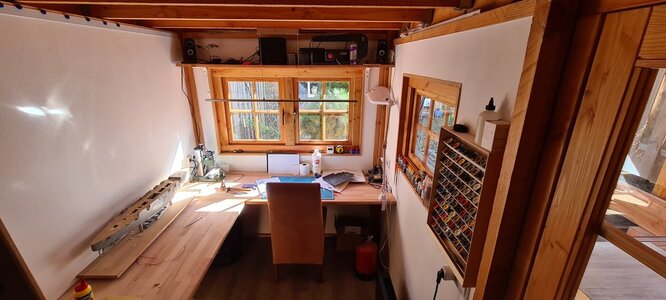
20210314_133148 (1).jpg

Second I bought some tools I think is necessary for the job, a byrnes tablesaw and a Proxxon MF70 milling machine.... And ofcourse, ordering the plans from ancre.fr...
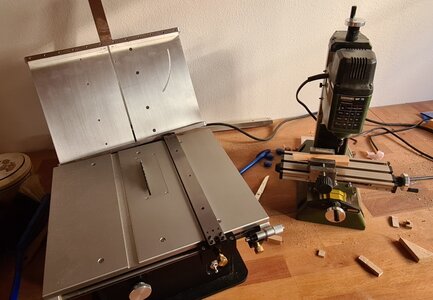
20210613_200337 (1).jpg
20210613_200514 (1).jpg

So, let's get started :)
 
The Commerce is really a cool ship and also a very good planset.
And here are a lot of modelers, who will follow your progress with big interest, and also we have several members and friends, who will be happy to help, assist and comment - so let us try all, that this ship will be finished.
Everything is prepared - you have the room reserved for this job (very important) and the most important tools - the rest is time - and this we have
I will follow your log with big interest, so please update as often as possible
 
Dear Ronald
thanks that you're share with us this entrusting project :)
Have a lot of success in the interesting project you are getting into.Thumbsup
I will follow with great interest,
 
Welcome to SOS @Ronald . IT is great to see another modelbouwforum.nl member here.
Hello Heinrich, you also here :D
Yes, in my search for information on the Commerce I came across this forum where there are some very good reports building this model, and I really have the feeling reading the reactions so far that I can get help here also in the challenge I started. And also the fact that here is an international community sharing the same passion is very appealing to me :)
 
Last edited:
Thank you all for your interest in this project! Like I said, I feel this project actually is too much for me and I will ask some questions that will sound stupid I guess but please forgive me :)

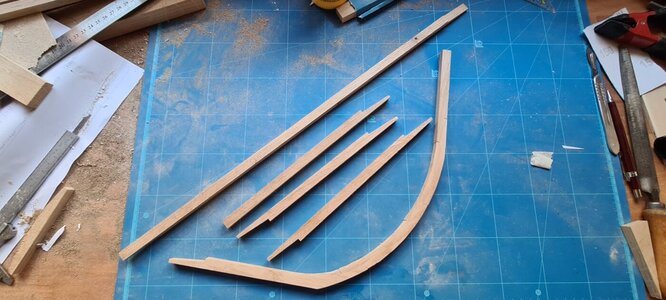
I have some progress to report, I made the keel-parts (excuse me for not knowing the english maritime terms, I also don't know the dutch terms)....
20210614_183413 (1).jpg
20210614_170742 (1).jpg

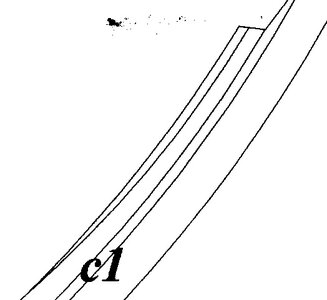
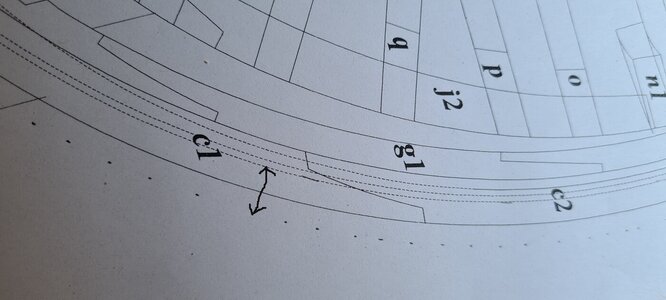
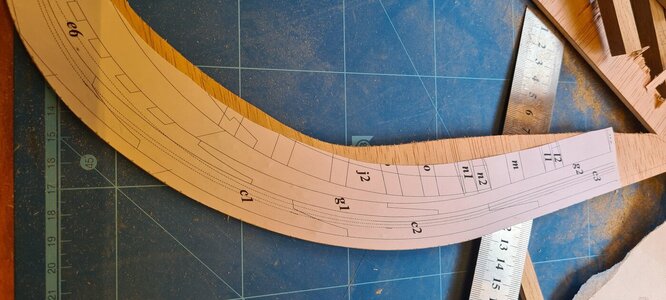
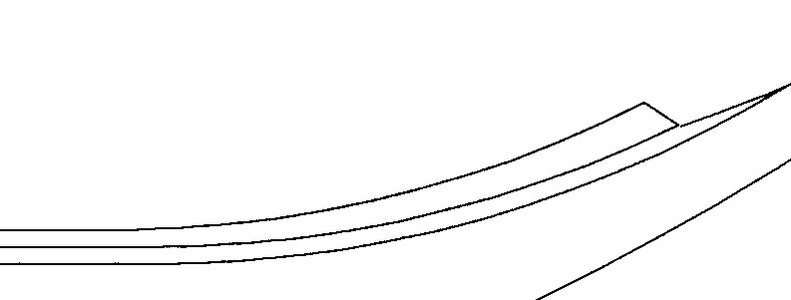
And now I am faced with my first challenge... The keel needs a notch over the entire lengte which would not be a problem if the angle of the notch would be constant, However, in the curve the angle changes (it flattenes a bit), see pictures below:
doorsnedede1.jpgdoorsnede2.jpgdoorsnede3.jpg

I think I know a way to add the notch, but I have no idea how to change the angle of the notch at the same time (looks likt the angle flattenes a bit upwards in the curve. Does anyone have some advise in this matter?
 
Nice to see you here too. Here you will find a lot of answers to this kind of build. Welkom Ronald
 
Here is another scratchbuild of this model. Bit smaller but maybe helpfull.
 
Hello Ronald.

I'm planning to build my first POF model. I'm still trying to prepare my work shop just as you did. I haven't managed to start the project for some reasons (mainly COVID-19) but following similar projects like yours. So I will be following your log with big interest.

You can find @Michele Padoan's La Commerce De Marseille here in SOS. Maybe his log will help you.


Best Regards

Bilal
 
There are different ways to make the rabet along the entire keel - and it is depending on the tools the modeler has available.
In my opinion it is also depending on the used timber of the keel and also how accurate you want to have it.
If the rabet will be later on visible or not, so do you want to plank the hull completely or will be some parts at the end not planked.
When you have good quality timber for the keel, f.e. pear wood, you can cut the rabet with the use of good and sharp chisels - with patience and no hurry.
This is the way I am preparing the rabet.
When you plan to plank the complete hull, think about which joints or areas of the rabet will be finally visible, here you have to work much more careful and accurate - just my two cents
 
Hi Ronald,

You can use your mill to create an equal rabet all along the keel. Then you determine the angle at some of the forward and aft frame positions along the keel and scrape it with a razor blade from middle to foward and from middle to aft using the rabet as a guidence into the correct angle.

This is as I do it, maybe there are more clever ideas. :)
 
Thank you all for your advise, it really helps me...
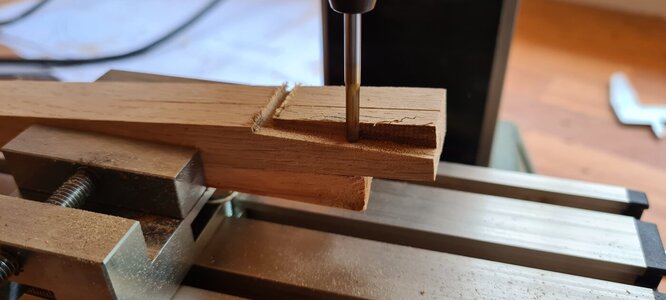
@Uwe, the wood I use is oak, so I guess would be suitable for your solution. However, I admit I rather not use chisels to create a rabet of more then 2,5 metres long (both sides), therefore I dit use the millingmachine to create the rabit with the same angle along the entire length, and I followed the outer line so I only have to adapt the inner side of the rabet. I think this comes very close to the idea Maarten mentioned.
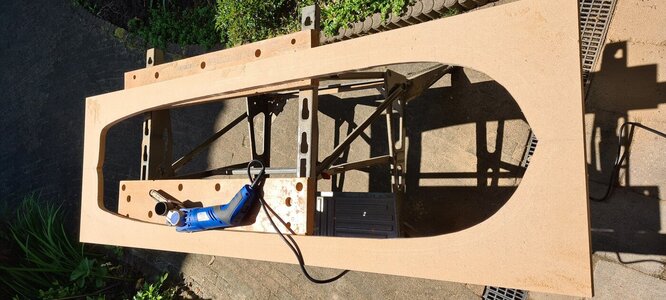
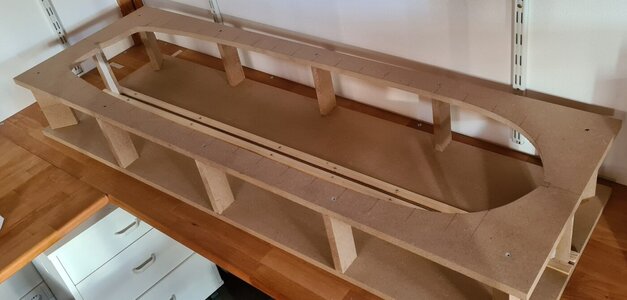
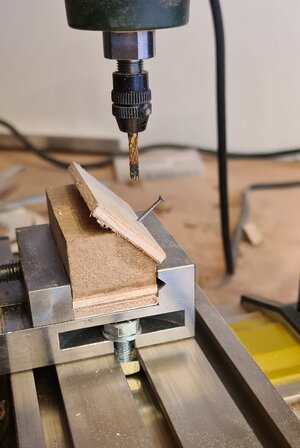
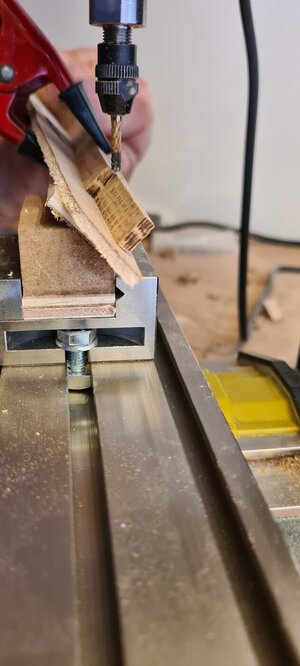
So I created a mold wich followes the outer line and a tool in de millingmachine to support the mold (I think the photos explanes it better then I can...
20210616_121555 (1).jpg20210616_123954 (1).jpg
20210616_132858 (1).jpg
20210616_133112 (1).jpg

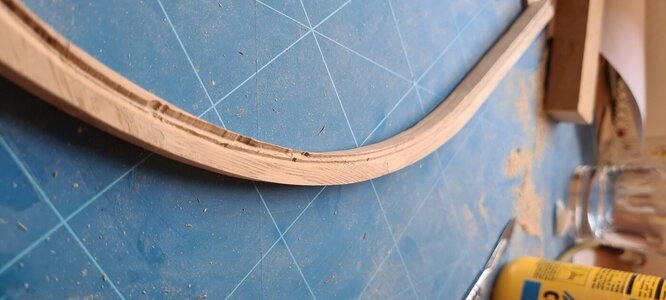
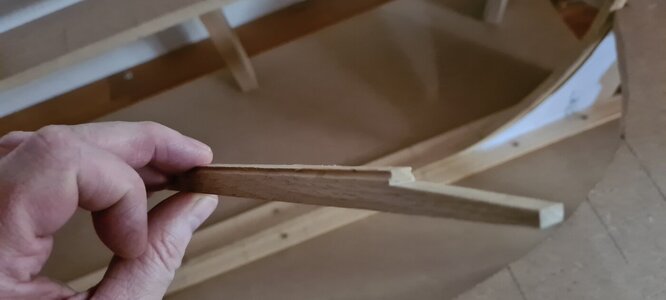
I think the idea is solid, however, the execution is not...
The first line on starboard went totally wrong, to much on the inside. I later corrected it but the damage was already done..
20210617_170843 (1).jpg

Port wend a little better (experience of the first time)
20210617_170854 (1).jpg

And the rest was not too difficult...
20210617_171727 (1).jpg

But what I learned is:
1 - Don't mill the rabet in one pass. even if it's a little one, it creates to much pressure and therefore to difficult to maintain a proper positioning on the mold, And you won't get an opportunity to fix little accidents..
2 - Create a mold that is large enough to create more stability

Now I have to create the aft part (near the rudder)...
 
Thank you all for your advise, it really helps me...
@Uwe, the wood I use is oak, so I guess would be suitable for your solution. However, I admit I rather not use chisels to create a rabet of more then 2,5 metres long (both sides), therefore I dit use the millingmachine to create the rabit with the same angle along the entire length, and I followed the outer line so I only have to adapt the inner side of the rabet. I think this comes very close to the idea Maarten mentioned.
So I created a mold wich followes the outer line and a tool in de millingmachine to support the mold (I think the photos explanes it better then I can...
View attachment 239415View attachment 239416
View attachment 239417
View attachment 239418

I think the idea is solid, however, the execution is not...
The first line on starboard went totally wrong, to much on the inside. I later corrected it but the damage was already done..
View attachment 239419

Port wend a little better (experience of the first time)
View attachment 239420

And the rest was not too difficult...
View attachment 239421

But what I learned is:
1 - Don't mill the rabet in one pass. even if it's a little one, it creates to much pressure and therefore to difficult to maintain a proper positioning on the mold, And you won't get an opportunity to fix little accidents..
2 - Create a mold that is large enough to create more stability

Now I have to create the aft part (near the rudder)...
You might get better results if you used 60 degree milling bit and run it flat instead of on angle.
 
Back
Top