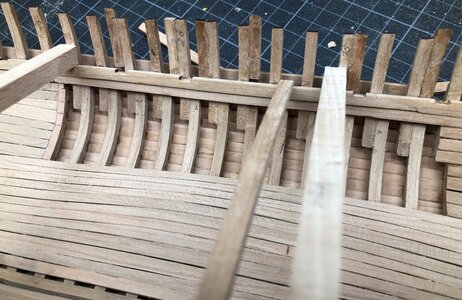
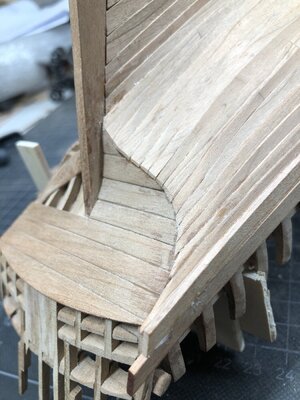
Grosses Kino Uwe. I must say that Caf planking and your excellent work on it really pays off. Must be rewarding to start sanding and oiling.
-

Win a Free Custom Engraved Brass Coin!!!
As a way to introduce our brass coins to the community, we will raffle off a free coin during the month of August. Follow link ABOVE for instructions for entering.
-

PRE-ORDER SHIPS IN SCALE TODAY!
The beloved Ships in Scale Magazine is back and charting a new course for 2026!
Discover new skills, new techniques, and new inspirations in every issue.
NOTE THAT OUR FIRST ISSUE WILL BE JAN/FEB 2026
- Home
- Forums
- Ships of Scale Group Builds and Projects
- Le Coureur 1776 1:48 PoF Group Build
- Le Coureur 1776 1:48 Group Build Logs
You are using an out of date browser. It may not display this or other websites correctly.
You should upgrade or use an alternative browser.
You should upgrade or use an alternative browser.
LE COUREUR - french Lugger 1776 - POF kit from CAF in 1:48 by Uwe
Many Many Thanks for all your comments and given likes - really motivating and highly appreciated
But definitely it is necessary, that the upper inner beam clamps are completely installed and I guess also the temporary stiffener "beams" are helping.
Also the already installed inner planking is helping very much
BTW: I had to risk it anyhow, due to the fact, that I plan not to plank the other side not completely, so there is a view to the interior via the space between the frames possible - so most of the upper planks of the other side will be not installed.....
take a short look at the following photo
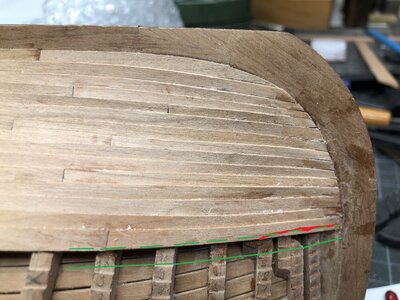
You can see, that the width of the last installed plank directly at the stem is appr. double, than the width of the plank before
along the red line I reduced the width with a sharp knife and chisel so that the new next plank can lay with original width next to the old plank.
This will be repeated with the next plank and so on.
In general I tried to have finally the same plank width at the bow, but unfortunately I was not able to do so. So I am not really 100% happy about the result
I am pretty sure, that with my next clinker build ship I could do it better - It is really a learning experience.
I will see how I will manage it on the other side of the hull, because I think that the bow and stern area will be completely also planked- There are two possibilities:
1) to make the planking more or less exactly the same like the first side - to have the same planking pattern on both sides - visible when you look at the model from the bow
or
2) to make the planking more correct with similar plank-width etc...... so from the sideview the planking pattern of the model is looking more correct.......
I would be happy to get some comments and opinions about your thinking.....
I will see. In moment I am starting to think about how much and which area of the other side should be planked.......
A good point and often problematic, especially in POB-builds. I checked it two three times in between and I did not recon any distortion until now.Großartig!
Don't you fear a distortion of the hull by planking first one side totally and then the other?
Karl Ingwer
But definitely it is necessary, that the upper inner beam clamps are completely installed and I guess also the temporary stiffener "beams" are helping.
Also the already installed inner planking is helping very much
BTW: I had to risk it anyhow, due to the fact, that I plan not to plank the other side not completely, so there is a view to the interior via the space between the frames possible - so most of the upper planks of the other side will be not installed.....
at the stem close to the bow you have to reduce the width of the planks anyhow.Lovely! Could I ask how you managed to get the plans butting up against the stem post so close? Did you require filter at all? Most of mine are within .5mm but one has a bit more of a gap.
take a short look at the following photo

You can see, that the width of the last installed plank directly at the stem is appr. double, than the width of the plank before
along the red line I reduced the width with a sharp knife and chisel so that the new next plank can lay with original width next to the old plank.
This will be repeated with the next plank and so on.
In general I tried to have finally the same plank width at the bow, but unfortunately I was not able to do so. So I am not really 100% happy about the result
I am pretty sure, that with my next clinker build ship I could do it better - It is really a learning experience.
I will see how I will manage it on the other side of the hull, because I think that the bow and stern area will be completely also planked- There are two possibilities:
1) to make the planking more or less exactly the same like the first side - to have the same planking pattern on both sides - visible when you look at the model from the bow
or
2) to make the planking more correct with similar plank-width etc...... so from the sideview the planking pattern of the model is looking more correct.......
I would be happy to get some comments and opinions about your thinking.....
I will see. In moment I am starting to think about how much and which area of the other side should be planked.......
Frame No.1 which I forgot before I finished the planking - so please install it before you come to this level of planking
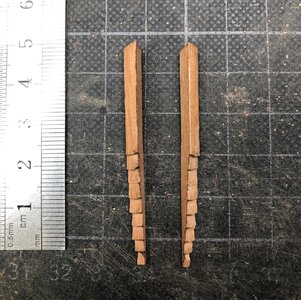
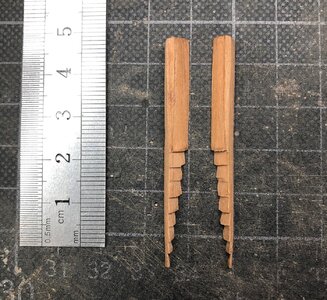
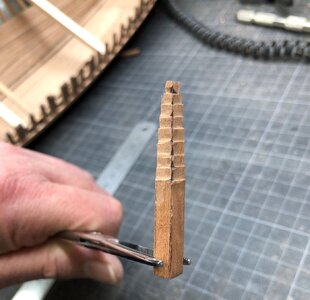
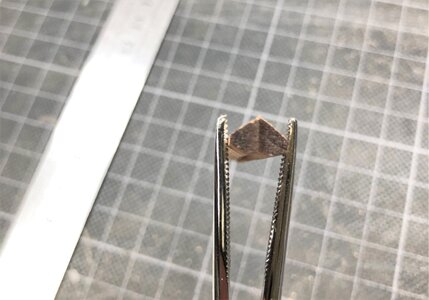
Here it should be - but too late
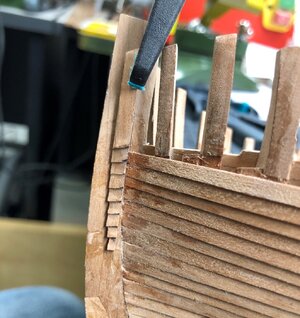
Therefore on the planked side I cut the frame just abouve the steps - now I have a better basis to install the wales
Additional remark: you can see, that my frame No.3 sits too high -> good that I use usually water based wood glue ! On the planked side it is too late for a change
frame No.1 installed - frame No.3 still too high
I was able to open the glue with some water and installed back frame No.3 in the correct height - Now it is looking much better


Here it should be - but too late

Therefore on the planked side I cut the frame just abouve the steps - now I have a better basis to install the wales
Additional remark: you can see, that my frame No.3 sits too high -> good that I use usually water based wood glue ! On the planked side it is too late for a change


frame No.1 installed - frame No.3 still too high

I was able to open the glue with some water and installed back frame No.3 in the correct height - Now it is looking much better

Many Thanks for all your comments and likes
Starting with the two rows of wales on the planked side.
In order not to get a small gap between plank row 3 and the wales, I installed the wale also slightly overlapping with the plank.
you can never have too much clamps
btw you can see also here one advantage of clinkered planking !
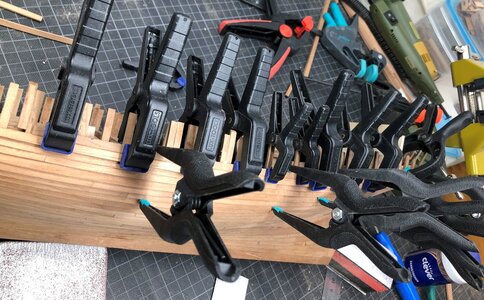
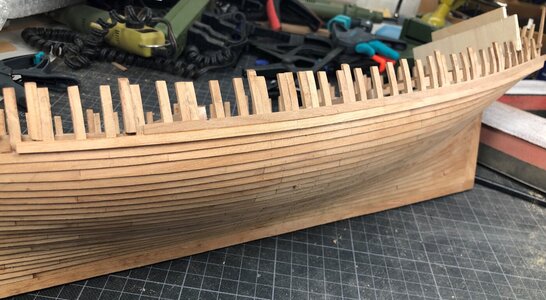
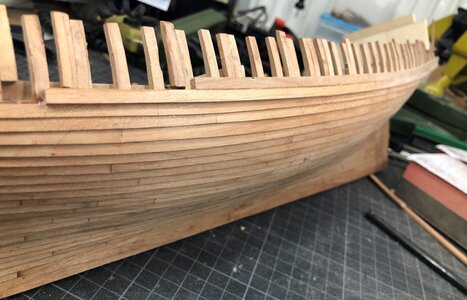
Starting with the two rows of wales on the planked side.
In order not to get a small gap between plank row 3 and the wales, I installed the wale also slightly overlapping with the plank.
you can never have too much clamps
btw you can see also here one advantage of clinkered planking !


Really very nicely done, absolutely clear despite the many clamps. Very instructive and I'm looking forward to getting there myself.
Well, that explains my problem! I don't have enough clamps! Or skill. Or experience. But I do have a sense of humor so that makes everything better...Many Thanks for all your comments and likes
Starting with the two rows of wales on the planked side.
In order not to get a small gap between plank row 3 and the wales, I installed the wale also slightly overlapping with the plank.
you can never have too much clamps
btw you can see also here one advantage of clinkered planking !
View attachment 207103
View attachment 207106
View attachment 207107
It looks indeed very good my friend 

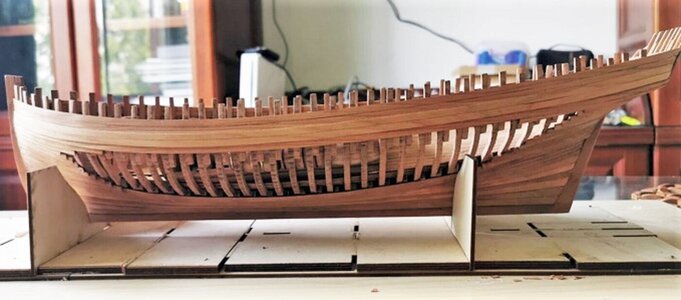
In the meantime I started to think about how much and where I will close the hull with planks and where the hull will be open.
I was thinking to prepare a template photo(s) of the hull as a help and basis for my decision, so I made this time some photos with my camera and not with the I-phone - with higher resolution and depth of field.....
But before some more impressions of the planking with this camera - you realize maybe, that I like the clinker planked hull very much
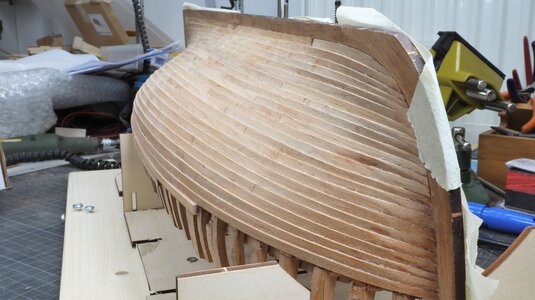
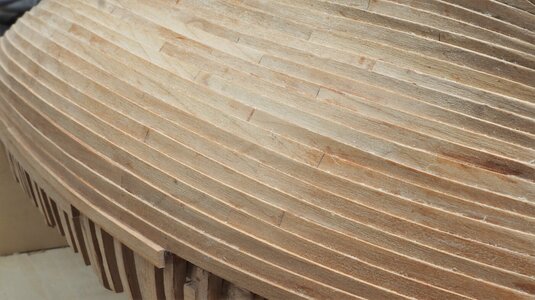
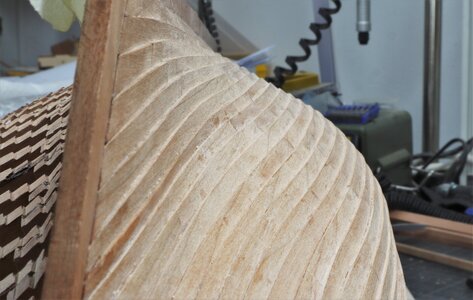
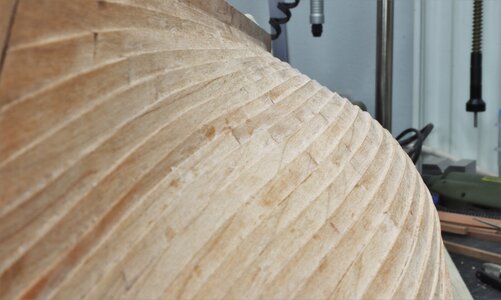
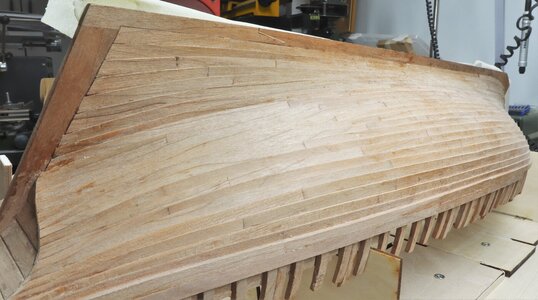


How to plank the other side?
or better
Plank or not to plank?!? This is now the question
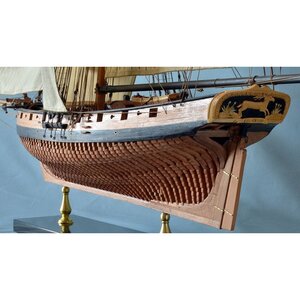
This is how the CAF-model was done - I found this one in the topic
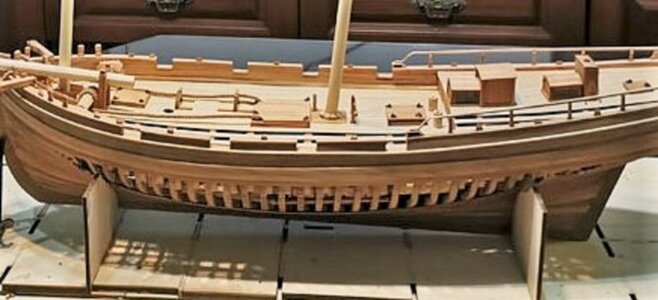
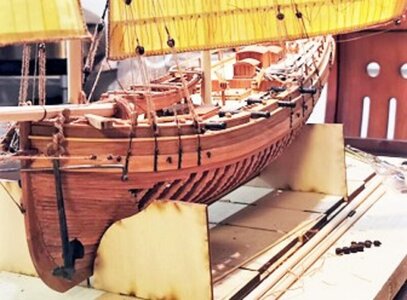
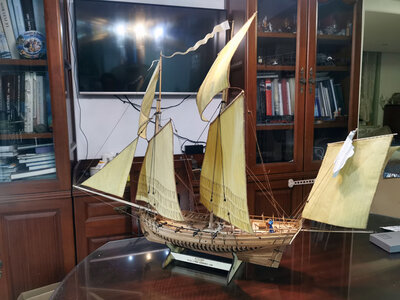
It is looking like plank 3 under the wales and also the complete plank row appr. 14 to 25
and the rows 4 to 13 are only directly at the stern and at the bow planked - looking nice
I tried to cover the frames with a tape appr. similar, but left the structure aft visible
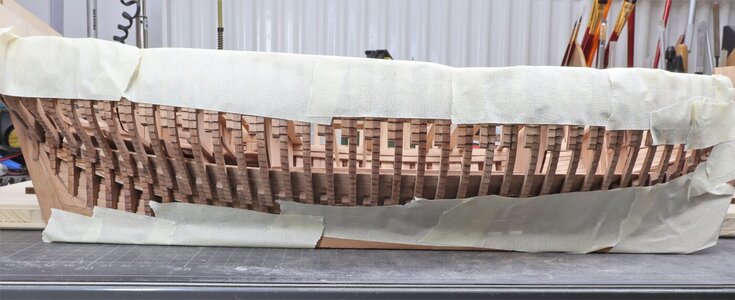
Off course it will be nice to see the frame structure near the stern - but somehow all together it is not looking very balanced
What do you think? Comments are welcome
You can see, that I put once more the interior elements into the hull, so to see the parts of the interior, which will be slightly or partly visible
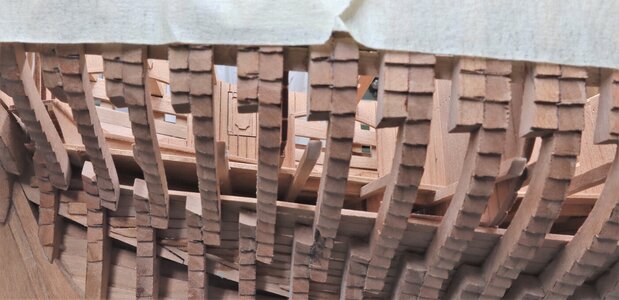
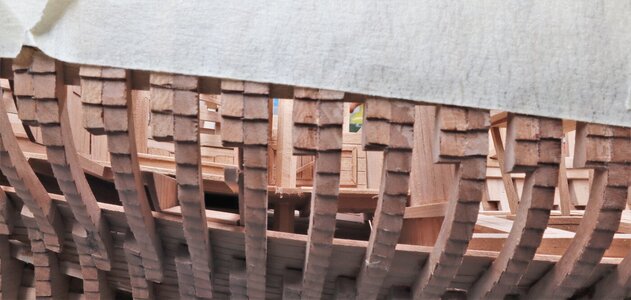
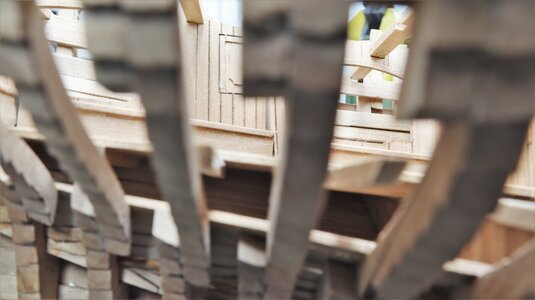
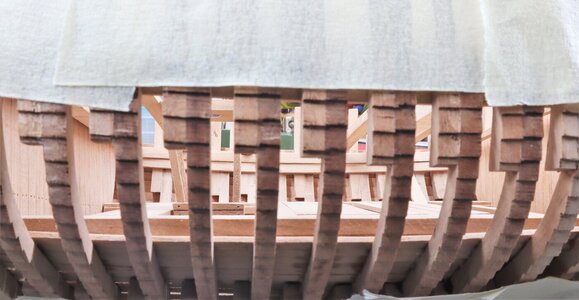
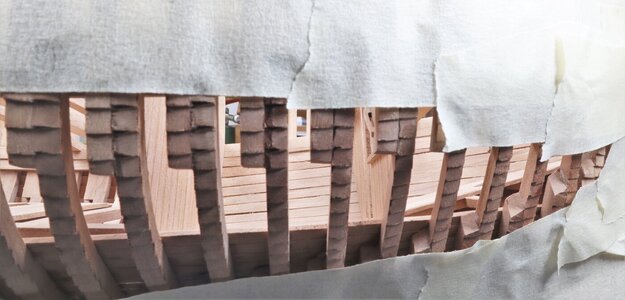
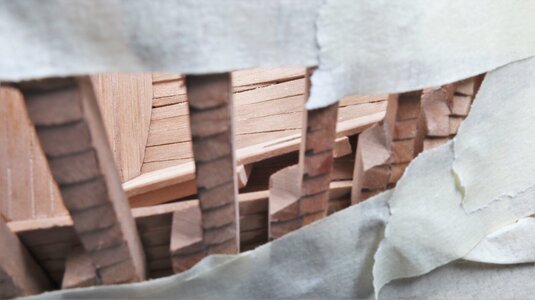
or better
Plank or not to plank?!? This is now the question
This is how the CAF-model was done - I found this one in the topic


It is looking like plank 3 under the wales and also the complete plank row appr. 14 to 25
and the rows 4 to 13 are only directly at the stern and at the bow planked - looking nice
I tried to cover the frames with a tape appr. similar, but left the structure aft visible

Off course it will be nice to see the frame structure near the stern - but somehow all together it is not looking very balanced
What do you think? Comments are welcome
You can see, that I put once more the interior elements into the hull, so to see the parts of the interior, which will be slightly or partly visible


Last edited:
another way would be a completely un-planked side, similar to this scratch model of the La Cerf
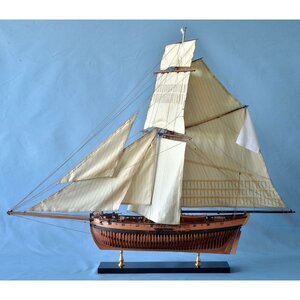
photos from the ancre web-page of the monographie from Jean Boudriot of the Le Cerf

 ancre.fr


photos from the ancre web-page of the monographie from Jean Boudriot of the Le Cerf

MONOGRAPHIE DU CERF - Cotre - 1778 - Ancre
CUTTER LE CERF BUILD BY DENYS 1779-1780 A MONOGRAPH with eleven plates at 1:48 scale
I think the decision is not easy. But when I look at it, I like the CAF variant quite a bit. As with Le Cerf, leaving out all the planking on one side looks like a skeleton in my opinion, which is reinforced by the clinker interlocking. But that is a matter of opinion. Leaving only the stern part free actually looks unbalanced.
It is one of the tough decisions. I like both variants, but slightly (really small margin) towards CAF completion as it looks more finished.
I'm also in favour of Tom's 'design'.
I sfully agree that leaving the stern section more open than the bow section would not look good. Completely unplanked up to the wales also looks nice but IMO that requires also fewer planks on the inside of the frames (besides, all the frame steps should be very accurate and clean from all laser char)
I sfully agree that leaving the stern section more open than the bow section would not look good. Completely unplanked up to the wales also looks nice but IMO that requires also fewer planks on the inside of the frames (besides, all the frame steps should be very accurate and clean from all laser char)
I like the fully open version a lot. BUT one would have to fully re-work the stepping to make it presentable,( at least on my model) ie no char and clean defined steps. On the other hand partial planking has it's charm also but to leave the stern open, well it doe's look unbalanced Uwek. . Perhaps some staggered planking in the mid section aft, between the two might look interesting.
Many thanks to @pianoforte , @Jimsky , @PoulD and @jeep for your comments and opinions - much appreciated -> So I think I will follow more or less the way CAF made on their model the planking
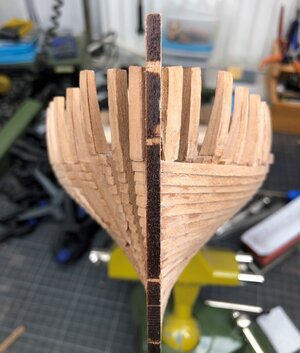
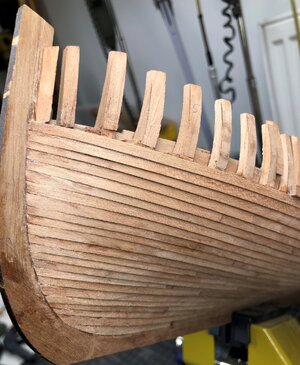
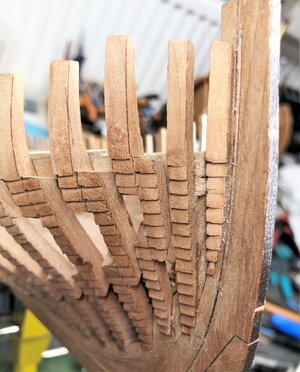
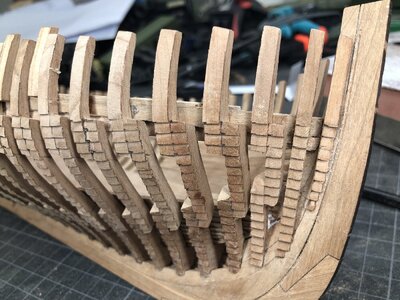
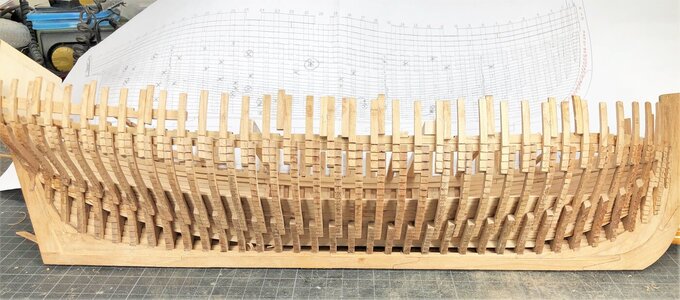
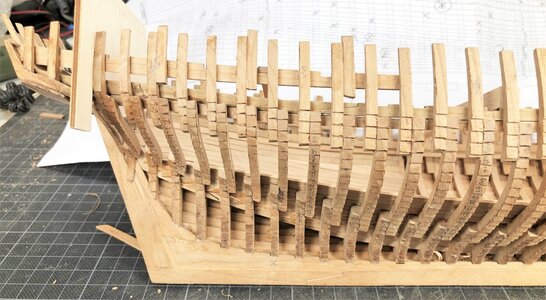
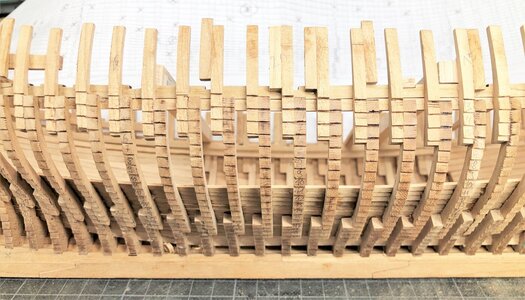
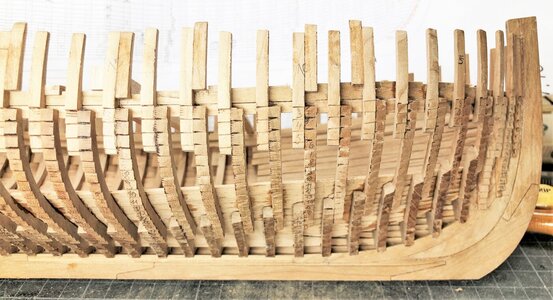
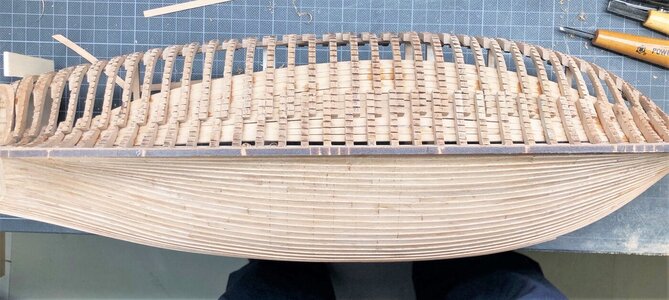
Attached you will find some photos of the framing, which I will use for a rough planning of the planking. I printed these photos and will mark with some textmarker or similar the areas, which will be planked - I will show the result asap
For everybody who wants to do it similar and want to try for their model, please feel free to use these photos as a basis - I brightened the photos, and also the numbers of the planking rows (3 to 25) are marked on every 5th frame


