Many Thanks for all your comments, kind words and all the likes received - highly appreciated
The deck planking works are going on
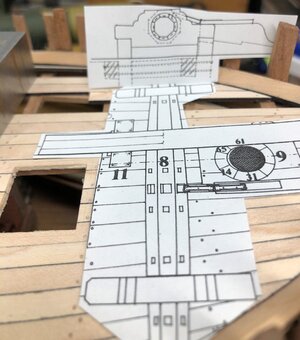
like on the other deck I prepared some sheets of planks glued together, once more with the "painted" caulking in the joints
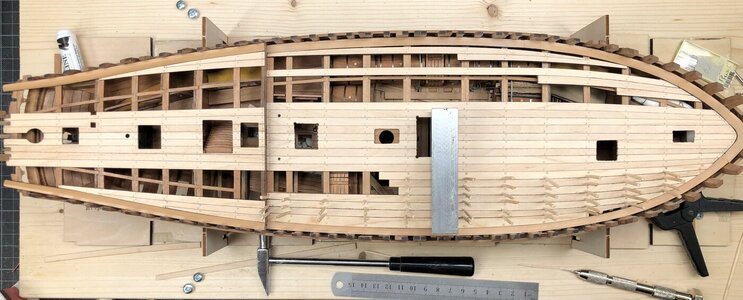
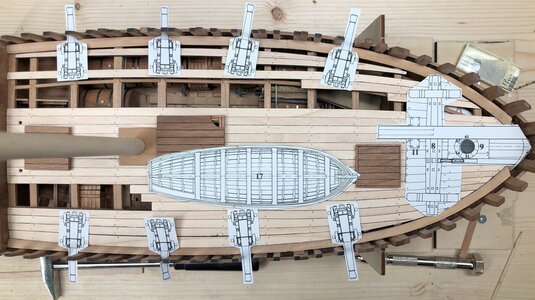
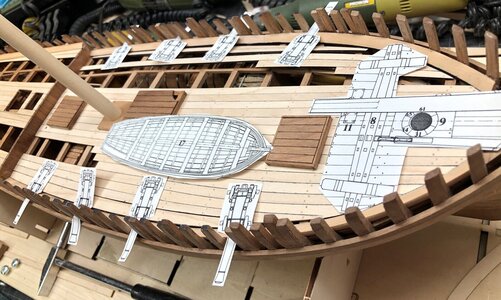
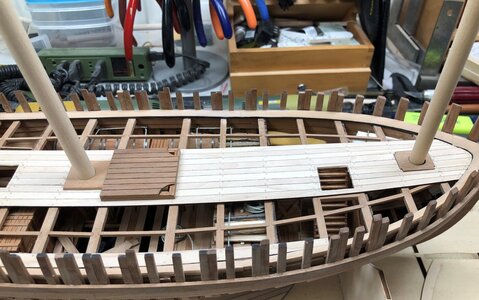
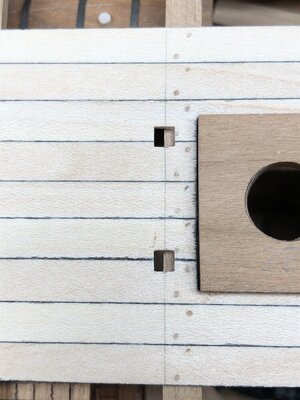
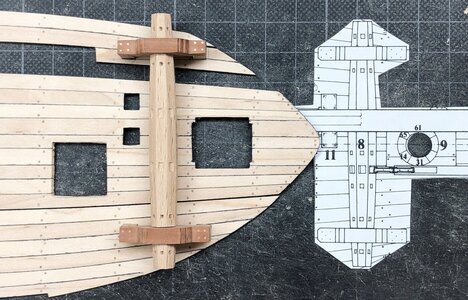
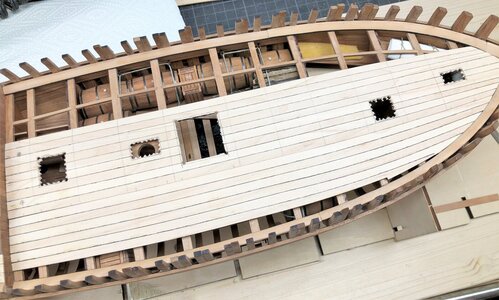
On this photo you can see already two sheets, on the middle one with 9 planks, I marked already the center lines of the beams as preparations for the treenailing and the appr. areas of the deck openings for the hatches and and mast partners

the sheets are already adjusted to fit in between the waterways
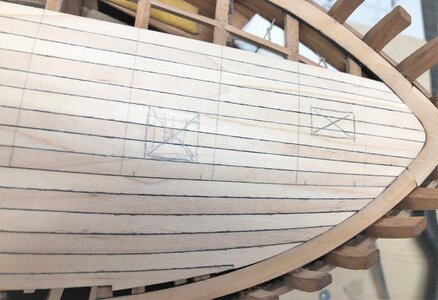
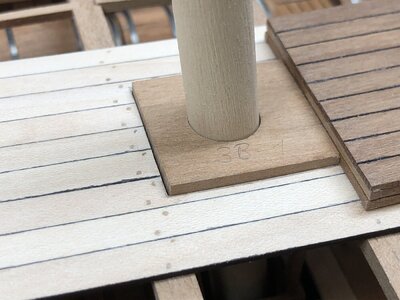
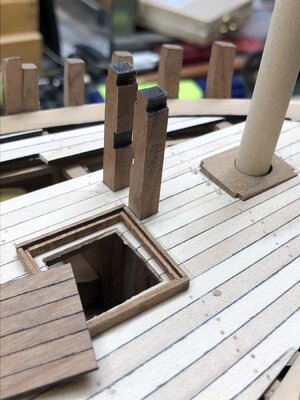
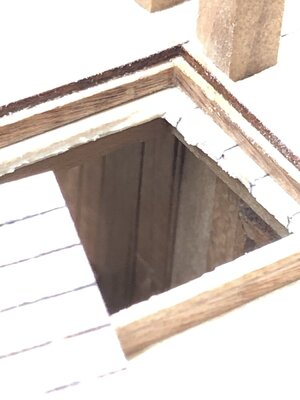
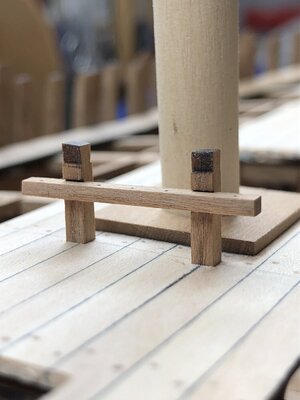
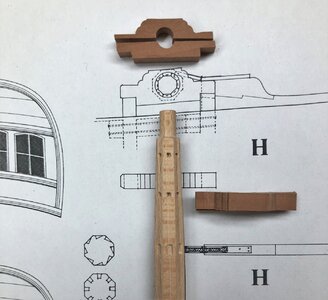
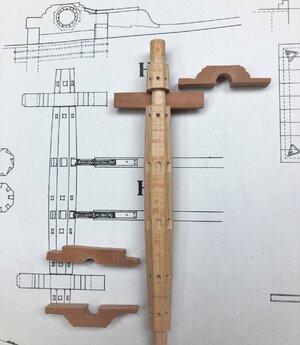
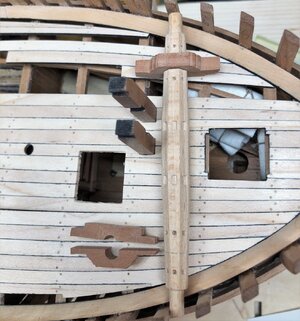
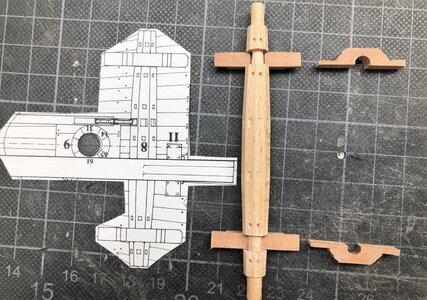
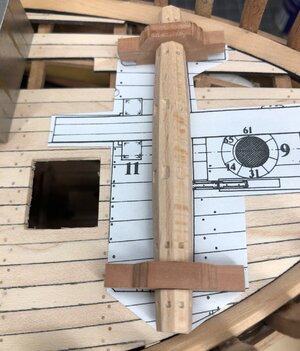
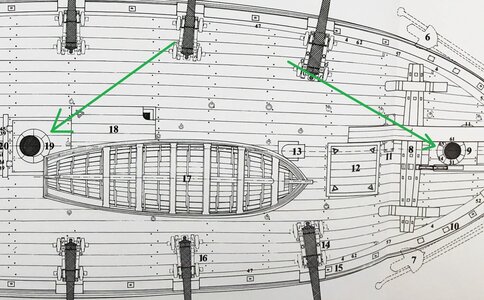
the openings are already precut. Such works are much easier to make, before the planks are glued and fixed on top of the beams - important is only not to forget any of them (so do not forget the mast-partners, the bitts, the chimney of the oven and the pumps)
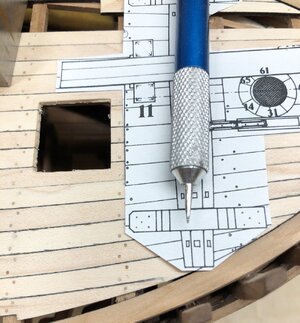
ongoing treenailing with the same technique like on the other deck described some days before
the first 50% of nails
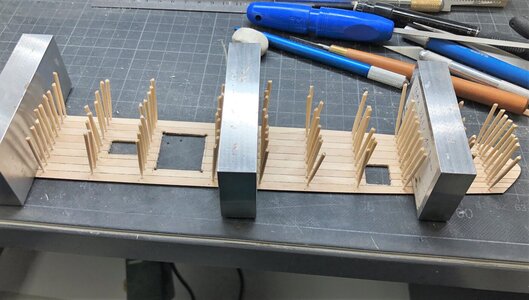
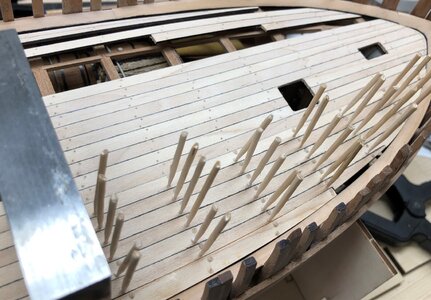
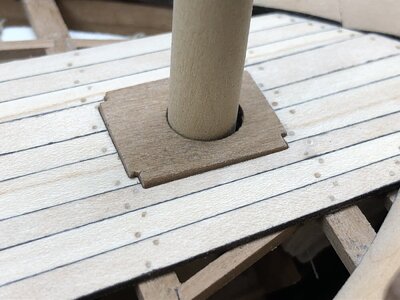
and the rest of the nails - with this sequence of installing my fingers have enough space to hold the toothpicks during "nailing"
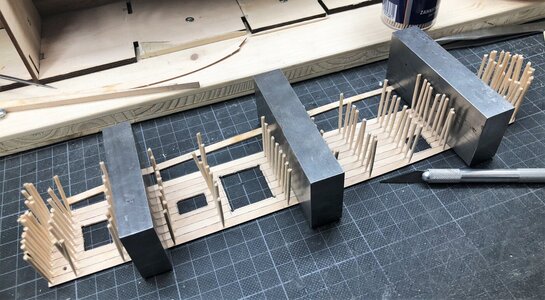
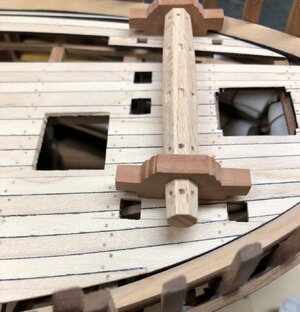
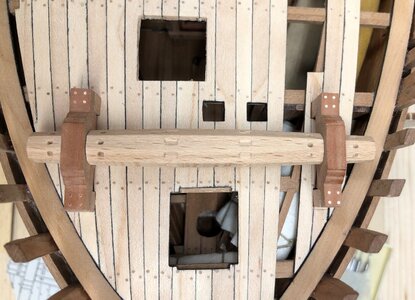
one sheet the treenailing is done (without sanding and scraping) - the other sheets is still waiting for the nails
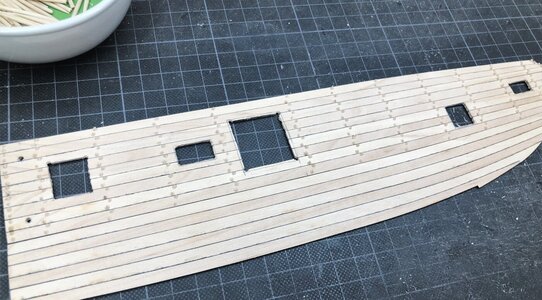
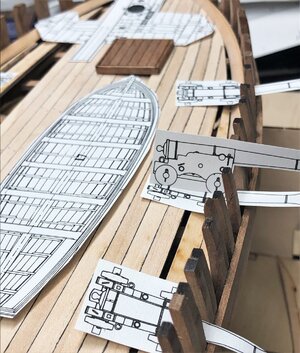
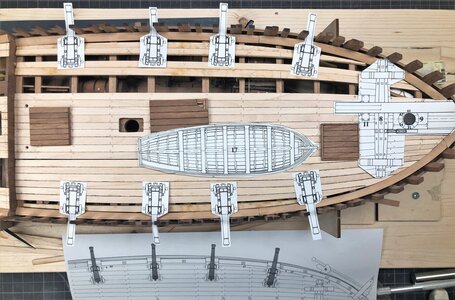
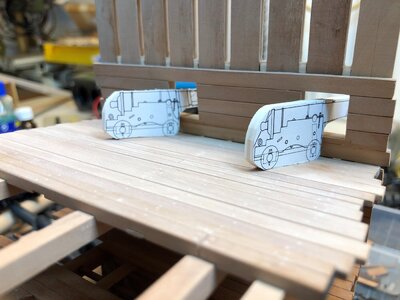
Many Thanks for your all interest .... to be continued - the next post will show the first guns on the deck


The deck planking works are going on
like on the other deck I prepared some sheets of planks glued together, once more with the "painted" caulking in the joints
On this photo you can see already two sheets, on the middle one with 9 planks, I marked already the center lines of the beams as preparations for the treenailing and the appr. areas of the deck openings for the hatches and and mast partners

the sheets are already adjusted to fit in between the waterways

the openings are already precut. Such works are much easier to make, before the planks are glued and fixed on top of the beams - important is only not to forget any of them (so do not forget the mast-partners, the bitts, the chimney of the oven and the pumps)

ongoing treenailing with the same technique like on the other deck described some days before
the first 50% of nails

and the rest of the nails - with this sequence of installing my fingers have enough space to hold the toothpicks during "nailing"

one sheet the treenailing is done (without sanding and scraping) - the other sheets is still waiting for the nails

Many Thanks for your all interest .... to be continued - the next post will show the first guns on the deck


