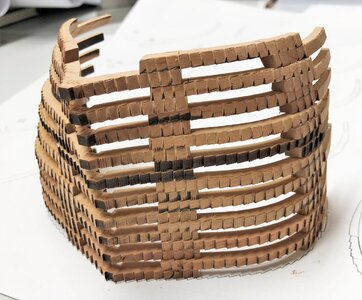
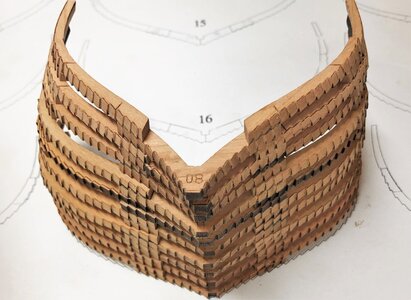
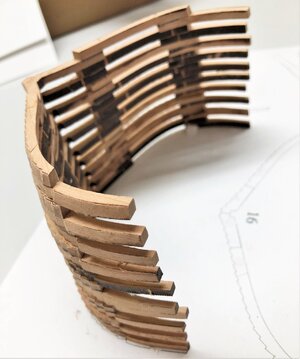
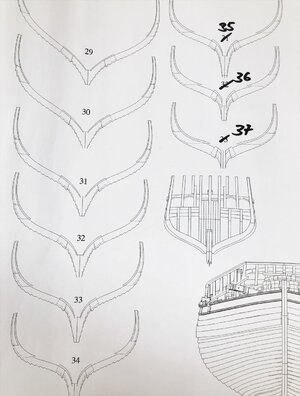
Maybe double sided tape between timber and paper could also be used? (I'm thinking, easy to remove)
-

Win a Free Custom Engraved Brass Coin!!!
As a way to introduce our brass coins to the community, we will raffle off a free coin during the month of August. Follow link ABOVE for instructions for entering.
-

PRE-ORDER SHIPS IN SCALE TODAY!
The beloved Ships in Scale Magazine is back and charting a new course for 2026!
Discover new skills, new techniques, and new inspirations in every issue.
NOTE THAT OUR FIRST ISSUE WILL BE JAN/FEB 2026
- Home
- Forums
- Ships of Scale Group Builds and Projects
- Le Coureur 1776 1:48 PoF Group Build
- Le Coureur 1776 1:48 Group Build Logs
You are using an out of date browser. It may not display this or other websites correctly.
You should upgrade or use an alternative browser.
You should upgrade or use an alternative browser.
LE COUREUR - french Lugger 1776 - POF kit from CAF in 1:48 by Uwe
Yes easy to remove, but not easy to fix on the paper correctly - there is no possibility to adjust the location of the part on the paper, and here you see 1/10 of a mmMaybe double sided tape between timber and paper could also be used? (I'm thinking, easy to remove)
- Joined
- Mar 19, 2020
- Messages
- 206
- Points
- 213

I like the idea of lightly glueing the frame timbers to the drawing. I have completed the keel and will next prepare and assemble the frames. As Uwe and others have already mentioned, this appears to be a very time consuming and accurate part of the build where mistakes are not easily rectified. As there is a lot of very time consuming filing and removing of char and laser lines involved it seems a good idea to invest in some quality files. As it also involves a lot of fairing I was wondering if we had some feedback from @CAFmodel /Tom or other opinions as what would be the best time to bevel / fair the frames as Uwe mentioned before,
1) To fair before gluing the parts of one frame together - than maybe only some smaller corrections afterwards
or
2) Glue the parts together and fair them afterwards - like I did in the first frame
or
3) Only light fairing on the area where the frame is connected with the temporary jig and fair the frames just before the planking
Last edited by a moderator:
HI UWE, GUESS I NEED TO ORDER LOTS OF PINS A WHOLE LOT. GOD BLESS STAY SAFE YOU AND YOURS DON
Hallo @ChelloI like the idea of lightly glueing the frame timbers to the drawing. I have completed the keel and will next prepare and assemble the frames. As Uwe and others have already mentioned, this appears to be a very time consuming and accurate part of the build where mistakes are not easily rectified. As there is a lot of very time consuming filing and removing of char and laser lines involved it seems a good idea to invest in some quality files. As it also involves a lot of fairing I was wondering if we had some feedback from @CAFmodel /Tom or other opinions as what would be the best time to bevel / fair the frames as Uwe mentioned before,
1) To fair before gluing the parts of one frame together - than maybe only some smaller corrections afterwards
or
2) Glue the parts together and fair them afterwards - like I did in the first frame
or
3) Only light fairing on the area where the frame is connected with the temporary jig and fair the frames just before the planking
Stick the parts on top of the drawing! It is working very well and is much more accurate than without - I highly recommend such a way.
And.....
....I can underline the words by Jim - It would be very good that you also start a building log.
It is not necessary to go extremely in detail, but it will help others (and also myself) ......
So everybody who bought and got the kit (I think f.e @KentM , @Chello , @gisel , @Kkonrath @Hobbit99 , @ADC , @donfarr , @Hedley , @mstritzl ,@smelly , @Larsa , @kidsgalore , @jeep, @Zagul ) and all others I do not know, and if you have started already this project,
please also participate in the "GROUP"-build and start a building log
Ir will be much more fun to see and compare, help and assist ......
Last edited:
When I have not started a build log yet it is because it will probably take a long time before I start the build. I have no experience at all with this hobby and for now I don't want to start building 2 models simultaniously. I had planned /hoped to build the Alert (or at least the main part of it) before starting on Le Coureur. I must admit though that I struggle more and more as time goes by to keep my hands away from the boxes with Le Coureur
Some more progress on the frames - better it is more testing how to make it and good good and fast the works can be done with my available hand and power tools can be done - so I am still in the learning period - maybe I need the first frames as spare parts from @CAFmodel if the result is not good enough 
But I have to say, that the learning curve is going up.......
Here you can see on the bottom the first frame N. 8 after the first fairing with files - on the top frame No.9 without fairing
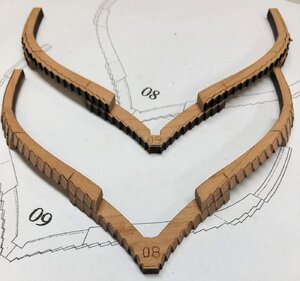
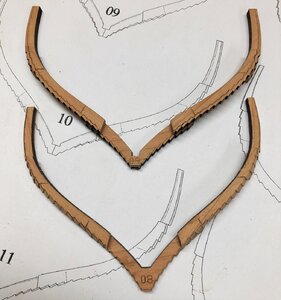
The back side of the two frames - here I used my spindle sander, but only a small part can be done
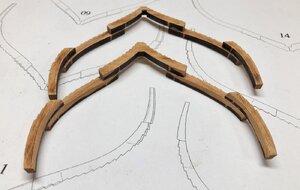
so back to my Proxxon with the small sanding drum - means the insides of the frames I will do with the Proxxon
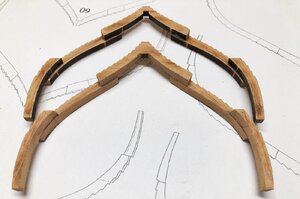
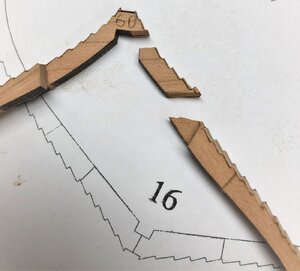
One more experience which I had and I recommend this to everybody - with to much forces, especially with steep floor timber, it can easy break following the grain of the timber - can also easy to be repaired, but you should know, that this can happen
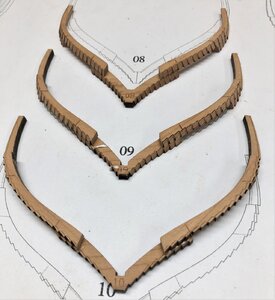
It is getting better and better, so yesterday evening I had five frames prepared
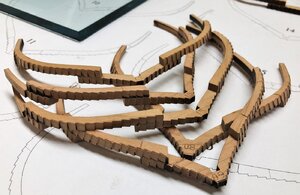
Hope to get some advise from @CAFmodel related to my post #11 and by @Chello in his post #23 of this topic
to be continued ........
But I have to say, that the learning curve is going up.......
Here you can see on the bottom the first frame N. 8 after the first fairing with files - on the top frame No.9 without fairing


The back side of the two frames - here I used my spindle sander, but only a small part can be done

so back to my Proxxon with the small sanding drum - means the insides of the frames I will do with the Proxxon

One more experience which I had and I recommend this to everybody - with to much forces, especially with steep floor timber, it can easy break following the grain of the timber - can also easy to be repaired, but you should know, that this can happen


It is getting better and better, so yesterday evening I had five frames prepared

Hope to get some advise from @CAFmodel related to my post #11 and by @Chello in his post #23 of this topic
to be continued ........
I know exactly what do you mean, Poul, and understand your fillingsI must admit though that I struggle more and more as time goes by to keep my hands away from the boxes with Le Coureur
Poul, you probably heard: Resistance is futile!I must admit though that I struggle more and more as time goes by to keep my hands away from the boxes with Le Coureur
In my case Alert defeated LeCoureur - again ...but why should't you write your own history?
Kurt Konrath
Kurt Konrath
Don't fight it, it only gets worse if you don't dig in and do something!When I have not started a build log yet it is because it will probably take a long time before I start the build. I have no experience at all with this hobby and for now I don't want to start building 2 models simultaniously. I had planned /hoped to build the Alert (or at least the main part of it) before starting on Le Coureur. I must admit though that I struggle more and more as time goes by to keep my hands away from the boxes with Le Coureur
I plan to start small, maybe the small cutter kit or the boxes and barrels, these are all kits in and of themselves.
Looking great Uwe. It seems you have developed your system fairing the notches, and work moved faster
Kurt Konrath
Kurt Konrath
Your repaired frame looks great, no difference seen.
Good to know we can fix our errors and also what not to do to prevent them.
Any hints you have learned on fairing the frames that you can pass on to the rest of us behind you.
Good to know we can fix our errors and also what not to do to prevent them.
Any hints you have learned on fairing the frames that you can pass on to the rest of us behind you.
- Joined
- Mar 19, 2020
- Messages
- 206
- Points
- 213

Hi Uwe, are these files the ones you used on the frames ( Corradi-Nadelraspel-Set 220 140 H2 )?after one day the new needle-file sets arrived already
Purchased shortly ago / sthg new in your workshop -> present it here
Ewe, they were a special order for me. I was most impressed with the quality of these cast brass anchors, as they are far superior to anything else available.shipsofscale.com
so I have no argument any more......
View attachment 182317
I definitely need to invest in a set of good files considering all the filing that needs doing on the clinker steps on all the frames
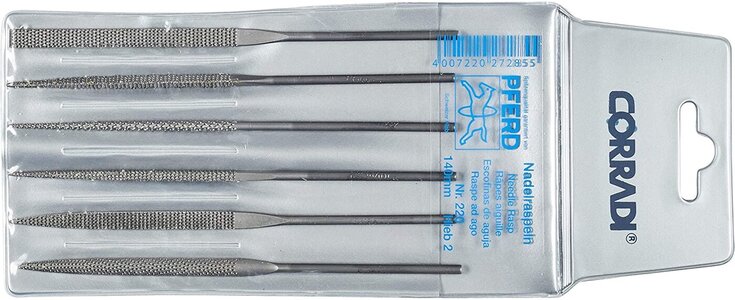
Hallo,Hi Uwe, are these files the ones you used on the frames ( Corradi-Nadelraspel-Set 220 140 H2 )?
I definitely need to invest in a set of good files considering all the filing that needs doing on the clinker steps on all the frames
No - I am not using the rasps, which are much too rough.
take a look at this photo
These are mine which I use:
CORRADI-Nadelfeilen-Set, 12-teilig, Schweizer Hieb 0, 200mm, 12316102
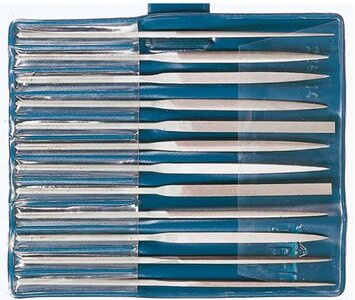
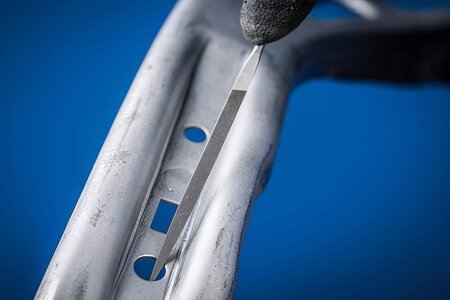
CORRADI-Nadelfeilen-Set, 12-teilig, Schweizer Hieb 0, 200mm, 12316102 – Für die grobe Präzisionsbearbeitung kleinster Flächen, Durchbrüche, Geometrien, Profile und Radien: Amazon.de: Baumarkt
CORRADI-Nadelfeilen-Set, 12-teilig, Schweizer Hieb 0, 200mm, 12316102 – Für die grobe Präzisionsbearbeitung kleinster Flächen, Durchbrüche, Geometrien, Profile und Radien: Amazon.de: Baumarkt
www.amazon.de
Step by Step - better Frame by Frame
during the weekend I was able to work some more hours in preparation of the frames
-> In the following some photos with more impressions of the work
some more
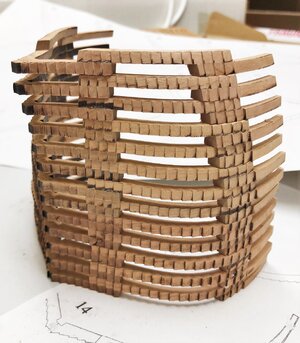
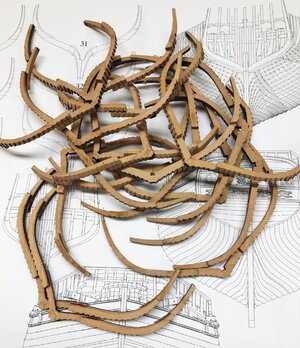
on the left the sanded ones,
center the frames glued, but not sanded
on the right three frames drying
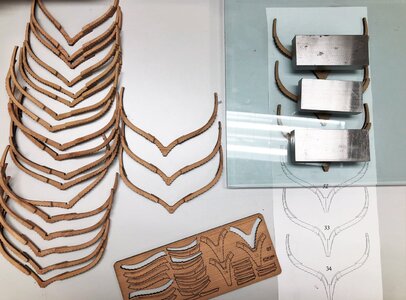
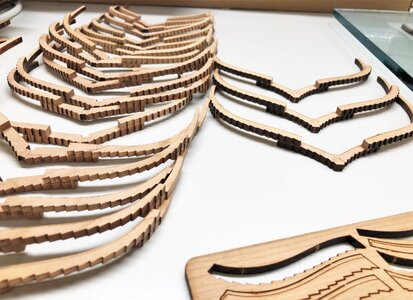
Latest status from yesterday evening
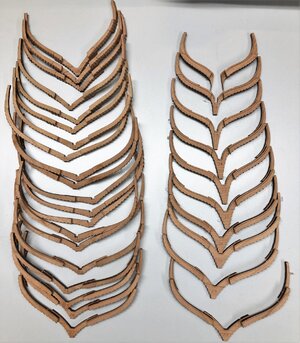
still enough work but with every frame I am getting some routine
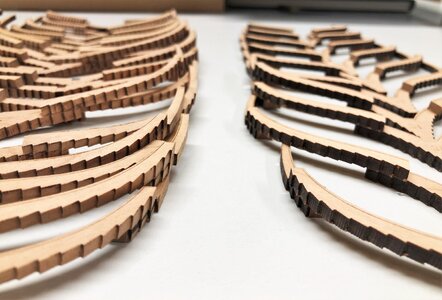
during the weekend I was able to work some more hours in preparation of the frames
-> In the following some photos with more impressions of the work
some more


on the left the sanded ones,
center the frames glued, but not sanded
on the right three frames drying


Latest status from yesterday evening

still enough work but with every frame I am getting some routine


