Le Fleuron 1729 - 64 Gun Ship PoB Scratch Build in 1:48 - (Ancre Monograph-J. Boudriot/G. Delacroix)

Hi WojtasS,

Thanks for sharing this. Andrey Kudin's application constructing a false deck is actually one that I am considering. My first choice is to create deck beams aligned with each bulkhead and then lay thin plywood + deck planking. The only other solution I would consider would be creating every deck beam in the plans and then deck planking without the plywood. I'm still working out which would be the best solution, for me considering, my skill set, effort and quality of the finished work.

I need to look deeper into Mr. Kudin's masterful work.

Thanks again for your help!
I'm curiose how you'll handle it, because soon I'm going to have the same problem. Fortunetly I don't have to make any beams as SZKUTNIK gives them as a part of 3d hull. So I'm left only with how to make decks. For now I try to not think about it as I still have some unfinised port lids and next in queue are gun carriages. So I'm counting on you to do them before me-decks
 
Last edited:
Dear ken. It seems that you and I have made a comeback more or less at the same time. Trust me, I am fully appreciative of how life's needs and modeling do not always go together. I really like the innovation and free spirit with which you build - in many ways it is not unlike me. This necessitates out of the box thinking and coming up with solutions which might seem cringe-worthy at times to the purists, but which gets the job done. the very best of luck with your future endeavors and I look forward to more regular updates.
 
Dear ken. It seems that you and I have made a comeback more or less at the same time. Trust me, I am fully appreciative of how life's needs and modeling do not always go together. I really like the innovation and free spirit with which you build - in many ways it is not unlike me. This necessitates out of the box thinking and coming up with solutions which might seem cringe-worthy at times to the purists, but which gets the job done. the very best of luck with your future endeavors and I look forward to more regular updates.
Hellloooo Heinrich! Yes, for some reason or other, I've never been a conformist, in any aspect of my life. I usually get to the same place, but my path is unique. And yes, I do recognize and agree, in some ways we are very alike.

The funny (ironic) thing is, I chose this "shell" build method because I felt my skill set was not up to building a true PoF project. I'm starting to realize taking this course may very well be more challenging than if I did build a PoF ship. ROTF Certainly, there is more PoF knowledge available to me for reference. It's a moot point now as my Le Fleuron ship is no longer moored and has exited the harbor.
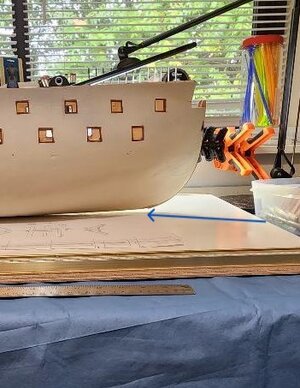
Every task is an opportunity to build my knowledge. And although very challenging, the satisfaction of solving the problem is rewarding. In my case, "The juice IS worth the squeeze."

I have yet to catch up on your WB, but look forward to that and saving it for a rainy morning as a good read.

Thanks for visiting my friend.
 
Ken, I've got to hand it to you. The only scratching I can do is my head, trying to figure out how you can do this!
Hahah Vic. Trust me, you're not the only who scratches his head. I may be the only person known, to date, to have hair loss attributed to the ship modeling hobby! ROTF I'm not worried though. I've just recently reached the age where hair stopped growing where it's suppose to and start growing where it's not suppose to. Truly the measure of a man officially being "old".

Thanks for visiting Vic!
 
Hello,
It seems my batteries are somewhat recharged and I found myself going into "spurt" mode, working late the last few nights. Not really "working" by it's definition as I completely lost track of time.

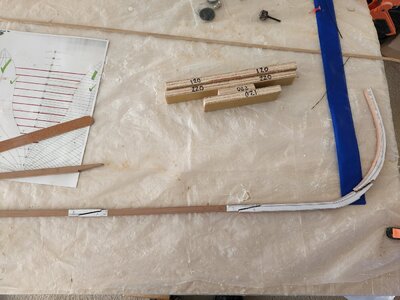
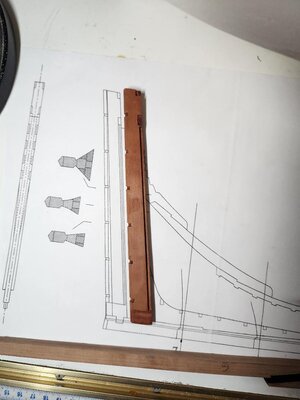
I've been working on the keel and will transition into the stern structure as current tasks. Keel first, up to where I need to deviate from the plan to correct my mistake. This is where I my cut strayed slightly vertical when removing the false keel, removing too much material close to the upsweep of the bow.

thumbnail (44).jpg

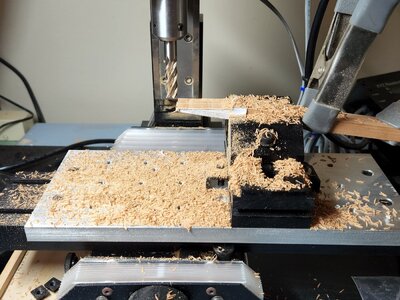
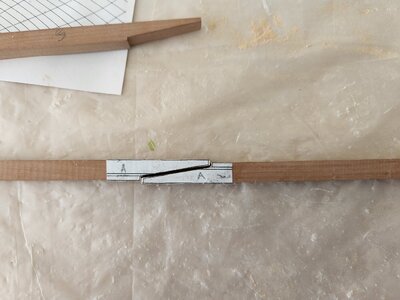
Milled scarf joints. Final processed by hand.
20220802_131447.jpg20220802_131456.jpg

20220804_145902.jpg

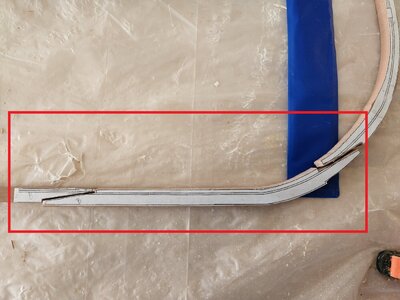
The image below is the area I need to adjust to account for the incorrect up angle of the hull. As suggested by Maarten, I will incorporate that into the keel itself. The pieces in the outlined area will be discarded and remade after I have found the most accurate way to measure the delta.

20220804_145859.jpg
20220804_145908.jpg

For now, I'll put the keel aside until I find the solution.

Next...
 
Hello All,
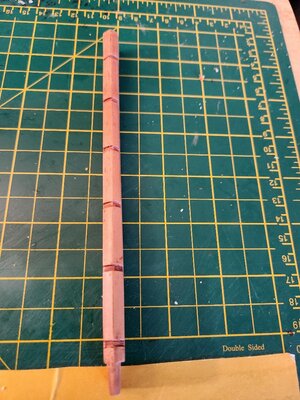
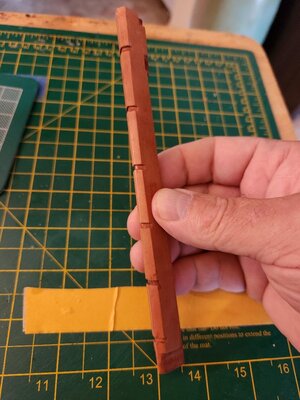
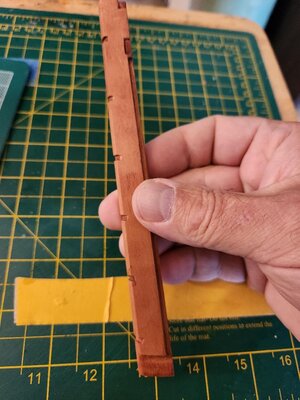
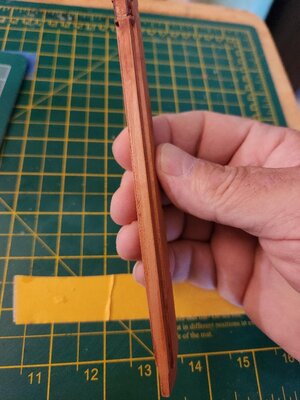
So I decided to focus on the element that ties the keel to the stern structure, the stern post. This is the first small, complex piece with some challenging geometry. At least for me. Photos pretty much tell the story.
thumbnail (16).jpgthumbnail (14).jpgthumbnail (15).jpg
thumbnail (17).jpg

Hinge rebates made by hand with small chisels. Finished with 220, 340 grit, sanding sealer and 000 steel wool.
thumbnail (12).jpgthumbnail (11).jpgthumbnail (10).jpgthumbnail (9).jpg

I need to make some small adjustments in the height of the piece as it is a little oversized, as compared to the plans, but will leave it as is until I can dry fit with other elements, transom, wing transom and keel.
thumbnail (47).jpg

Thanks for following. Until next time...
 
Last edited:
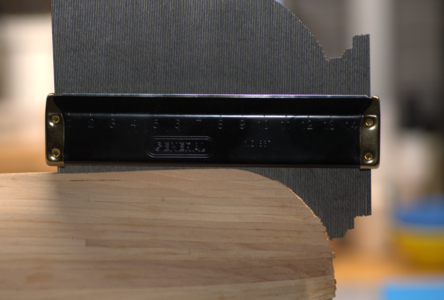
Hi Ken, what is the most accurate way, you found, to measure the delta? I am curious.
Hey Jim,
Yet to be determined. I need to do some searching on the forums and non-modeling sites to discover that. I have not yet started that as I'm just finishing up with the stern post.

To all of our SoS members; please feel free to offer suggestions/recommendation on how I can accurately measure "my gap". The challenge is getting into that very narrow space.

A couple of good nights sleep, along with some meditation music may help me. ;)
 
Paul, I think you may have helped me out here. I was focused on measuring the gap and then creating a piece that would close the gap. What if I don't care about the dimensions of the gap? What if I just create the keel from the plans all the way up to the beakhead area of the hull, which I know is correct. Then it's just a matter of dry fitting the keel in place and the gap will show itself. All I have to do then is determine the best material to fill it with. Theoretical, yet feasible.

Busy for the next few days, but will test it when I'm back. Thanks for the help.

Cheers!
 
I have that very same contour gauge Jim. The challenge is the gap is too narrow to fit into the gap and measure. Unless I'm missing something, which could be. Thanks for the suggestion.
 
I have that very same contour gauge Jim. The challenge is the gap is too narrow to fit into the gap and measure. Unless I'm missing something, which could be. Thanks for the suggestion.
Hi Ken,

I would make replica with air drying modeling clay. Just make a stroke in the correct shape of the keel press it against the hull with the modeling clay in between the space to be filled.
Let the clay dry and you have a replica you can copy as additional wood on top of your keel.
 
Foam insulation from a can - let it set and you have a template to measure. Or maybe light bodied modeling compound.
Thanks Paul. I'm going to try measuring the gap with modeling clay. Inexpensive and little effort. Maarten also suggested this approach. I can't ignore a recommendation coming from two builders of yours and Maarten's skill. I'll post with results soon.

Thanks.
Cheers.
 
Hi Ken,

I would make replica with air drying modeling clay. Just make a stroke in the correct shape of the keel press it against the hull with the modeling clay in between the space to be filled.
Let the clay dry and you have a replica you can copy as additional wood on top of your keel.
Great suggestion Maarten. I ordered the modeling clay today. I like it. Simple and accurate.
Thanks!
 
Back
Top