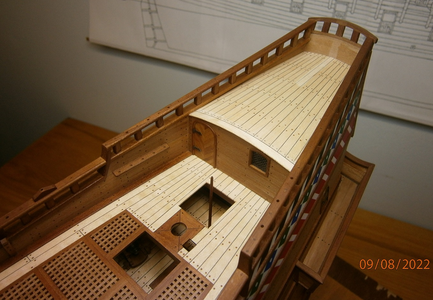
Le Fleuron 1729 - 64 Gun Ship PoB Scratch Build in 1:48 - (Ancre Monograph-J. Boudriot/G. Delacroix)

Hello All,
Just a small update on the Le Fleuron's backbone. My #1 object in this exercise is building it straight, STRaight, STRAIGHT! I have accomplished this after the glue has dried, but it requires some serious reinforcements as I need it to remain straight.

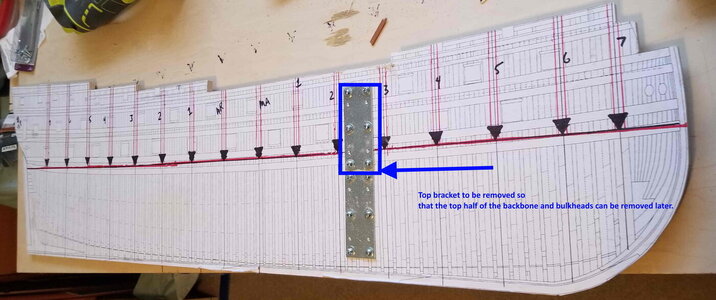
I decided to reinforce with 2 metal brackets along the join. First, a few layers of cheese cloth soaked with PVA, over which I've placed the 2 brackets to guide my drill.
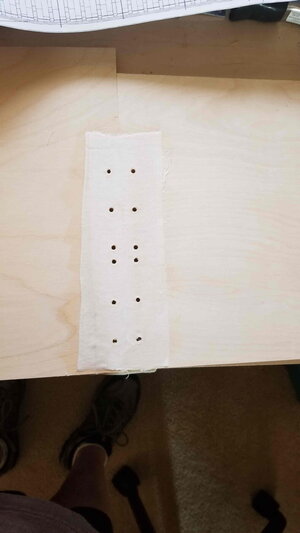
20220227_143353.jpg

After drilling, dry fit the brackets via bolts, keeping in mind not to over tighten.
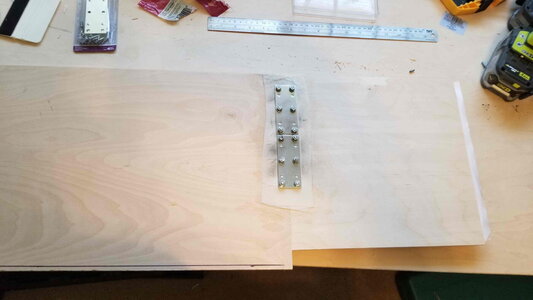
20220228_111331.jpg

Another consideration, placement of the join must be in between bulkheads as not to interfere with them.20220228_111322.jpg
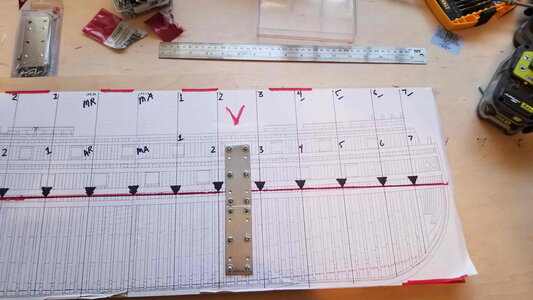
And finally a saw cut around the perimeter. Looking down at the backbone now constructed, I get a sense of how large this model will be. Both rewarding and a little alarming. :p :oops:

BackboneFinal.jpg

The reason for using 2 brackets can now be seen. The top bracket will be removed when the shell is finished to facilitate the removal of the top half of the backbone and bulkheads.

Next step is cutting 6mm slots for the bulkheads. Then no more construction for a while as it will take some time to dry fit the bulkheads, take many measurements, make some, hopefully not too many adjustments.

Thanks for following along!

Till next time....
 
Last edited:
Thank you all for the "likes" and input so far. A small update and a small milestone. Seven hours and 96 saw cuts later, all bulkheads have received their Port and Starboard 1st deck cuts, bottom vertical cuts to fit to the backbone and 2 upper vertical cuts to accommodate the reinforcement rods. In addition 16 vertical 6mm cuts in the back bone to accommodate the bulkheads.

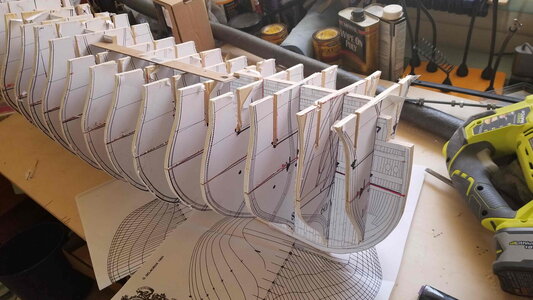
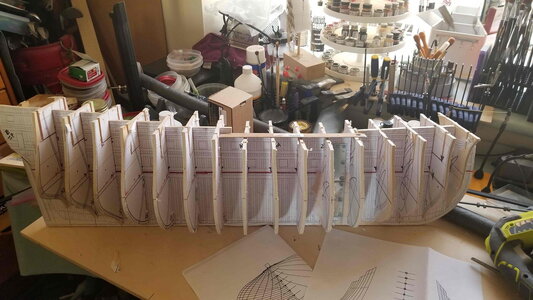
The small milestone, for me at least, is the marrying of the bulkheads to the keel/backbone for the first time. If I use my imagination I can visualize a ship, sort of.

No more sawdust for a bit. Since the bulkheads and backbone make up the volume of the ship's hull, it is absolutely critical I get this right before I continue. I will do this systematically. First I will check all bulkheads are aligned vertically. Only after I'm satisfied that each is correctly aligned will I move onto ensuring each bulkhead is square/perpendicular to the backbone/keel.

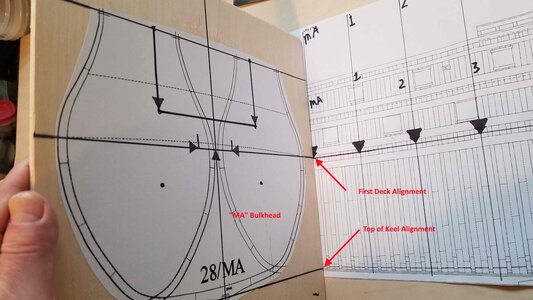
Vertical alignment will be determined by ensuring the 1st deck and top of the keel points of each bulkhead is aligned with the same points on the backbone/keel.

The photo below was taken before I made the cuts.
MA BH - Spine Alignment.jpg

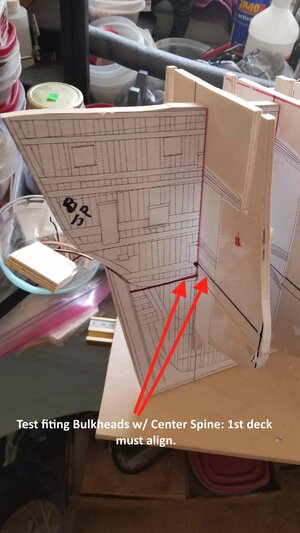
As you can see below, I need to make adjustments. Adding shims where needed or furthering cutting/sanding. In the case below, my cut was a little narrow and needs to be widened a bit.

BH Alignment.jpg

And the first pic of bulkheads together with the backbone/keel.

20220304_114830.jpg

POB DryFit0.jpg

This is a good segue in the build to take a short break. I have a family reunion coming up and will get back to checking all my vertical measurements and fitment before moving onto lateral fitments.

Thanks for following.

Till next time....
 
Oh my...she's a big girl!

A question (please be patient with my ignorance): it appears you have pre-cut the bulkhead to the level of the lower(?) gun deck. How will you support the upper portion of the bulkhead keeping everything square? You mentioned rods. Or will there be battens in the vertical slots?
 
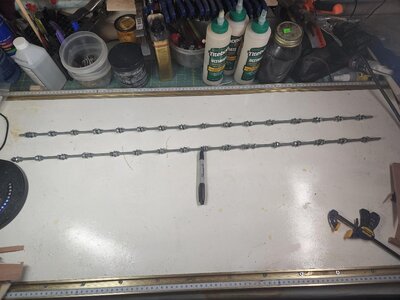
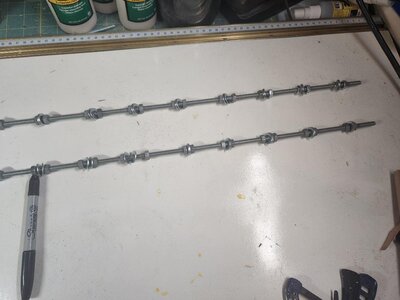
Hey Paul, great question. Yes, threaded rods with nuts and washers. I will start at one end of the ship and work my way to the other. Adjusting each bulkhead to square (90 degrees) to the keel. Then tighten the nuts up to ensure it stays square through out the first and second layer of shell planking.

See below.
thumbnail (1).jpg

thumbnail.jpg
Each bulkhead will sit between the washers. Now, I will share a senior moment of mine. :rolleyes: I set up the first rod and upon adding the last NUT, something did not look right. I FORGOT TO PUT ON THE WASHERS!!!! ROTF

Back off every %#*$&($ Nut and start again......oh my.

Anyway, I'll show some close ups once I get them set up.


Cheers!!
 
Hey Paul, great question. Yes, threaded rods with nuts and washers. I will start at one end of the ship and work my way to the other. Adjusting each bulkhead to square (90 degrees) to the keel. Then tighten the nuts up to ensure it stays square through out the first and second layer of shell planking.

See below.
View attachment 322646

View attachment 322647
Each bulkhead will sit between the washers. Now, I will share a senior moment of mine. :rolleyes: I set up the first rod and upon adding the last NUT, something did not look right. I FORGOT TO PUT ON THE WASHERS!!!! ROTF

Back off every %#*$&($ Nut and start again......oh my.

Anyway, I'll show some close ups once I get them set up.


Cheers!!
Oh don't we all love those times of anger and frustration when you miss one small step from some tedious job just to realize it at the end .... I feel your pain
 
Thanks Uwe, it will be an interesting journey for me indeed.

Thanks Tobias!
 
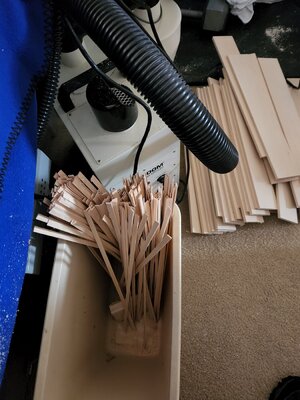
In between helping prepare for the weekend's reunion party, I've been sneaking into the shop when I have 30 minutes to do some one off tasks that don't require a lot of focus.

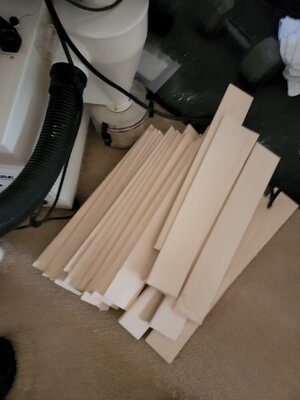
Putting the Byrne's saw to work transforming Basswood plates into the 800-1,000, 10mmX2mm planking strips to build the hull's shell. Boring. For the last hour I've been silently asking myself, "Why didn't I buy precut Basswood planks?" :confused:

20220409_155611.jpg20220409_155616.jpg

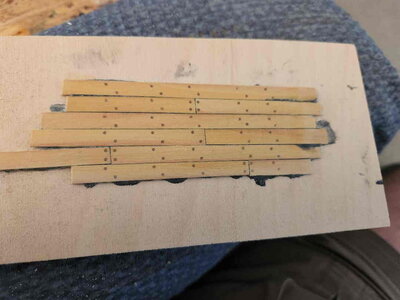
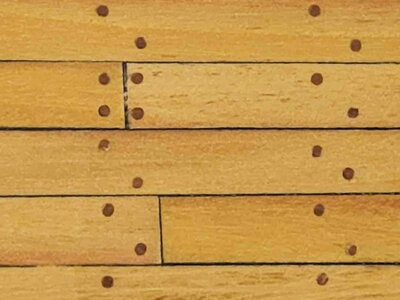
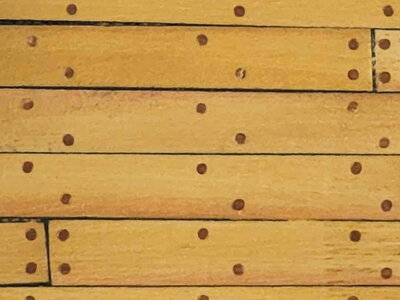
A little more fun than cutting planks, I decided to test the appearance of the Yellowheart wood I was thinking of using to plank the hull above and in between the wales of the ship.

Disclaimer: Plank butting standards were not followed. Treenails that are larger the correct scale in the test. The objective was to test the Yellowheart wood's finish and the contrast using it along with Pear wood treenails.

thumbnail (2).jpg
thumbnail (1).jpgthumbnail.jpg

I am happy with the warmth of the Yellowheart. All I did was seal it with sanding sealer, sand w/400 grit, then go over it with 000 steel wool.
No paint or "caulk coloring" was used with the treenails. I would like a slightly more subtle contrast between both the nails and planks. I will test the same, but use Swiss Pear next time as it is slightly lighter than the Pear wood.

Your thoughts are welcome.

Thanks for following.

Till next time...
 
Last edited:
In between helping prepare for the weekend's reunion party, I've been sneaking into the shop when I have 30 minutes to do some one off tasks that don't require a lot of focus.

Putting the Byrne's saw to work transforming Basswood plates into the 800-1,000, 10mmX2mm planking strips to build the hull's shell. Boring. For the last hour I've been silently asking myself, "Why didn't I buy precut Basswood planks?" :confused:

View attachment 322908View attachment 322906

A little more fun than cutting planks, I decided to test the appearance of the Yellowheart wood I was thinking of using to plank the hull above and in between the wales of the ship.

Disclaimer: Plank butting standards were not followed. Treenails that are larger the correct scale in the test. The objective was to test the Yellowheart wood's finish and the contrast using it along with Pear wood treenails.

View attachment 322910
View attachment 322909View attachment 322911

I am happy with the warmth of the Yellowheart. All I did was seal it with sanding sealer, sand w/400 grit, then go over it with 000 steel wool.
No paint or "caulk coloring" was used with the treenails. I would like a slightly more subtle contrast between both the nails and planks. I will test the same, but use Swiss Pear next time as it is slightly lighter than the Pear wood.

Thanks for following.

Till next time...
If I could (pretending now that you care what I think), the contrast between the treenails and the planking is a bit much for my taste. Perhaps the other pear wood will be better???
 
Paul, yes, that was my first impression as well. You've confirmed it! Trust me, I value every piece of feedback you have to offer. Please do not hold back ever. Your Vasa's construction AND finish speaks to you having a very well developed "artistic eye". ;) Thumbsup

I will do additional tests down the road, with a number of different combinations of woods. I'll post them all to get feedback.
 
Yes, Paul. I've followed Ondras' build log and admire his talent as I do yours. I will need to go back and review again. I thought for some reason he was using Boxwood or Maple for deck planks, which is actually lighter than the Yellowheart. And he was using Pear treenails. Which should actually be more of a contrast than I'm showing. I'll have to go back and review. Regardless, I do want a more subtle contrast than the one I realized in the test.

Thanks Paul!
 
Back
Top